MERCEDES-BENZ S-Class SEDAN 2016 W222 Comand Manual
Manufacturer: MERCEDES-BENZ, Model Year: 2016, Model line: S-Class SEDAN, Model: MERCEDES-BENZ S-Class SEDAN 2016 W222Pages: 298, PDF Size: 9.16 MB
Page 61 of 298
XTo enter the 4-digit PIN and select¬:
turn and press the controller.
You will be prompted to enter the PIN
again.
XEnter the PIN again and select ¬.
The PIN prompt now protects your personal
data from unwanted export.
iIf you deactivate your PIN protection, you
will first be prompted to enter your PIN. If
you have forgotten your PIN, an authorized
Mercedes-Benz Center can deactivate your
PIN protection for you. Alternatively, you
can deactivate PIN protection by resetting
your personal COMAND data
(
Ypage 59).
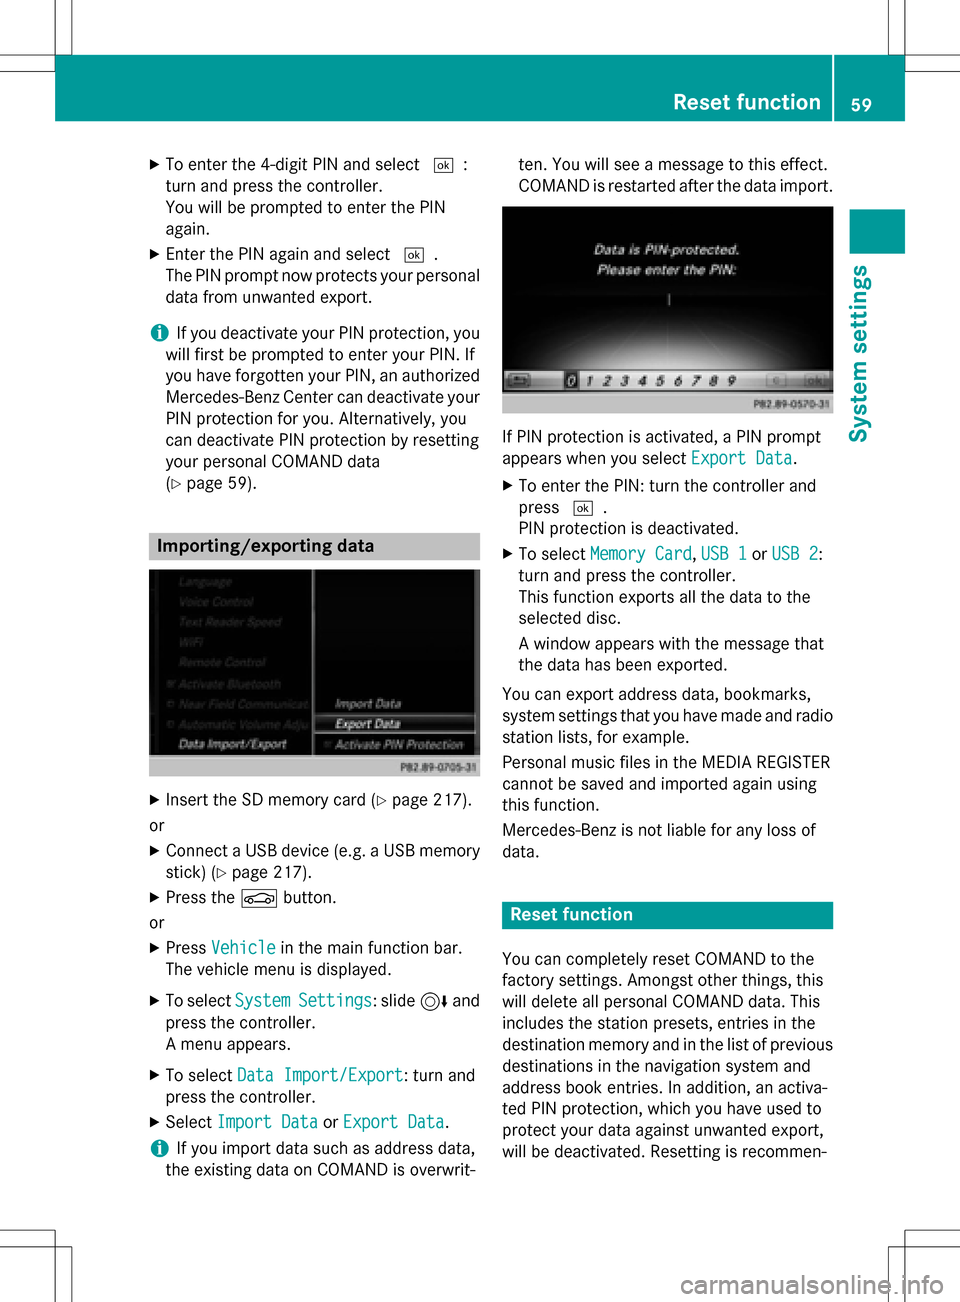
Importing/exporting data
XInsert the SD memory card (Ypage 217).
or
XConnect a USB device (e.g. a USB memory
stick) (
Ypage 217).
XPress the Øbutton.
or
XPress Vehiclein the main function bar.
The vehicle menu is displayed.
XTo select SystemSettings: slide6and
press the controller.
A menu appears.
XTo select Data Import/Export: turn and
press the controller.
XSelect Import DataorExport Data.
iIf you import data such as address data,
the existing data on COMAND is overwrit- ten. You will see a message to this effect.
COMAND is restarted after the data import.
If PIN protection is activated, a PIN prompt
appears when you select
Export Data
.
XTo enter the PIN: turn the controller and
press¬.
PIN protection is deactivated.
XTo select Memory Card,USB 1or USB 2:
turn and press the controller.
This function exports all the data to the
selected disc.
A window appears with the message that
the data has been exported.
You can export address data, bookmarks,
system settings that you have made and radio
station lists, for example.
Personal music files in the MEDIA REGISTER
cannot be saved and imported again using
this function.
Mercedes-Benz is not liable for any loss of
data.
Reset function
You can completely reset COMAND to the
factory settings. Amongst other things, this
will delete all personal COMAND data. This
includes the station presets, entries in the
destination memory and in the list of previous
destinations in the navigation system and
address book entries. In addition, an activa-
ted PIN protection, which you have used to
protect your data against unwanted export,
will be deactivated. Resetting is recommen-
Reset function59
System settings
Z
Page 62 of 298
ded before selling or transferring ownership
of your vehicle, for example.
Data on the internal hard drive, e.g. music
files in the MEDIA REGISTER, will be deleted.
You can also delete music files from the
Media Register using theDelete All
Media Filesfunction (Ypage 226).
Mercedes-Benz is not liable for any loss of
data.
XPress the Øbutton.
or
XPress Vehiclein the main function bar.
The vehicle menu is displayed.
XTo select System Settings: slide6,
turn and press the controller to confirm.
A menu appears.
XTo select Reset: turn and press the con-
troller.
A prompt appears asking whether you wish
to reset.
XSelect YesorNo.
If you select No
the process is canceled.
If you select Yes
a prompt will appear again
asking whether you really wish to reset.
XSelect YesorNo.
If you select Yes
a message will be shown.
COMAND is reset to the factory settings
and restarted.
If you select No
the process is canceled.
60Reset function
System settings
Page 63 of 298
Your COMAND equipment..................62
Important safet ynotes ...................... .62
Vehicle settings .................................. .62
Seats .................................................... 68
Climat econtro lsettings .................... .71
Child-proof lock s................................ .76
360° camer a........................................ 77
Rea rview camer a................................ 78
61
Vehicle functions
Page 64 of 298
Your COMANDequipment
i
These operatin ginstruction sdescribe all
th estandar dan doptional equipmen tof
your COMAN Dsystem, as available at th e
time of going to print .Country-specifi cdif -
ference sare possible. Bear in min dthat
your vehicle may no tfeature all function s
described here. Thi salso applies to safety-
relevant systems an dfunctions.
iRead th einformation on qualified special-
ist workshop sin th evehicle Operator's
Manual.
Important safet ynotes
GWARNING
If you operat emobile communication equip-
men twhil edriving, you will be distracted from
traffic conditions. You could also los econtro l
of th evehicle. There is aris kof an accident.
Only operat ethis equipment when th evehicle
is stationary.
You mus tobserv eth elega lrequirements fo r
th ecountry in whic hyou are currentl ydrivin g
when operatin gmobile communication s
equipmen tin th evehicle.
Vehicl esettings
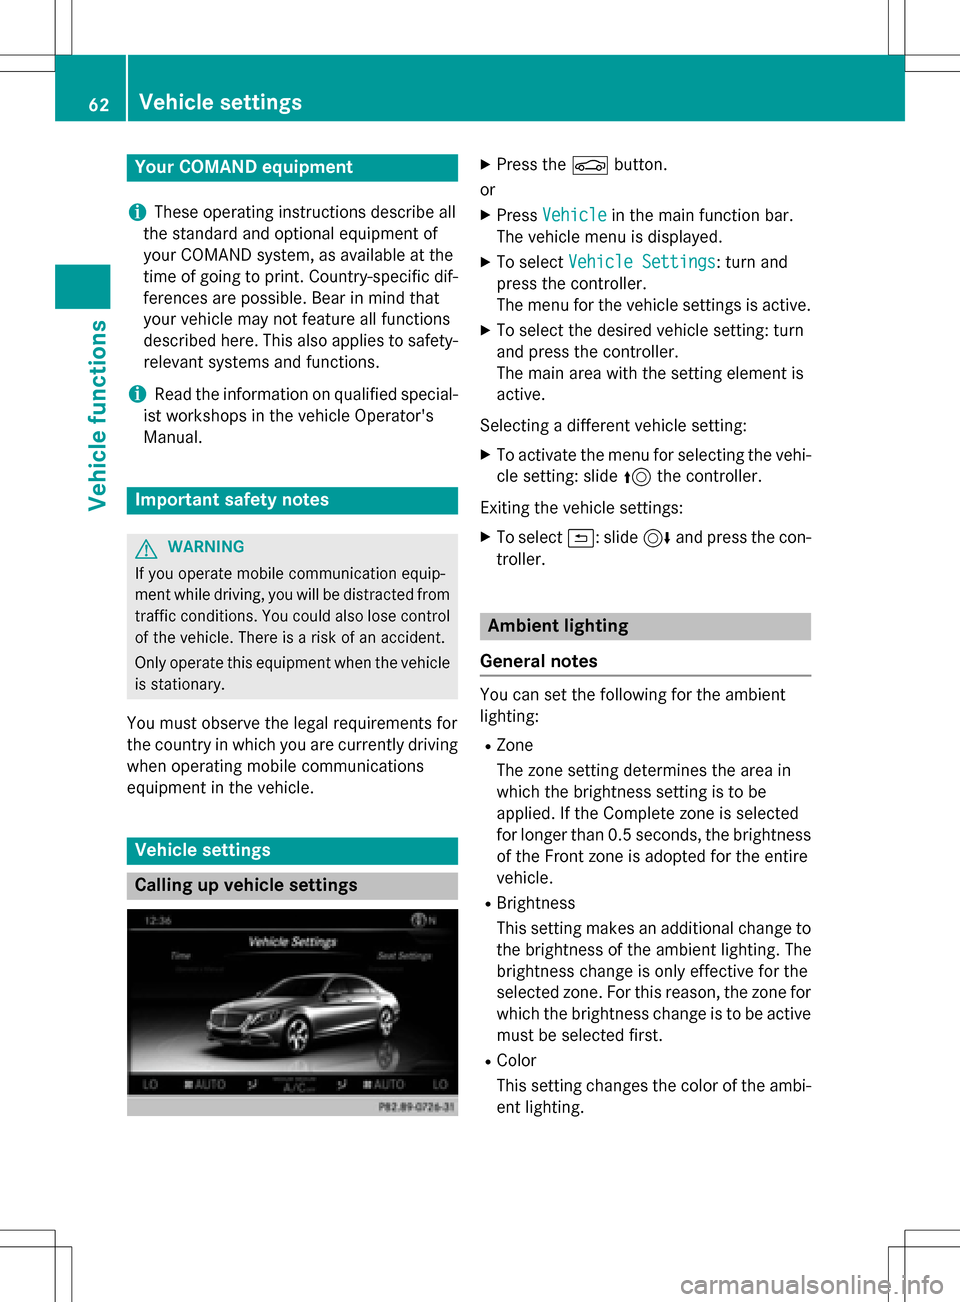
Calling up vehicle settings
XPress th eØ button.
or
XPress Vehicl ein themain function bar .
The vehicle men uis displayed.
XTo selec tVehicl eSettings:turn an d
press th econtroller .
The men ufo rth evehicle setting sis active .
XTo selec tth edesire dvehicle setting :turn
an dpress th econtroller .
The main are awit hth esetting elemen tis
active .
Selecting adifferen tvehicle setting :
XTo activateth emen ufo rselecting th evehi-
cl e setting :slid e5 thecontroller .
Exitin gth evehicle settings:
XTo selec t&: slide6 andpress th econ-
troller.
Ambien tlighting
General notes
You can set th efollowin gfo rth eambien t
lighting :
RZone
The zone setting determines th eare ain
whic hth ebrightness setting is to be
applied. If th eComplet ezone is selecte d
fo rlonger than 0. 5seconds, th ebrightness
of th eFron tzone is adopte dfo rth eentire
vehicle.
RBrightness
Thi ssetting makes an additional change to
th ebrightness of th eambien tlighting .The
brightness change is only effective fo rth e
selecte dzone .Fo rthis reason ,th ezone fo r
whic hth ebrightness change is to be active
mus tbe selecte dfirst .
RColo r
Thi ssetting changes th ecolor of th eambi-
en tlighting .
62Vehicle settings
Vehicle functions
Page 65 of 298
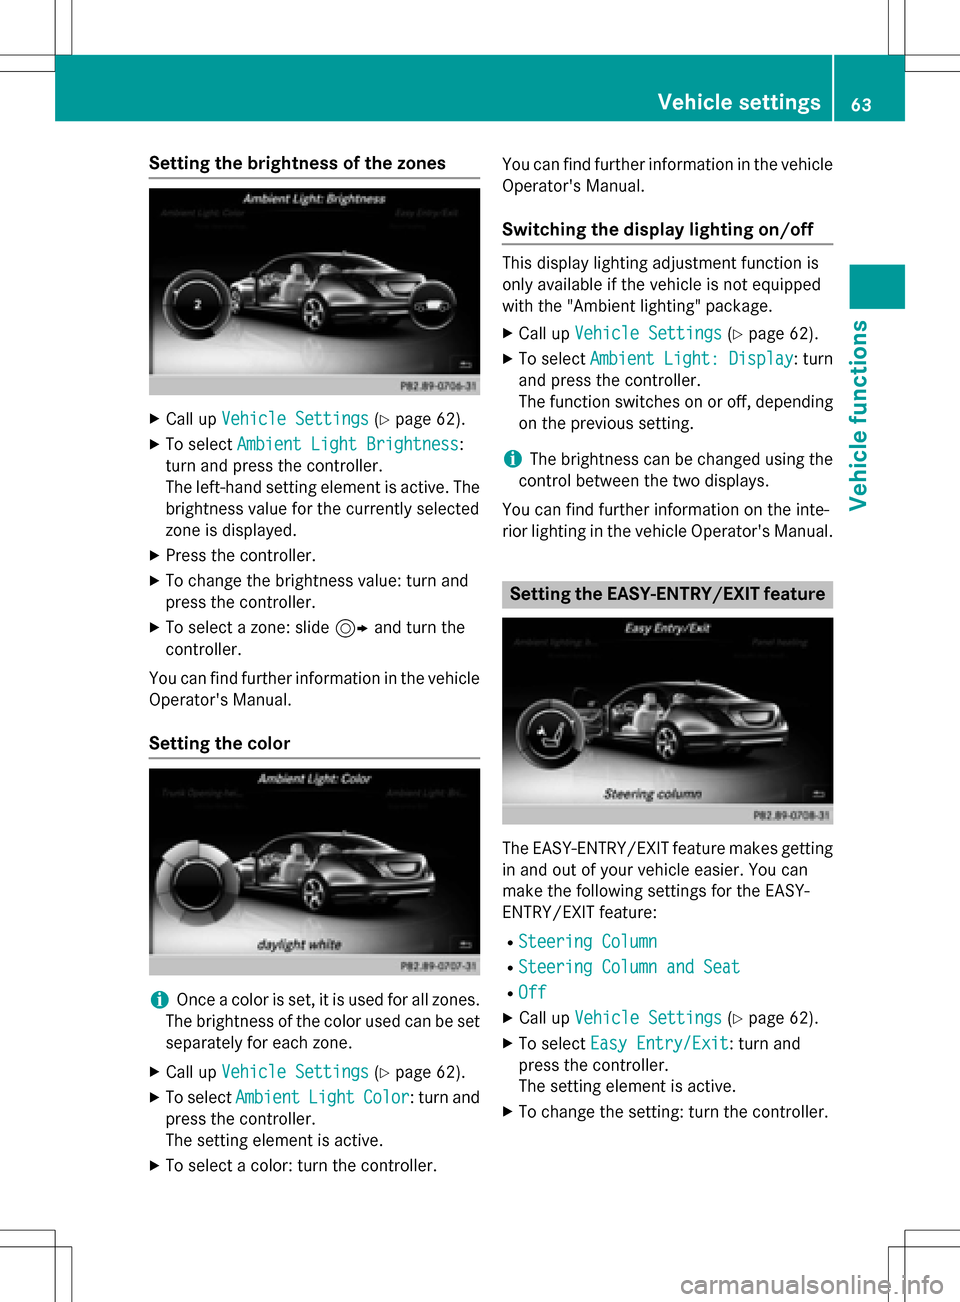
Setting the brightness of the zones
XCall upVehicle Settings(Ypage 62).
XTo select Ambient Light Brightness:
turn and press the controller.
The left-hand setting element is active. The
brightness value for the currently selected
zone is displayed.
XPress the controller.
XTo change the brightness value: turn and
press the controller.
XTo select a zone: slide 9and turn the
controller.
You can find further information in the vehicle
Operator's Manual.
Setting the color
iOnce a color is set, it is used for all zones.
The brightness of the color used can be set
separately for each zone.
XCall up Vehicle Settings(Ypage 62).
XTo select AmbientLightColor: turn and
press the controller.
The setting element is active.
XTo select a color: turn the controller. You can find further information in the vehicle
Operator's Manual.
Switching the display lighting on/off
This display lighting adjustment function is
only available if the vehicle is not equipped
with the "Ambient lighting" package.
XCall up Vehicle Settings(Ypage 62).
XTo select Ambient Light: Display: turn
and press the controller.
The function switches on or off, depending
on the previous setting.
iThe brightness can be changed using the
control between the two displays.
You can find further information on the inte-
rior lighting in the vehicle Operator's Manual.
Setting the EASY-ENTRY/EXIT feature
The EASY-ENTRY/EXIT feature makes getting
in and out of your vehicle easier. You can
make the following settings for the EASY-
ENTRY/EXIT feature:
RSteering Column
RSteering Column and Seat
ROff
XCall up Vehicle Settings(Ypage 62).
XTo select Easy Entry/Exit: turn and
press the controller.
The setting element is active.
XTo change the setting: turn the controller.
Vehicle settings63
Vehicle functions
Z
Page 66 of 298
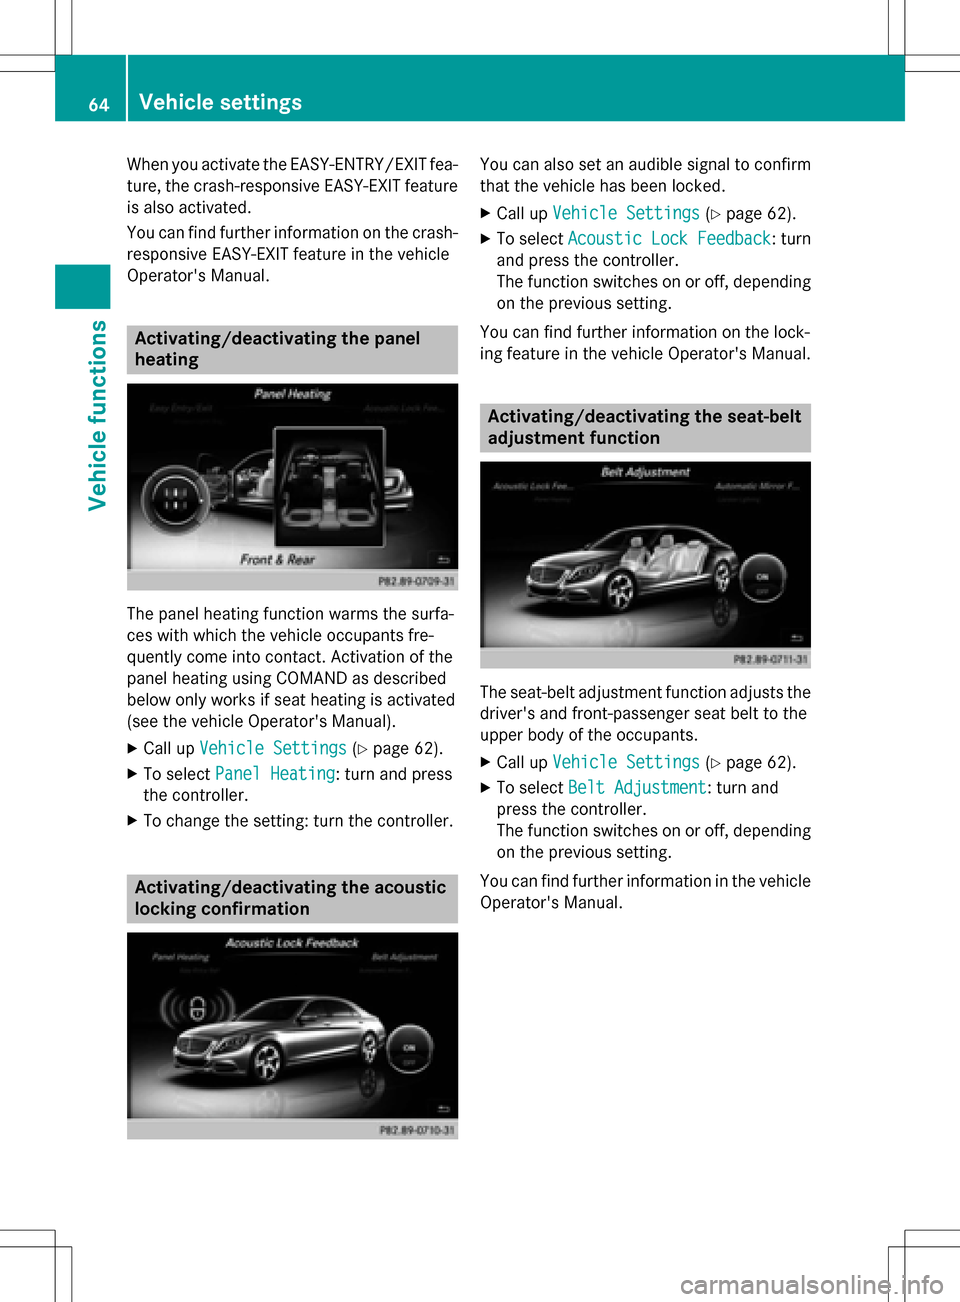
When you activate the EASY-ENTRY/EXIT fea-
ture, the crash-responsive EASY-EXIT feature
is also activated.
You can find further information on the crash-
responsive EASY-EXIT feature in the vehicle
Operator's Manual.
Activating/deactivating the panel
heating
The panel heating function warms the surfa-
ces with which the vehicle occupants fre-
quently come into contact. Activation of the
panel heating using COMAND as described
below only works if seat heating is activated
(see the vehicle Operator's Manual).
XCall up Vehicle Settings(Ypage 62).
XTo select Panel Heating: turn and press
the controller.
XTo change the setting: turn the controller.
Activating/deactivating the acoustic
locking confirmation
You can also set an audible signal to confirm
that the vehicle has been locked.
XCall up Vehicle Settings(Ypage 62).
XTo select Acoustic Lock Feedback: turn
and press the controller.
The function switches on or off, depending
on the previous setting.
You can find further information on the lock-
ing feature in the vehicle Operator's Manual.
Activating/deactivating the seat-belt
adjustment function
The seat-belt adjustment function adjusts the
driver's and front-passenger seat belt to the
upper body of the occupants.
XCall up Vehicle Settings(Ypage 62).
XTo select Belt Adjustment: turn and
press the controller.
The function switches on or off, depending
on the previous setting.
You can find further information in the vehicle
Operator's Manual.
64Vehicle settings
Vehicle functions
Page 67 of 298
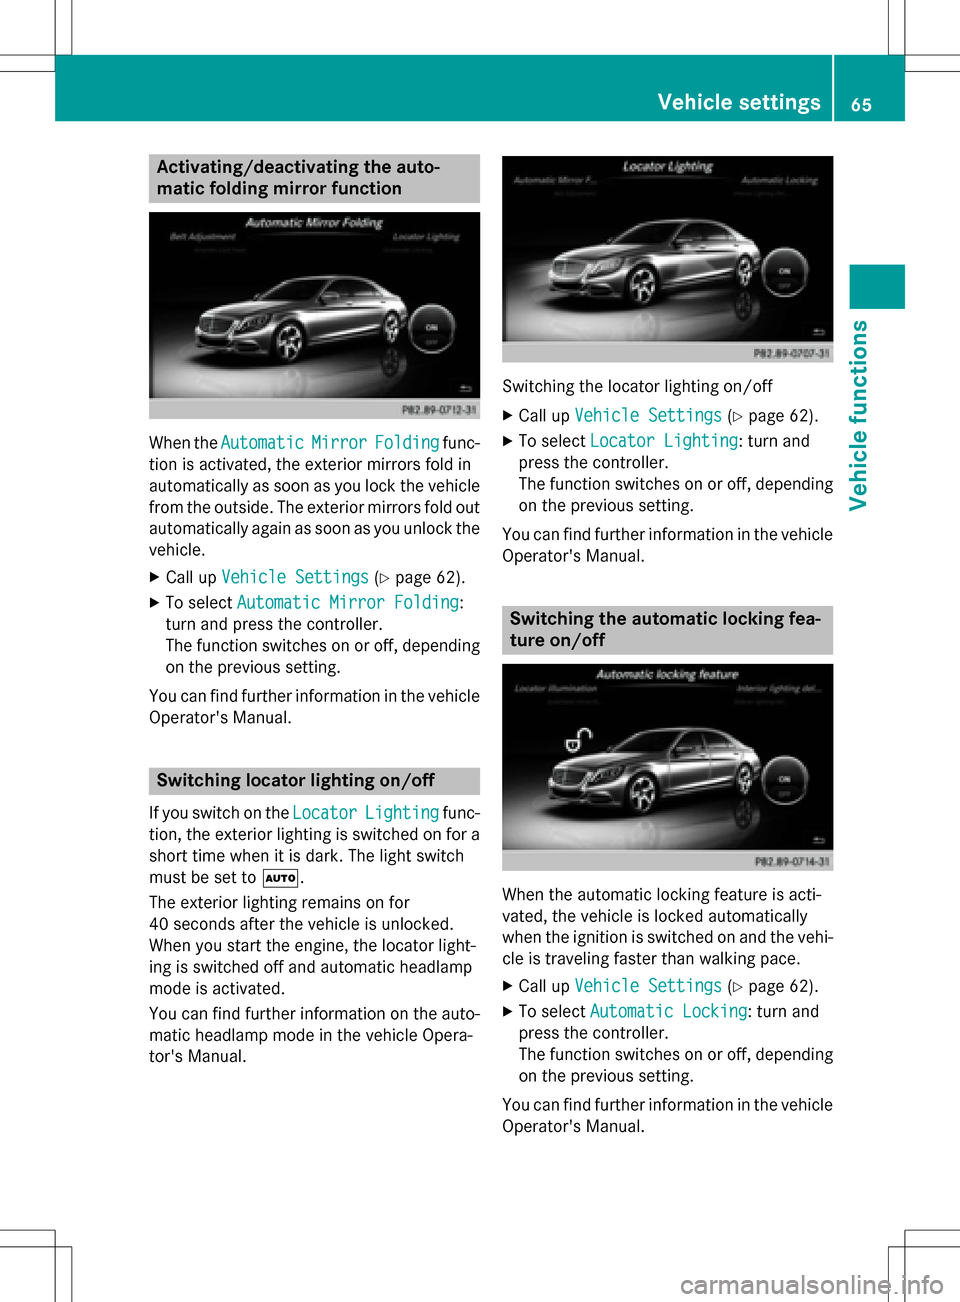
Activating/deactivating the auto-
matic folding mirrorfunction
When th eAutomaticMirrorFoldin gfunc-
tion is activated, th eexterio rmirror sfol din
automatically as soo nas you loc kth evehicl e
from th eoutside .The exterio rmirror sfol dout
automatically again as soo nas you unloc kth e
vehicle.
XCall up VehicleSettings(Ypage 62).
XTo select Automatic Mirror Foldin g:
tur nand press th econtroller .
The function switches on or off ,depending
on th eprevious setting .
You can fin dfurther information in th evehicl e
Operator' sManual.
Switching locat orlighting on/off
If you switch on th eLocato rLightingfunc-
tion ,th eexterio rlighting is switched on for a
short time when it is dark .The ligh tswitch
mus tbe set to Ã.
The exterio rlighting remain son for
40 seconds after th evehicl eis unlocked.
When you start th eengine, th elocato rlight-
ing is switched off and automatic headlamp
mod eis activated.
You can fin dfurther information on th eauto -
matic headlamp mod ein th evehicl eOpera-
tor' sManual.
Switchin gth elocato rlighting on/off
XCall up VehicleSettings(Ypage 62).
XTo select LocatorLighting:tur nand
pre ssthecontroller .
The function switches on or off ,depending
on th eprevious setting.
You can fin dfurther information in th evehicl e
Operator' sManual.
Switching the automatic locking fea-
tu re on/off
When th eautomatic locking feature is acti-
vated, th evehicl eis locke dautomatically
when th eignition is switched on and th evehi-
cle is traveling faste rthan walking pace.
XCall up VehicleSettings(Ypage 62).
XTo select Automatic Lockin g:tur nand
pre ssthecontroller .
The function switches on or off ,depending
on th eprevious setting.
You can fin dfurther information in th evehicl e
Operator' sManual.
Vehicle settings65
Vehicle functions
Z
Page 68 of 298
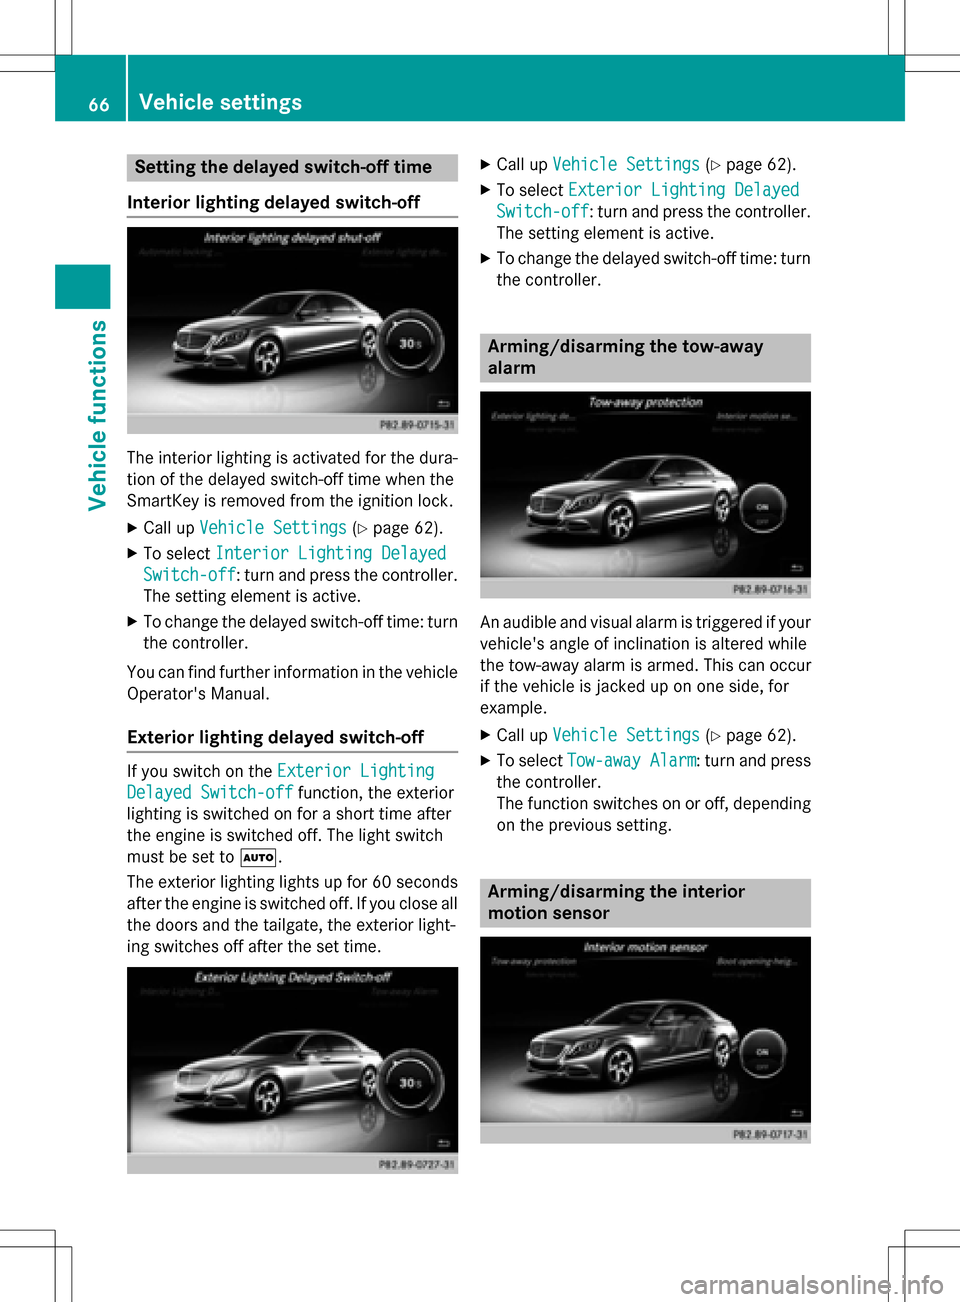
Setting the delayed switch-off time
Interior lighting delayed switch-off
The interior lighting is activated for the dura-
tion of the delayed switch-off time when the
SmartKey is removed from the ignition lock.
XCall up Vehicle Settings(Ypage 62).
XTo select Interior Lighting Delayed
Switch-off: turn and press the controller.
The setting element is active.
XTo change the delayed switch-off time: turn the controller.
You can find further information in the vehicle
Operator's Manual.
Exterior lighting delayed switch-off
If you switch on the Exterior Lighting
Delayed Switch-offfunction, the exterior
lighting is switched on for a short time after
the engine is switched off. The light switch
must be set to Ã.
The exterior lighting lights up for 60 seconds
after the engine is switched off. If you close all
the doors and the tailgate, the exterior light-
ing switches off after the set time.
XCall up Vehicle Settings(Ypage 62).
XTo select Exterior Lighting Delayed
Switch-off: turn and press the controller.
The setting element is active.
XTo change the delayed switch-off time: turn the controller.
Arming/disarming the tow-away
alarm
An audible and visual alarm is triggered if your
vehicle's angle of inclination is altered while
the tow-away alarm is armed. This can occur
if the vehicle is jacked up on one side, for
example.
XCall up Vehicle Settings(Ypage 62).
XTo select Tow-away Alarm: turn and press
the controller.
The function switches on or off, depending
on the previous setting.
Arming/disarming the interior
motion sensor
66Vehicle settings
Vehicle functions
Page 69 of 298
When the interior motion sensor is armed, a
visual and audible alarm is triggered if move-
ment is detected in the vehicle interior. This
can occur if someone reaches into the vehicleinterior without authorization, for example.
XCall up Vehicle Settings(Ypage 62).
XTo select Interior Motion Sensor: turn
and press the controller.
The function switches on or off, depending
on the previous setting.
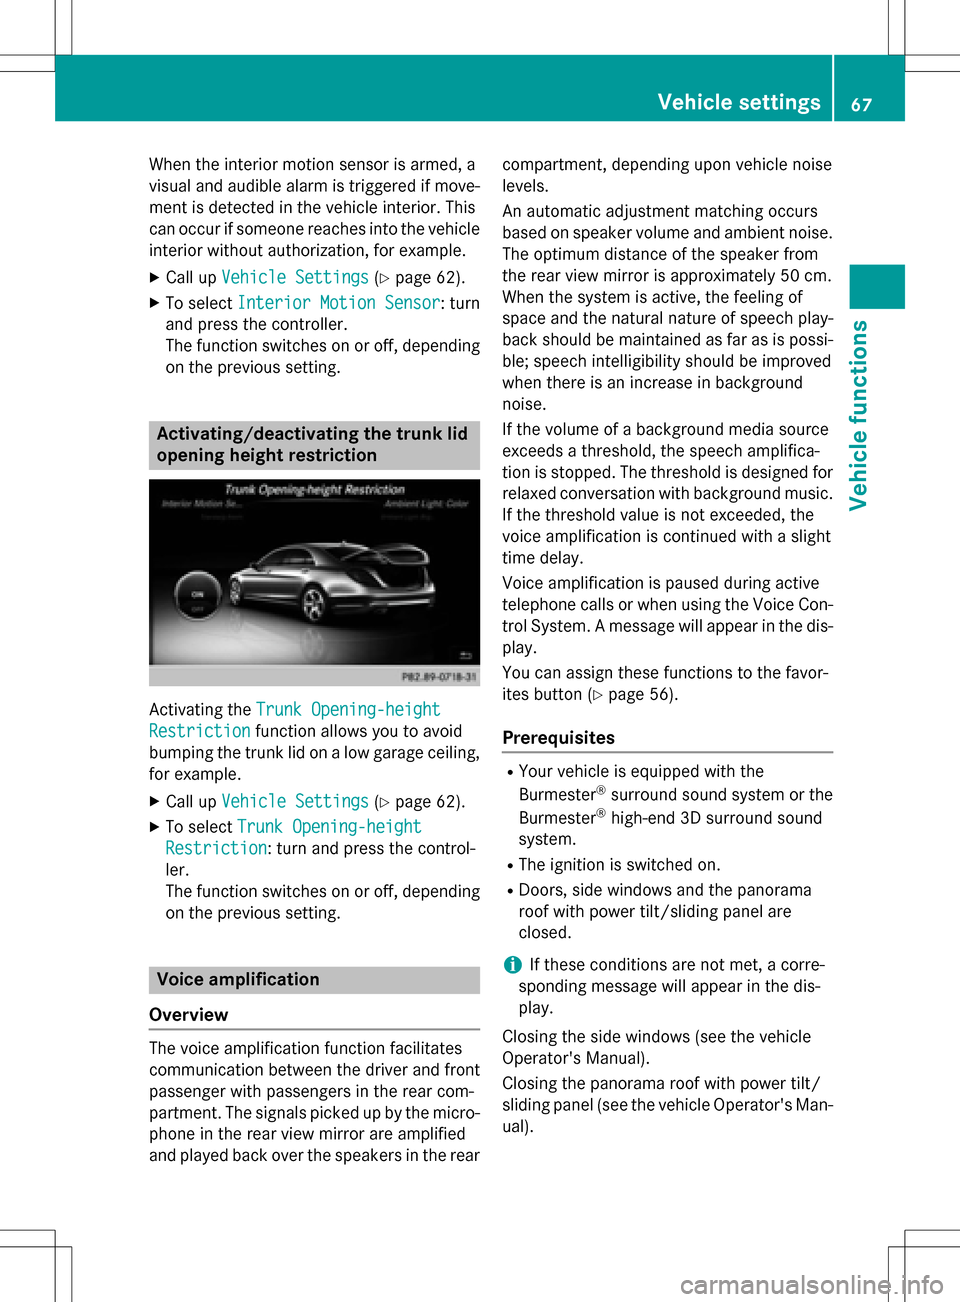
Activating/deactivating the trunk lid
opening height restriction
Activating the Trunk Opening-height
Restrictionfunction allows you to avoid
bumping the trunk lid on a low garage ceiling,
for example.
XCall up Vehicle Settings(Ypage 62).
XTo select Trunk Opening-height
Restriction: turn and press the control-
ler.
The function switches on or off, depending
on the previous setting.
Voice amplification
Overview
The voice amplification function facilitates
communication between the driver and front
passenger with passengers in the rear com-
partment. The signals picked up by the micro-
phone in the rear view mirror are amplified
and played back over the speakers in the rear compartment, depending upon vehicle noise
levels.
An automatic adjustment matching occurs
based on speaker volume and ambient noise.
The optimum distance of the speaker from
the rear view mirror is approximately 50 cm.
When the system is active, the feeling of
space and the natural nature of speech play-
back should be maintained as far as is possi-
ble; speech intelligibility should be improved
when there is an increase in background
noise.
If the volume of a background media source
exceeds a threshold, the speech amplifica-
tion is stopped. The threshold is designed for
relaxed conversation with background music.
If the threshold value is not exceeded, the
voice amplification is continued with a slight
time delay.
Voice amplification is paused during active
telephone calls or when using the Voice Con-
trol System. A message will appear in the dis-
play.
You can assign these functions to the favor-
ites button (
Ypage 56).
Prerequisites
RYour vehicle is equipped with the
Burmester®surround sound system or the
Burmester®high-end 3D surround sound
system.
RThe ignition is switched on.
RDoors, side windows and the panorama
roof with power tilt/sliding panel are
closed.
iIf these conditions are not met, a corre-
sponding message will appear in the dis-
play.
Closing the side windows (see the vehicle
Operator's Manual).
Closing the panorama roof with power tilt/
sliding panel (see the vehicle Operator's Man-
ual).
Vehicle settings67
Vehicle functions
Z
Page 70 of 298
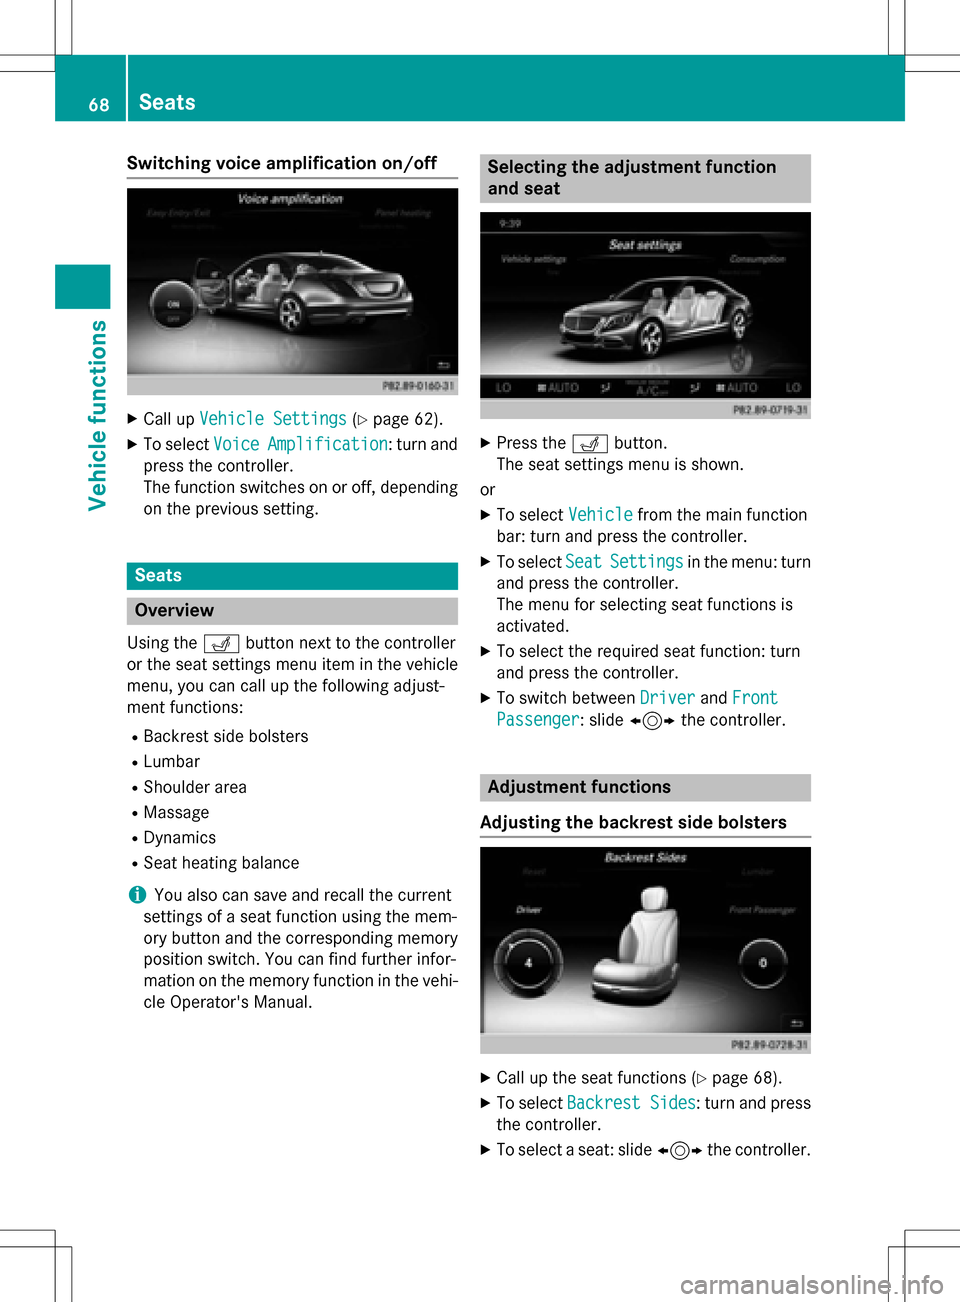
Switching voice amplification on/off
XCall upVehicle Settings(Ypage 62).
XTo select VoiceAmplification: turn and
press the controller.
The function switches on or off, depending
on the previous setting.
Seats
Overview
Using the Tbutton next to the controller
or the seat settings menu item in the vehicle
menu, you can call up the following adjust-
ment functions:
RBackrest side bolsters
RLumbar
RShoulder area
RMassage
RDynamics
RSeat heating balance
iYou also can save and recall the current
settings of a seat function using the mem-
ory button and the corresponding memory
position switch. You can find further infor-
mation on the memory function in the vehi-
cle Operator's Manual.
Selecting the adjustment function
and seat
XPress the Tbutton.
The seat settings menu is shown.
or
XTo select Vehiclefrom the main function
bar: turn and press the controller.
XTo select SeatSettingsin the menu: turn
and press the controller.
The menu for selecting seat functions is
activated.
XTo select the required seat function: turn
and press the controller.
XTo switch between DriverandFront
Passenger: slide 1 the controller.
Adjustment functions
Adjusting the backrest side bolsters
XCall up the seat functions (Ypage 68).
XTo select Backrest Sides: turn and press
the controller.
XTo select a seat: slide 1the controller.
68Seats
Vehicle functions