Mercury Mountaineer 1997 Owner's Manuals
Mountaineer 1997
Mercury
Mercury
https://www.carmanualsonline.info/img/33/11000/w960_11000-0.png
Mercury Mountaineer 1997 Owner's Manuals
Trending: tow, parking brake, interior lights, service reset, wipers, fuse chart, relay
Page 121 of 197
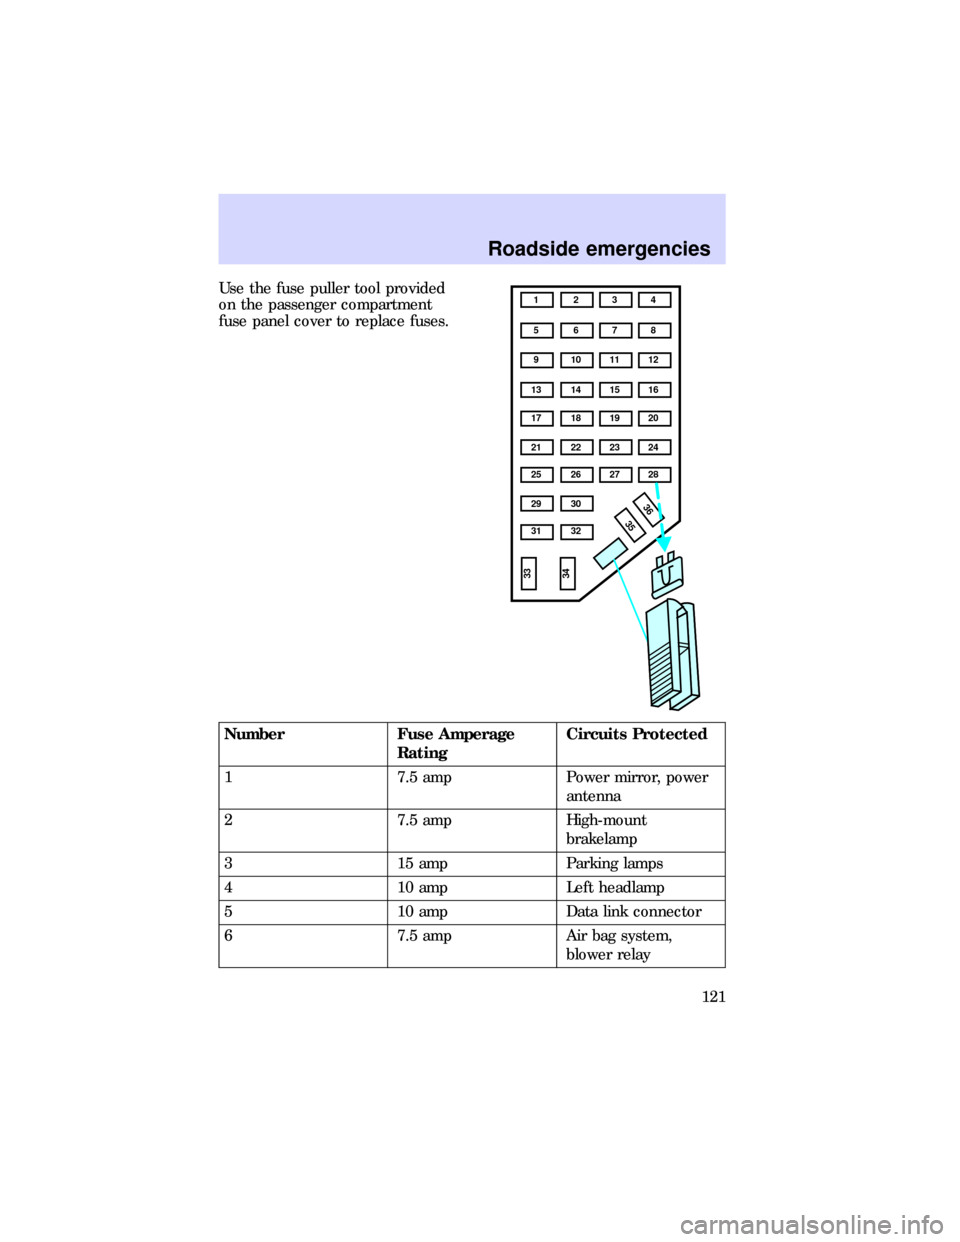
Use the fuse puller tool provided
on the passenger compartment
fuse panel cover to replace fuses.
Number Fuse Amperage
RatingCircuits Protected
1 7.5 amp Power mirror, power
antenna
2 7.5 amp High-mount
brakelamp
3 15 amp Parking lamps
4 10 amp Left headlamp
5 10 amp Data link connector
6 7.5 amp Air bag system,
blower relay
1 234
5 678
9 101112
13 14 15 16
17 18 19 20
21 22 23 24
25 26
29 30
35 3631 32
33
34
27 28
Roadside emergencies
121
Page 122 of 197
Number Fuse Amperage
RatingCircuits Protected
7 7.5 amp Illumination switches
8 10 amp Right headlamp, fog
lamp system
9 10 amp Autolamps
10 7.5 amp Rear blower, speed
control, GEM system,
brake interlock,
overhead console
11 7.5 amp Warning lamps
12 10 amp Liftgate wiper/washer,
front washer
13 15 amp Brake on/off switch
14 10 amp Anti-lock system
15 7.5 amp Air bag system,
instrument cluster
16 30 amp Wiper run relay
17 15 amp Cigar lighter
18 15 amp A/C system
19 25 amp Ignition coil, PCM
system
20 7.5 amp Radio, power antenna,
GEM system,
anti-theft
21 15 amp Turn/hazard flasher
22 10 amp Turn signals
23 10 amp Rear wiper system
24 10 amp Anti-theft relay
25 7.5 amp Instrument cluster,
GEM system
Roadside emergencies
122
Page 123 of 197
Number Fuse Amperage
RatingCircuits Protected
26 10 amp 4R70W overdrive,
DRL system, backup
lamps, rear defroster
relay
27 10 amp Underhood lamp, map
lights, glove box lamp,
overhead lamp, visor
lamps, accessory
delay, dimmer switch
illumination
28 7.5 amp GEM system
29 10 amp Audio system
30 - Not used
31 7.5 amp Rear blower motor
relay
32 7.5 amp Heated rear window
33 15 amp DRL module, RH and
LH headlamp,
instrument cluster
34 7.5 amp Luxury audio system
35 - Not used
36 - Not used
Roadside emergencies
123
Page 124 of 197
Power distribution box
Lift cover towards front of vehicle
to access the power distribution
box.
The high-current fuses in the
power distribution box protect
your vehicle's main electrical
systems from overloads. The high
current fuses are coded as follows:
14 13
12 11
10 9
87
65
43
2
8
47
36
25
1
11 10 9
1
Roadside emergencies
124
Page 125 of 197
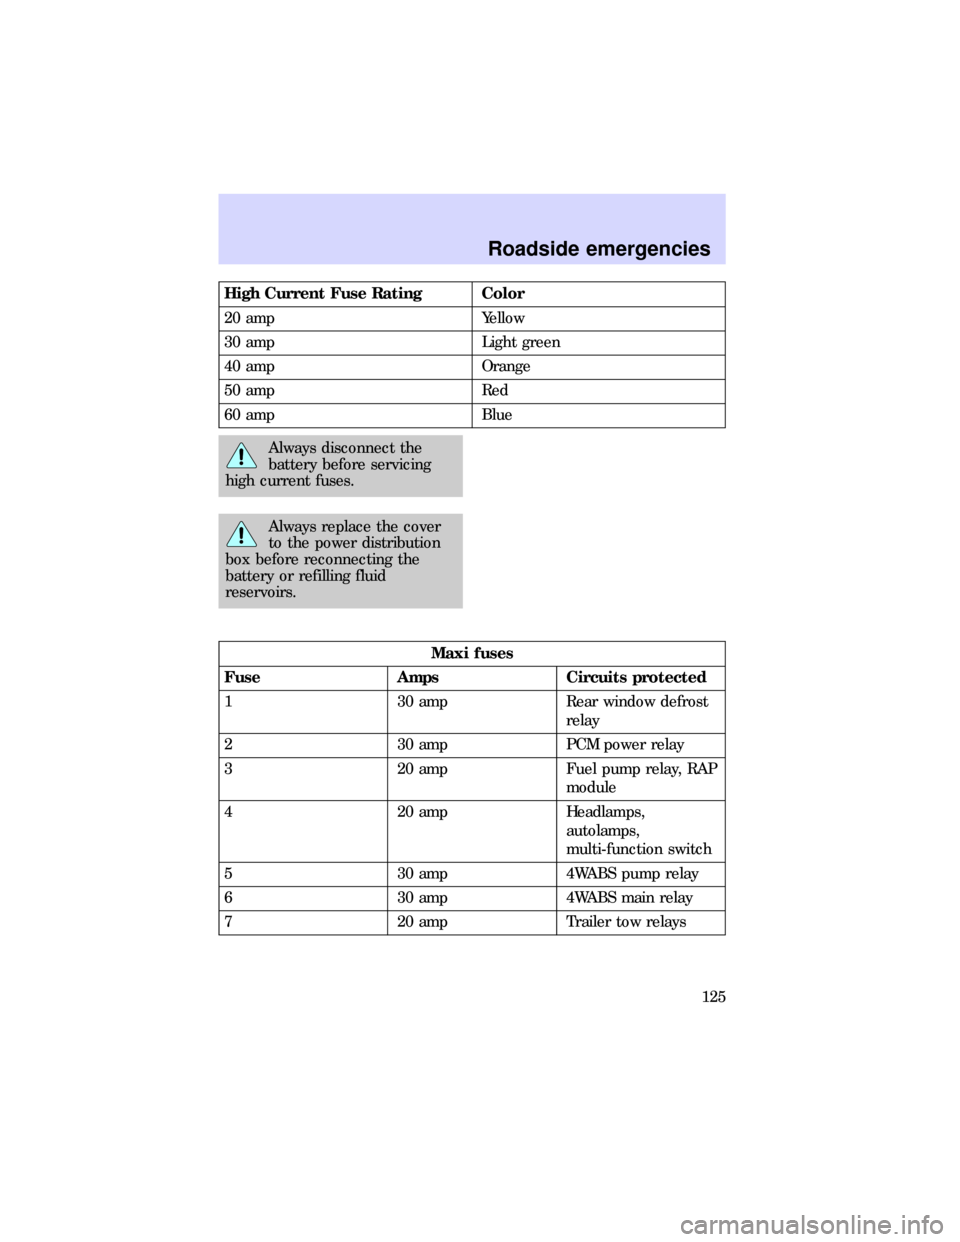
High Current Fuse Rating Color
20 amp Yellow
30 amp Light green
40 amp Orange
50 amp Red
60 amp Blue
Always disconnect the
battery before servicing
high current fuses.
Always replace the cover
to the power distribution
box before reconnecting the
battery or refilling fluid
reservoirs.
Maxi fuses
Fuse Amps Circuits protected
1 30 amp Rear window defrost
relay
2 30 amp PCM power relay
3 20 amp Fuel pump relay, RAP
module
4 20 amp Headlamps,
autolamps,
multi-function switch
5 30 amp 4WABS pump relay
6 30 amp 4WABS main relay
7 20 amp Trailer tow relays
Roadside emergencies
125
Page 126 of 197
Maxi fuses
Fuse Amps Circuits protected
8 30 amp Battery saver relay,
headlamp relay
9 50 amp Blower motor relay,
blower motor
10 30 amp Power seats, power
lumbar, door
lock/unlock relays,
accessory delay relay
11 20 amp Horn relay,
Powertrain control
module (PCM)
12 - Not used
13 60 amp Hazard flasher, brake
ON/OFF switch, cigar
lighter, power
antenna, power
mirrors, autolamps,
instrument cluster,
GEM, radio, blower
motor relay
14 60 amp Ignition switch
Mini fuses
Fuse Amps Circuits protected
1 30 amp Premium sound
2 15 amp Liftgate wiper relays
3 30 amp Auxiliary power
4 10 amp Air bag diagnostic
monitor
5 - Not used
Roadside emergencies
126
Page 127 of 197
Mini fuses
Fuse Amps Circuits protected
6 15 amp Generator/voltage
regulator
7 20 amp Not used
8 15 amp Foglamp relay,
daytime running lamp
module
9 - Not used
10 - Not used
11 20 amp HEGO system
Relays
Relays are located in the power
distribution box.
Relays receive signals from
components or systems and
transfer these signals to activate or
deactivate other components or
systems.
Mercury recommends that relays
be replaced by a qualified
technician.
6
5
3
2
14 21
Roadside emergencies
127
Page 128 of 197
Relay number Circuits connected
1 Wiper run relay
2 Horn relay
3 Wiper HI/LO relay
4 WOT A/C relay
5 PCM power relay
6 Fuel pump relay
Diode number Circuits connected
1 ABS diode
2 PCM diode
CHANGING TIRES
Tire change procedure
1. Park on a level surface.
2. Activate the hazard flashers.
3. Set the parking brake.
4. Place the gearshift in P (Park).
5. Block the diagonally opposite
wheel.
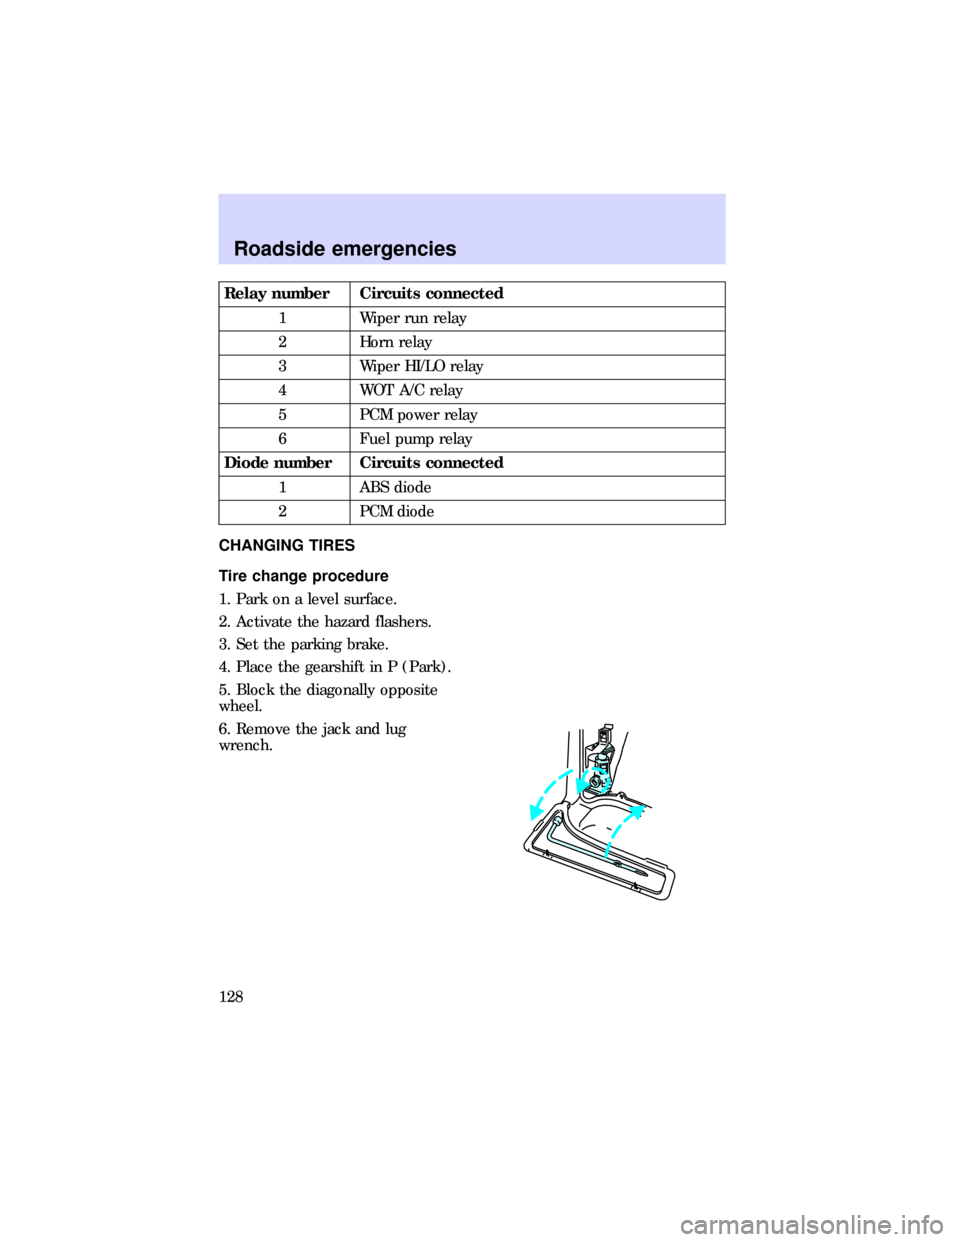
6. Remove the jack and lug
wrench.
Roadside emergencies
128
Page 129 of 197
7. Remove the jack handle (located
underneath rear seat).
8. Assemble the jack handle to the
lug wrench.
9. Insert drive section of the jack
handle into the actuator hole and
turn counterclockwise until the
cable is slack enough to allow
spare tire to be pulled rearward
from under the vehicle.
10. Slide spare tire rearward and
remove retainer.
Roadside emergencies
129
Page 130 of 197
11. Insert tapered end of the lug
nut wrench behind hubcaps and
twist off.
Not using the tapered end
of the lug nut wrench at
the pry-off notches may result in
damage to the finish of the
wheel and ornament.
12. Loosen the wheel lug nuts with
the lug wrench about one half
turn.
13. Position the jack on the lower
suspension arm to raise front
wheel.
Roadside emergencies
130
Trending: oil pressure, oil capacity, fuel fill door release, transmission oil, check transmission fluid, clutch, fuel filter


