Mercury Mountaineer 1997 s Owners Manual
Manufacturer: MERCURY, Model Year: 1997, Model line: Mountaineer, Model: Mercury Mountaineer 1997Pages: 197, PDF Size: 2.08 MB
Page 91 of 197

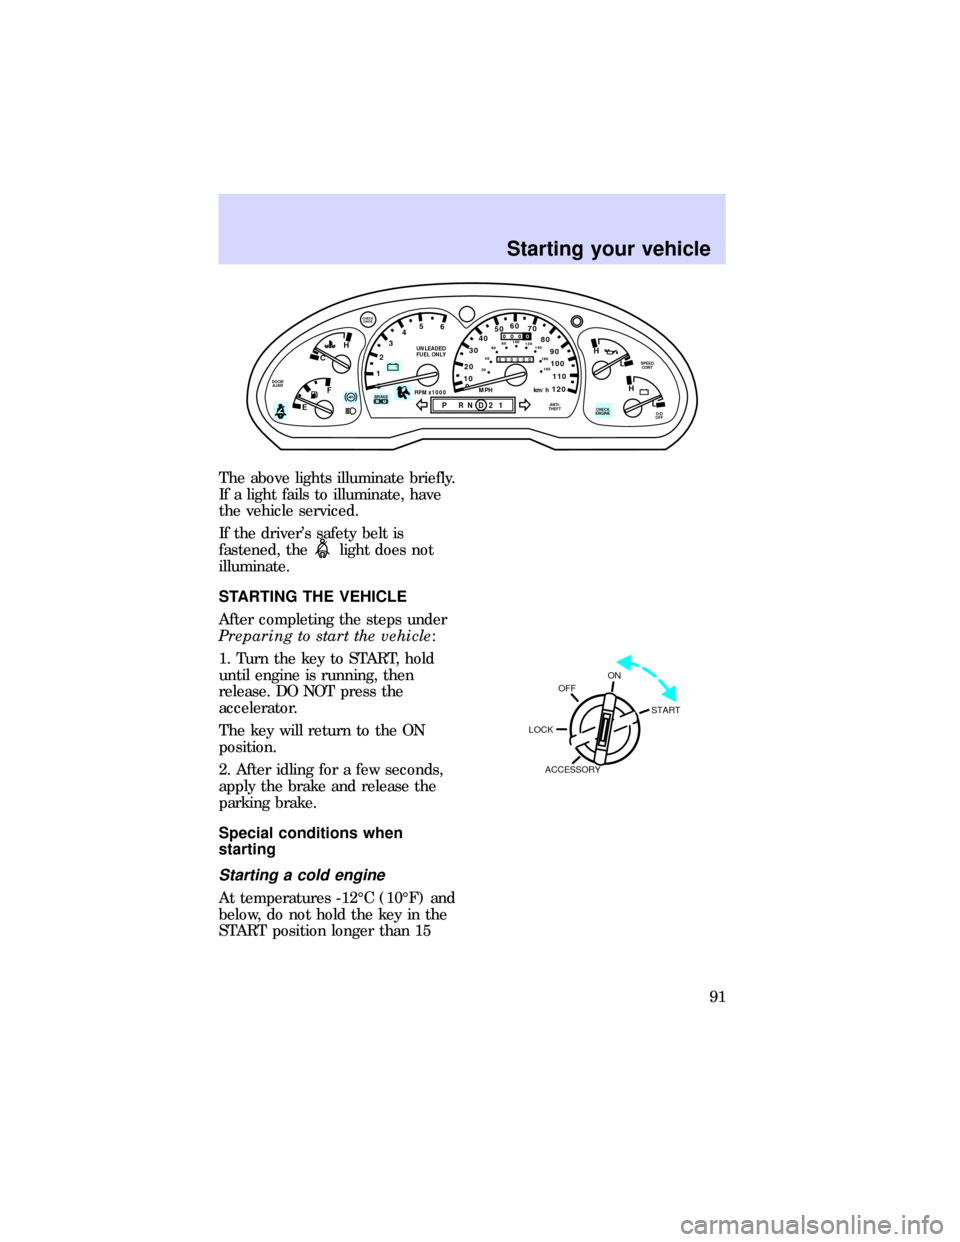
The above lights illuminate briefly.
If a light fails to illuminate, have
the vehicle serviced.
If the driver's safety belt is
fastened, the
light does not
illuminate.
STARTING THE VEHICLE
After completing the steps under
Preparing to start the vehicle:
1. Turn the key to START, hold
until engine is running, then
release. DO NOT press the
accelerator.
The key will return to the ON
position.
2. After idling for a few seconds,
apply the brake and release the
parking brake.
Special conditions when
starting
Starting a cold engine
At temperatures -12ÉC (10ÉF) and
below, do not hold the key in the
START position longer than 15
0ABS
- +
P RND21
UNLEADED
FUEL ONLY
RPM x 1000
12345
6
- +
H
H
L L
ANTI-
THEFT
CHECK
ENGINE
O/D
OFF SPEED
CONT
H
C
F
E
!P
DOOR
AJAR
BRAKE
CHECK
GAGE
0
20
1030405060
70
80
90
110
120000000
oooo
100
20406080100
120
140
160
180
MPH km/h
ON
START
LOCK
ACCESSORYOFF
Starting your vehicle
91
Page 92 of 197

seconds. If the engine does not
start on the first attempt:
1. Turn the ignition key to LOCK
and wait approximately 10
seconds.
2. Try starting the engine again.
At temperatures above -12ÉC
(10ÉF), do not hold the key in the
START position longer than five
seconds. If the engine does not
start on the first attempt:
1. Turn the ignition key to LOCK
and wait approximately five
seconds.
2. Try starting the engine again.
Starting a warm engine
Do not hold the key in the START
position for longer than five
seconds. If the engine does not
start on the first attempt:
1. Turn the ignition key to LOCK
and wait a few seconds until the
starter stops.
2. Try starting the engine again.
Starting the engine after two
failed attempts (warm or cold)
If the engine does not start after
two attempts:
1. Turn the key to LOCK and wait
about two minutes.
Starting your vehicle
92
Page 93 of 197

2. Press the accelerator all the way
to the floor and hold.
3. Turn the key to START. Release
it once the engine starts.
4. Release the accelerator
gradually as the engine speeds up.
If the engine still does not start,
refer toFuel pump shutoff
switchin theRoadside
emergencieschapter.
Engine block heater (if
equipped)
To prevent electrical
shock, do not use your
engine block heater with
ungrounded electrical systems or
two-pronged (cheater) adapters.
Engine block heaters are strongly
recommended if you live in a
region where temperatures reach
-23ÉC (-10ÉF) or below. An engine
block heater works by warming the
engine coolant. This improves
engine starting by warming the
engine faster. Engine block heater
operation also allows the heater
and defrost system to respond
more quickly than usual.
Starting your vehicle
93
Page 94 of 197

GUARDING AGAINST EXHAUST
FUMES
Carbon monoxide, although
colorless and odorless, is present
in exhaust fumes. Take precautions
to avoid its dangerous effects.
If you smell exhaust fumes
inside your vehicle, have
your dealer inspect your vehicle
immediately. Do not drive if you
smell exhaust fumes.
Have the exhaust and body
ventilation system checked
whenever:
²The vehicle is raised for service.
²The sound of the exhaust
system changes.
²The vehicle has been damaged
in a collision.
Starting your vehicle
94
Page 95 of 197

Ventilating your vehicle
²If the engine is idling while the
vehicle is stopped in an open
area for long periods of time,
open the windows at least 2.5
cm (1 inch). Adjust the heating
or air conditioning to bring in
fresh air.
²Improve vehicle ventilation by
keeping all air inlet vents clear
of snow, leaves and other debris.
OFF
A/C
MAX
A/C
U
AUTO
L DOOR LOCK
Starting your vehicle
95
Page 96 of 197

BRAKES
The anti-lock brake system
(ABS)
Anti-lock brake operation differs
slightly from standard brake
operation.
Apply the brakes steadily. DO NOT
pump the brakes in a panic stop.
The brake system will prevent
wheel lockup by automatically
releasing and reapplying the
brakes.
Even with ABS, the brakes could
lock up on roads with alternating
slippery and dry patches or with
loose surfaces such as snow or
gravel. Be careful when braking.
The ABS conducts a self-test each
time the vehicle is driven. A
mechanical noise may be heard
while the system conducts its
self-test.
Occasional brake squeal during
light to moderate stops is normal.
Significantly increased squeal is an
indicator that brake service is
needed.
After driving through standing
water, gently apply the brakes
several times to dry them.
If driving down a long or steep hill,
shift to a lower gear and do not
apply the brakes continuously.
Continuously applying the brakes
on a hill could overheat them and
make them less effective.
Driving
96
Page 97 of 197

ABS warning light
TheABSlight in the instrument
cluster illuminates and remains
illuminated if an ABS fault is
detected. Have your vehicle
serviced as soon as possible.
Normal braking operation is still
effective unless the
light is
also illuminated.
Parking brake
The parking brake should be used
whenever the vehicle is parked.
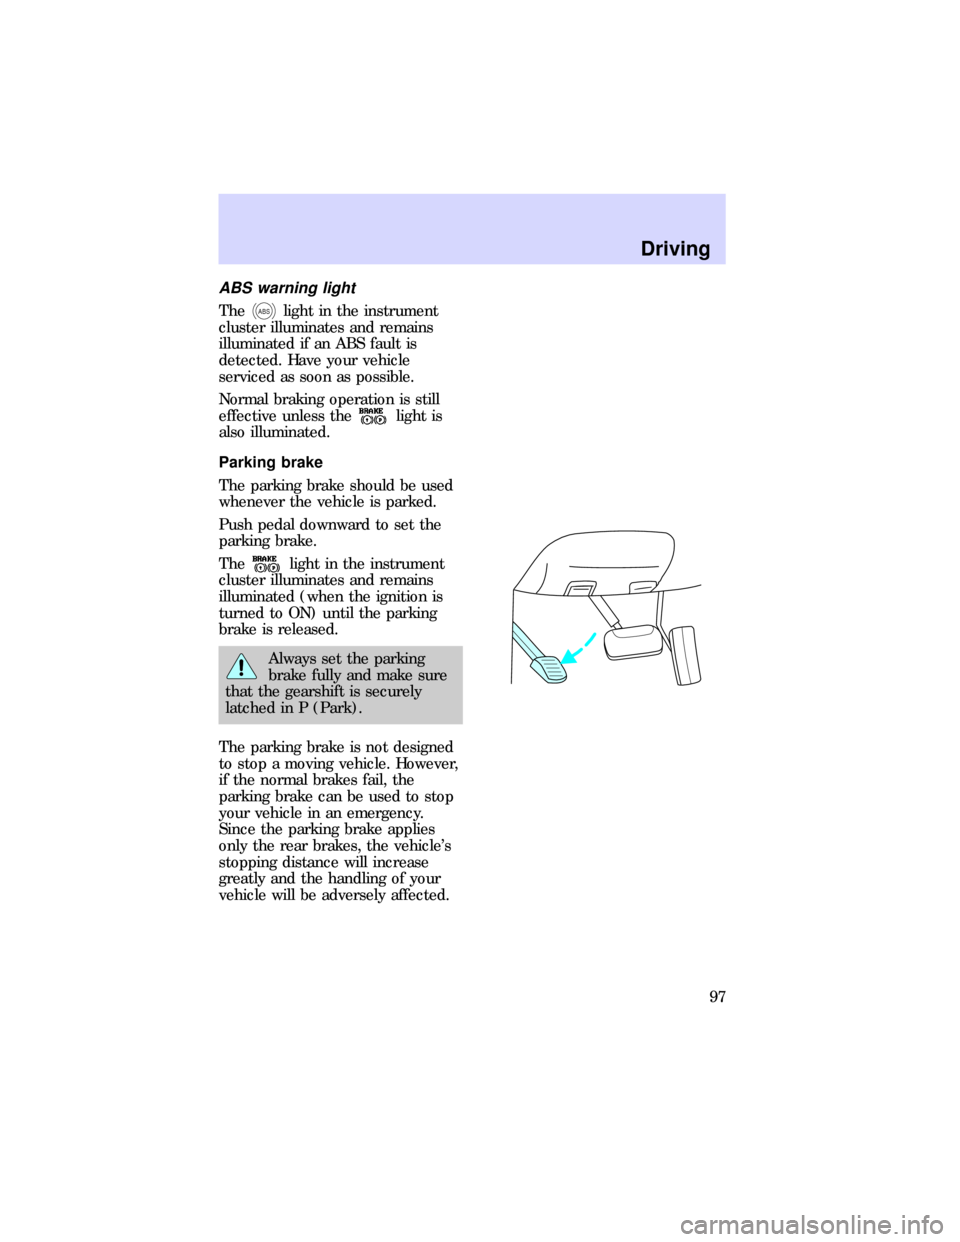
Push pedal downward to set the
parking brake.
The
light in the instrument
cluster illuminates and remains
illuminated (when the ignition is
turned to ON) until the parking
brake is released.
Always set the parking
brake fully and make sure
that the gearshift is securely
latched in P (Park).
The parking brake is not designed
to stop a moving vehicle. However,
if the normal brakes fail, the
parking brake can be used to stop
your vehicle in an emergency.
Since the parking brake applies
only the rear brakes, the vehicle's
stopping distance will increase
greatly and the handling of your
vehicle will be adversely affected.
Driving
97
Page 98 of 197

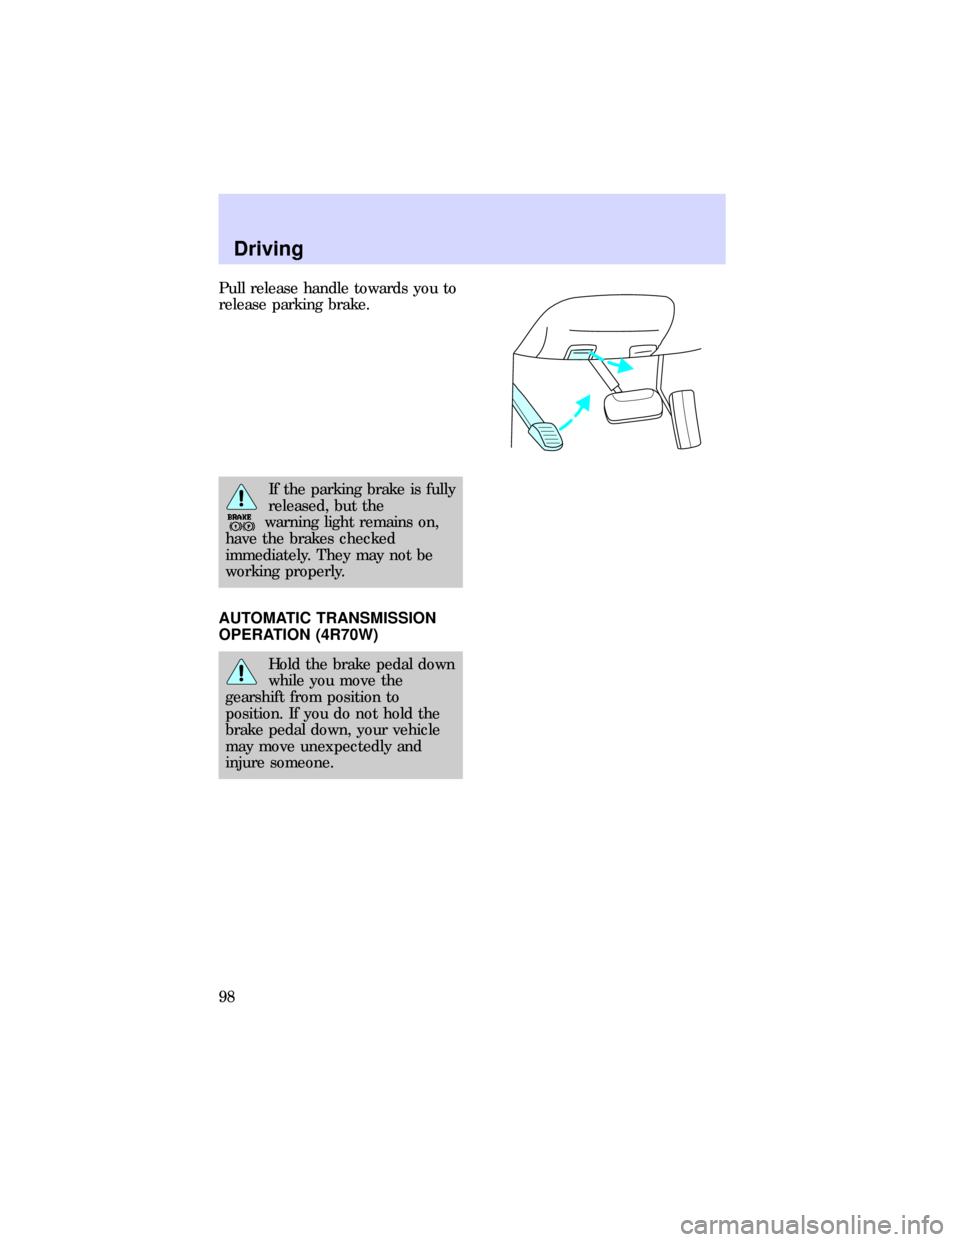
Pull release handle towards you to
release parking brake.
If the parking brake is fully
released, but the
warning light remains on,
have the brakes checked
immediately. They may not be
working properly.
AUTOMATIC TRANSMISSION
OPERATION (4R70W)
Hold the brake pedal down
while you move the
gearshift from position to
position. If you do not hold the
brake pedal down, your vehicle
may move unexpectedly and
injure someone.
Driving
98
Page 99 of 197

Pull gearshift lever towards you
and downward to move the
automatic gearshift.
P - ParkAlways come to a
complete stop before shifting into
or out of P (Park).
Always set the parking
brake fully and make sure
that the gearshift is securely
latched in P (Park).
R - ReverseAlways come to a
complete stop before shifting into
or out of R (Reverse).
N - NeutralVehicle is free to roll.
Do not leave the vehicle
unattended with the
transfer case in the N (Neutral)
position. Always set the parking
brake fully and turn off the
ignition when leaving the vehicle.
P RND21
P RND21
Driving
99
Page 100 of 197

D- OverdriveThe normal
driving position for the best fuel
economy. Transmission operates in
gears 1-4.
D(Overdrive) can be
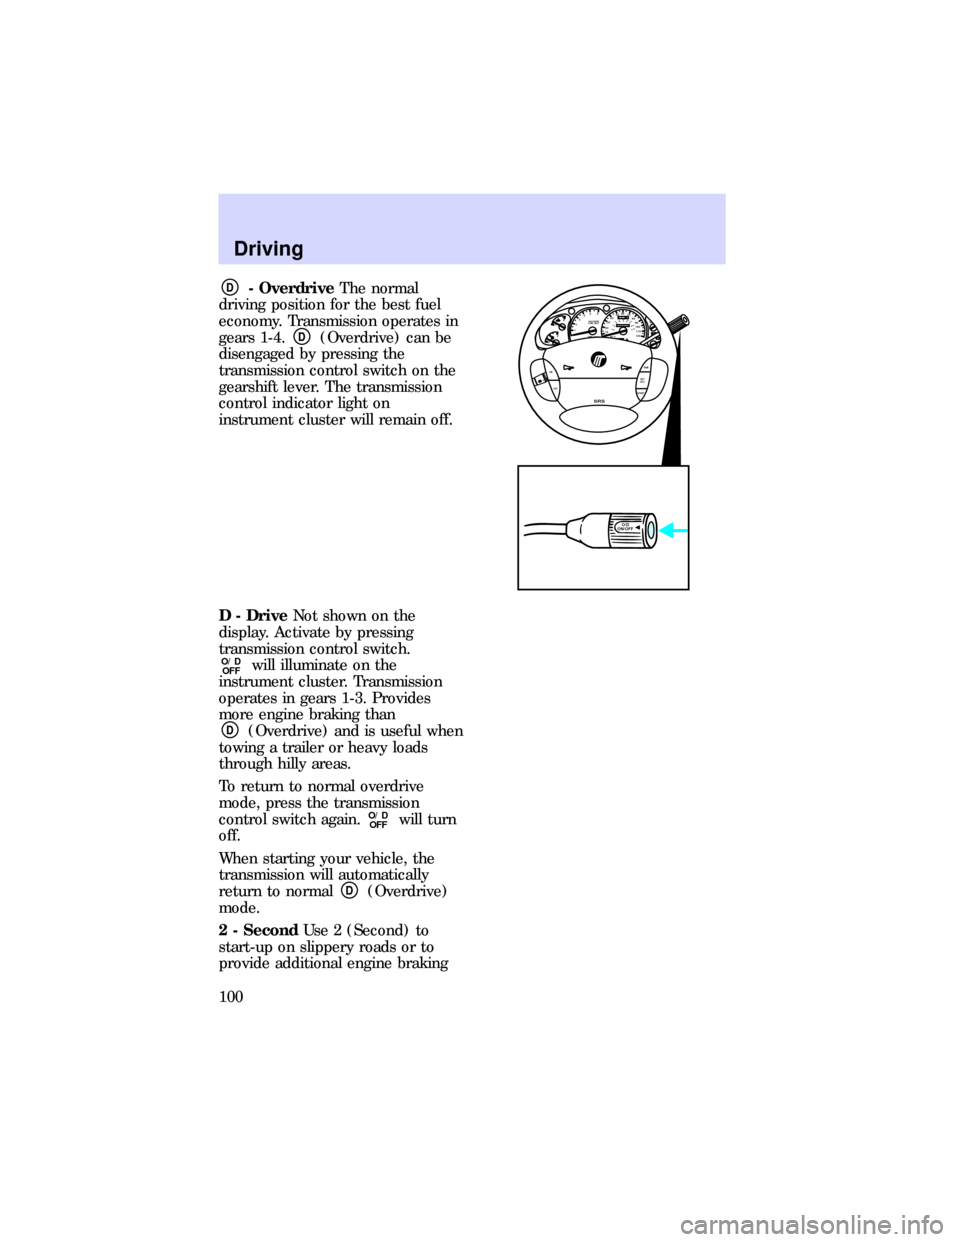
disengaged by pressing the
transmission control switch on the
gearshift lever. The transmission
control indicator light on
instrument cluster will remain off.
D - DriveNot shown on the
display. Activate by pressing
transmission control switch.
O/D
OFFwill illuminate on the
instrument cluster. Transmission
operates in gears 1-3. Provides
more engine braking than
D(Overdrive) and is useful when
towing a trailer or heavy loads
through hilly areas.
To return to normal overdrive
mode, press the transmission
control switch again.
O/D
OFFwill turn
off.
When starting your vehicle, the
transmission will automatically
return to normal
D(Overdrive)
mode.
2 - SecondUse 2 (Second) to
start-up on slippery roads or to
provide additional engine braking
0P RND21
UNLEADED
FUEL ONLY
RPM x 100012345
6H
C
F
E
RSM
SET
ACC
COAST OFF ON
SRS
- +H
H
L L020
1030405060
70
80
90
110
120000000oooo
km/h100
20406080100
120
140
160
180
O/D
ON/OFF
Driving
100