reset NISSAN VERSA HATCHBACK 2010 1.G Quick Reference Guide
[x] Cancel search | Manufacturer: NISSAN, Model Year: 2010, Model line: VERSA HATCHBACK, Model: NISSAN VERSA HATCHBACK 2010 1.GPages: 28, PDF Size: 4.25 MB
Page 6 of 28

4
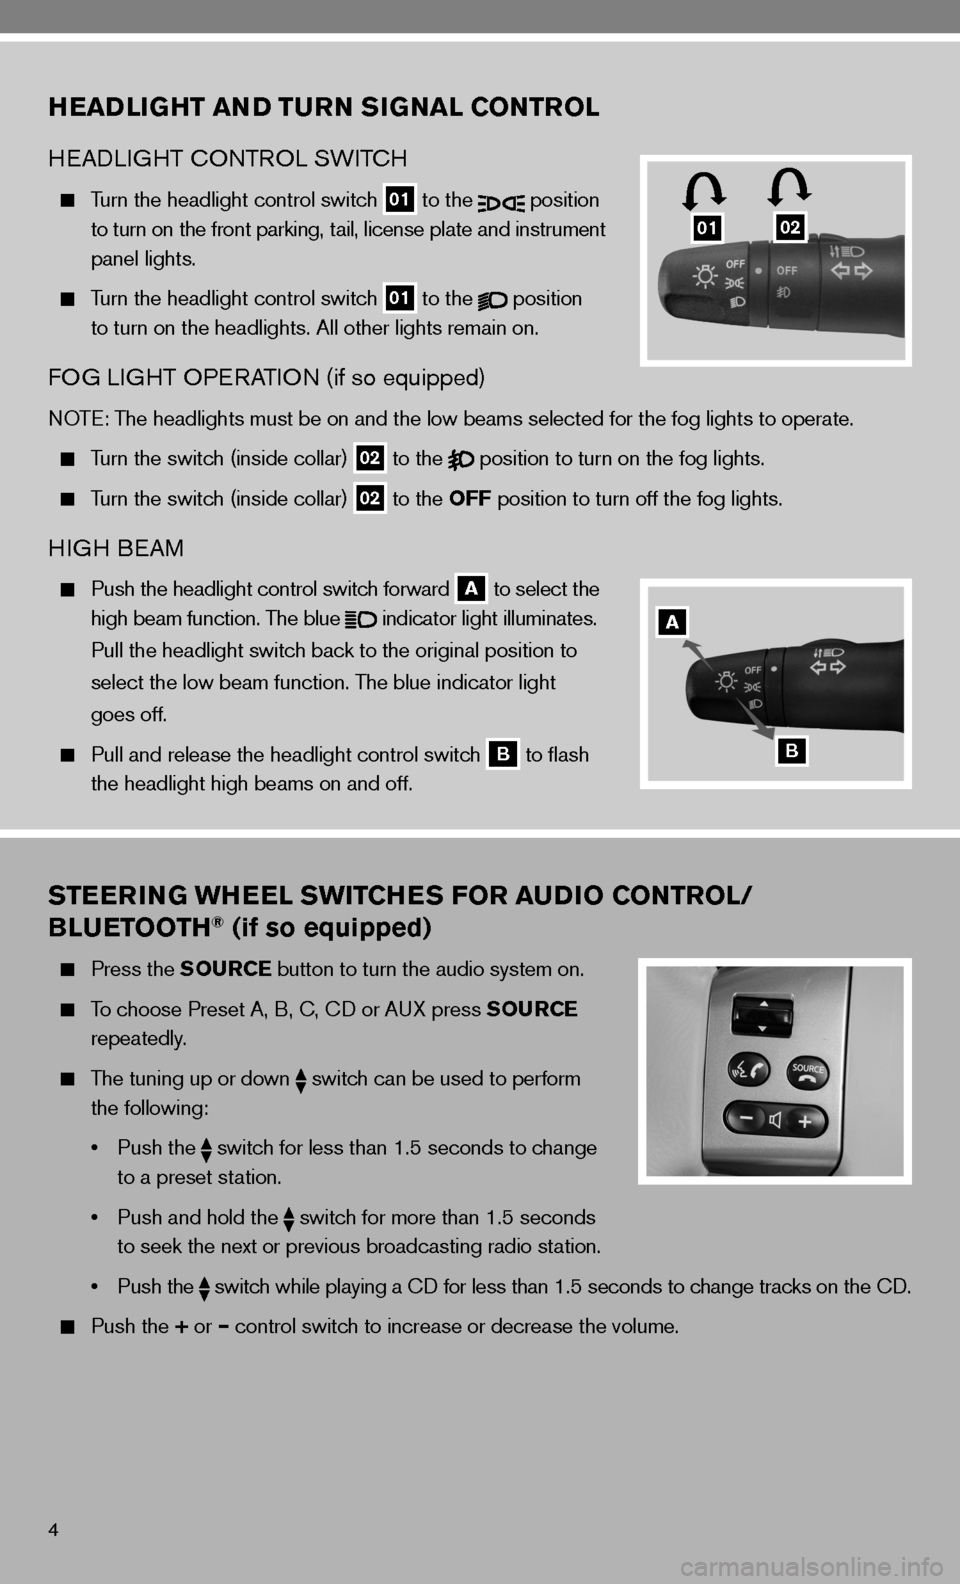
STEERING WHEEL SWITCHES FOR AUDIO CONTROL/
BLUETOOTH® (if so equipped)
Press the SOURCE button to turn the audio system on.
To choose Preset A, B, c, cd or A uX press SOURCE
repeatedly.
The tuning up or down
switch can be used to perform
the following:
• Push the
switch for less than 1.5 seconds to change
to a preset station.
• Push and hold the
switch for more than 1.5 seconds
to seek the next or previous broadcasting radio station.
• Push the
switch while playing a cd for less than 1.5 seconds to change tracks on the cd.
Push the + or – control switch to increase or decrease the volume.
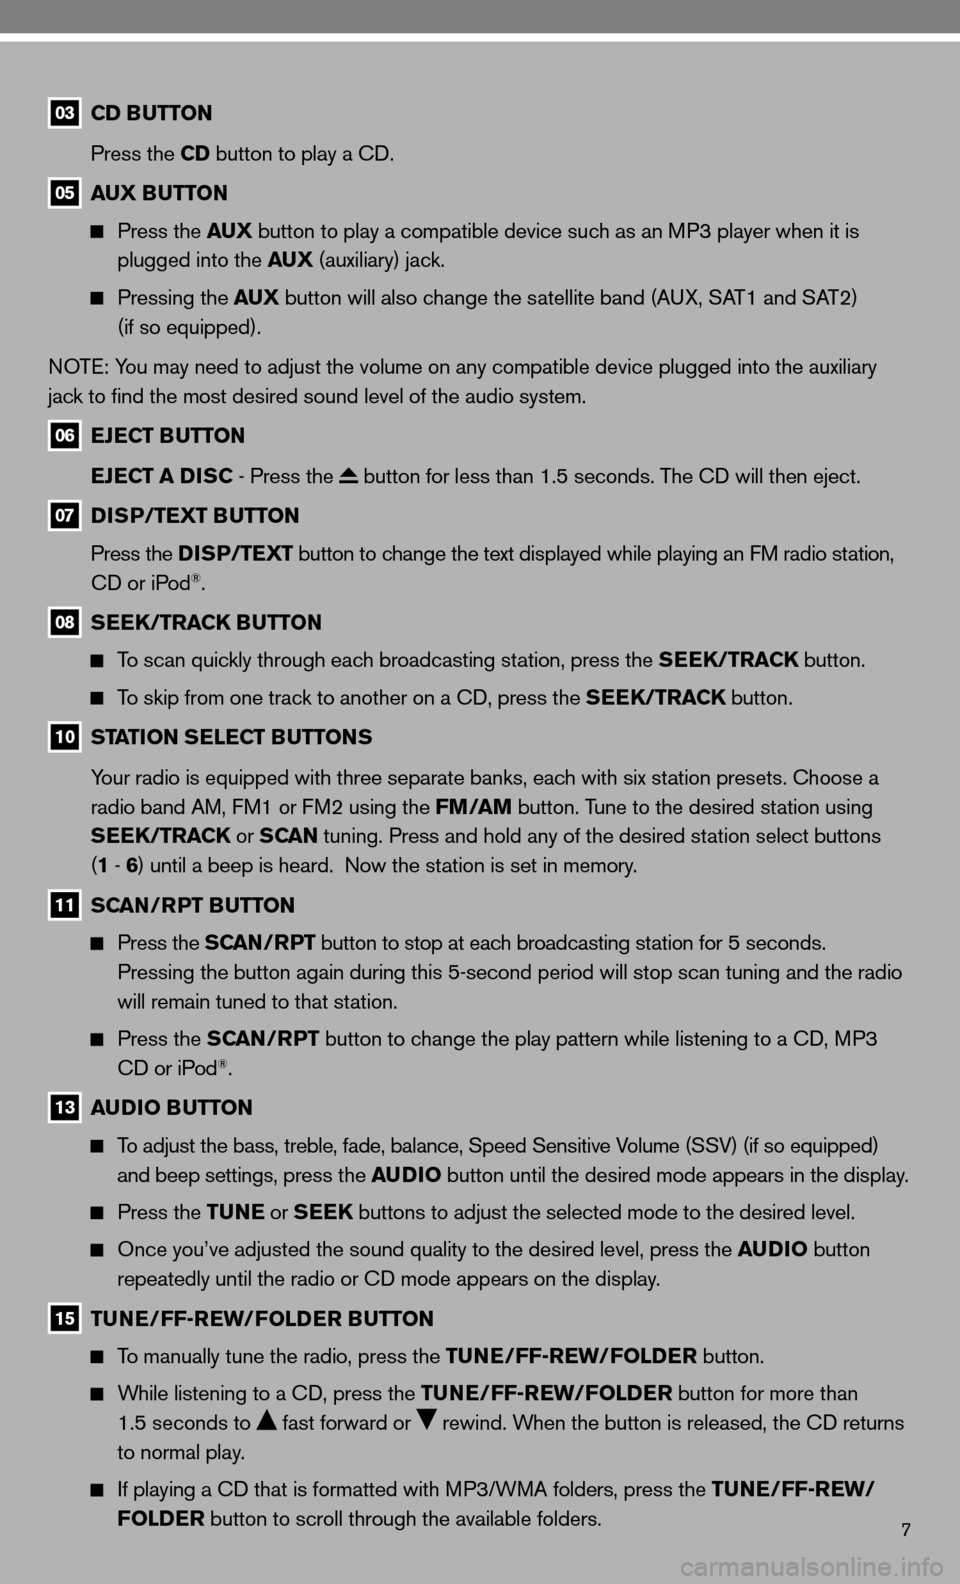
HEADLIGHT AND TURN SIGNAL CONTROL
HeAd LiGHT c OnTROL SW iTc H
Turn the headlight control switch
01 to the
position
to turn on the front parking, tail, license plate and instrument
panel lights.
Turn the headlight control switch
01 to the
position
to turn on the headlights. All other lights remain on.
fOG Li GHT OP eRATi On (if so equipped)
nOTe: The headlights must be on and the low beams selected for the fog lights t\
o operate.
Turn the switch (inside collar)
02 to the
position to turn on the fog lights.
Turn the switch (inside collar)
02 to the OFF position to turn off the fog lights.
H
iGH B eAM
Push the headlight control switch forward
A to select the
high beam function. The blue
indicator light illuminates.
Pull the headlight switch back to the original position to
select the low beam function. The blue indicator light
goes off.
Pull and release the headlight control switch
B to flash
the headlight high beams on and off.
0102
A
B
Page 7 of 28

5
CRUISE CONTROL (if so equipped)
To activate cruise control, push the ON/OFF switch. The
indicator light in the instrument panel will illuminate.
To set cruising speed, accelerate the vehicle to the desired
speed, push the COAST/SET switch and release. The
SeT indicator light in the instrument panel will illuminate.
To reset at a faster cruising speed, push and hold the
ACCEL/RES switch. When the vehicle attains the speed
you desire, release the switch.
To reset at a slower cruising speed, push and hold the COAST/SET switch. Release the
switch when the vehicle slows to the desired speed.
To cancel cruise control, push the CANCEL switch or tap the brake pedal. The S eT indicator
light in the instrument panel will go out.
To resume a preset speed, push and release the ACCEL/RES switch. The vehicle returns to
the last set cruising speed when the vehicle speed is over 25 MPH (40 km/h).
To turn off cruise control, push the ON/OFF switch. Both the c Rui Se indicator light and the
SeT indicator light in the instrument panel will go out.
MANUAL CLIMATE CONTROL
01 FAN SPEED CONTROL DIAL
Turn the fan speed control dial to the left (slow) or right (fast) to control fan speed.
02 TEMPERATURE CONTROL DIAL
Turn the temperature control dial to select the desired temperature. Turn the control dial to the
left for cold air or right for hot air.
03 AIR FLOW CONTROL DIAL
Turn the dial to select from the following air flow outlets:
Air flows from the center and side vents.
Air flows from the center, side and foot vents.
Air flows mainly from the foot vents.
Air flows from the defroster and foot vents.
Air flows mainly from the defroster vents.
01
020304
0506
07
Page 9 of 28

7
03 CD BUTTON
Press the CD button to play a cd.
05 AUX BUTTON
Press the AUX button to play a compatible device such as an MP3 player when it is
plugged into the AUX (auxiliary) jack.
Pressing the AUX button will also change the satellite band (A uX, SAT1 and SAT2)
(if so equipped).
n OT e: You may need to adjust the volume on any compatible device plugged into the auxiliary
jack to find the most desired sound level of the audio system.
06 EJECT BUTTON
EJECT A DISC - Press the
button for less than 1.5 seconds. The cd will then eject.
07 DISP/TEXT BUTTON
Press the DISP/TEXT button to change the text displayed while playing an fM radio station,
cd or iPod
®.
08 SEEK/TRACK BUTTON
To scan quickly through each broadcasting station, press the SEEK/TRACK button.
To skip from one track to another on a cd, press the SEEK/TRACK button.
10 STATION SELECT BUTTONS
Your radio is equipped with three separate banks, each with six station presets. choose a
radio band AM, f M1 or fM2 using the FM/AM button. Tune to the desired station using
SEEK/TRACK or S CAN tuning. Press and hold any of the desired station select buttons
(1 - 6 ) until a beep is heard. now the station is set in memory.
11 SCAN/RPT BUTTON
Press the SCAN/RPT button to stop at each broadcasting station for 5 seconds.
Pressing the button again during this 5-second period will stop scan tuning and the radio
will remain tuned to that station.
Press the SCAN/RPT button to change the play pattern while listening to a cd, MP3
cd or iPod®.
13 AUDIO BUTTON
To adjust the bass, treble, fade, balance, Speed Sensitive Volume (SSV) (if so equipped)
and beep settings, press the AUDIO button until the desired mode appears in the display.
Press the TUNE or SEEK buttons to adjust the selected mode to the desired level.
Once you’ve adjusted the sound quality to the desired level, press th\
e AUDIO button
repeatedly until the radio or cd mode appears on the display.
15 TUNE/FF-REW/FOLDER BUTTON
To manually tune the radio, press the TUNE/FF-REW/FOLDER button.
While listening to a cd, press the TUNE/FF-REW/FOLDER button for more than
1.5 seconds to
fast forward or rewind. When the button is released, the cd returns
to normal play.
if playing a cd that is formatted with MP3/WMA folders, press the TUNE/FF-REW/
FOLDER button to scroll through the available folders.
Page 11 of 28

9
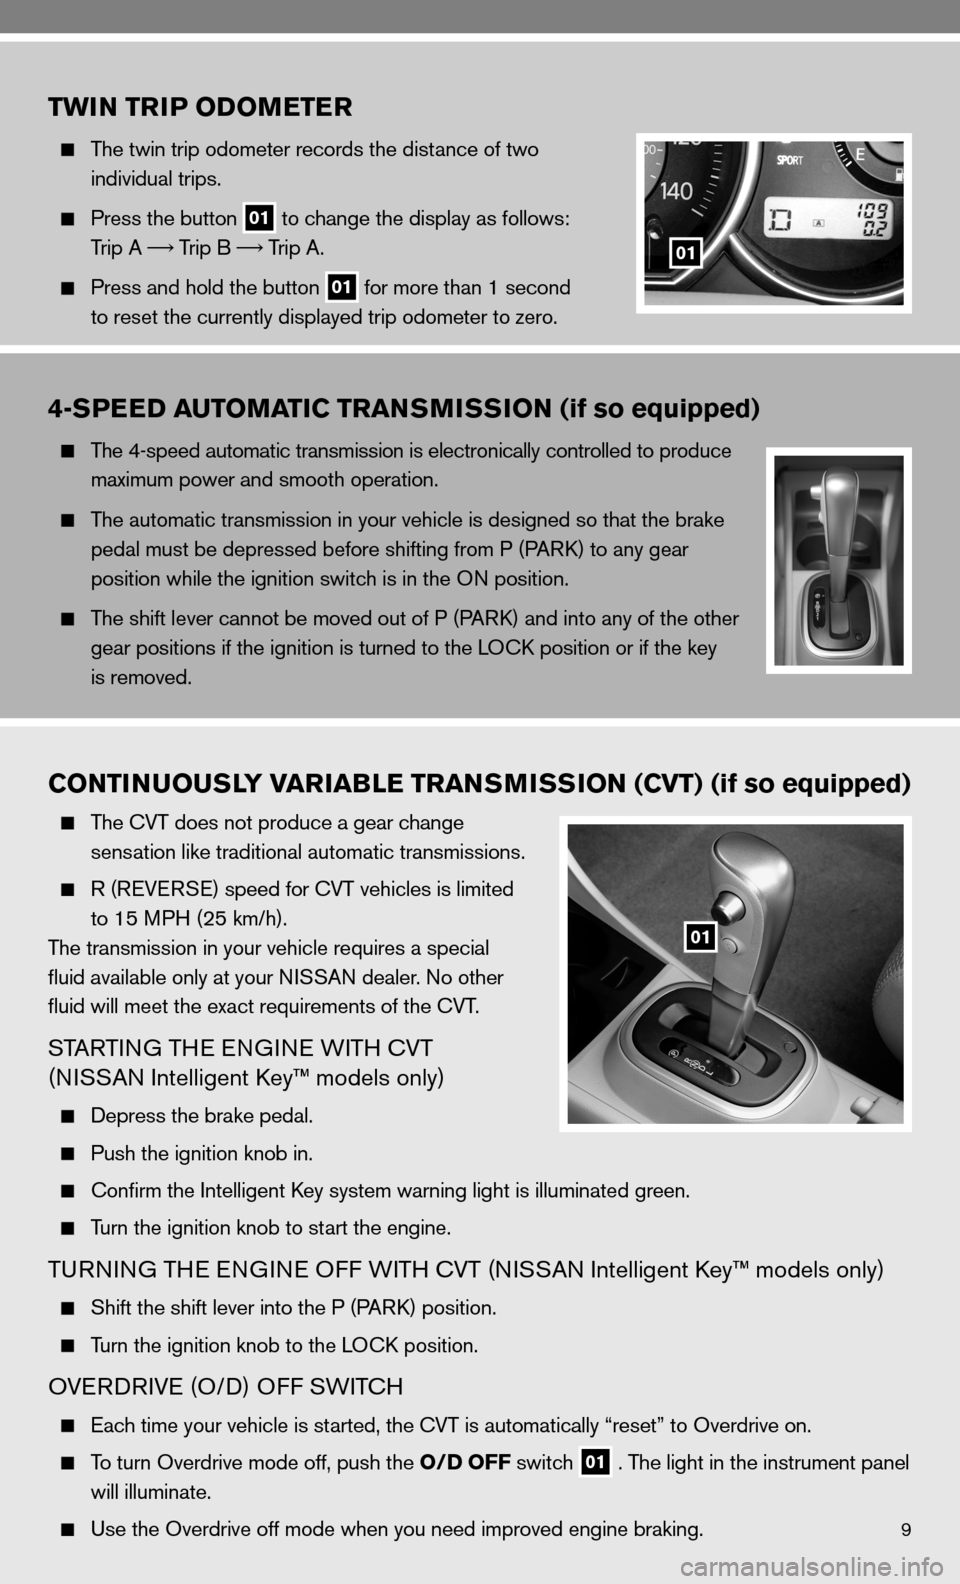
TWIN TRIP ODOMETER
The twin trip odometer records the distance of two
individual trips.
Press the button
01 to change the display as follows:
Trip A
Trip B
Trip A.
Press and hold the button
01 for more than 1 second
to reset the currently displayed trip odometer to zero.
01
4-SPEED AUTOMATIC TRANSMISSION (if so equipped)
The 4-speed automatic transmission is electronically controlled to produce
maximum power and smooth operation.
The automatic transmission in your vehicle is designed so that the brake
pedal must be depressed before shifting from P (P ARk) to any gear
position while the ignition switch is in the O n position.
The shift lever cannot be moved out of P (P ARk) and into any of the other
gear positions if the ignition is turned to the LO ck position or if the key
is removed.
CONTINUOUSLY VARIABLE TRANSMISSION (CVT) (if so equipped)
The cVT does not produce a gear change
sensation like traditional automatic transmissions.
R (ReVe RSe) speed for cVT vehicles is limited
to 15 MPH (25 km/h).
The transmission in your vehicle requires a special
fluid available only at your ni SSAn dealer. no other
fluid will meet the exact requirements of the cVT.
STARTin G THe enGine W iTH cVT
(ni SSAn intelligent k ey™ models only)
depress the brake pedal.
Push the ignition knob in.
confirm the intelligent k ey system warning light is illuminated green.
Turn the ignition knob to start the engine.
Tu Rnin G TH e enGine O ff WiTH cVT (ni SSAn intelligent k ey™ models only)
Shift the shift lever into the P (P ARk) position.
Turn the ignition knob to the LO ck position.
OVeRd RiVe (O/ d) Off SW iTc H
each time your vehicle is started, the cVT is automatically “reset” to Overdrive on.
To turn Overdrive mode off, push the O/D OFF switch
01 . The light in the instrument panel
will illuminate.
use the Overdrive off mode when you need improved engine braking.
01