display NISSAN XTERRA 2007 N50 / 2.G Quick Reference Guide
[x] Cancel search | Manufacturer: NISSAN, Model Year: 2007, Model line: XTERRA, Model: NISSAN XTERRA 2007 N50 / 2.GPages: 14, PDF Size: 1.46 MB
Page 6 of 14

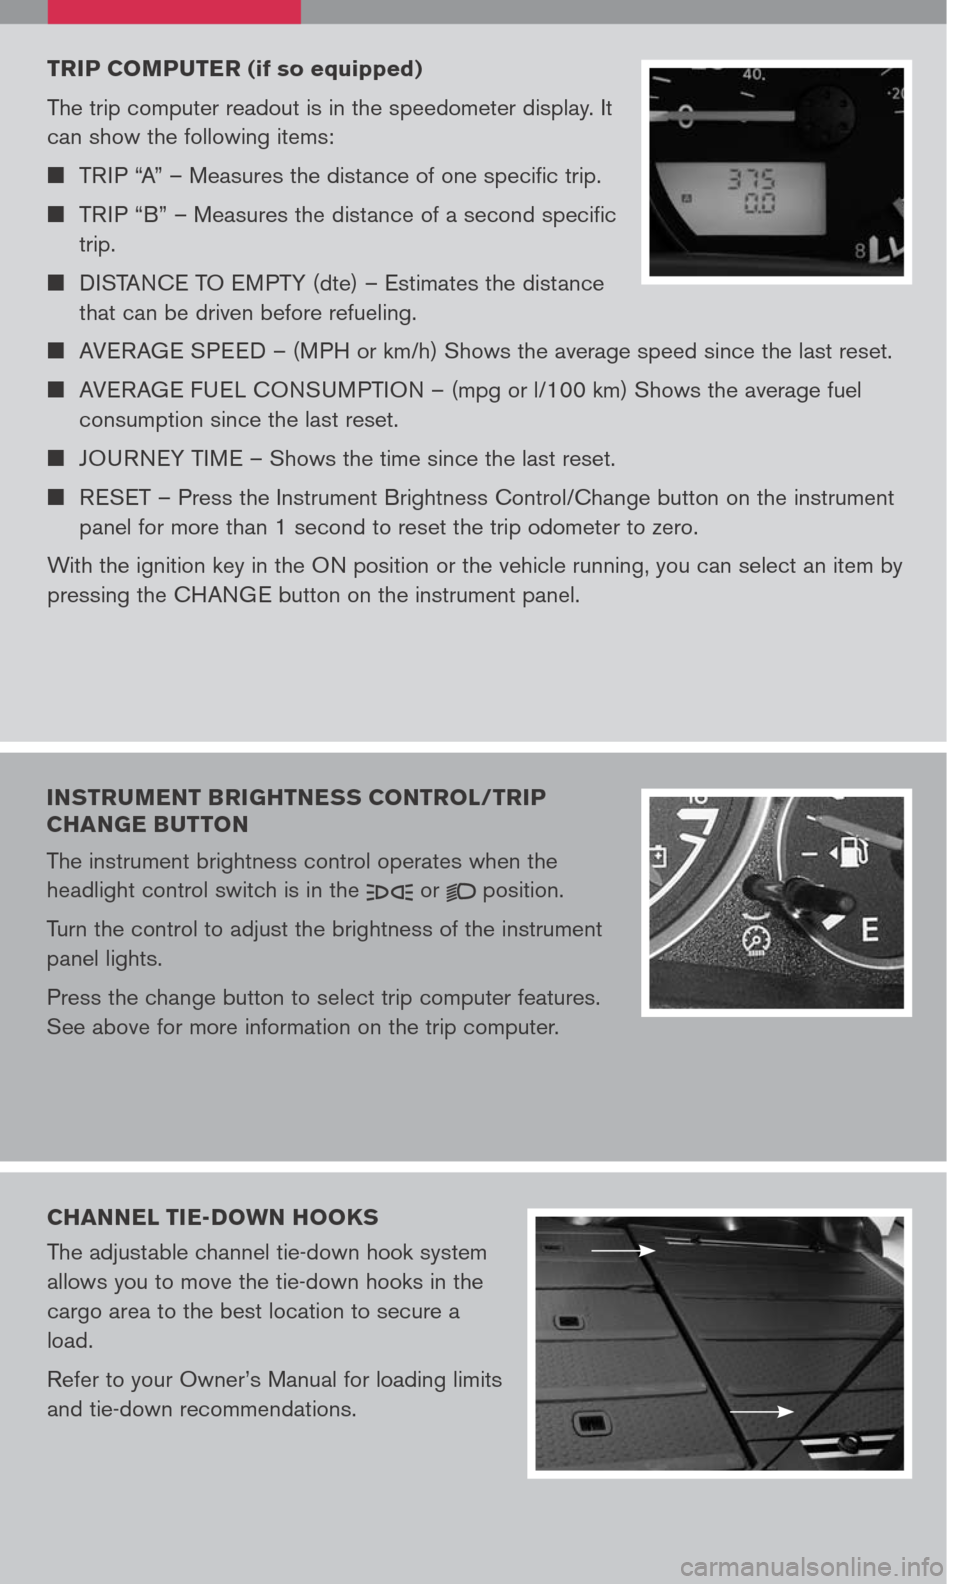
TRIP COMPUTER (if so equipped)
The trip computer readout is in the speedometer display. It
can show the following items:
TRIP “A” – Measures the distance of one specific trip.
TRIP “B” – Measures the distance of a second specific
trip.
DISTANCE TO EMPTY (dte) – Estimates the distance
that can be driven before refueling.
AVERAGE SPEED – (MPH or km/h) Shows the average speed since the last reset.
AVERAGE FUEL CONSUMPTION – (mpg or l/100 km) Shows the average fuel
consumption since the last reset.
JOURNEY TIME – Shows the time since the last reset.
RESET – Press the Instrument Brightness Control/Change button on the instrument
panel for more than 1 second to reset the trip odometer to zero.
With the ignition key in the ON position or the vehicle running, you can select an item by
pressing the CHANGE button on the instrument panel.
INSTRUMENT BRIGHTNESS CONTROL/TRIP
CHANGE BUTTON
The instrument brightness control operates when the
headlight control switch is in the or position.
Turn the control to adjust the brightness of the instrument
panel lights.
Press the change button to select trip computer features.
See above for more information on the trip computer.
CHANNEL TIE-DOWN HOOKS
The adjustable channel tie-down hook system
allows you to move the tie-down hooks in the
cargo area to the best location to secure a
load.
Refer to your Owner’s Manual for loading limits
and tie-down recommendations.
Page 11 of 14

MP3 PLAYBACK (if so equipped)
In addition to playing audio CDs, the audio system can play MP3 files
recorded on CD-ROM, CD-R, and CD-RW discs. Each disc can have a
maximum of 8 folder levels and 255 folders. A total of 512 MP3 files can be
played back During MP3 playback, some recorded ID3 tag information can
be displayed by pressing the CLOCK DISP button. Press the CAT FOLDER
button to navigate the MP3 folders.
LOAD BUTTON
LOAD A SINGLE DISC - Press the LOAD button for less than 1.5 seconds.
Select the loading slot by pressing the CD insert button (1-6), then insert the CD.
LOAD UP TO 6 DISCS - Press and hold the LOAD button for less than 1.5
seconds. The slot numbers (1-6) will illuminate on the display when the CDs
are loaded into the changer.
EJECT BUTTON
EJECT A SINGLE DISC - Press the button for less than 1.5 seconds. Select
the eject slot by pressing the CD insert button (1-6). The CD will then eject.
EJECT ALL DISCS - Press and hold the button for more than 1.5 seconds.
STATION AND CD SELECT BUTTONS
To store a radio station in a preset you must first select A, B, or C memory bank
by pressing the PRESET A.B.C button and tuning to the desired FM, AM, or
SAT* station. Then, press and hold the desired station select button for at least
2 seconds. When the preset indicator illuminates, a beep will sound, indicating
memorization is complete. To retrieve a previously set station, select the memory
bank where the preset was set, then press the corresponding station select
button.
TUNING AND AUDIO CONTROL KNOB
To manually tune the radio, turn the TUNE knob. To adjust the Bass, Midrange,
Treble, Fade, Balance, and Speed Sensitive Volume (SSV) (if so equipped), press
the AUDIO knob until the desired mode appears in the display. Then turn the
TUNE knob to adjust to the desired level.
06
07
08
09
* SAT presets are only available on SAT equipped vehicles.
CLOCK SET/ADJUSTMENT
1. Press and hold the
DISP CLOCK button until it beeps. The hours will start flashing.
2. Press the
CAT FOLDER or SEEK/TRACK button to adjust the hours.
3. Press the
CLOCK DISP button to switch to the minute adjustment.
4. Press the
CAT FOLDER or SEEK/TRACK button to adjust the minutes.
5. Press the
DISP CLOCK button to store the time.