battery OLDSMOBILE AURORA 2003 User Guide
[x] Cancel search | Manufacturer: OLDSMOBILE, Model Year: 2003, Model line: AURORA, Model: OLDSMOBILE AURORA 2003Pages: 387, PDF Size: 18.05 MB
Page 133 of 387

Front Reading Lamps
These lamps and the interior courtesy lamps will come
on when you open a door. They will turn
off when
you turn on the ignition.
If a door is left open, they will
turn
off after about 10 minutes.
To turn on the reading lamps when the doors are
closed, press the button under the lamp you want on.
Press it again to turn the lamp
off.
These lamps work even when the ignition is off. To
avoid draining your vehicle’s battery, be sure to turn off
all front and rear reading lamps when leaving your
vehicle.
tear Reading Lamps
These lamps will come on when you open the doors.
You can also turn them on by pressing the button on the
side of the lamp. Press it again to turn them
off.
Inadvertent Power Battery Saver
This feature is designed to protect your vehicle’s battery
against drainage from the interior lamps, trunk lamp,
glove box lamp or cigarette lighters. When the ignition is
turned
off, the power to these features will automatically
turn
off after 10 minutes. Power will be restored for
an additional
10 minutes if any door is opened, the trunk
is opened or the courtesy lamp control is turned on.
To restore power to the cigarette lighters, the ignition
must be turned back to
ON.
3-20
ProCarManuals.com
Page 134 of 387
Battery Load Management
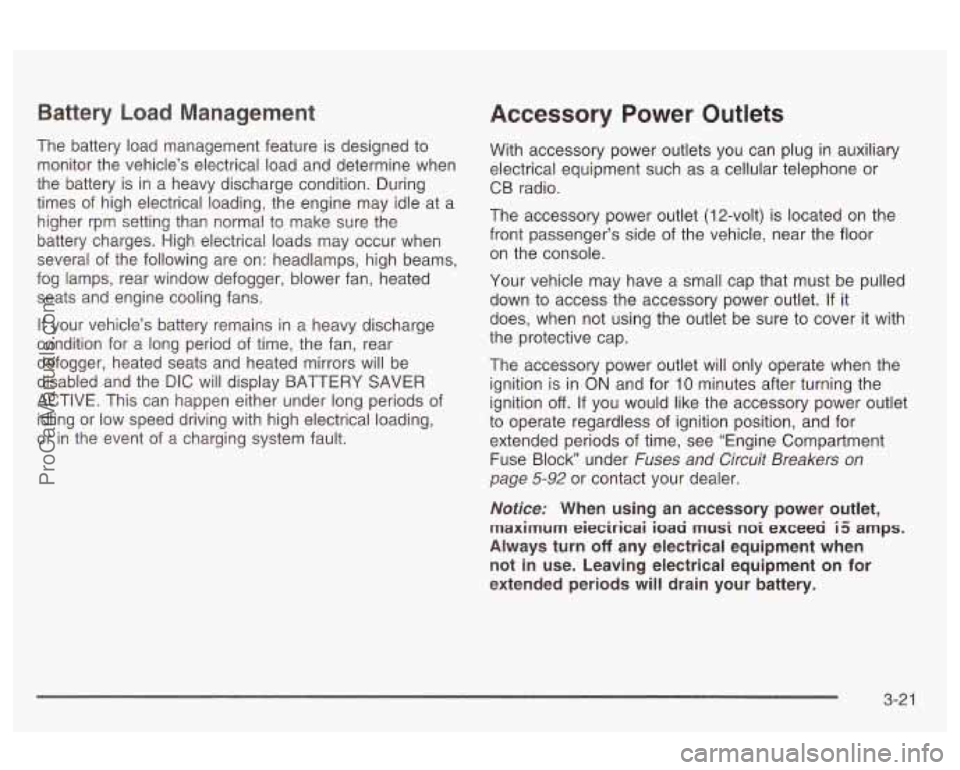
The battery load management feature is designed to
monitor the vehicle’s electrical load and determine when
the battery is in a heavy discharge condition. During
times of high electrical loading, the engine may idle at a
higher rpm setting than normal to make sure the
battery charges. High electrical loads may occur when
several of the following are on: headlamps, high beams,
fog lamps, rear window defogger, blower fan, heated
seats and engine cooling fans.
If your vehicle’s battery remains in a heavy discharge
condition for a long period of time, the fan, rear
defogger, heated seats and heated mirrors will be
disabled and the DIC will display BATTERY SAVER
ACTIVE. This can happen either under long periods of
idling or low speed driving with high electrical loading,
or in the event of a charging system fault.
Accessory Power Outlets
With accessory power outlets you can plug in auxiliary
electrical equipment such as a cellular telephone or
CB radio.
The accessory power outlet
(1 2-volt) is located on the
front passenger’s side of the vehicle, near the floor
on the console.
Your vehicle may have a small cap that must be pulled
down to access the accessory power outlet.
If it
does, when not using the outlet be sure to cover it with
the protective cap.
The accessory power outlet will only operate when the
ignition is in
ON and for 10 minutes after turning the
ignition
off. If you would like the accessory power outlet
to operate regardless of ignition position, and for
extended periods of time, see “Engine Compartment
Fuse Block under
Fuses and Circuit Breakers on
page 5-92 or contact your dealer.
Noficer When using an accessory power outlet,
maximum eieciricai ioaa rnusi noi exceeci i5 amps.
Always turn off any electrical equipment when
not in use. Leaving electrical equipment on for
extended periods will drain your battery.
3-2 1
ProCarManuals.com
Page 135 of 387

Certain electrical accessories may not be compatible
with the accessory power outlet and could result
in blown vehicle or adapter fuses. If you experience a
problem, see your dealer for additional information
on accessory power outlets.
Notice: Adding some electrical equipment to your
vehicle can damage
it or keep other things from
working as they should. This wouldn’t be covered by
your warranty. Check with your dealer before
adding electrical equipment, and never use anything
that exceeds the amperage rating.
When adding electrical equipment, be sure to follow the
proper installation instructions included with the
equipment.
Notice: Power outlets are designed for accessory
plugs only. Do not hang any type
of accessory
or accessory bracket from the plug. Improper use of
the power outlet can cause damage not covered by your warranty.
Ashtrays and Cigarette Lighter
Push and release the cover to reveal the front ashtray
and cigarette lighter.
Notice: Don’t put papers or other flammable
items into your ashtrays. Hot cigarettes or other
smoking materials could ignite them, causing
a damaging fire. To
clean an ashtray, make sure the cover is open fully,
then
lift out the ashtray by pulling on the snuffer.
To use a lighter, push the center all the way in and let it
go. When it’s ready, the center will pop back out by
itself. Pull out the entire unit to use it.
Notice: Don’t hold a cigarette lighter in with your
hand while
it is heating. If you do, it won’t be able to
back away from the heating element when it’s
ready. That can make
it overheat, damaging the
lighter and the heating element.
The cigarette lighter will only operate when the ignition
is in
ON and for 10 minutes after turning the ignition
off. If you would like the lighter to operate regardless of
the ignition position, and for extended periods of
time, see “Engine Compartment Fuse Block” under
Fuses and Circuit Breakers on page 5-92 or see your
dealer.
Leaving an accessory on for a long period of time can
drain the vehicle’s battery.
3-22
ProCarManuals.com
Page 148 of 387
Battery Warning Light
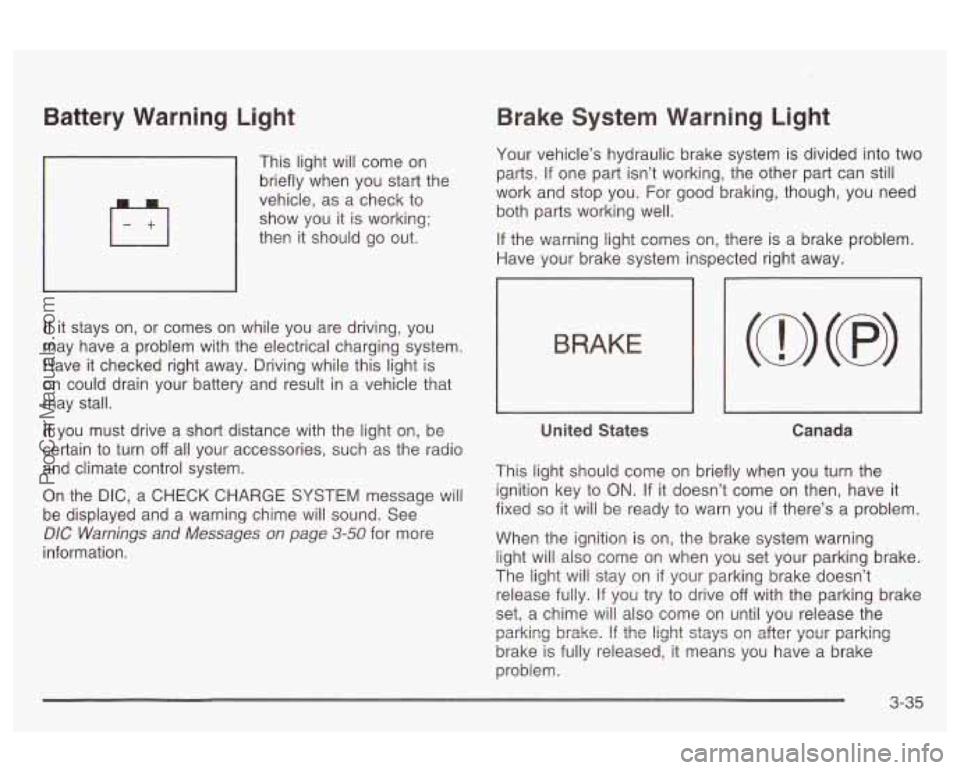
’ This light will come on
briefly when you start the
vehicle, as a check to
show you it
is working;
then it should go out.
If it stays on, or comes on while you are driving, you
may have a problem with the electrical charging system.
Have it checked right away. Driving while this light is
on could drain your battery and result in a vehicle that
may stall.
If you must drive a short distance with the light on, be
certain
to turn off all your accessories, such as the radio
and climate control system.
On the DIC, a CHECK CHARGE SYSTEM message will
be displayed and a warning chime will sound. See
DIC Warnings and Messages on page 3-50 for more
information.
Brake System Warning Light
Your vehicle’s hydraulic brake system is divided into two
parts. If one part isn’t working, the other part can
still
work and stop you. For good braking, though, you need
both parts working well.
If the warning light comes on, there is a brake problem.
Have your brake system inspected right away.
1
BRAKE
United States Canada
This light should come on briefly when you turn the
ignition key to
ON. If it doesn’t come on then, have it
fixed
so it will be ready to warn you if there’s a problem.
When the ignition is on, the brake system warning
light will also come on when you set your parking brake.
The light will stay on
if your parking brake doesn’t
release fully. If you try to drive
off with the parking brake
set, a chime will also come on until you release the
brake is fully released, it means you have a brake
problem. parking
brake. If the light stays Gn after yGu: parking
3-35
ProCarManuals.com
Page 155 of 387

Emissions Inspection and Maintenance
Programs
Some state/provincial and local governments have or
may begin programs to inspect the emission control
equipment on your vehicle. Failure to pass this
inspection could prevent you from getting a vehicle
registration.
Here are some things you need to know to help your
vehicle pass an inspection:
Your vehicle will not pass this inspection
if the CHECK
ENGINE light is on or not working properly.
Your vehicle will not pass this inspection
if the OBD
(on-board diagnostic) system determines that critical
emission control systems have not been completely
diagnosed by the system. The vehicle would be
considered not ready for inspection. This can happen
if
you have recently replaced your battery or if your
battery has run down. The diagnostic system is
designed to evaluate critical emission control systems
during normal driving. This may take several days
of routine driving.
If you have done this and your vehicle
still does not pass the inspection for lack of OBD
system readiness, see your dealer or qualified service
center to prepare the vehicle for inspection.
Oil Pressure Light
If you have a problem with
your
oil, this light may stay
on after you start your
engine, or come on when
you are driving.
A warning chime and the DIC message
LOW OIL
PRESSURE may also come on.
These indicate that oil is not going through your engine
quickly enough to keep it cool. The engine could be
low on oil, or could have some other oil problem. Have
it fixed right away.
The oil light could also come on briefly when the ignition
is on but the engine is not running. The light will
come on as a test to show you it is working, but the
light will go out about five seconds after you turn
the ignition to START.
If it doesn’t come on with the
ignition on, you may have a problem with the fuse
or bulb. Have it fixed right away.
3-42
ProCarManuals.com
Page 162 of 387
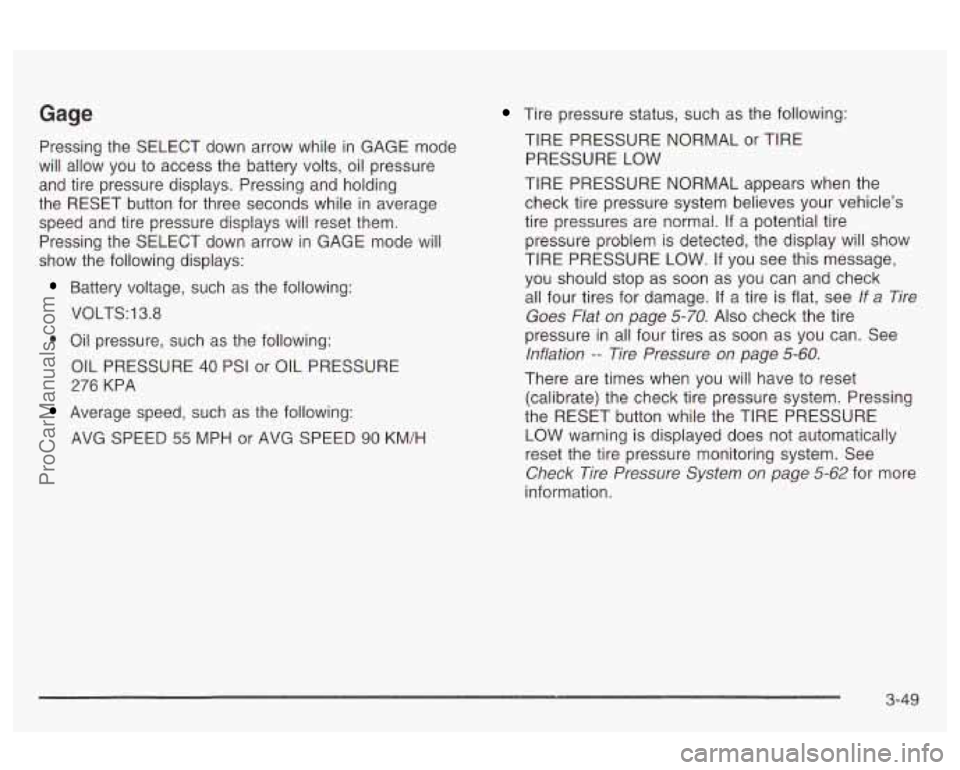
Gage Tire pressure status, such as the following:
TIRE PRESSURE NORMAL or TIRE
PRESSURE LOW
TIRE PRESSURE NORMAL appears when the
check tire pressure system believes your vehicle’s
tire pressures are normal.
if a potential tire
pressure problem is detected, the display will show
TIRE PRESSURE LOW. If you see this message,
you should stop
as soon as you can and check
all four tires for damage.
If a tire is flat, see If a Tire
Goes Flat on page 5-70.
Also check the tire
pressure in all four tires as soon as you can. See
lnflation -- Tire Pressure on page 5-60.
Pressing the SELECT down arrow while in GAGE mode
will allow you to access the battery volts, oil pressure
and tire pressure displays. Pressing and holding
the RESET button for three seconds while
in average
speed and tire pressure displays will reset them.
Pressing the SELECT down arrow in GAGE mode will
show the following displays:
Battery voltage, such as the following:
VOLTS:
13.8
0 Oil pressure, such as the following:
OIL PRESSURE
40 PSI or OIL PRESSURE
276 KPA
Average speed, such as the following:
AVG SPEED
55 MPH or AVG SPEED 90 KM/H There
are times when you will have to reset
(calibrate) the check tire pressure system. Pressing
the RESET button while the TIRE PRESSURE
LOW warning is displayed does not automatically
reset the tire pressure monitoring system. See
Check Tire Pressure System on page 5-62 for more
information.
3-49
ProCarManuals.com
Page 163 of 387
DIC Warnings and Messages
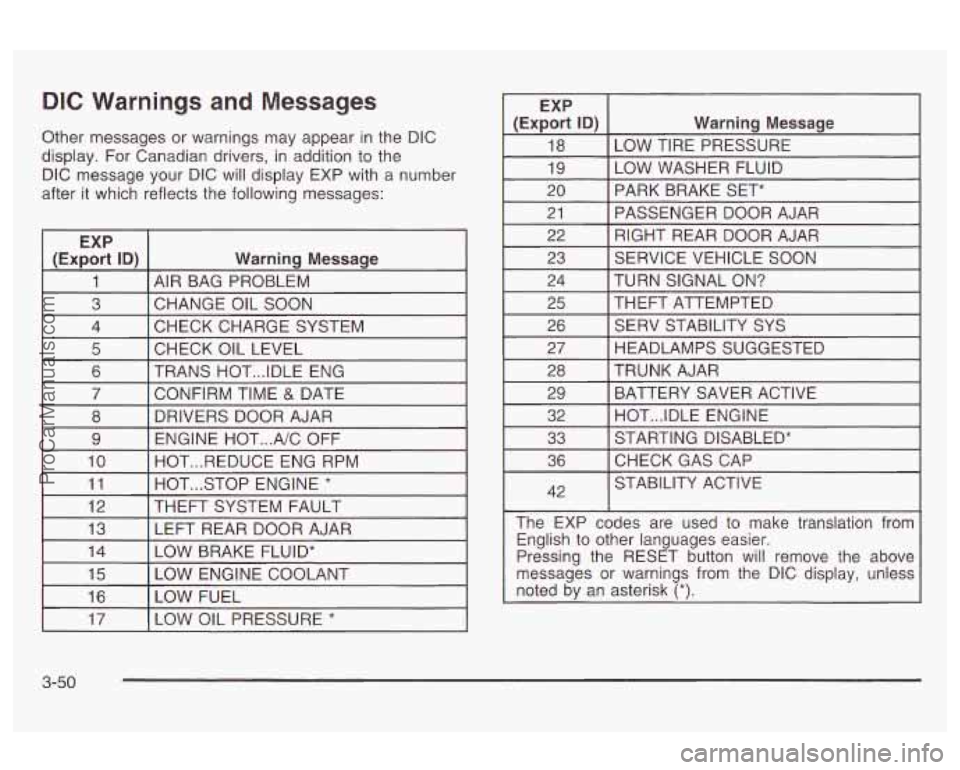
Other messages or warnings may appear in the DIC
display.
For Canadian drivers, in addition to the
DIC message your DIC will display EXP with
a number
after it which reflects the following messages:
EXP
(Export ID)
Warning Message
1 AIR BAG PROBLEM
3 CHECK CHARGE SYSTEM
4
CHANGE OIL SOON
I 5 I CHECK OIL LEVEL I I
6 I TRANS HOT ... IDLE ENG
I 7 I CONFIRM TIME & DATE I
8
ENGINE HOT
... A/C OFF
9 DRIVERS DOOR AJAR
10 HOT
... STOP ENGINE * 11 HOT
... REDUCE ENG RPM
I 12 I THEFT SYSTEM
FAULT I I
13 I LEFT REAR DOOR AJAR
I (ExE% ID) I Warning Message
18
LOW WASHER FLUID
19 LOW TIRE PRESSURE
20 PASSENGER DOOR AJAR
21 PARK BRAKE SET*
RIGHT REAR DOOR AJAR
22
23
TURN SIGNAL
ON? 24 SERVICE VEHICLE
SOON
I 25 I THEFT ATTEMPTED I I
26 [ SERV STABILITY SYS
I 27 I HEADLAMPS SUGGESTED I
28
BATTERY SAVER ACTIVE
29 TRUNK AJAR
32 STARTING DISABLED*
33 HOT
... IDLE ENGINE
36
42 CHECKGASCAP
STABILITY ACTIVE
The EXP codes are used to make translation from English to other languages easier.
Pressing the RESET button will remove the above
messages or warnings from the DIC display, unless
noted by an asterisk
(*).
I 17 I LOW OIL PRESSURE * I
3-50
ProCarManuals.com
Page 186 of 387

If any error occurs repeatedly or if an error cannot be
corrected, contact your dealer. If your radio displays an
error number, write it down and provide it to your
dealership when reporting the problem.
If your vehicle has this feature it will enable two drivers
to store and recall personal settings for radio presets,
last tuned station, volume, tone and audio source (radio,
cassette or CD).
The memory buttons
(1 or 2) for this feature are located
on the driver’s door panel and correspond to the
numbers
(1 or 2) found on the back of each remote
keyless entry transmitter.
To recall audio sources, press the unlock button on the
remote keyless entry transmitter and turn the ignition
on. The source
last listened to will be recalled for
the identified driver
(1 or 2).
To program this feature, do the following:
1. Set all radio preferences. For more information see
“Setting Preset Stations” and “Setting the Tone”
listed for your particular radio.
2. Locate the memory buttons on the driver’s door
panel.
3. Press one of the memory buttons (1 or 2) until you
hear two beeps. The beeps confirm that your
selection has been saved and can now be recalled.
Follow these steps each time you want to change the
stored settings.
Theft-Deterrent Feature
THEFTLOCK@ is designed to discourage theft of your
radio. It works by using a secret code to disable all radio
functions whenever battery power is removed and the
radio
is placed in a different vehicle. This feature
requires
no user input to be activated. It is automatically
armed when it is put into the vehicle for the first time.
When the radio is turned off, the blinking red light
indicates that THEFTLOCK@ is armed.
If THEFTLOCK@ is activated, your radio will not operate
if stolen. The radio will display LOCKED and a red
LED indicator light will come on above the
THEFTLOCK”
logo to indicate a locked condition. If this
occurs, the radio will need to be returned to the
dealer.
3-73
ProCarManuals.com
Page 220 of 387
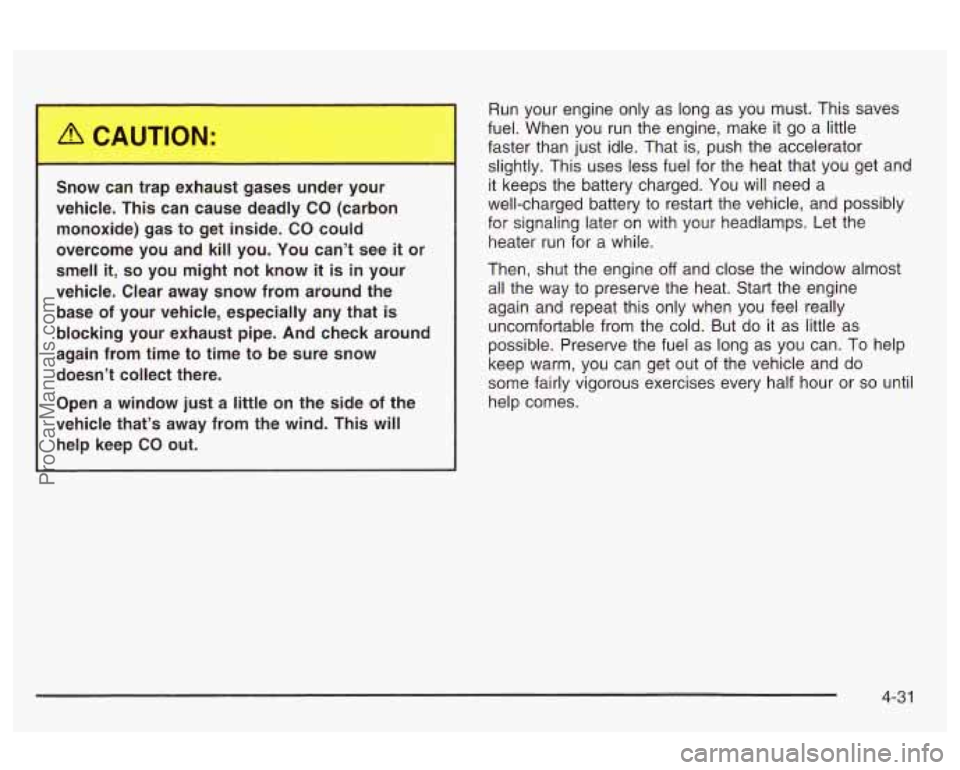
C -..- .. car. .. -~,. ex-._.ust gases under your
vehicle. This can cause deadly CO (carbon
monoxide) gas to get inside.
CO could
overcome you and kill you. You can’t see
it or
smell
it, so you might not know it is in your
vehicle. Clear away snow from around the
base of your vehicle, especially any that
is
blocking your exhaust pipe. And check around
again from time to time to be sure snow
doesn’t collect there.
Open a window just
a little on the side of the
vehicle that’s away from the wind. This will
help keep CO out.
nun your engme only as lorig as yuu must. I tlls saves
fuel. When you run the engine, make it go a little
faster than just idle. That is, push the accelerator
slightly. This uses less fuel for the heat that you get and
it keeps the battery charged.
You will need a
well-charged battery to restart the vehicle, and possibly
for signaling later on with your headlamps. Let the
heater run for a while.
Then, shut the engine
off and close the window almost
all the way to preserve the heat. Start the engine
again and repeat this only when you feel really
uncomfortable from the cold. But do it as little as
possible. Preserve the fuel as long
as you can. To help
keep warm, you can get out of the vehicle and do
some fairly vigorous exercises every half hour or
so until
help comes.
4-3 1
ProCarManuals.com
Page 234 of 387

Section 5 Service and Appearance Care
Service ............................................................ 5-3
Doing Your Own Service Work
........................ -5-4
Adding Equipment to the Outside of Your
Vehicle
...................................................... 5-4
Fuel
................................................................ 5-5
Gasoline Octane
............................................ 5-5
Gasoline Specifications
.................................... 5-5
California Fuel
............................................... 5-6
Additives
......................................... ...... 5-6
Fuels in Foreign Countries
........................... 5-7
Filling Your Tank
........................................ 5-7
Filling a Portable Fuel Container
..... . 5-11
the Hood
.................................................... 5-12
Hood Release
.............................................. 5-13
Engine Compartment Overview
....................... 5-14
Engine Oil
................................................... 5-15
Engine Air Cleaner/Filter
................................ 5-21
P,L!tSrn2.tlC Tr2!ns2x!n !=!!lid ............................. .- E;-33 --
Engine Coolant ............................................. 5-24
Coolant Surge Tank Pressure Cap
.................. 5-28
Engine Overheating
....................................... 5-28
Cooling System
............................................ 5-31
.W indshieid .Washer Fiuid 5-36
Checking Things Under
Power Steering Fluid
..................................... 5-37 ~ ................................
Brakes ........................................................ 5.39
Battery
........................................................ 5.42
Jump Starting
............................................... 5-44
Headlamp Aiming
.............................. ...... 5-50
Bulb Replacement ......................................... -5-54
Halogen Bulbs
............................................. -5-54
Headlamps
................................................. -5-55
Front Turn Signal and Parking Lamps
.......... 5-57
Taillamps, Turn Signal, Stoplamps and
Back-up Lamps
..................................... 5-58
Replacement Bulbs
....................................... 5-58
Windshield Wiper Blade Replacement
.............. 5-59
Tires
.............................................................. 5-60
Inflation
-- Tire Pressure ................................ 5-60
Check Tire Pressure System
.......................... 5-62
Tire Inspection and Rotation
........................... 5-63
When It Is Time for New Tires
....................... 5-65
Buying New Tires
......................................... 5-66
UIIIIUIIII I Ilt: Uudllly uldullly d-UI
Wheel Alignment and Tire Balance .................. 5-68
Wheel Replacement
...................................... 5-68
Tire Chains
................................................. -5-70
If a Tire Goes Flat ........................................ 5-70
Changing a Flat Tire
..................................... 5-71
Compact Spare Tire
5-81
I I.-:+- T. n . ._I.&. . n.-- -I:__ _. re7 ..........................
- ......................................
5- 1
ProCarManuals.com