check engine OLDSMOBILE CUTLASS 1997 Owner's Manual
[x] Cancel search | Manufacturer: OLDSMOBILE, Model Year: 1997, Model line: CUTLASS, Model: OLDSMOBILE CUTLASS 1997Pages: 353, PDF Size: 16.72 MB
Page 239 of 353
Automatic Transaxle Fluid
It is not necessary to check the transaxle fluid level. A
transaxle fluid leak is the only reason for fluid loss. If a
leak occurs, take the vehicle to your Oldsmobile retail
facility Service Department and have it repaired as soon
as possible. You may also have your fluid level checked
by your retailer or service center when you have your
oil changed.
Engine Coolant
The cooling system in your vehicle is filled with new
DEX-COOL” engine coolant.
This coolant is designed
to remain
in your vehicle for 5 years or 150,000 miles
(240 000 km), whichever occurs first, if you add only
DEX-COOL
TM extended life coolant.
The following explains your cooling system and how to
add coolant when it is low. If you have a problem with
engine overheating, see “Engine Overheating” in
the Index.
A 50/50 mixture of water and the proper coolant for
your Oldsmobile will:
0 Give freezing protection down to -34°F (-37°C).
0 Give boiling protection up to 265 “F (129 O C).
0 Protect against rust and corrosion.
0 Help keep the proper engine temperature.
Let the warning lights and gages work as they should.
NOTICE:
When adding coolant, it is important that you use
only
DEX-COOL TM (silicate-free) coolant.
If silicated coolant is added to the system,
premature engine, heater core or radiator
corrosion may result. In addition, the engine
coolant will require change sooner
-- at
30,000 miles (50 000 km) or 24 months,
whichever occurs first.
ProCarManuals.com
Page 240 of 353
What to Use
Use a mixture of one-half clean water (preferably
distilled) and one-half
DEX-COOL” coolant which
won’t damage aluminum parts. If you use this mixture,
you don’t need to add anything else.
Adding only plain water to your cooling system
can be dangerous. Plain water, or some other
liquid like alcohol, can boil before the proper
coolant
mix will. Your vehicle’s coolant warning
system is set for the proper coolant mix. With
plain water or the wrong
mix, your engine could
get too hot but you wouldn’t get the overheat
warning. Your engine could catch fire and you or
others could be burned. Use a
50/50 mix of clean
water and
DEX-COOL TM coolant.
NOTICE:
If you use an improper coolant mix, your engine
could overheat and be badly damaged. The
repair cost wouldn’t be covered by your
warranty.
Too much water in the mix can freeze
and crack the engine, radiator, heater core and
other parts.
If you have to add coolant more than four times a year,
have your retailer check your cooling system.
NOTICE:
I I
If you use the proper coolant, you don’t have to
add extra inhibitors or additives which claim to
improve the system. These can be harmful.
ProCarManuals.com
Page 241 of 353
Checking Coolant
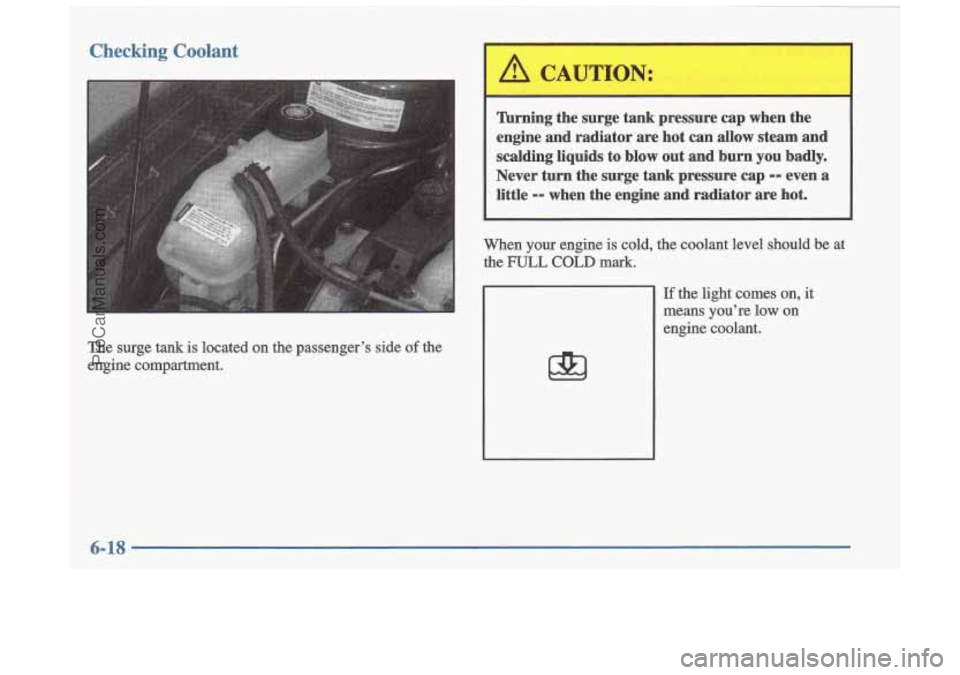
The surge tank is located on the passenger’s side of the
engine compartment.
Turning the surge tank pressure cap when the
engine and radiator are hot can allow steam and
scalding liquids to blow out and
burn you badly.
Never turn the surge tank pressure cap
-- even a
little
-- when the engine and radiator are hot.
When your engine is cold, the coolant level should be at
the
FULL COLD mark.
If the light comes on, it
means you’re low on
engine coolant.
ProCarManuals.com
Page 243 of 353
Power Steering Fluid
When to Check Power Steering Fluid
It is not necessary to regularly check power steering
fluid unless you suspect there
is a leak in the system or
you hear an unusual noise.
A fluid loss in this system
could indicate a problem. Have the system inspected and repaired.
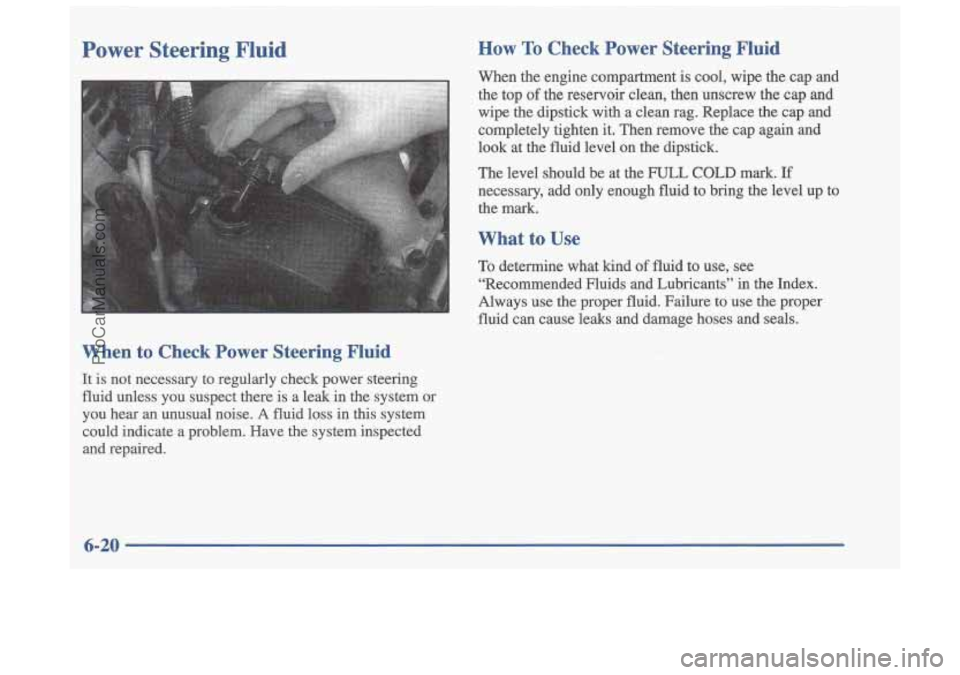
How To Check Power Steering Fluid
When the engine compartment is cool, wipe the cap and
the top
of the reservoir clean, then unscrew the cap and
wipe the dipstick with a clean rag. Replace the cap and
completely tighten it. Then remove the cap again and
look at the fluid level on the dipstick.
The level should be at the
FULL COLD mark. If
necessary, add only enough fluid to bring the level up to
the mark.
What to Use
To determine what kind of fluid to use, see
“Recommended Huids and Lubricants” in the Index.
Always use the proper fluid. Failure to use the proper
fluid can cause leaks and damage hoses and seals.
6-20
ProCarManuals.com
Page 310 of 353
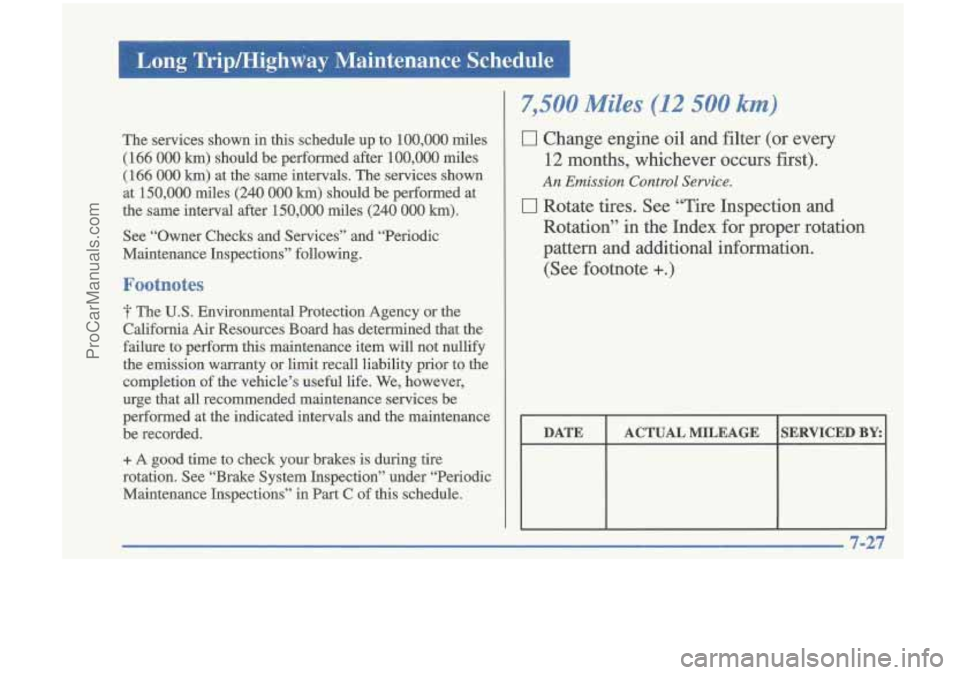
The services shown in this schedule up to 100,000 miles
(166
000 km) should be performed after 100,000 miles
(166
000 km) at the same intervals. The services shown
at 150,000 miles
(240 000 km) should be perforrned at
the same interval after 150,000 miles
(240 000 km).
See “Owner Checks and Services” and “Periodic
Maintenance Inspections” following.
Footnotes
The U.S. Environmental Protection Agency or the
California Air Resources Board has determined that the
failure to perform this maintenance item will not nullify
the emission warranty or limit recall liability prior to the completion
of the vehicle’s useful life. We, however,
urge that all recommended maintenance services be
performed at the indicated intervals and the maintenance
be recorded.
+ A good time to check your brakes is during tire
rotation. See “Brake System Inspection” under “Periodic
Maintenance Inspections”
in Part C of this schedule.
7,500 Miles (12 500 km)
0 Change engine oil and filter (or every
12 months, whichever occurs first).
0 Rotate tires. See “Tire Inspection and
Rotation”
in the Index for proper rotation
pattern and additional information.
(See footnote
+.)
An Emission Control Service.
DATE SERVICED BY: ACTUAL MILEAGE
n an
ProCarManuals.com
Page 320 of 353
Part B: Owner Checks and Services
Listed below are owner checks and services which should be performed at the intervals specified
to help
ensure the safety, dependability and emission control
performance of your vehicle.
Be sure any necessary repairs are completed at once.
Whenever any fluids or lubricants are added to your
vehicle, make sure they are the proper ones, as shown
in
Part D.
At Each Fuel Fill
It is important for you or a service station attendant to
peform these underhood checks at eachfuelfill.
Engine Oil Level Check
Check the engine oil level and add the proper oil if
necessary. See “Engine Oil” in the Index for
further details.
Engine Coolant Level Check
Check the engine coolant level and add the proper
coolant mix if necessary. See “Engine Coolant” in the
Index for further details.
Windshield Washer Fluid Level Check
Check the windshield washer fluid level in the
windshield washer tank and add the proper fluid
if
necessary. See “Windshield Washer Fluid” in the Index
for further details.
At Least Once a Month
Tire Inflation Check
Make sure tires are inflated to the correct pressures. See
“Tires” in the Index for further details.
Cassette Deck Service
Clean cassette deck. Cleaning should be done every
50 hours of tape play. See “Audio Systems” in the
Index for further details.
ProCarManuals.com
Page 322 of 353
Starter Switch Check Brake-Transaxle Shift Interlock (BTSI) Check
When you are doing
this check, the vehicle could
move suddenly.
If it does, you or others could be
injured. Follow the steps below.
c I
When you are doing this check, the vehicle could
move suddenly.
If it does, you or others could be
injured. Follow the steps below.
1. Before you start, be sure you have enough room
2. Firrnly apply both the parking brake (see “Parking
Brake”
in the Index if necessary) and the regular brake.
NOTE:
Do not use the accelerator pedal, and be
ready to turn
off the engine immediately if it starts.
3.
Try to start the engine in each gear. The starter
should work only in PARK (P) or
NEUTRAL (N).
If the starter works in any other position, your
vehicle needs service. around
the vehicle.
1. Before you start, be sure you have enough room
around the vehicle. It should be parked on a
level surface.
2. Firrnly apply the parking brake (see “Parking Brake”
in the Index if necessary).
NOTE: Be ready to apply the regular brake
immediately if the vehicle begins to move.
3. With the engine off, turn the key to the ON position,
but don’t
start the engine. Without applying the regular
brake,
‘uy to move the shift lever out of PARK (P)
with normal effort. If the shift lever moves out of
PARK (P), your vehicle’s BTSI needs service.
7-39
ProCarManuals.com
Page 323 of 353
Ignition Transaxle Lock Check
While parked, and with the parking brake set, try to turn the ignition key
to OFF in each shift lever position.
The key should turn to OFF only when the shift lever
On all vehicles, the key should come out only in
OFF.
is in PARK (P).
Parking Brake and Automatic Transaxle PARK
(P)
MecT m .-,’ leck
When you are doing this check, your vehicle
could begin to move. You
or others could be
injured and property could be damaged. Make
sure there
is room in front of your vehicle in case
it begins to roll. Be ready to apply the regular
brake
at once should the vehicle begin to move. Park on
a fairly steep hill, with the vehicle facing
downhill. Keeping your foot on the regular brake, set the
parking brake.
To check the parking brake’s holding ability: With
the engine running and transaxle in
NEUTRAL (N),
slowly remove foot pressure from the regular brake
pedal.
Do this until the vehicle is held by the parking
brake only.
To check the PARK (P) mechanism’s holding ability:
With the engine running, shift to PARK
(P). Then
release all brakes.
Underbody Flushing Service
At least every spring, use plain water to flush any corrosive materials from the underbody. Take care to
clean thoroughly any areas where mud and other debris
can collect.
7-40
ProCarManuals.com
Page 343 of 353
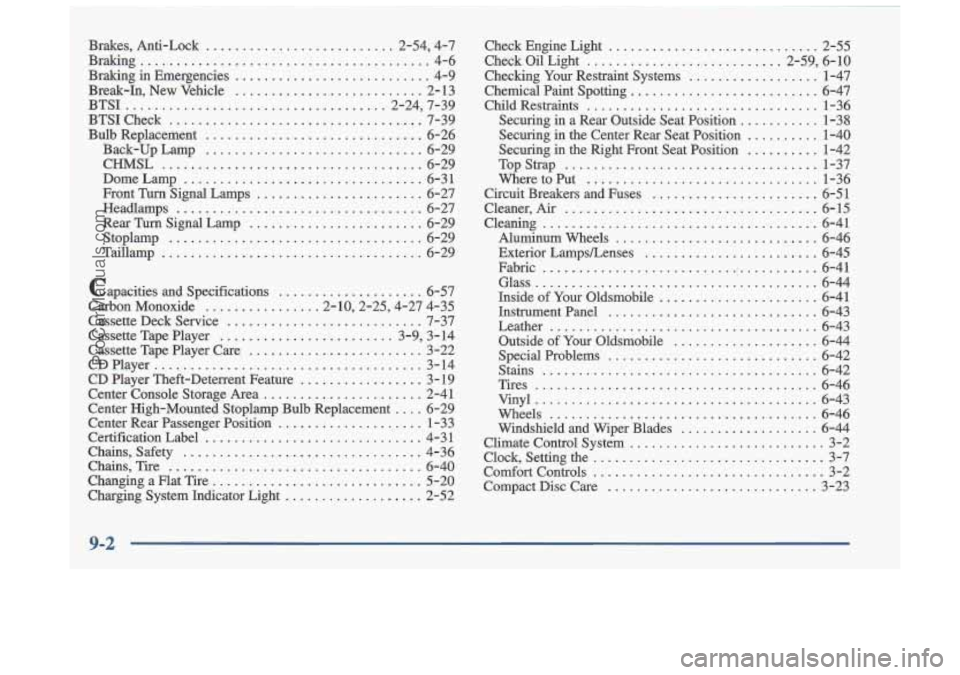
Brakes. Anti-Lock .......................... 2.54. 4.7
Braking
........................................ 4-6
Braking in Emergencies
........................... 4-9
Break.In. New Vehicle
.......................... 2-13
BTSICheck
................................... 7-39
Bulb Replacement
.............................. 6-26
Back-up Lamp
.............................. 6-29
CHMSL
.................................... 6-29
Dome Lamp
................................. 6-31
Front Turn Signal Lamps
....................... 6-27
Headlamps
.................................. 6-27
Rear Turn Signal Lamp
........................ 6-29
BTSI
.................................... 2.24. 7.39
Stoplamp
................................... 6-29
Taillamp
.................................... 6-29
.Capacities and Specifications
.................... 6-57
Carbon Monoxide
............... .2.10.2.25. 4.27 4-35
Cassette Deck Service
........................... 7-37
Cassette Tape Player
........................ 3.9. 3.14
Cassette Tape Player Care
........................ 3-22
CDPlayer
..................................... 3-14
CD Player Theft-Deterrent Feature
................. 3- 19
Center Console Storage Area
...................... 2-41
Center Rear Passenger Position
.................... 1-33
Certification Label
.............................. 4-3 1
Chains. Safety ................................. 4-36
Chains. Tire
................................... 6-40
Changing
a Flat Tire ............................. 5-20
Charging System Indicator Light
................... 2-52
Center High-Mounted Stoplamp Bulb Replacement
.... 6-29 Check Engine Light
............................. 2-55
Check Oil Light
........................... 2.59. 6. 10
Checking Your Restraint Systems
.................. 1-47
Chemical Paint Spotting
.......................... 6-47
Child Restraints
................................ 1-36
Securing in a Rear Outside Seat Position
........... 1-38
Securing in the Center Rear Seat Position
.......... 1-40
Securing in the Right Front Seat Position
.......... 1-42
TopStrap
................................... 1-37
WheretoPut
................................ 1-36
Circuit Breakers and Fuses
....................... 6-51
Cleaner.
Air ................................... 6-15
Cleaning
...................................... 6-41
Aluminum Wheels
............................ 6-46
Exterior LampsLenses
........................ 6-45
Fabric
........................... ' ........... 6-41
Glass
....................................... 6-44
Inside
of Your Oldsmobile ...................... 6-41
Instrument Panel
............................. 6-43
Leather
..................................... 6-43
Outside
of Your Oldsmobile .................... 6-44
Special Problems
............................. 6-42
Stains
...................................... 6-42
Tires
....................................... 6-46
Vinyl
....................................... 6-43
Wheels
..................................... 6-46
Windshield and Wiper Blades ................... 6-44
Climate Control System
........................... 3-2
Clock. Setting the
................................ 3-7
Comfort Controls
................................ 3-2
Compact Disc Care
............................. 3-23
ProCarManuals.com
Page 344 of 353
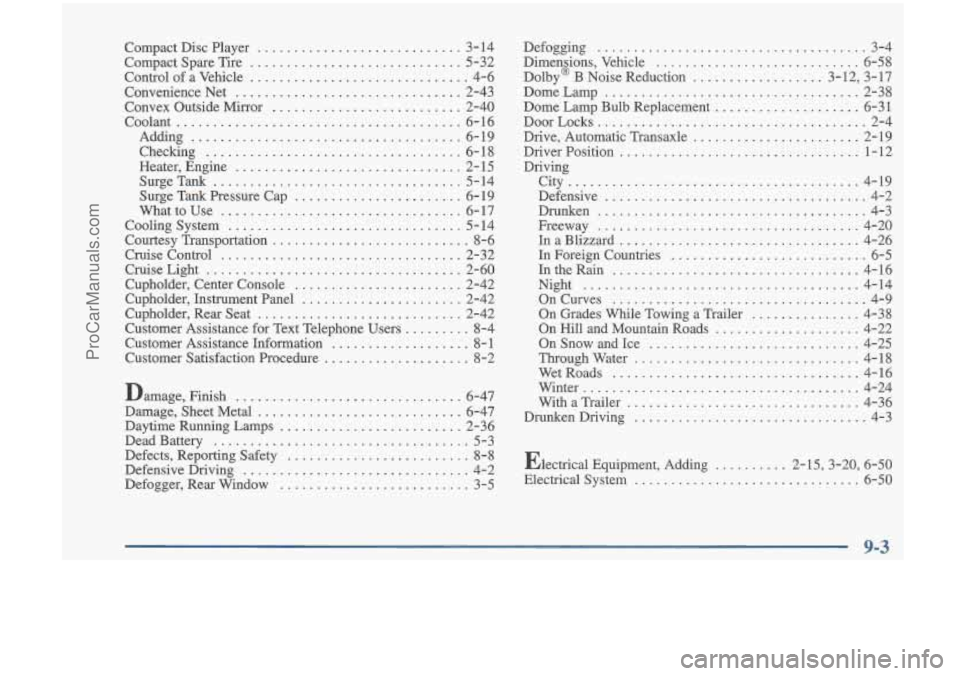
Compact Disc Player ............................ 3-14
Compact Spare Tire
............................. 5-32
Control of a Vehicle
.............................. 4-6
Convenience Net
............................... 2-43
Convex Outside Mirror
.......................... 2-40
Coolant
....................................... 6- 16
Adding
..................................... 6-19
Checking
................................... 6-18
Heater. Engine
............................... 2- 15
SurgeTank .................................. 5-14
Surge Tank Pressure Cap
....................... 6- 19
Whattouse
................................. 6-17
Cooling System
................................ 5-14
Courtesy Transportation
........................... 8-6
Cruise Control
................................. 2-32
CruiseLight
................................... 2-60
Cupholder, Center Console
....................... 2-42
Cupholder, Instrument Panel
...................... 2-42
Cupholder, Rear Seat
............................ 2-42
Customer Assistance for Text Telephone Users
......... 8-4
Customer Assistance Information
................... 8- 1
Customer Satisfaction Procedure .................... 8-2
Damage. Finish
............................... 6-47
Damage. Sheet Metal
............................ 6-47
Daytime Running Lamps
......................... 2-36
Dead Battery
................................... 5-3
Defects. Reporting Safety
......................... 8-8
Defensive Driving ............................... 4-2
Defogger. Rear Window
.......................... 3-5 Defogging
..................................... 3-4
Dimensions. Vehicle
............................ 6-58
Dolby' B Noise Reduction
.................. 3.12. 3.17
Dome Lamp
................................... 2-38
Dome Lamp Bulb Replacement
.................... 6-31
DoorLocks
..................................... 2-4
Drive. Automatic Transaxle
....................... 2-19
DriverPosition
................................. 1-12
Driving City
........................................ 4-19
Defensive
.................................... 4-2
Drunken
..................................... 4-3
Freeway
.................................... 4-20
InaBlizzard
................................. 4-26
In Foreign Countries
........................... 6-5
IntheRain .................................. 4-16
Night
...................................... 4-14
OnCurves
................................... 4-9
On Grades While Towing a Trailer ............... 4-38
On Hill and Mountain Roads
.................... 4-22
On Snow and Ice
............................. 4-25
Throughwater
............................... 4-18
WetRoads
.................................. 4-16
Winter
...................................... 4-24
With a Trailer
................................ 4-36
DrunkenDriving
................................ 4-3
Electrical Equipment. Adding
.......... 2-15. 3-20. 6-50
Electrical System
............................... 6-50
9-3
ProCarManuals.com