OLDSMOBILE SILHOUETTE 1993 Owners Manual
Manufacturer: OLDSMOBILE, Model Year: 1993, Model line: SILHOUETTE, Model: OLDSMOBILE SILHOUETTE 1993Pages: 323, PDF Size: 17.13 MB
Page 241 of 323
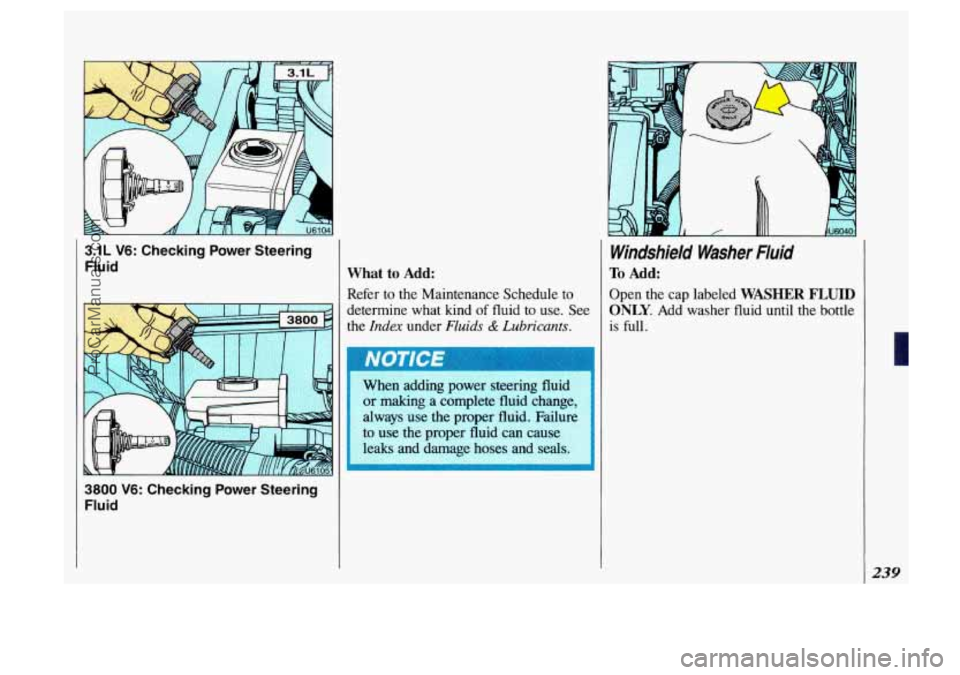
3.1L V6: Checking Power Steering
Fluid
3800 V6: Checking Power Steering
Fluid
What to Add:
Refer to the Maintenance Schedule to
determine what kind of fluid to use. See
the
Index under Fluids & Lubricants.
When adding power steering fluid or making a complete fluid change,
always use the proper fluid. Failure
leaks and damage hoses and
to use the proper fluid can cause
Windshield Washer Fluid
To Add:
Open the cap labeled WASHER FLUID
ONLY. Add
washer fluid until the bottle
is full.
239
ProCarManuals.com
Page 242 of 323
Service & Appearance Care
Windshield Washer Fluid (CONT.)
I 1 When using concentrated washer ” I
fluid, follow the manufacturer’s
instructions for adding water.
I 1 Don’t mix water with ready-to-
use washer fluid. Water can
cause the solution to freeze and
damage your washer fluid tank
and other parts of the washer
system. Also, water doesn’t clean
as well as washer fluid.
It
-1 Fill your washer fluid tank only
% full when it’s very cold. This
allows
for expansion, which
could damage the
tank if it is
completely full.
I 1 Don’t use radiator antifreeze in
your windshield washer.
It can
damage your washer system and
paint.
I
240
.. -. -. .. , .:.
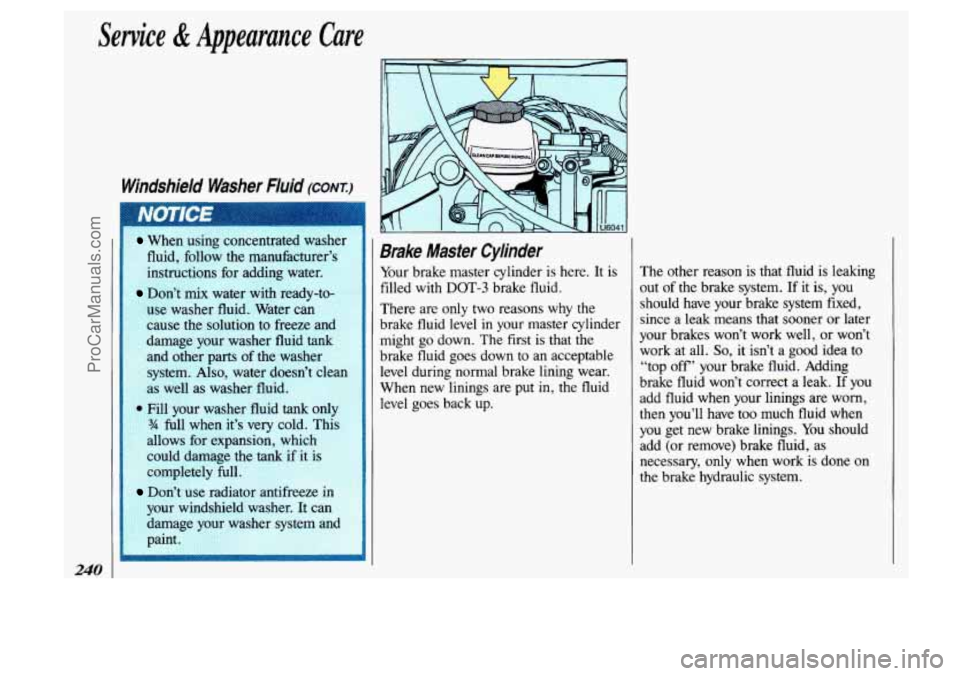
Brake Master Cylinder
Your brake master cylinder is here. It is
filled with
DOT-3 brake fluid.
There are
only two reasons why the
brake
fluid level in your master cylinder
might go down. The first is that the
brake fluid goes down to an acceptable level during normal brake lining wear.
When new linings are put in, the fluid
level goes back up. The other
reason is that fluid is leaking
out
of the brake system. If it is, you
should have your brake system
fixed,
since a leak means that sooner or later
your brakes won’t work well, or won’t
work at all.
So, it isn’t a good idea to
“top
off’ your brake fluid. Adding
brake fluid won’t correct a leak.
If you
add fluid when your linings are
worn,
then you’ll have too much fluid when
you get new brake linings. You should
add (or remove) brake fluid, as
necessary,
only when work is done on
the brake hydraulic system.
ProCarManuals.com
Page 243 of 323
A
If you have too much brake
fluid, it can spill on the
engine. The fluid will burn if the
engine is hot enough. You OT
others could be burned, and your
vehicle could be damaged. Add
brake fluid only when work is
done on the brake hydraulic
system.
When your brake fluid falls to a low
level, your brake warning light will
come on. See the
Index under Brake
System Warning Light.
What to Add:
When you do need brake fluid, use only
DOT-3 brake fluid-such as Delco
Supreme
ll@ (GM Part No. 1052535).
Use new brake fluid from a sealed
container
only.
I
image your vehicle. Don’t use it
wrong kind of fluid.
FOI
Don’t let someone put in the
xample, just a few drops
c
mineral-based oil, such as en€
oil,
in your brake system can
damage brake system parts
so
badly that they’ll have to be replaced.
be careful not to spill
hr fluid-:
Brake fluid can damage -int,
ProCarManuals.com
Page 244 of 323
Sewice & Appearaj
The braking system on a modern vehicle
is complex. Its many parts have to be of
top quality and work well together if the
vehicle is to have really good braking.
Vehicles we design and test have top-
quality GM brake parts
in them, as your
Oldsmobile does when it is new. When
you replace parts of your braking
system-for example, when your brake
linings wear down and you have to have
new ones put in-be sure you get new
genuine
GM replacement parts. If you
don’t, your brakes may no longer work
properly. For example, if someone puts
in brake linings that are wrong for your
vehicle, the balance between your front and rear brakes can change, for the
worse. The braking performance you’ve
come to expect can change in many
other ways if someone puts
in the wrong
replacement brake parts.
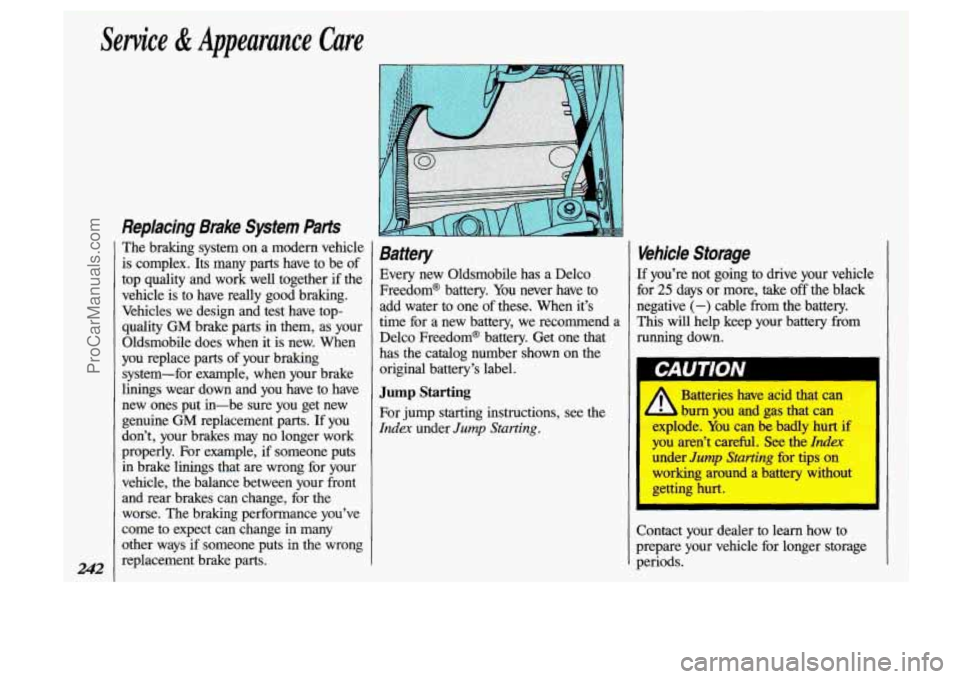
Battery
Every new Oldsmobile has a Delco
Freedom@ battery. You never have to
add water to one
of these. When it’s
time for a new battery, we recommend a
Delco Freedom@ battery. Get one that
has the catalog number shown on the
original battery’s label.
Jump Starting
For jump starting instructions, see the
Index under Jump Starting.
Vehide Storage
If you’re not going to drive your vehicle
for
25 days or more, take off the black
negative
(-) cable from the battery.
This will help keep your battery
from
running down.
II
- Batteries have acid that can
1 burn you and gas that can
plode. You can be badly hurt if
u aren’t careful. See the Index
der Jump Starting for tips on
Irking around a battery without
tting
hurt.
- -
”
Contact your dealer to learn how to
prepare your vehicle for longer storage
periods.
ProCarManuals.com
Page 245 of 323
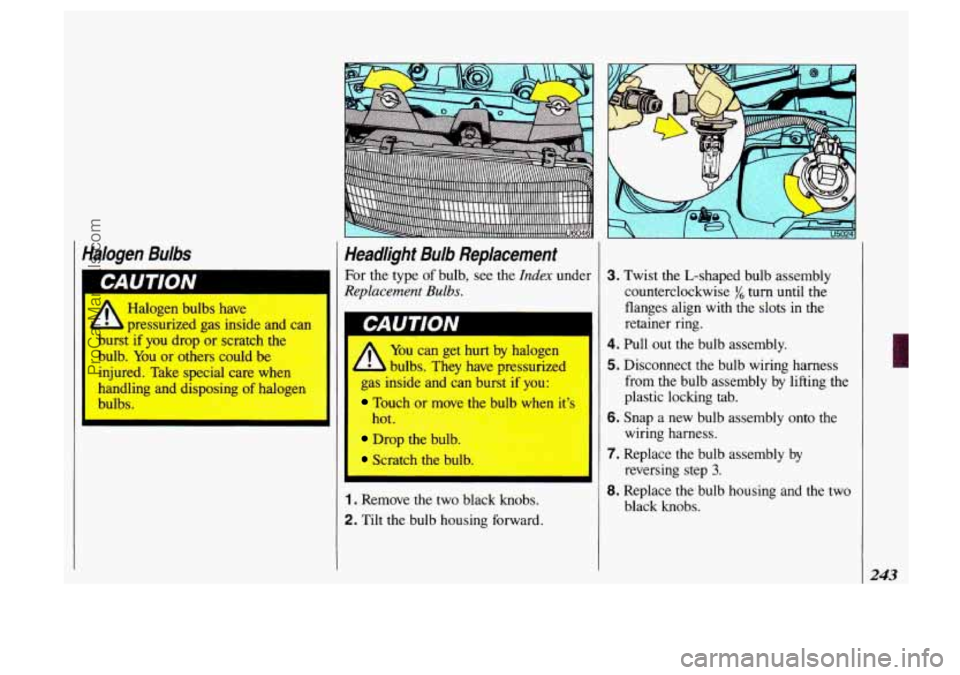
Halogen Bulbs
Halogen bulbs have
Headlight Bulb Replacement
For the type of bulb, see the Index under
Replacement Bulbs.
- pressurized gas inside and can
burst
if you drop or scratch 1- .. .. * 3
bulb. You or others could be
injured. Take special care whe-
handling and disposing
of halosG,
bulbs.
I
YOU can get nun ~y naogen
Touch or move the t: I w
Drop UI~ bulb.
Scratch the bulb.
hot.
1. Remove
the two black knobs.
2. Tilt the bulb housing forward.
3. Twist the L-shaped bulb assembly
counterclockwise
f/6 turn until the
flanges align with the slots
in the
retainer ring.
4. Pull out the bulb assembly.
5. Disconnect the bulb wiring harness
from the bulb assembly by lifting the
plastic loclung
tab.
6. Snap a new bulb assembly onto the
wiring harness.
7. Replace the bulb assembly by
reversing step
3.
8. Replace the bulb housing and the two
black knobs.
243
ProCarManuals.com
Page 246 of 323
Service & Appearance Care
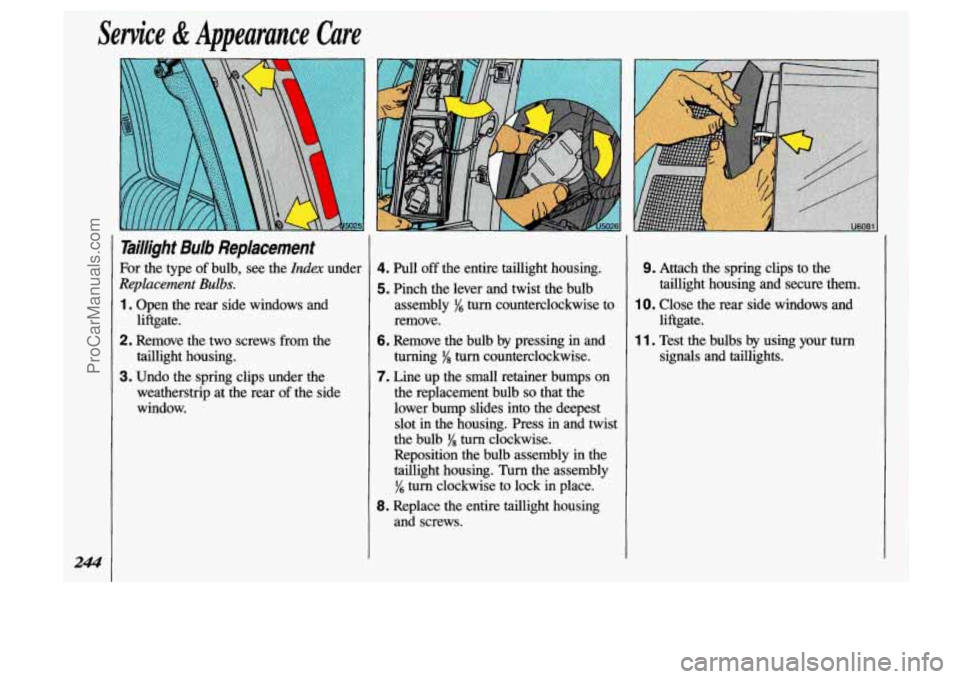
Taillight Bulb Replacement
For the type of bulb, see the Ida under
Replacement Bulbs.
1. Open the rear side windows and
2. Remove the two screws from the
3. Undo the spring clips under the
liftgate.
taillight housing.
weatherstrip at the rear
of the side
window.
4. Pull off the entire taillight housing.
5. Pinch the lever and twist the bulb
assembly
yS turn counterclockwise to
remove.
6. Remove the bulb by pressing in and
turning
y8 turn counterclockwise.
7. Line up the small retainer bumps on
the replacement bulb
so that the
lower bump slides into the deepest
slot in the housing. Press
in and twist
the bulb
y8 turn clockwise.
Reposition the bulb assembly in the
taillight housing.
Turn the assembly
y6 turn clockwise to lock in place.
and screws.
8. Replace the entire taillight housing
9. Attach the spring clips to the
taillight housing and secure them.
liftgate. signals and taillights.
IO. Close the rear side windows and
1 1. Test the bulbs by using your turn
ProCarManuals.com
Page 247 of 323
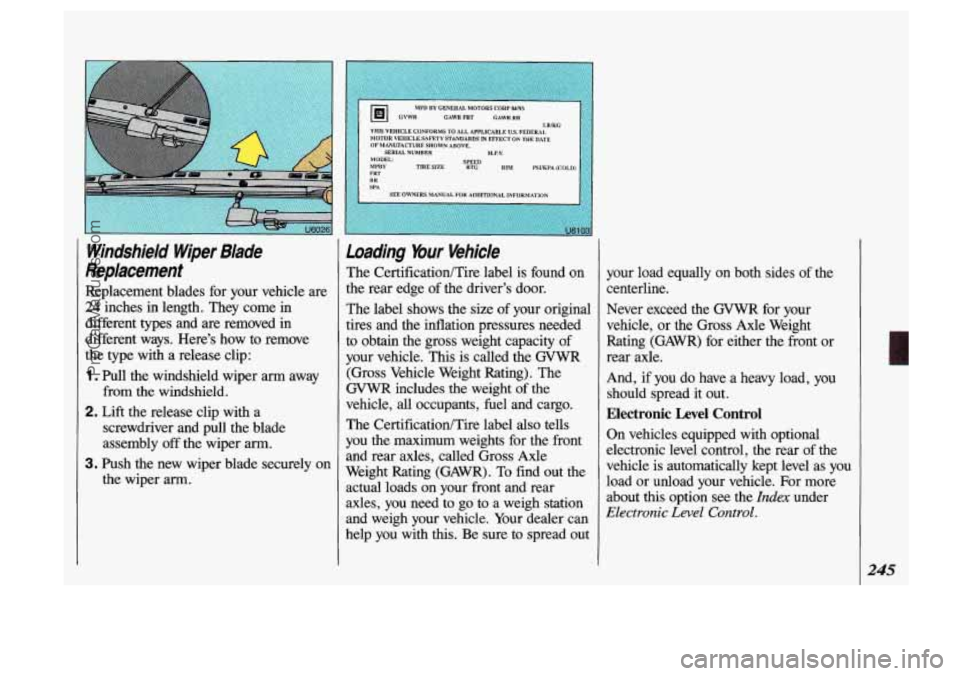
Windshield Wiper Blade
Replacement
Replacement blades for your vehicle are
24 inches in length. They come in
different
types and are removed in
different ways. Here's how to remove
the type with a release clip:
1. Pull the windshield wiper arm away
from the windshield.
2. Lift the release clip with a
screwdriver and pull the blade
assembly
off the wiper arm.
the wiper arm.
3. Push the new wiper blade securely on
CAWRFRT GAWRRR
THIS MH1CX.E CONNJRMS TU ALL APPLICABLE US FEDERAL
OF MANUFACWRE SHOWN ABOVE. MOTOR YWICLE SAFETY SPANDARDS lN EFFECT ON TAe DAn
SERIAL MlMBBR
TIRESIZE '%ED RIM PSYKPA(C0LD)
Loading Mur Vehicle
The CertificatiodTire label is found on
the rear edge of the driver's door.
The label shows the size
of your original
tires and the inflation pressures needed
to obtain the gross weight capacity of
your vehicle. This is called the
GVWR
(Gross Vehicle Weight Rating). The
GVWR includes the weight of the
vehicle,
all occupants, fuel and cargo.
The CertificatiodTire label also tells
you the maximum weights for the front
and rear axles, called Gross Axle
Weight Rating (GAWR). To find out the
actual loads on your front and rear
axles, you need to go to a weigh station
and weigh your vehicle. Your dealer can
help you with this. Be sure to spread out your load equally on both sides
of the
centerline.
Never exceed the
GVWR for your
vehicle, or the Gross Axle Weight
Rating (GAWR) for either the &ont or
rear axle.
And, if you do have a heavy load, you
should spread
it out.
Electronic Level Control
On vehicles equipped with optional
electronic level control, the rear of the
vehicle
is automatically kept level as you
load or unload your vehicle. For more
about
this option see the Index under
Electronic Level Control.
L
245
ProCarManuals.com
Page 248 of 323
Service & Appearance Care
246
Loading Your Vehice (CONTI
I I
Do not load your vehicle any
L heavier than the GVWR or the
aximum front and rear GAWRs.
If you do, parts on your vehicle
can break, or
it can change the way
your vehicle handles. These could
cause you to lose control. Also,
overloading can shorten the life of
your vehicle.
Using heavier suspension components to
get added durability might not change
your weight ratings. Ask your dealer to
help you load your vehicle
the right way.
-r componenk that fhil because o
verloabing. .. .. .,... . - .. ,l_, ._, ,
It you put things inside your vehicle-
like suitcases, tools, packages, or
anything else-they will go as fast as
the
vehicle goes. If you have to stop or turn
quickly, or if there is a crash, they'll
keep going. I
A vehicle can strike and injure
+ople in a sudden
stop or turn, or
in a crash.
Put things in the cargo area of
xInl1r vehicle. Try to spread the
. . ight evenly.
Never stack heavier things, like
suitcases, inside the vehicle so
that some of them are above the
tops
of the seats.
When you carry something
inside
the vehicle, secure it
whenever you can.
Don't leave a seat folded down
unless you need to.
ProCarManuals.com
Page 249 of 323
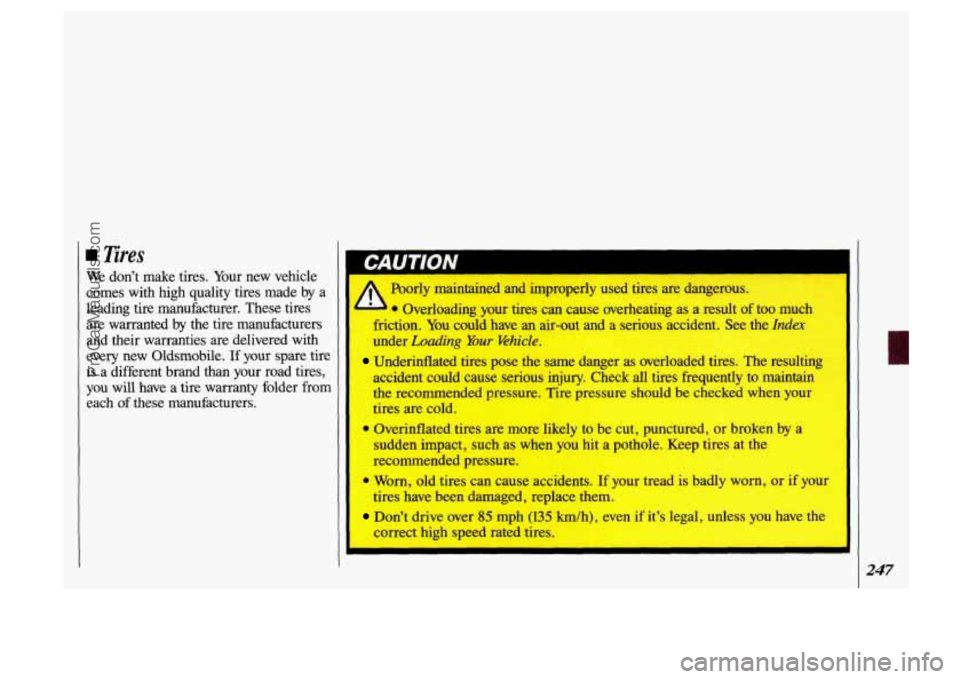
I Tires
We don’t make tires. Your new vehicle
comes with high quality tires made
by a
leading tire manufacturer. These tires
are warranted by the tire manufacturers
and their warranties are delivered with
every new Oldsmobile.
If your spare tire
is a different brand than your road tires,
you will have a tire warranty folder from
each
of these manufacturers.
Poorly maintained and improperly used tires are dangerous.
I * Overloading your tires can cause averheating as a result of bo much
fiction. You could have an air-out and a serious accident. See the Index
under Loading Your Wick.
Underinflated tires pose the same danger as overloaded tires. The resulting
accident could cause serious injury. Check all tires frequently to maintain
the recommended pressure. Tire pressure should be checked when your
tires are cold.
Overinflated
tires are more likely to be cut, punctured, or broken by a
sudden impact, such as when you hit a pothole. Keep tires at the
recommended pressure.
tires have been damaged, replace them.
correct high speed rated tires.
* Worn, old tires can cause accidents. If your tread is bady worn, or if your
Don’t drive over 85 mph (135 Mh), even if it’s legal, unless you have the
247
ProCarManuals.com
Page 250 of 323
Service & Appearance Care
248
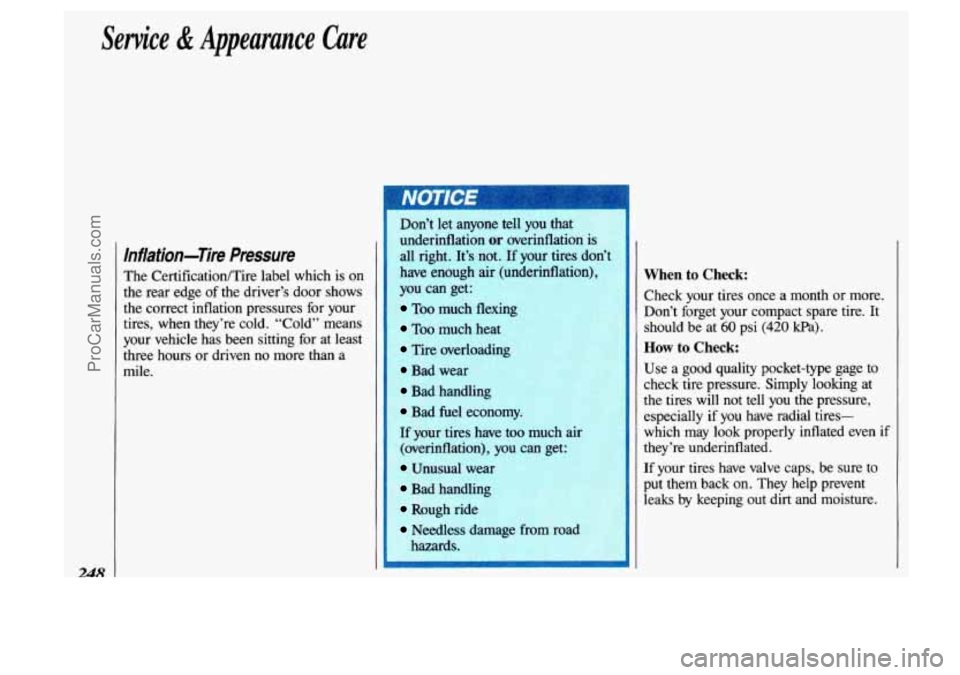
Inflation-Tire Pressure
The CertificatiodTire label which is on
the rear edge of the driver’s door shows
the correct inflation pressures for your
tires, when they’re cold. “Cold’’ means
your vehicle has been sitting for at least
three hours or driven no more than a
mile. Don’t
let anyone tell you that
underinflation
or overinflation is
all right. It’s not. If your tires don’t
have enough air (underinflation),
you can get:
Too much flexin1
Too much heat
Tire overloadine
Bad wear
Bad handling
Bad fuel economy.
If your tires have too much air
(overinflation), you can get:
Unusual wear
Bad handling
Rough ride
Needless damage from road
I
When to Check:
Check your tires once a month or more.
Don’t forget your compact spare tire. It
should be at
60 psi (420 kPa).
How to Check:
Use a good quality pocket-type gage to
check tire pressure. Simply looking at
the tires will not tell you the pressure,
especially if you have radial tires-
which may look properly inflated even if
they’re underinflated.
If your tires have valve caps, be sure to
put them back on. They help prevent
leaks by keeping out dirt and moisture.
ProCarManuals.com