tow OLDSMOBILE SILHOUETTE 2003 Owner's Manual
[x] Cancel search | Manufacturer: OLDSMOBILE, Model Year: 2003, Model line: SILHOUETTE, Model: OLDSMOBILE SILHOUETTE 2003Pages: 466, PDF Size: 21.55 MB
Page 123 of 466
Warm-up Shift
Your vehicle has a computer controlled transaxle
designed to warm up the engine faster when the outside
temperature is
35°F (2°C) or colder. You may notice
that the transaxle will shift at a higher vehicle speed until
the engine is warmed up. This is a normal condition
designed to provide heat to the passenger compartment
and defrost the windows more quickly. See
Climate
Control System on
page 3-25 for more information.
THIRD
(3): This position is also used for normal driving,
but it offers more power and lower fuel economy than
AUTOMATIC OVERDRIVE (D).
Here are some times you might choose THIRD
(3)
instead of AUTOMATIC OVERDRIVE (D):
When driving on hilly, winding roads.
When towing a trailer (so there is less shifting
When going down a steep hill. between gears).
SECOND
(2): This position gives you more power,
but lower fuel economy. You can use SECOND
(2) on
hills. It can help control your speed as you go down
steep mountain roads, but then you would also want to
use your brakes
off and on.
Notice: Don’t drive in SECOND (2) for more than
25 miles (40 km), or at speeds over 55 mph (90 km/h),
or you can damage your transaxle. Use THIRD
(3) or
AUTOMATIC OVERDRIVE (D) as much as possible.
Don’t
shift into SECOND (2) unless you are going
slower than
65 mph (105 km/h) or you can damage
your engine.
Notice: If your vehicle seems to start up rather
slowly, or if
it seems not to shift gears as you go
faster, something may be wrong with a transaxle
system sensor. If you drive very far that way, your
vehicle can be damaged.
So, if this happens, have
your vehicle serviced
right away. Until then, you can
use SECOND
(2) when you are driving less than
35 mph (55 km/h) and THIRD (3) for higher speeds.
FIRST
(1): This position gives you even more power
(but lower fuel economy) than
SECOND (2). You can use
it on very steep hills, or in deep snow or mud.
If the shift
lever is put in FIRST
(I), the transaxle won’t downshift
into first gear until the vehicle is going slow enough.
Notice: If your front wheels won’t turn, don’t try to
drive. This might happen if you were stuck in very
deep sand or mud or were up against a solid object.
You could damage your transaxle. Also, if you stop
when going
uphill, don’t hold your vehicle there with
only the accelerator pedal. This could overheat and
damage the transaxle. Use your brakes to hold your
vehicle in position on a
hill.
2-38
Page 124 of 466
Parking Brake
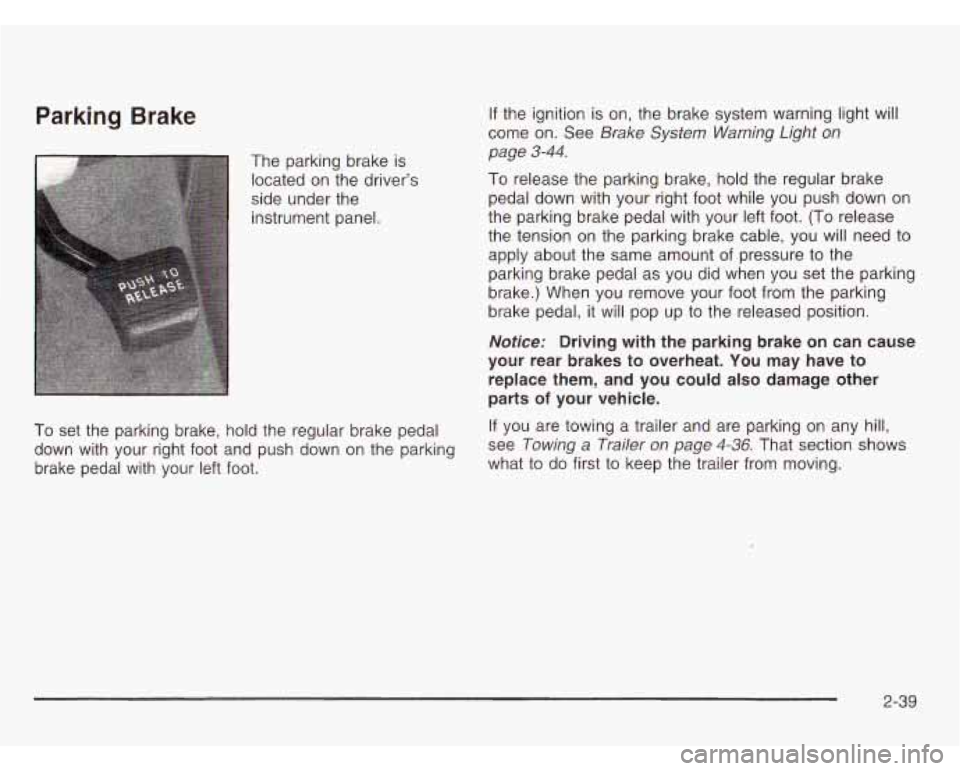
The parking brake is
located on the driver’s
side under the
instrument panel.
If the ignition is on, the brake system warning light will
come on. See
Brake System Warning Light on
page 3-44.
To release the parking brake, hold the regular brake
pedal down with your right foot while you push down on
the parking brake pedal with your left foot. (To release
the tension on the parking brake cable, you will need to
apply about the same amount of pressure to the
parking brake pedal as you did when you set the parking
brake.) When you remove your foot from the parking
brake pedal,
it will pop up to the released position.
Notice: Driving with the parking brake on can cause
your rear brakes to overheat. You may have to
replace them, and you could also damage other
parts
of your vehicle.
To set the parking brake, hold the regular brake pedal If
you are towing a trailer and are parking on any
hill,
brake pedal with your left foot. what
to do first to keep the trailer from moving.
down with your right foot
and push down on the parking see
Towing a Trailer on page 4-36, That section shows
2-39
Page 125 of 466
Shifting Into Park (P)
-
It can -2 dangerou- -0 get out of your veh e
if the shift lever is not fully in PARK (P) with
the parking brake firmly set. Your vehicle can
roll. If you have left the engine running, the
vehicle can move suddenly. You or others could be injured.
To be sure your vehicle won’t
move, even when you’re on fairly level ground,
use
the steps that follow. If you’re pulling a
trailer, see “Towing a Trailer” in the Index.
1. Hold the brake pedal down with your right foot and
set the parking brake with your left foot.
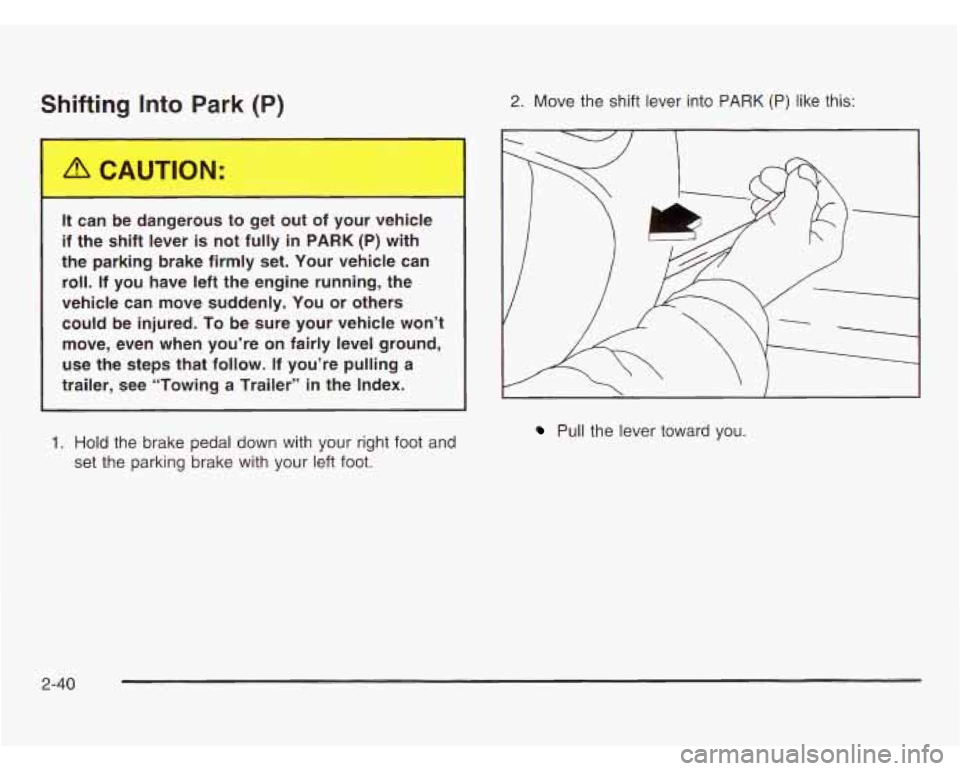
2. Move the shift lever into PARK (P) like this:
/ I
Pull the lever toward you.
2-40
Page 126 of 466
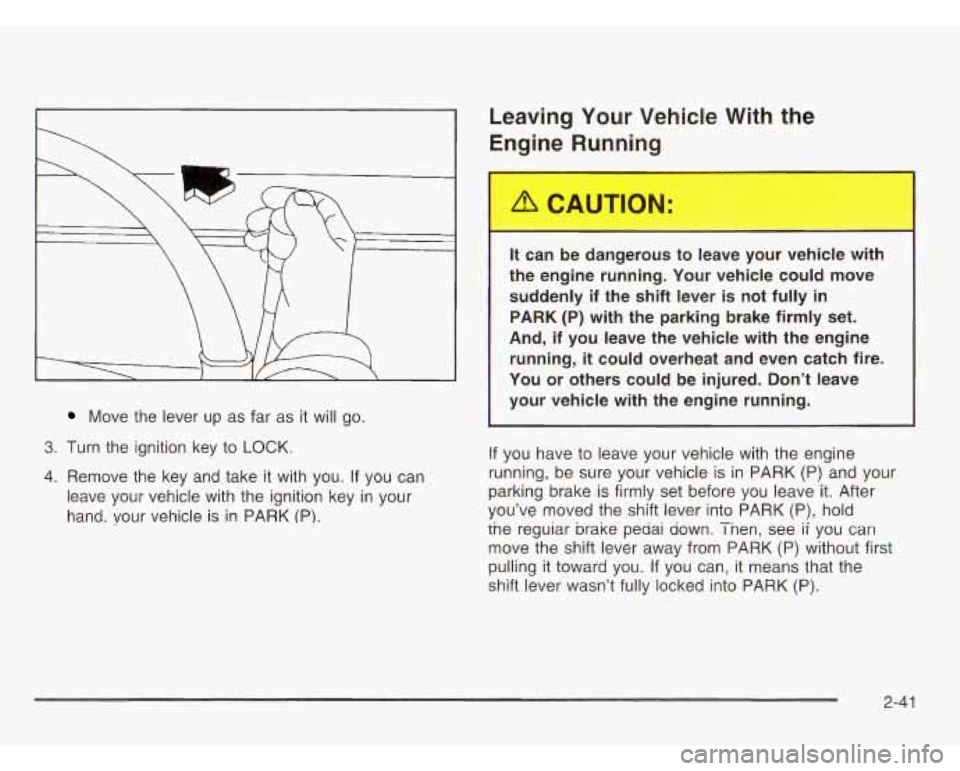
Move the lever up as far as it will go.
3. Turn the ignition key to LOCK.
4. Remove the key and take it with you. If you can
leave your vehicle with the ignition key in your
hand. your vehicle is in PARK (PI.
Leaving Your Vehicle With the
Engine Running
It can be dangerous to leave \w.iicle with
the engine running. Your vehicle could move suddenly if the shift lever
is not fully in
PARK (P) with the parking brake firmly set.
And, if you leave the vehicle with the engine
running,
it could overheat and even catch fire.
You or others could be injured. Don’t leave
I your vehicle with the engine running.
I
If you have to leave your vehicle with the engine
running, be sure your vehicle is in PARK
(P) and your
parking brake is firmly set before you leave it. After
you’ve moved the shift lever into PARK (P), hold
the reguiar brake pedai down. Then, see
ii you can
move the shift lever away from PARK
(P) without first
pulling it toward you. If you can,
it means that the
shift lever wasn’t fully locked into PARK (P).
2-41
Page 129 of 466
Running Your Engine While You
Are
Parked
It’s better not to park with the engine running. But if you
ever have to, hpre are some things
to know.
Idling the engine with the climate co~,.,ol
system
off could allow dangerous exhaust into
your vehicle. See the earlier Caution under
“Engine Exhaust.”
Also, idling
in a closed-in place can let deadly
carbon monoxide (CO) into your vehicle even
if the fan
is at the highest settin:,. One place
this can happen is a garage. Exhaust - with
CO - can come in easily. NEVEt3 park in a
garage with the engine running.
Another closed-in place can be a blizzard. See “Winter Driving” in the Index.
It can De dangerous to get out of your vehicle
if the
shift lever is not fully in PARK (P) with
the parking brake firmly set. Your vehicle can
roll. Don’t leave your vehicle when the engine
is running unless you have to. If you’ve left
the engine running, the vehicle can move suddenly. You or others could be injured.
To be sure your vehicle won’t move, even
when you’re on fairly level ground, always set your parking brake and move the shift lever
to PARK (P).
Follow the proper steps to be sure your vehicle won’t
move. See
Shifting Into Park (P) on page 2-40.
If you’re pulling a trailer, see Towing a Trailer on
page 4-36.
2-44
Page 130 of 466
Mirrors
Manual Rearview Mirror
To reduce glare from lights behind you, pull the lever
toward you (to the night position). To return the mirror to
the day position, push the lever away from you.
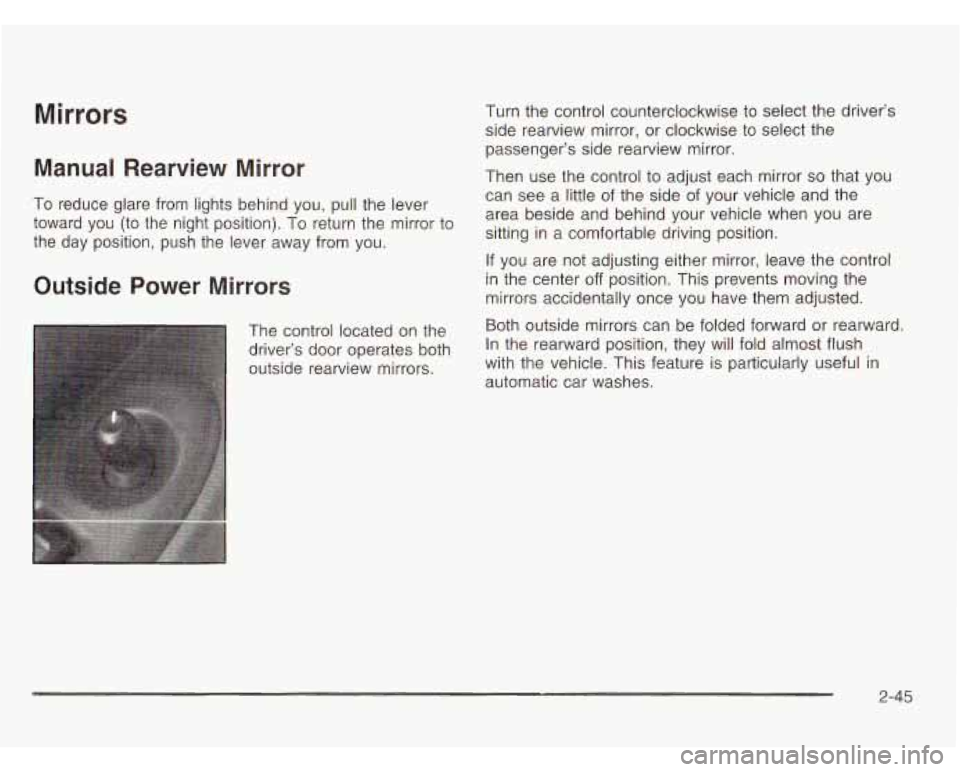
Outside Power Mirrors
The control located on the
driver’s door operates both
outside rearview mirrors. Turn
the control counterclockwise to select the driver’s
side rearview mirror, or clockwise to select the
passenger’s side rearview mirror.
Then use the control to adjust each mirror
so that you
can see a little
of the side of your vehicle and the
area beside and behind your vehicle when you are
sitting in a comfortable driving position.
If you are not adjusting either mirror, leave the control
in the center
off position. This prevents moving the
mirrors accidentally once you have them adjusted.
Both outside mirrors can be folded forward or rearward.
In the rearward position, they will fold almost flush
with the vehicle. This feature
is particularly useful in
automatic car washes.
2-45
Page 139 of 466
Storage Areas
Your vehicle's large carrying capacity can store many
items.
If you have the extended wheelbase version, you
can carry things as large as a
4' x 8' piece of plywood.
You can also use the floor pins that are used to
attach the seats, to secure larger loads.
Glove Box
Your vehicle has a glove box below the instrument
panel.
To open the glove box, lift the latch release.
The glove box door has a detent to prevent the door
from lowering too far. Open the glove box until the door
is partway open, then pull the door down if you need
it fully open. To close the glove box, the door must
be pushed up past the detent.
Cupholder(s)
There are cupholders located below the center
instrument panel switchbank. The cupholders have a
removable liner for larger size cups and for cleaning
the cupholders.
To use the cupholders, simply pull out the tray.
Keep the tray stowed in when not in use. Your
vehicle also has cupholders on the bottom inboard
side of the second row driver's side captain's chairs
and the seatbacks have cupholders that can be
used when the seatbacks are folded forward.
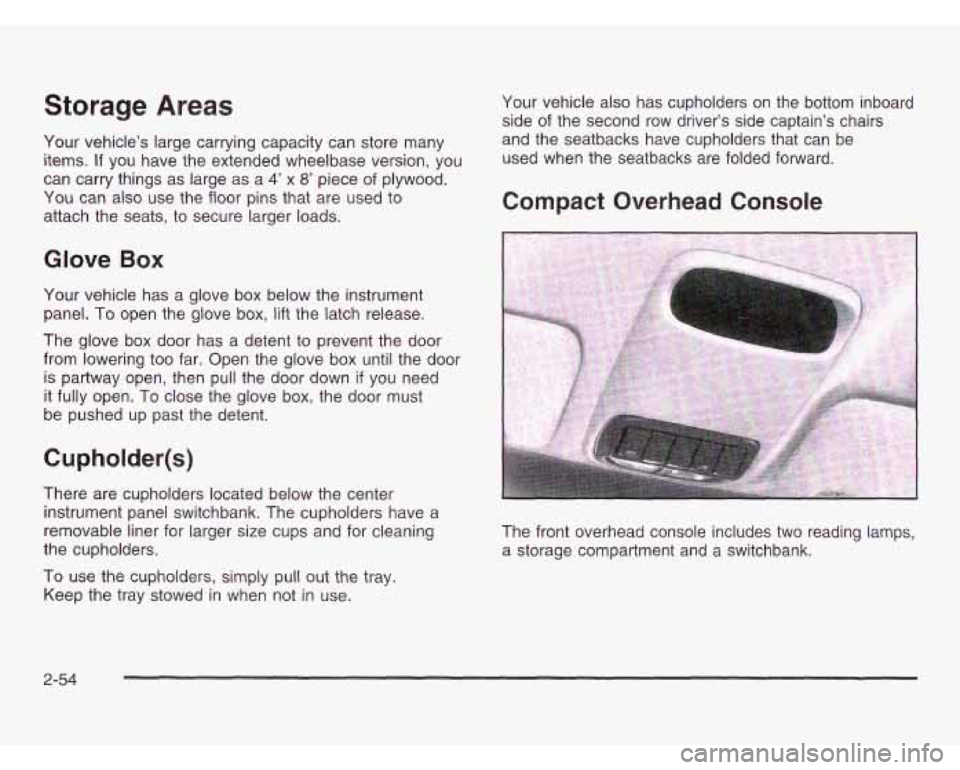
Compact Overhead Console
The front overhead console includes two reading lamps,
a storage compartment and a switchbank.
2-54
Page 140 of 466
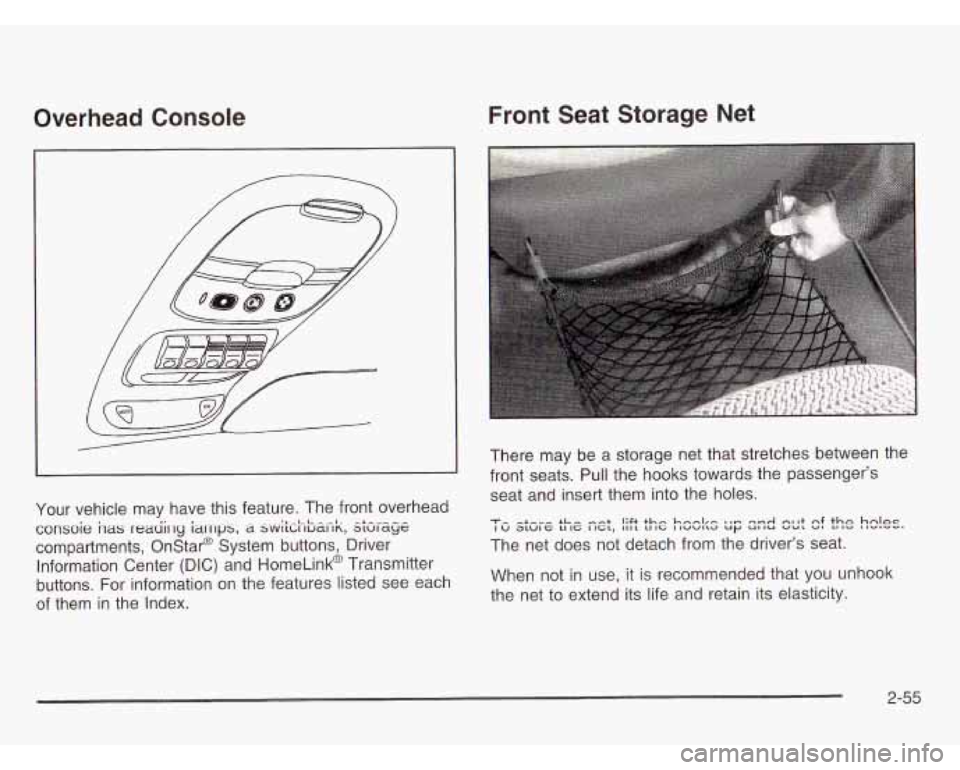
Overhead Console
Your vehicle may have this feature. The front overhead
consoie has reaciirly ianlps, a swi\iiici-,Gaiik, skrsg~
compartments, Onstar@ System buttons, Driver
Information Center
(DIC) and HomeLink@ Transmitter
buttons. For information
on the features listed see each
of them in the Index.
Front Seat Storage Net
There may be a storage net that stretches between the
front seats. Pull the hooks towards the passenger’s
seat and insert them into the holes.
When not in use,
it is recommended that you unhook
the net to extend its life and retain its elasticity.
2-55
Page 145 of 466
Convenience Center
If a.., removable convenience item isn’t
secured properly, it can move around in a
collision or sudden stop. People in the vehicle
could be injured. Be sure to secure any such
item properly.
Your vehicle may have a convenience center. It comes
with the stowable seat. It provides extra storage
space for the rear of the vehicle.
To open the convenience center, pull up on the door latch
located
in the front. The convenience center cover has
two automatic prop rods to hold it up and in place.
To close the convenience center cover you must pull
one of the prop rod linkages toward you while holding
onto the door latch and lower the convenience
center cover to close it.
Removing the Convenience Center
1. Make sure that all items are off of the convenience
2. Turn the hand knob counterclockwise until the knob
3. Lift up on the hand knob to grab a hold of the
4. Lift up on the convenience center while pulling it
center and that it is
empty.
is loose.
convenience center.
toward you and pull it out.
Replacing the Convenience Center
1. Make sure the stowable seat is properly installed in
the vehicle. See
Stowable Seat on page 1-78 for
more information. If the stowable seat is not in
the vehicle with the convenience center, the
convenience center will not be locked into the
correct position in the vehicle.
2. Make sure that the convenience center is closed.
3. Lift the convenience center up and into the rear
of the vehicle.
2-60
Page 146 of 466
I
I’
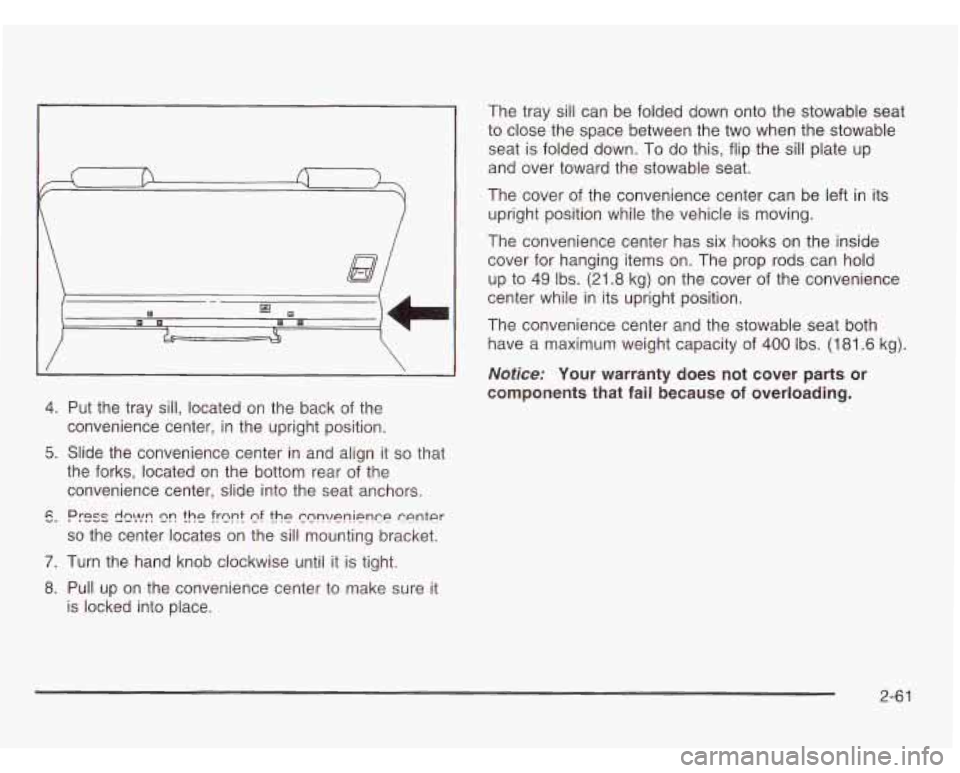
4. Put the tray sill, located on the back of the
convenience center, in the upright position.
5. Slide the convenience center in and align it so that
the forks, located on the bottom rear of the
convenience center, slide into the seat anchors.
6. PESS dc>jc? c?n the frnnt cf the ccnv~nience center
so the center locates on the sill mounting bracket.
7. Turn the hand knob clockwise until it is tight.
8. Pull up on the convenience center to make sure it
is locked into place. The
tray sill can be folded down onto the stowable seat
to close the space between the two when the stowable
seat
is folded down. To do this, flip the sill plate up
and over toward the stowable seat.
The cover of the convenience center can be left in its
upright position while the vehicle is moving.
The convenience center has six hooks on the inside
cover for hanging items on. The prop rods can hold
up to
49 Ibs. (21.8 kg) on the cover of the convenience
center while in its upright position.
The convenience center and the stowable seat both
have a maximum weight capacity of
400 Ibs. (181.6 kg).
Nofice: Your warranty does not cover parts or
components that fail because
of overloading.
2-6 1