check engine Peugeot Bipper 2015 User Guide
[x] Cancel search | Manufacturer: PEUGEOT, Model Year: 2015, Model line: Bipper, Model: Peugeot Bipper 2015Pages: 192, PDF Size: 7.97 MB
Page 62 of 192
60
Bipper_en_Chap03_pret-a-partir_ed02-2014
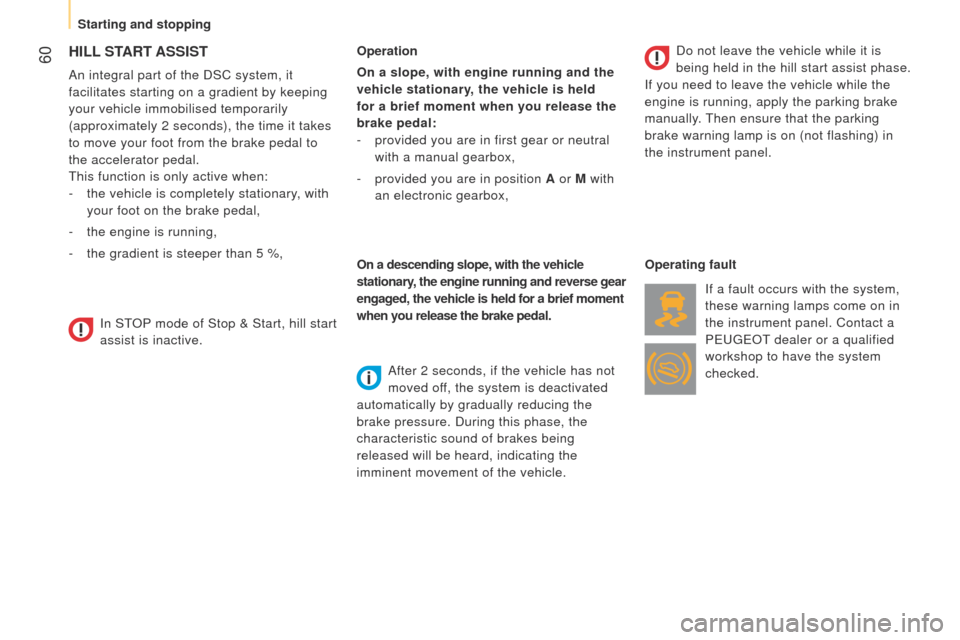
HILL START ASSIST
An integral part of the DSC system, it
facilitates starting on a gradient by keeping
your vehicle immobilised temporarily
(approximately 2 seconds), the time it takes
to move your foot from the brake pedal to
the accelerator pedal.
t
his function is only active when:
-
the vehicle is completely stationary
, with
your foot on the brake pedal,
-
the engine is running,
-
the gradient is steeper than 5 %, Operation
On a slope, with engine running and the
vehicle stationary, the vehicle is held
for a brief moment when you release the
brake pedal:
-
provided you are in first gear or neutral
with a manual gearbox,
-
provided you are in position
A or M with
an electronic gearbox,
On a descending slope, with the vehicle
stationary, the engine running and reverse gear
engaged, the vehicle is held for a brief moment
when you release the brake pedal. After 2 seconds, if the vehicle has not
moved off, the system is deactivated
automatically by gradually reducing the
brake pressure. During this phase, the
characteristic sound of brakes being
released will be heard, indicating the
imminent movement of the vehicle. Do not leave the vehicle while it is
being held in the hill start assist phase.
If you need to leave the vehicle while the
engine is running, apply the parking brake
manually.
t
hen ensure that the parking
brake warning lamp is on (not flashing) in
the instrument panel.
Operating fault
If a fault occurs with the system,
these warning lamps come on in
the instrument panel. Contact a
P
euge O t
dealer or a qualified
workshop to have the system
checked.
In S
t
OP
mode of Stop & Start, hill start
assist is inactive.
Starting and stopping
Page 65 of 192
63
Bipper_en_Chap03_pret-a-partir_ed02-2014
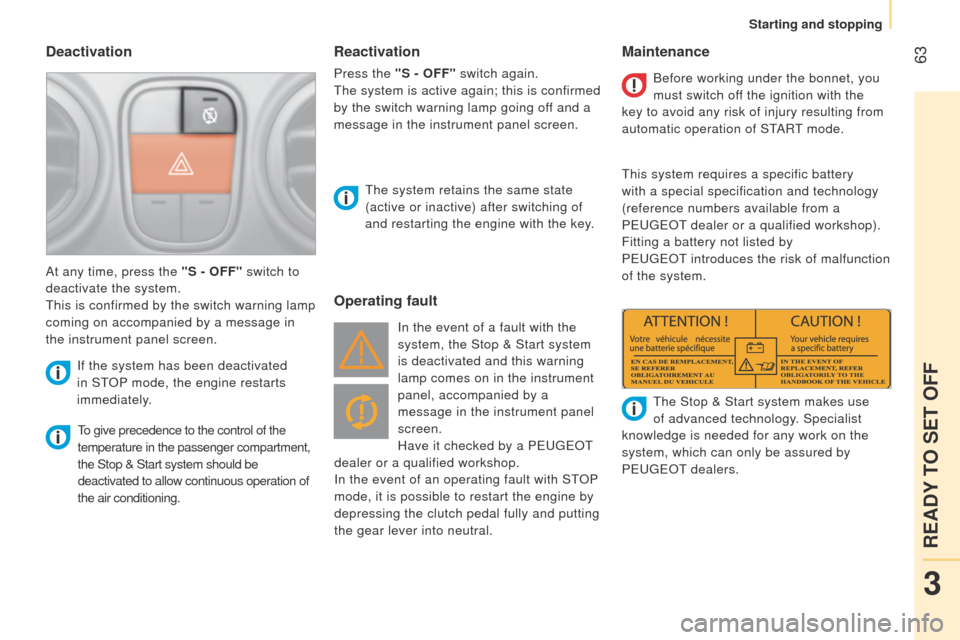
Deactivation
to give precedence to the control of the
temperature in the passenger compartment,
the Stop & Start system should be
deactivated to allow continuous operation of
the air conditioning.
t
he system retains the same state
(active or inactive) after switching of
and restarting the engine with the key.
At any time, press the "S - OFF" switch to
deactivate the system.
t
his is confirmed by the switch warning lamp
coming on accompanied by a message in
the instrument panel screen.
If the system has been deactivated
in St
OP
mode, the engine restarts
immediately.
Operating fault Maintenance
In the event of a fault with the
system, the Stop & Start system
is deactivated and this warning
lamp comes on in the instrument
panel, accompanied by a
message in the instrument panel
screen.
Have it checked by a P
euge O t
dealer or a qualified workshop.
In the event of an operating fault with S
t
OP
mode, it is possible to restart the engine by
depressing the clutch pedal fully and putting
the gear lever into neutral. Before working under the bonnet, you
must switch off the ignition with the
key to avoid any risk of injury resulting from
automatic operation of S t
ARt mode.
t
his system requires a specific battery
with a special specification and technology
(reference numbers available from a
P euge O t
dealer or a qualified workshop).
Fitting a battery not listed by
P euge O t introduces the risk of malfunction
of the system.
t
he Stop & Start system makes use
of advanced technology. Specialist
knowledge is needed for any work on the
system, which can only be assured by
P
euge O t
dealers.
Reactivation
Press the "S - OFF" switch again.
t
he system is active again; this is confirmed
by the switch warning lamp going off and a
message in the instrument panel screen.
3
READY TO SET OFF
Starting and stopping
Page 115 of 192
11 3
Bipper_en_Chap06_securite_ed02-2014
Emergency braking assistance*
System which, in an emergency, enables
you to reach the optimum braking pressure
more quickly, thus reducing the stopping
distance.
t
he emergency braking assistance
is an integral part of the DSC system
Activation
It is brought into play by the speed at which
the brake pedal is pressed.
t
he effect of this is a reduction in the
resistance of the pedal and an increase in
braking efficiency.
When braking in an emergency, press firmly
without releasing the pressure.
Good practice
t
his system cannot be deactivated by the
driver.
* Depending on country of sale.
TRAJECTORY CONTROL SYSTEMS
Dynamic stability control
(DSC)
the dynamic stability control system acts on
the brake of one or more wheels and on the
engine to keep the vehicle on the trajectory
required by the driver, within the limits of the
laws of physics.
Activation
t
his system is activated automatically each
time the vehicle is started and cannot be
deactivated.
It comes into operation in the event of a grip
or trajectory problem.
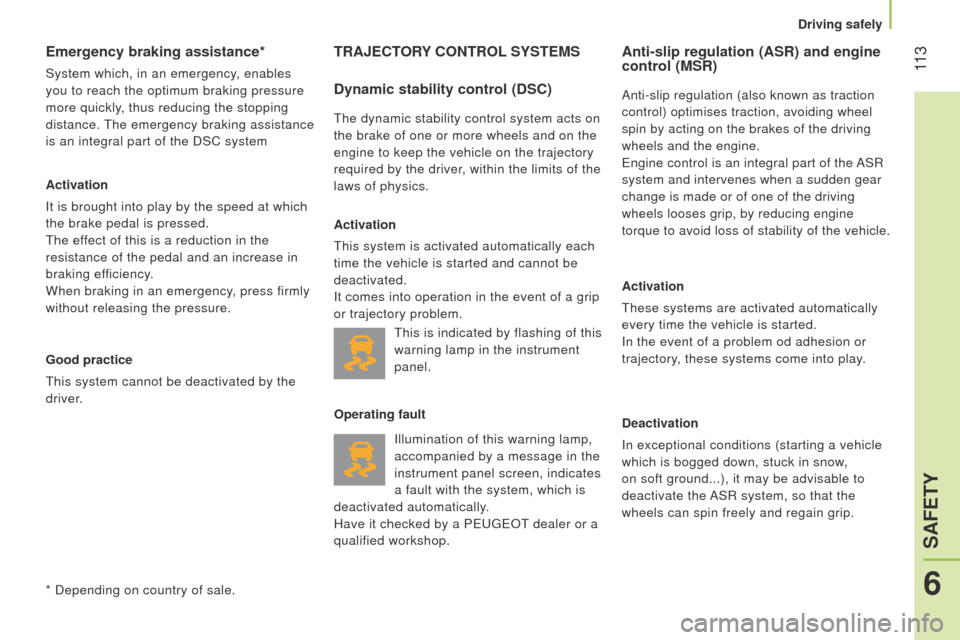
Illumination of this warning lamp,
accompanied by a message in the
instrument panel screen, indicates
a fault with the system, which is
deactivated automatically.
Have it checked by a P
euge O t
dealer or a
qualified workshop.
Anti-slip regulation (ASR) and engine
control (MSR)
Anti-slip regulation (also known as traction
control) optimises traction, avoiding wheel
spin by acting on the brakes of the driving
wheels and the engine.
e
ngine control is an integral part of the ASR
system and intervenes when a sudden gear
change is made or of one of the driving
wheels looses grip, by reducing engine
torque to avoid loss of stability of the vehicle.
Activation
t
hese systems are activated automatically
every time the vehicle is started.
In the event of a problem od adhesion or
trajectory, these systems come into play.
Deactivation
In exceptional conditions (starting a vehicle
which is bogged down, stuck in snow,
on soft ground...), it may be advisable to
deactivate the ASR system, so that the
wheels can spin freely and regain grip.
t
his is indicated by flashing of this
warning lamp in the instrument
panel.
Operating fault
6
SAFETY
Driving safely
Page 120 of 192

11 8
Bipper_en_Chap06_securite_ed02-2014
FRONT SEAT BELTS
the front seats are fitted with pre-tensioners
and force limiters.
Fastening
Pull the strap, then insert the tongue into the
buckle.
Check that the seat belt is fastened correctly
by pulling the strap.
t
he lap belt must be positioned as low as
possible on the pelvis.
t
he chest belt must
pass over the hollow of the shoulder.
Inertia reel seat belts
these are fitted with a device which locks
automatically in the event of a collision or
emergency braking.
Safety in the event of a front impact has
been improved by the introduction of
pretensioning and force limiting seat belts.
Depending on the seriousness of the
impact, the pretensioning system instantly
tightens the seat belt against the body of the
occupant.
t
he pretensioning seat belts are active when
the ignition is on.
t
he force limiter reduces the pressure of the
seat belt against the body of the occupant in
the event of an accident.
Driver's seat belt not fastened warning
lamp
When the vehicle is started, this
warning lamp comes on if the
driver has not fastened their seat
belt.
REAR SEAT BELTS (COMBI)
the 3-seat bench is fitted with three-point
inertia reel seat belts with force limiter .
t
he centre seat has a seat belt guide and
inertia reel, integrated with the seat back.
When a seat belt is not in use, you can
store its buckle in the housing provided
in the bench seat cushion.
If the driver's seat belt is unfastened,
the S
t
ARt mode of Stop & Start will
not be invoked.
t
he engine can only be
restarted using the ignition key.
Seat belts
Page 140 of 192
138
Bipper_en_Chap07_accessoire_ed02-2014
In certain cases of particularly arduous
use (towing the maximum load up a steep
slope in high temperatures), the engine
automatically limits its power. In this case,
automatic cutting off of the air conditioning
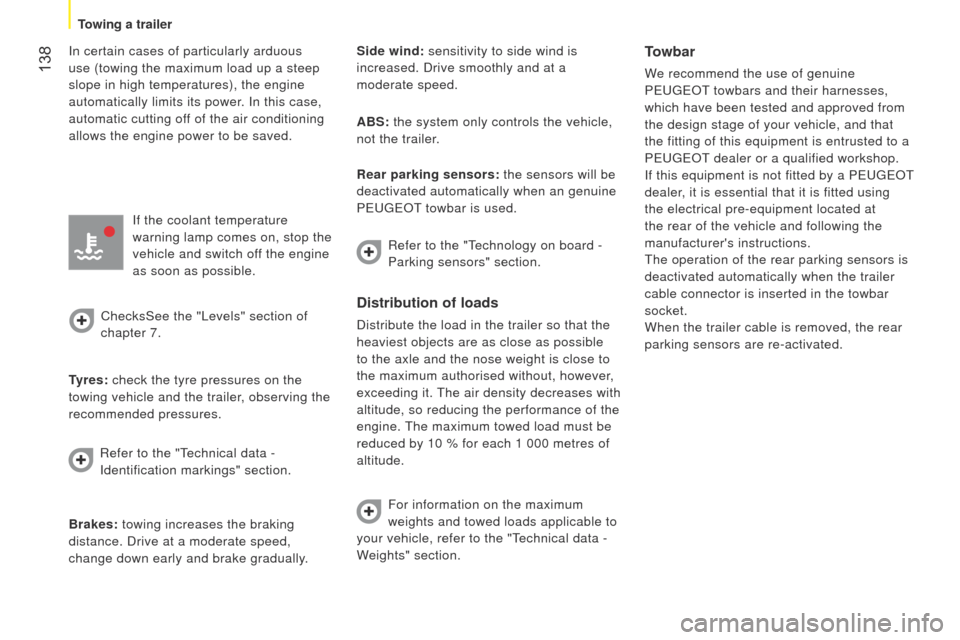
allows the engine power to be saved.If the coolant temperature
warning lamp comes on, stop the
vehicle and switch off the engine
as soon as possible.
ChecksSee the "
l evels" section of
chapter 7.
Tyres: check the tyre pressures on the
towing vehicle and the trailer, observing the
recommended pressures.
Brakes: towing increases the braking
distance. Drive at a moderate speed,
change down early and brake gradually. Side wind: sensitivity to side wind is
increased. Drive smoothly and at a
moderate speed.
ABS: the system only controls the vehicle,
not the trailer.
Distribution of loads
Distribute the load in the trailer so that the
heaviest objects are as close as possible
to the axle and the nose weight is close to
the maximum authorised without, however,
exceeding it.
t
he air density decreases with
altitude, so reducing the performance of the
engine.
t
he maximum towed load must be
reduced by 10 % for each 1 000 metres of
altitude.
Refer to the "
t
echnical data -
Identification markings" section. Rear parking sensors: the sensors will be
deactivated automatically when an genuine
P
euge O t towbar is used.
Towbar
We recommend the use of genuine
P
euge O t towbars and their harnesses,
which have been tested and approved from
the design stage of your vehicle, and that
the fitting of this equipment is entrusted to a
P
euge O t
dealer or a qualified workshop.
If this equipment is not fitted by a P
euge O t
dealer
, it is essential that it is fitted using
the electrical pre-equipment located at
the rear of the vehicle and following the
manufacturer's instructions.
t
he operation of the rear parking sensors is
deactivated automatically when the trailer
cable connector is inserted in the towbar
socket.
When the trailer cable is removed, the rear
parking sensors are re-activated.
Refer to the "
t
echnology on board -
Parking sensors" section.
For information on the maximum
weights and towed loads applicable to
your vehicle, refer to the "
t
echnical data -
Weights" section.
Towing a trailer
Page 143 of 192

141
Bipper_en_Chap08_verifications_ed02-2014
PeugeOt & t O tAl,
A PARtNeRSHIP tO De lI Ve R
Be
tte R
P
e
RFORMANC
e
!
Innovation, the key to success
the tOtAl Research and Development and
Pe ugeOt teams work together to develop high
quality lubricants that meet the requirements
of P
e
uge
Ot
vehicles. For you, this is the
assurance that the performance of your engine
is optimised while also ensuring its durability.
The 208 HYbrid FE demonstrates the ability of
P
e
uge
Ot
and
tOtAl
to develop innovative
technologies and provide other ways of moving
towards the future.
208 HYbrid FE, a technology demonstrator with exceptional characteristics:
1.9 l/100 km (148.7 mpg) and 0 to 100 km/h (0 to 62 mph) in 8 seconds.
Reduced exhaust emissions,
a true reality
tOtAl lubricants are formulated to optimise the
efficiency of engines and the protection of the
emissions post-treatment systems. It is important
to observe the servicing recommendations
made by P
e
uge
Ot
to assure correct operation.
RECOMMENDS
8
CHECKS
Maintenance with TOTAL
Page 144 of 192
142
Bipper_en_Chap08_verifications_ed02-2014
FILLING WITH FUEL
Capacity of the fuel tank: approximately 45 litres.
Low fuel level
When the minimum fuel tank level
is reached, this warning lamp
comes on. When it first comes on,
you have approximately 6 litres
of fuel remaining. Refuel without delay to
avoid running out of fuel.
An arrow in the instrument panel indicates
which side of the vehicle the filler flap is
located.
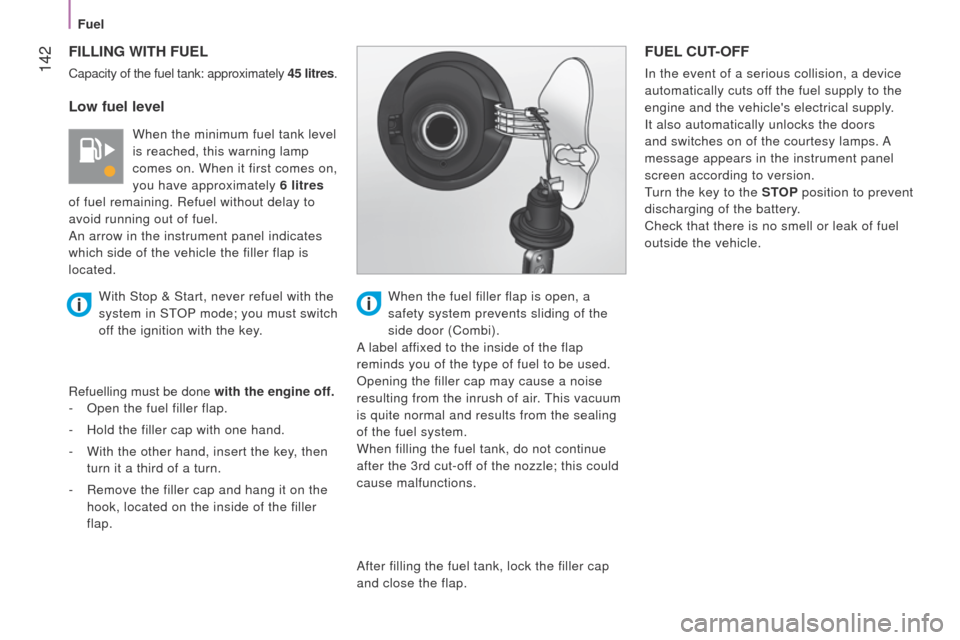
Refuelling must be done with the engine off.
-
Open the fuel filler flap.
-
Hold the filler cap with one hand.
-
With the other hand, insert the key
, then
turn it a third of a turn.
-
Remove the filler cap and hang it on the
hook, located on the inside of the filler
flap.
FUEL CUT-OFF
In the event of a serious collision, a device
automatically cuts off the fuel supply to the
engine and the vehicle's electrical supply.
It also automatically unlocks the doors
and switches on of the courtesy lamps. A
message appears in the instrument panel
screen according to version.
turn the key to the
STOP position to prevent
discharging of the battery.
Check that there is no smell or leak of fuel
outside the vehicle.
With Stop & Start, never refuel with the
system in S
t
OP
mode; you must switch
off the ignition with the key. When the fuel filler flap is open, a
safety system prevents sliding of the
side door (Combi).
A label affixed to the inside of the flap
reminds you of the type of fuel to be used.
Opening the filler cap may cause a noise
resulting from the inrush of air.
t
his vacuum
is quite normal and results from the sealing
of the fuel system.
When filling the fuel tank, do not continue
after the 3rd cut-off of the nozzle; this could
cause malfunctions.
After filling the fuel tank, lock the filler cap
and close the flap.
Fuel
Page 145 of 192
143
Bipper_en_Chap08_verifications_ed02-2014
Resetting
to set off again, restore the fuel supply and
the electrical supply manually:
-
with the key in the
STOP position, turn
the key to the RUNNING position,
-
push the direction indicator control stalk
fully upwards,
-
place it in the "Of
f" position,
-
press the direction indicator control stalk
fully downwards,
-
return it to the "Of
f" position,
-
push it fully upwards again,
-
return it to the "Of
f" position,
-
press it fully downwards again,
-
return it to the "Of
f" position,
-
turn the key to the
STOP position.
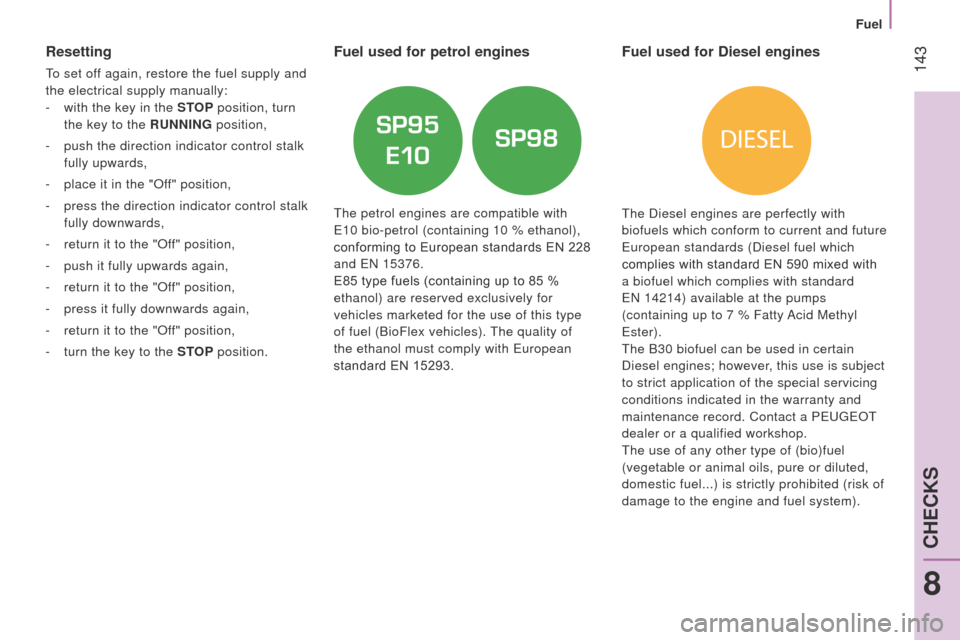
Fuel used for petrol engines
the petrol engines are compatible with
e
10 bio-petrol (containing 10 % ethanol),
conforming to European standards EN 228
and
e N 15376.
E85 type fuels (containing up to 85 %
ethanol) are reserved exclusively for
vehicles marketed for the use of this type
of fuel (BioFlex vehicles).
t
he quality of
the ethanol must comply with
e uropean
standard EN 15293.
Fuel used for Diesel engines
the Diesel engines are perfectly with
biofuels which conform to current and future
e
uropean standards (Diesel fuel which
complies with standard EN 590 mixed with
a biofuel which complies with standard
e
N 14214) available at the pumps
(containing up to 7 % Fatty Acid Methyl
e
ster).
t
he B30 biofuel can be used in certain
Diesel engines; however, this use is subject
to strict application of the special servicing
conditions indicated in the warranty and
maintenance record. Contact a P
euge O t
dealer or a qualified workshop.
t
he use of any other type of (bio)fuel
(vegetable or animal oils, pure or diluted,
domestic fuel...) is strictly prohibited (risk of
damage to the engine and fuel system).
8
CHECKS
Fuel
Page 147 of 192
145
Bipper_en_Chap08_verifications_ed02-2014
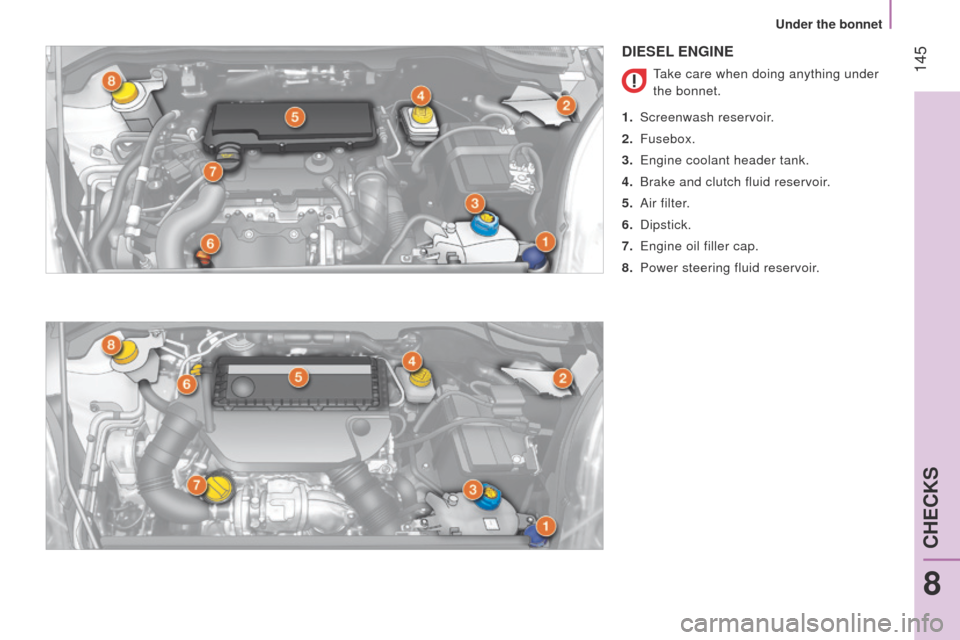
DIESEL ENGINE
take care when doing anything under
the bonnet.
1.
Screenwash reservoir
.
2.
Fusebox.
3.
e
ngine coolant header tank.
4.
Brake and clutch fluid reservoir
.
5.
Air filter
.
6.
Dipstick.
7.
e
ngine oil filler cap.
8.
Power steering fluid reservoir
.
8
CHECKS
Under the bonnet
Page 149 of 192
147
Bipper_en_Chap08_verifications_ed02-2014
these regular maintenance operations will
keep your vehicle in good working order .
Ask for advice from a P
euge O t
dealer or a
qualified workshop or refer to the warranty
and maintenance record provided in the
handbook pack.
LEVELS
Oil level
Check the level regularly and top up
between changes.
t
he maximum oil
consumption is 0.5 litre per 600 miles
(1 000
km). Check the level with the vehicle
level, engine cold, using the dipstick.
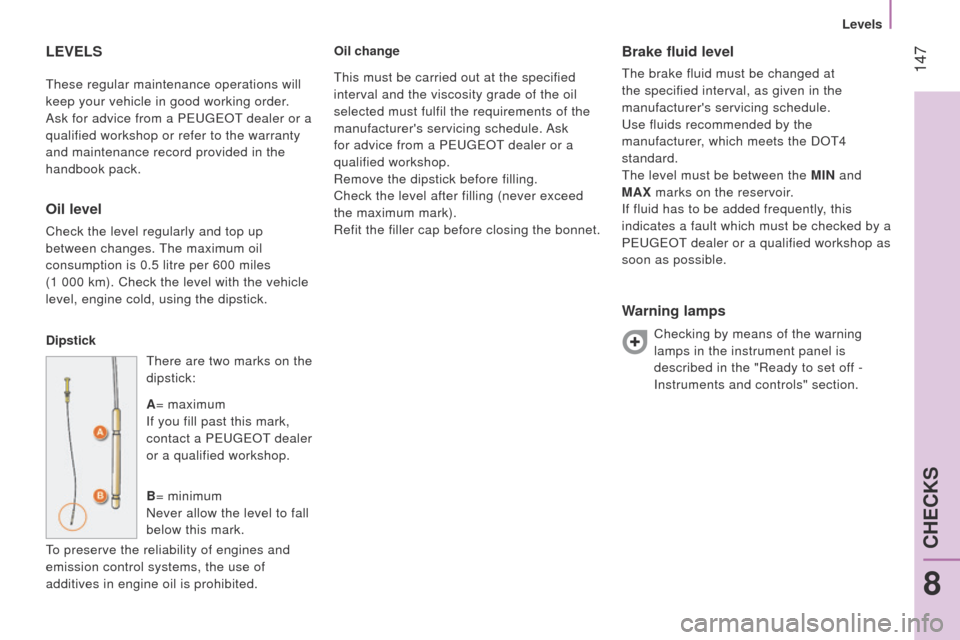
Dipstick
t
here are two marks on the
dipstick:
A = maximum
If you fill past this mark,
contact a P
euge O t
dealer
or a qualified workshop.
B = minimum
Never allow the level to fall
below this mark.
to preserve the reliability of engines and
emission control systems, the use of
additives in engine oil is prohibited. Oil change
Brake fluid level
the brake fluid must be changed at
the specified interval, as given in the
manufacturer's servicing schedule.
u
se fluids recommended by the
manufacturer, which meets the DO
t 4
standard.
t
he level must be between the MIN and
MAX marks on the reservoir.
If fluid has to be added frequently, this
indicates a fault which must be checked by a
P
euge O t
dealer or a qualified workshop as
soon as possible.
Warning lamps
Checking by means of the warning
lamps in the instrument panel is
described in the "Ready to set off -
Instruments and controls" section.
t
his must be carried out at the specified
interval and the viscosity grade of the oil
selected must fulfil the requirements of the
manufacturer's servicing schedule. Ask
for advice from a P
euge
O
t
dealer or a
qualified workshop.
Remove the dipstick before filling.
Check the level after filling (never exceed
the maximum mark).
Refit the filler cap before closing the bonnet.
8
CHECKS
Levels