PONTIAC PONTIAC 1995 Owners Manual
PONTIAC 1995
PONTIAC
PONTIAC
https://www.carmanualsonline.info/img/50/58392/w960_58392-0.png
PONTIAC PONTIAC 1995 Owners Manual
Trending: jump start, service indicator, oil pressure, traction control, park assist, fog light, gas type
Page 241 of 354
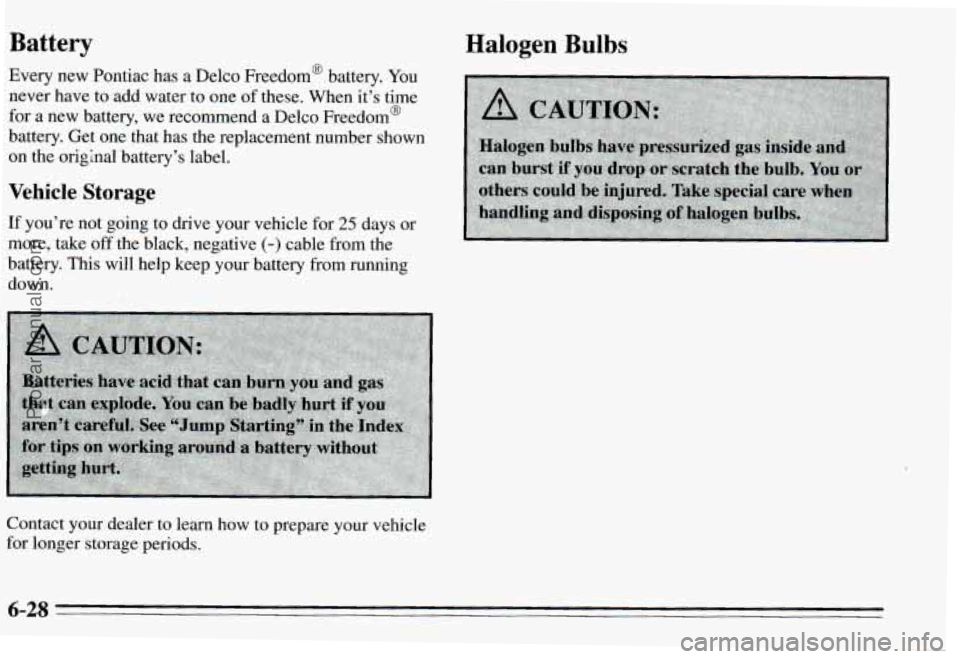
Battery
Every new Pontiac has a Delco Freedom’ battery. You
never have to add water to one of these. When it’s time
for a new battery, we recommend a Delco Freedom@
battery, Get
one that has the replacement number shown
on the original battery’s label.
Halogen Bulbs
6-28
ProCarManuals.com
Page 242 of 354
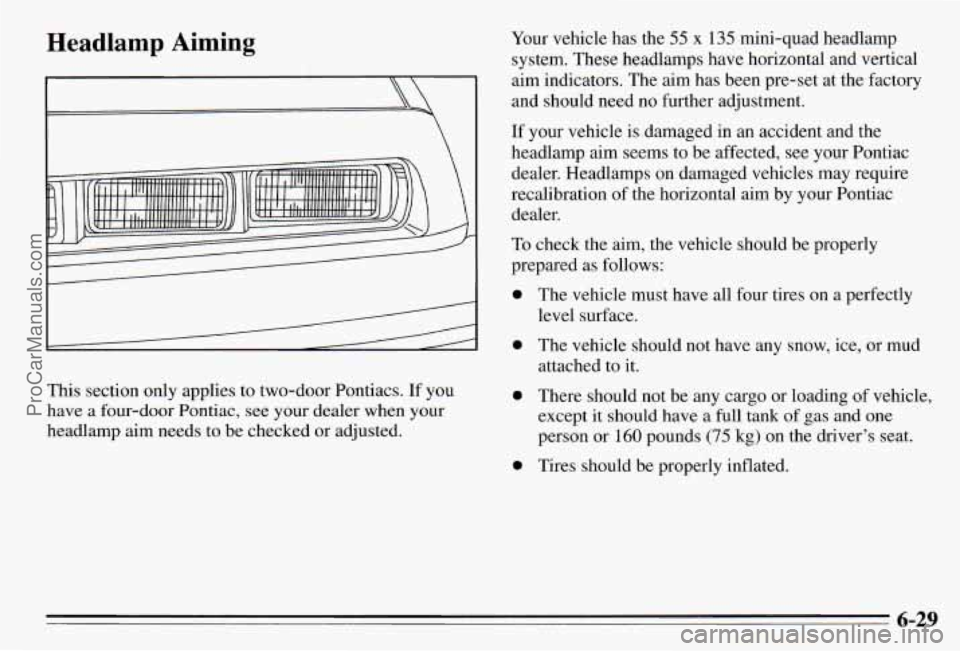
Headlamp Aiming
This section only applies to two-door Pontiacs. If you
have
a four-door Pontiac, see your dealer when your
headlamp aim needs to be checked or adjusted. Your
vehicle has the
55 x 135 mini-quad headlamp
system. These headlamps have horizontal and vertical
aim indicators. The aim has been pre-set at the factory
and should need no further adjustment.
If your vehicle is damaged in an accident and the
headlamp aim seems to be affected, see your Pontiac dealer. Headlamps on damaged vehicles may require
recalibration of the horizontal aim by your Pontiac dealer.
To check the aim, the vehicle should be properly
prepared
as follows:
0
0
0
0
The vehicle must have all four tires on a perfectly
level surface.
The vehicle should not have any snow, ice, or mud
attached to it.
There should not be any cargo or loading of vehicle,
except
it should have a full tank of gas and one
person or
160 pounds (75 kg) on the driver’s seat.
Tires should be properly inflated.
6-29
ProCarManuals.com
Page 243 of 354
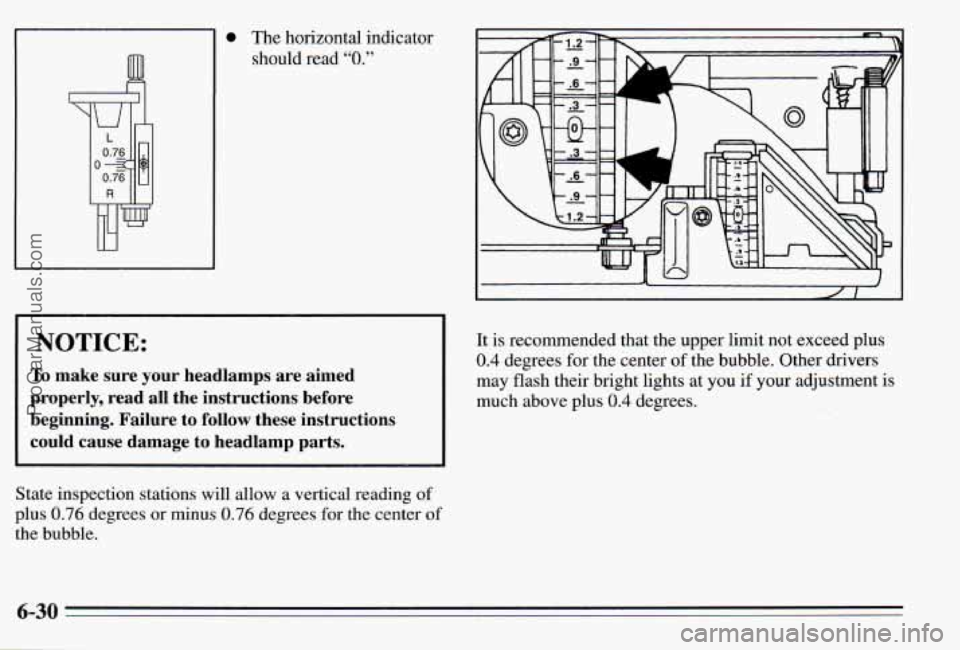
0 The horizontal indcator
should read
“0.”
I NOTICE:
To make sure your headlamps are aimed
properly, read all the instructions before
beginning. Failure to follow these instructions
could cause damage to headlamp parts.
~ ~ ~~
State inspection stations will allow a vertical reading of
plus 0.76 degrees or minus 0.76 degrees for the center of
the bubble.
It is recommended that the upper limit not exceed plus
0.4 degrees for the center of the bubble. Other drivers
may flash their bright lights at you
if your adjustment is
much above plus
0.4 degrees.
6-30
ProCarManuals.com
Page 244 of 354
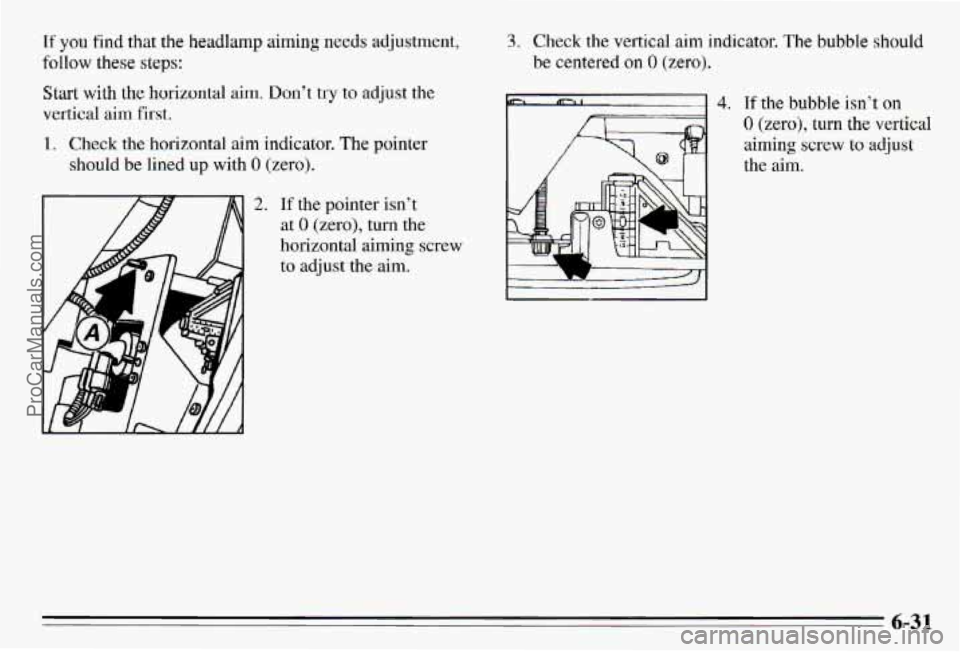
If you find that the headlamp aiming needs adjustment,
Start with
the horizontal ai.m+ Don’t try to adjust the
vertical aim Fkrst.
follow these steps:
1. Check the horizontal aim indicator. The pointer
should be lined up with
0 (zero).
2. If the pointer isn’t
at
0 (zero), turn the
horizontal aiming screw to adjust the aim.
3, Check the vertical aim indicator. The bubble should
be centered on 0 (zero).
7-1 4. If the bubble isn’t on
0 (zero), turn
aiming
screw
the aim. the
vertical
to adjust
6-31
ProCarManuals.com
Page 245 of 354
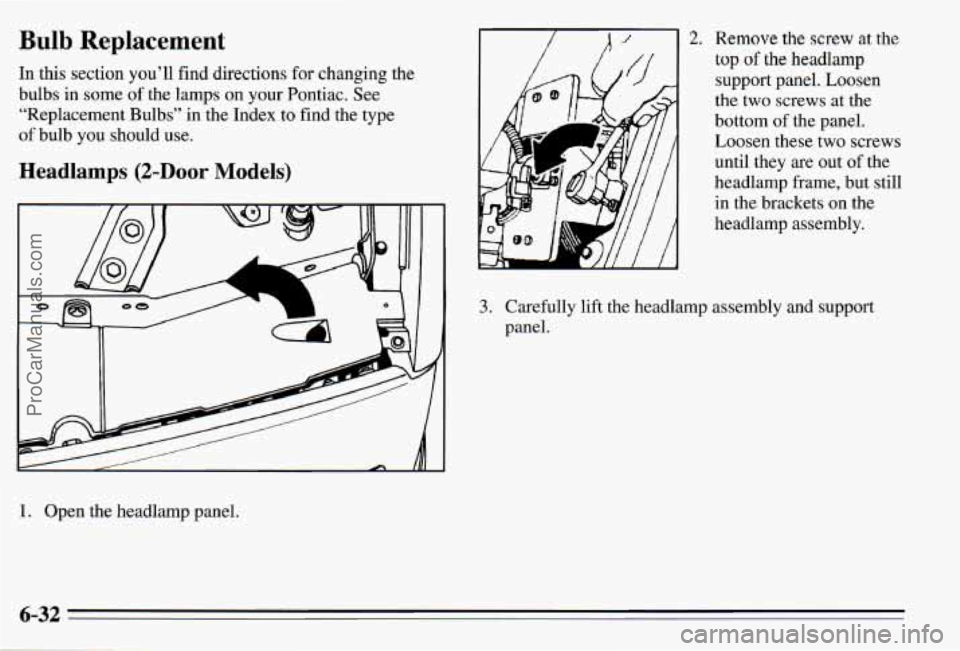
Bulb Replacement
In this section you’ll find directions for changing the
bulbs
in some of the lamps on your Pontiac. See
“Replacement Bulbs” in the Index to find the type
of bulb you should use.
Headlamps (2-Door Models)
1. Or L the headlamp panel.
7-
A
2. Remove the screw at the
top of the headlamp
support panel. Loosen
the two screws at the
bottom of the panel.
Loosen these two screws
until they are out of the
headlamp frame, but still
in the brackets on the
headlamp assembly.
3. Carefully lift the headlamp assembly and support
panel.
6-32 ..
ProCarManuals.com
Page 246 of 354
6
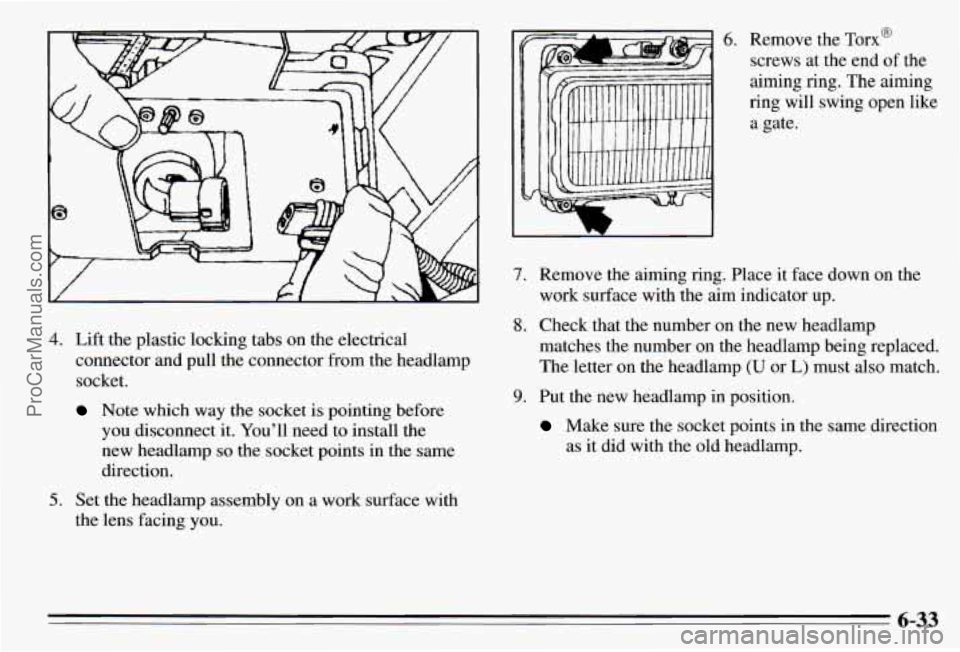
4. Lift the plastic locking tabs on the electrical
connector and pull the connector from the headlamp
socket.
Note which way the socket is pointing before
you disconnect it. You’ll need to install the
new headlamp
so the socket points in the same
direction.
5. Set the headlamp assembly on a work surface with
the lens facing you.
6. Remove the Torx@
screws at the end
of the
aiming ring. The aiming
ring will swing open like
a gate.
7. Remove the aiming ring. Place it face down on the
work surface with the aim indicator
up.
8. Check that the number on the new headlamp
matches the number on the headlamp being replaced.
The letter on the headlamp
(U or L) must also match.
9. Put the new headlamp in position.
Make sure the socket points in the same direction
as
it did with the old headlamp.
6-33
ProCarManuals.com
Page 247 of 354
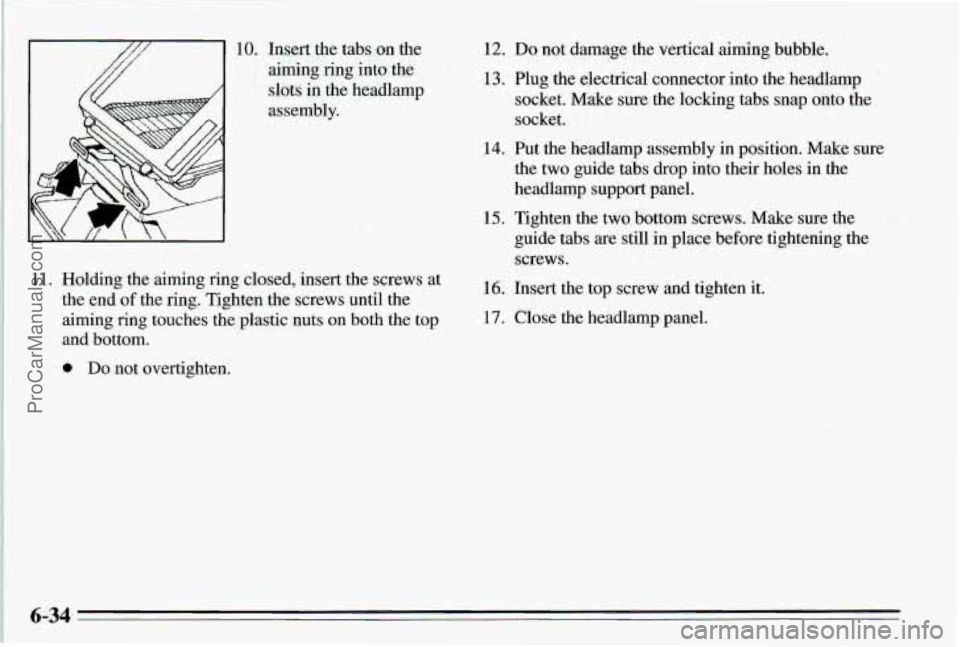
10. Insert the tabs on the
aiming ring into the
11. Holding the
aiming ring closed, insert the screws at
the end of the ring. Tighten -the screws until the
aiming ring touches the plastic nuts on both the top
and bottom.
0 Da not overtighten.
12. Do not damage the vertical aiming bubble.
13. Plug the electrical connector into the headlamp
socket. Make sure the locking tabs snap onto
the
socket.
14. Put the headlamp assembly
in position. Make sure
the two guide tabs drop into their holes in the
headlamp support panel.
guide tabs are still in place before tightening the
screws.
15. Tighten the two bottom
screws. Make sure the
16. Insert the top screw and tighten it.
17. Close the headlamp panel.
6-34
ProCarManuals.com
Page 248 of 354
Headlamps @-Door Models)
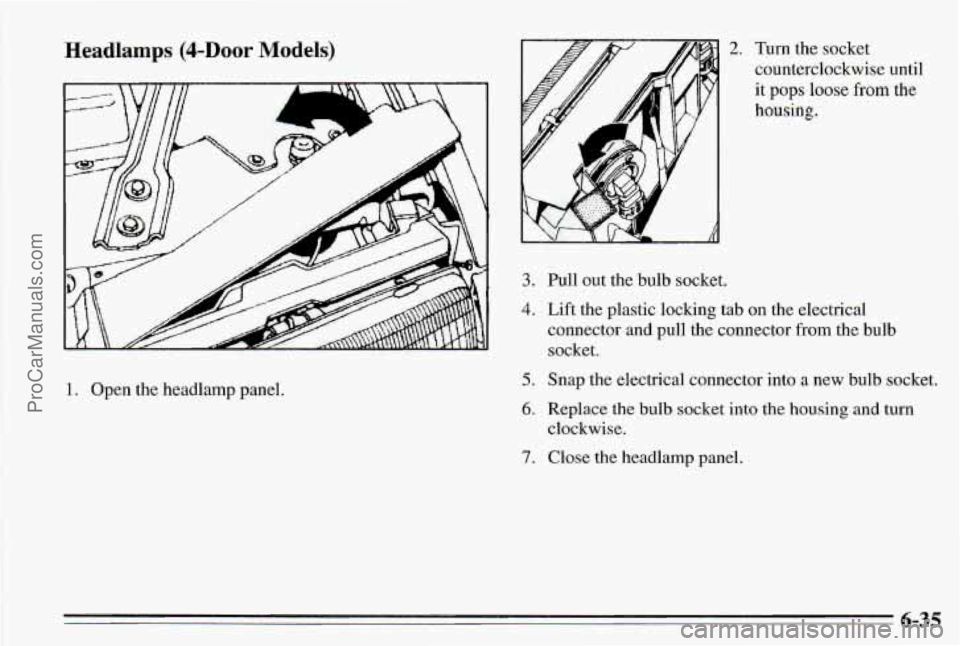
1. Open the headlamp panel.
2. Turn the socket
counterclockwise until
it pops loose from the
housing.
3.
4.
5.
6.
7.
Pull out the bulb socket.
Lift the plastic locking tab on the electrical
connector and pull the connector
from the bulb
socket.
Snap the electrical connector into
a new bulb socket.
Replace the bulb socket into the housing
and turn
clockwise.
Close the headlamp panel.
6-35
ProCarManuals.com
Page 249 of 354
Front Lamp Ear (4-hor Models)
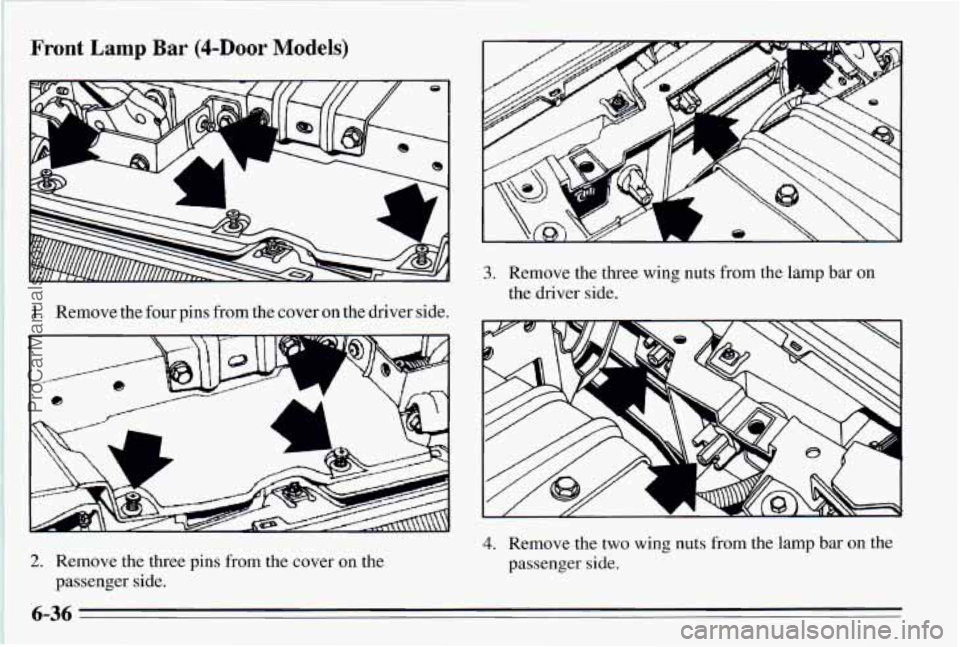
1. Remove the four pins from the cover on the driver side.
2. Remove the three pins from the cover on the
passenger side.
a
3. Remove the three wing nuts from the lamp bar on
the driver side.
4. Remove the two wing nuts from the lamp bar on the
passenger side.
6-36
ProCarManuals.com
Page 250 of 354
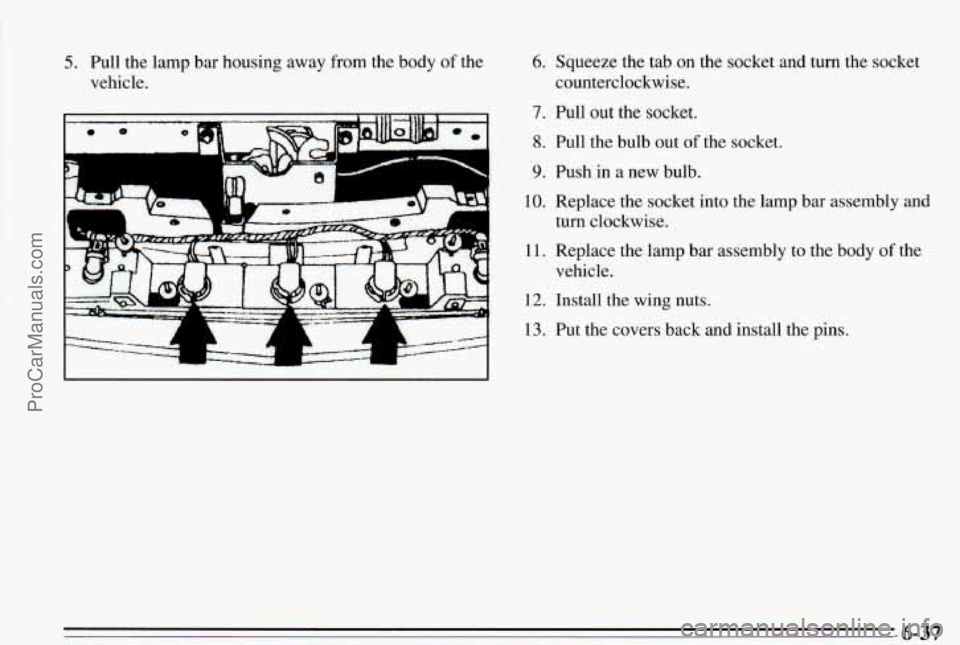
5. Pull the lamp bar housing away from the body of the
vehicle.
K uw
6. Squeeze the tab on the socket and turn the socket
counterclockwise.
7. Pull out the socket.
8. Pull the bulb out of the socket.
9. Push in a new bulb.
10. Replace the socket into the lamp bar assembly and
11. Replace the lamp
bar assembly to the body of the
turn clockwise.
vehicle.
12. Install the wing nuts.
13. Put the covers back and install the pins.
6-37 ProCarManuals.com
Trending: torque, high beam, service interval, oil dipstick, CD changer, manual transmission, turn signal bulb
