PONTIAC PONTIAC 1995 Owners Manual
PONTIAC 1995
PONTIAC
PONTIAC
https://www.carmanualsonline.info/img/50/58392/w960_58392-0.png
PONTIAC PONTIAC 1995 Owners Manual
Trending: tire pressure, maintenance, run flat, turn signal, wheel bolts, windshield wipers, seats
Page 251 of 354
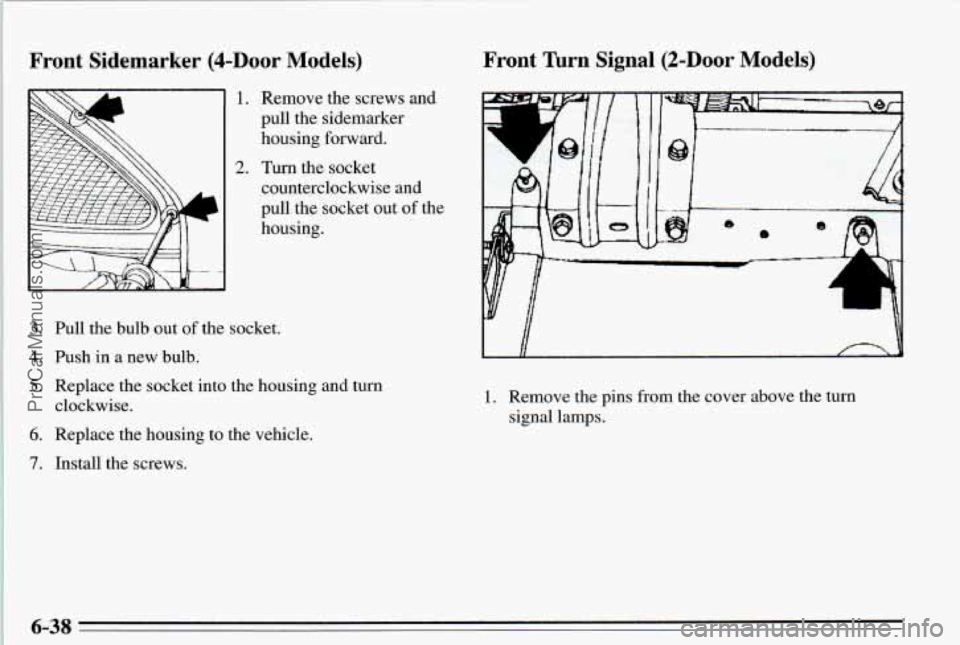
Front Sidemarker (&Door Models) Front Turn Signal (2-Door Models)
1.
2.
Remove the screws and
pull the sidemarker
housing forward.
Turn the socket
counterclockwise and
pull the socket out
of the
housing.
3.
4.
5.
6.
7.
Pull the bulb out of the socket.
fish
in a new bulb.
Replace the socket into the housing
and turn
clockwise.
Replace the housing to the vehicle.
Install the screws-
45 -3
L A
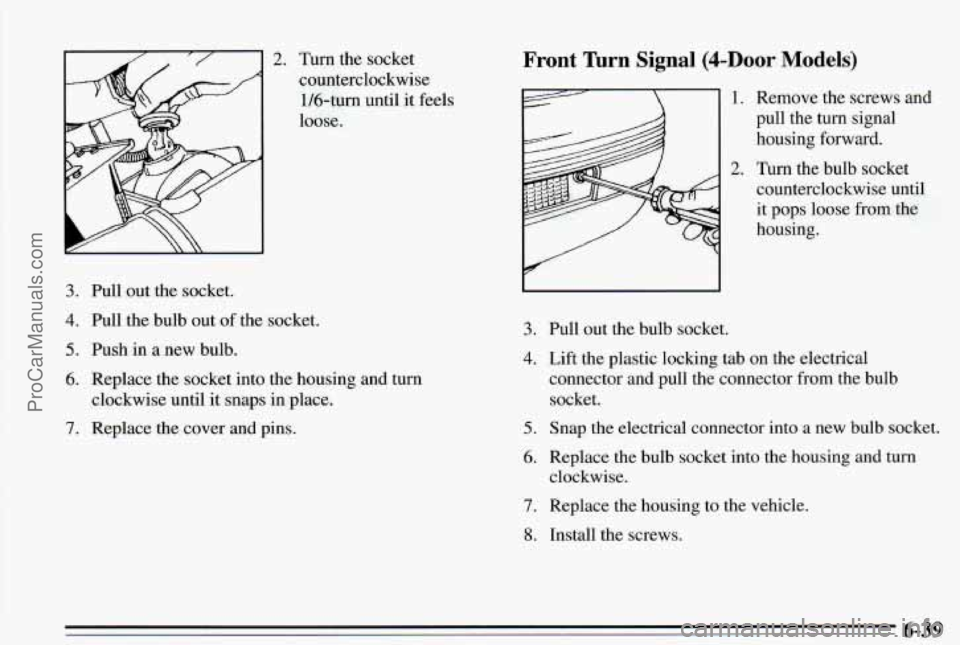
1. Remove the pins from the cover above the turn
signal lamps.
6-38 ProCarManuals.com
Page 252 of 354
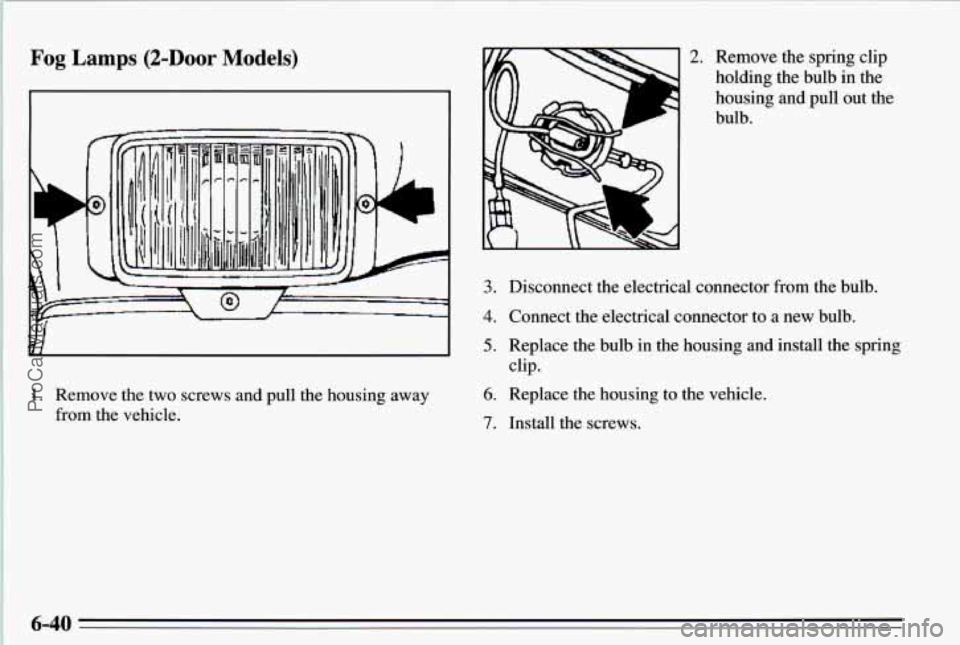
3.
4.
5.
6.
7.
Turn the socket
counterclockwise 1/6-tum until it feels
loose.
Pull out~the socket.
Pull the bulb out
of the socket.
Push
in a new bulb.
Replace the socket into the housing and
turn
clockwise until it snaps in place.
Replace the cover and pins.
Front Turn Signal (4-Door Models)
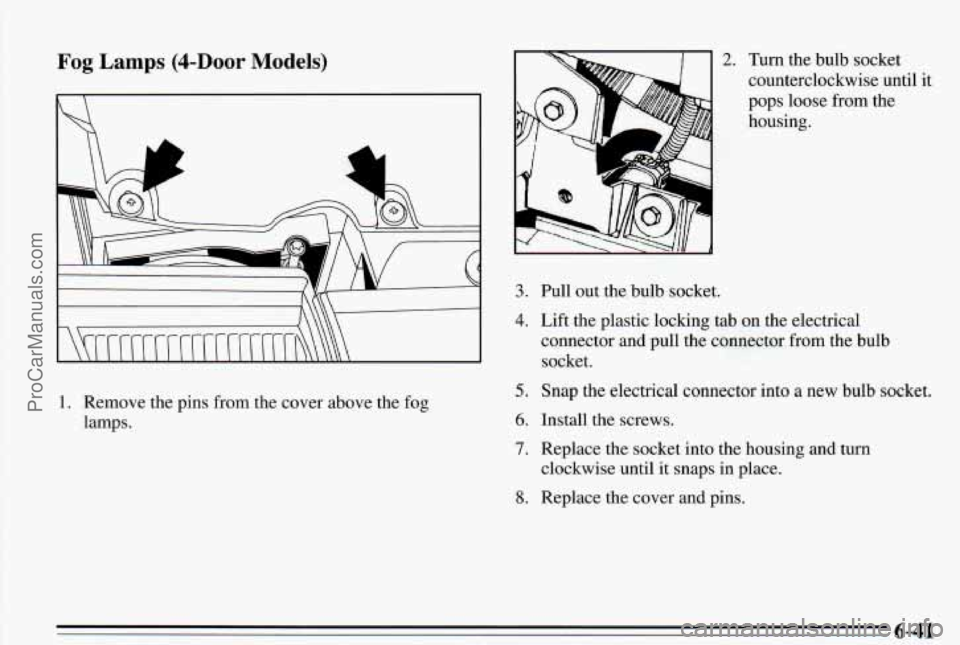
)I 1. Remove the screws and
3. Pull out the bulb socket.
2.
pull the turn signal
housing forward.
Turn the bulb socket counterclockwise until
it pops loose from the
housing.
4. Lift the plastic locking tab on the electrical
connector and pull the connector from the bulb
socket.
5. Snap the electrical connector into a new bulb socket.
6. Replace the bulb socket into the housing and turn
clockxvise.
7. Replace the housing to the vehicle.
8. Install the screws.
6-39 ProCarManuals.com
Page 253 of 354
Fog Lamps (2-Door Models)
1. Remove the two screws and pull the
from the vehicle. housing
away
2. Remove the spring clip
holding the bulb in the
housing and pull out the
bulb.
3. Disconnect the electrical connector from the bulb.
4. Connect the electrical connector to a new bulb.
5. Replace the bulb in the housing and install the spring
clip.
6. Replace the housing to the vehicle.
7. Install the screws.
6-40
ProCarManuals.com
Page 254 of 354
Fog Lamps (&Door Models)
1. Remove the pins from the cover above the fog
lamps.
3.
4.
5.
6.
7.
8.
2.
Pull out the bulb socket. Turn
the bulb socket
counterclockwise until
it
pops loose from the
housing.
Lift the plastic locking tab on the electrical
connector and pull the connector from the bulb
socket.
Snap the electrical connector into a new bulb socket.
Install the screws.
Replace the socket into the housing and turn
clockwise until it snaps in place.
Replace the cover and pins.
6-4 1 ProCarManuals.com
Page 255 of 354
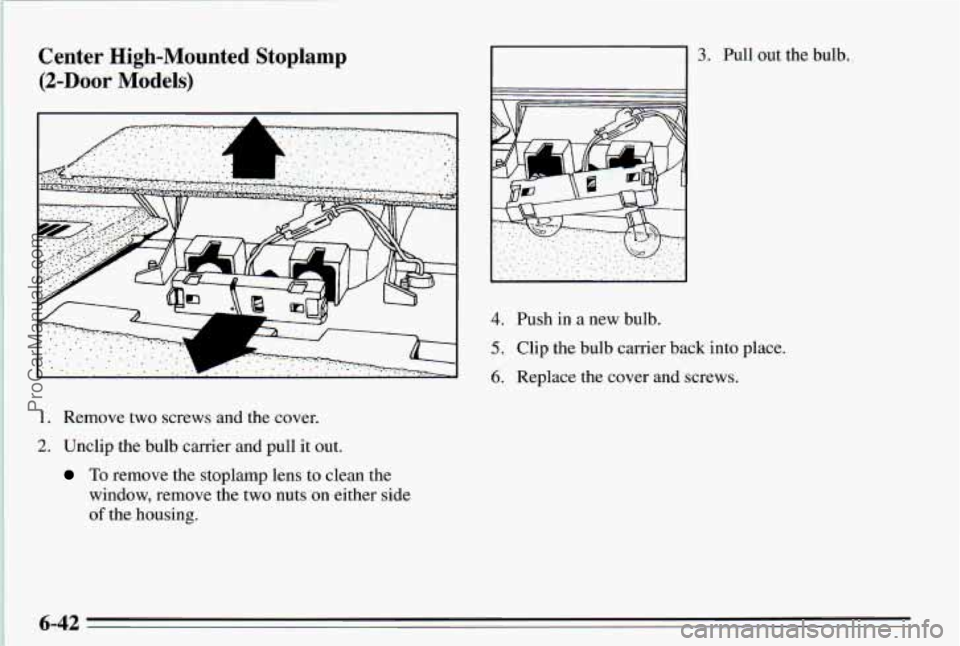
Center High-Mounted Stoplamp
(2-Door Models)
)I 3. Pull out the bulb.
4. Push in a new bulb.
5. Clip the bulb carrier back into place.
6. Replace the cover and screws.
1. Remove two screws and the cover.
2. Unclip the bulb carrier and pull it out.
To remove the stoplamp lens to clean the
window, remove the two nuts on either side
of the housing.
6-42
ProCarManuals.com
Page 256 of 354
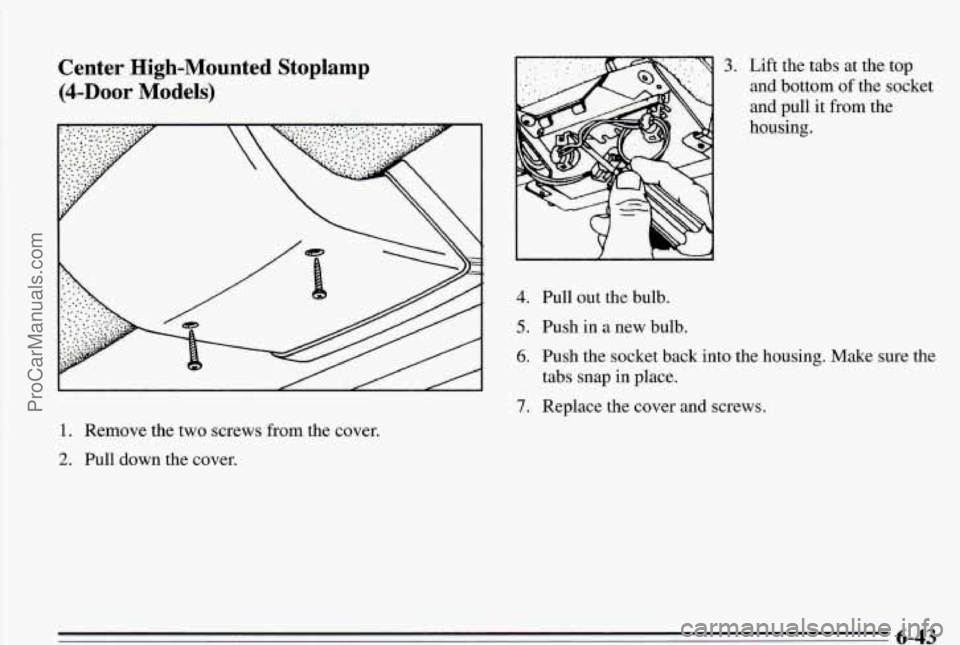
Center High-Mounted Stoplamp
(4-hor Models)
1. Remove the two screws from the cover.
2. PulI down the cover.
3. Lift the tabs at the top
and bottom of the socket
and pull it from the
housing.
4. Pull out the bulb.
5. Push in a new bulb.
6. Push the socket back into the housing. Make sure the
7. Replace the cover and screws.
tabs snap in place.
6-43 ProCarManuals.com
Page 257 of 354
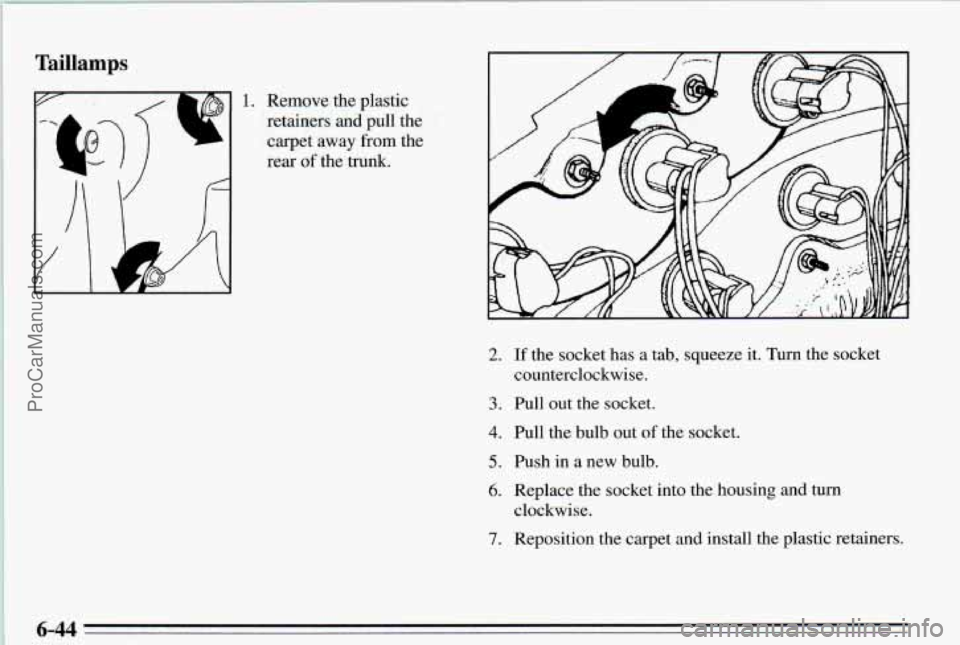
If the socket has a tab, squeeze it. Turn the socket
counterclockwise. 2.
3.
4.
5.
6.
7.
Pull out the socket.
Pull the bulb aut
of the socket.
Push in a new bulb.
Replace the socket into the housing and
turn
clockwise.
Reposition the carpet and install the plastic retainers.
ProCarManuals.com
Page 258 of 354
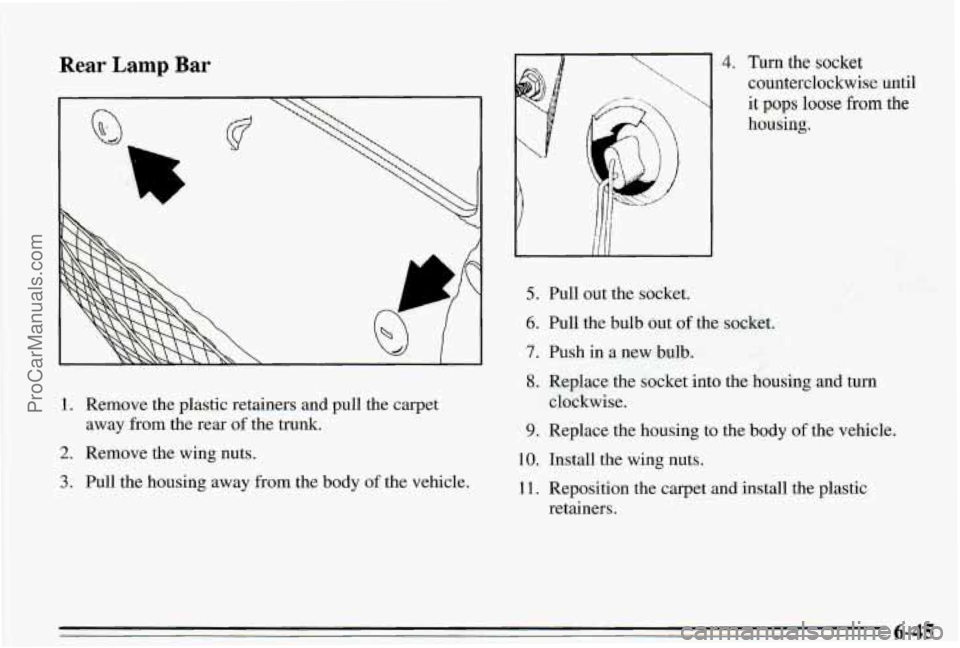
Rear Lamp Bar
1. Remove the plastic retainers and pull the carpet
2. Remove the wing nuts.
away
from the rear of the
trunk.
3. Pull the housing away from the body of the vehicle.
4. Tm the socket
counterclockwise until
it pops loose from the
housing.
5. Pull out the socket.
6. Full the bulb out of the socket.
7. Push in a new .bulb.
8. Replace the socket into the housing and turn
9. Replace the housing to the body of the vehicle,
clockwise.
10. Install
the wing nuts.
11. Reposition the carpet and install the plastic
retainers.
6-45 ProCarManuals.com
Page 259 of 354
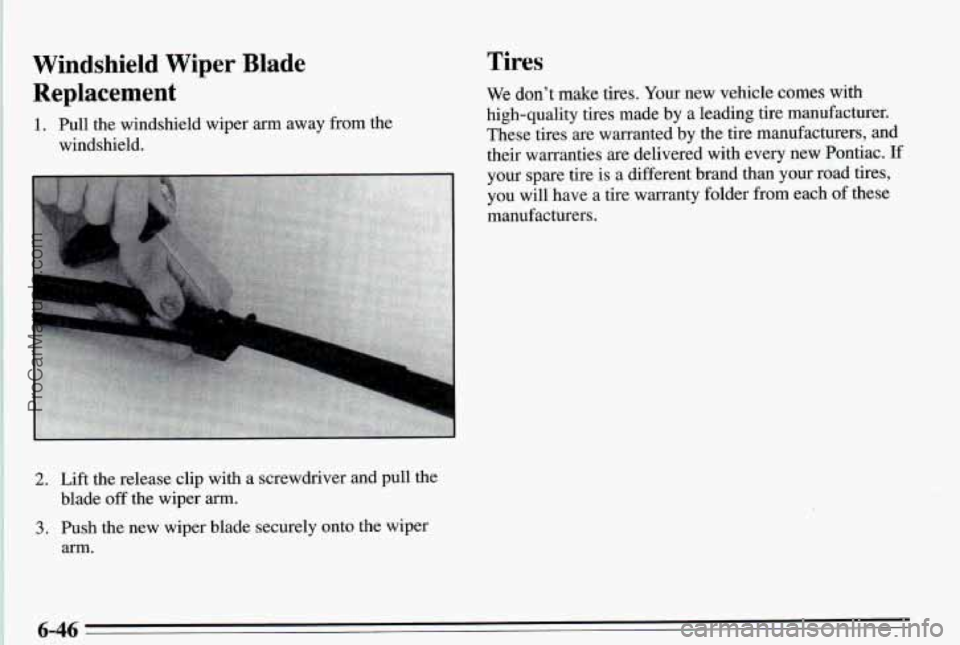
Windshield Wiper Blade Tires
2. Lift the release clip with a screwdriver and pull the
blade
off the wiper arrn.
3. Push the new wiper blade securely onto the wiper
arm.
6-46 ProCarManuals.com
Page 260 of 354
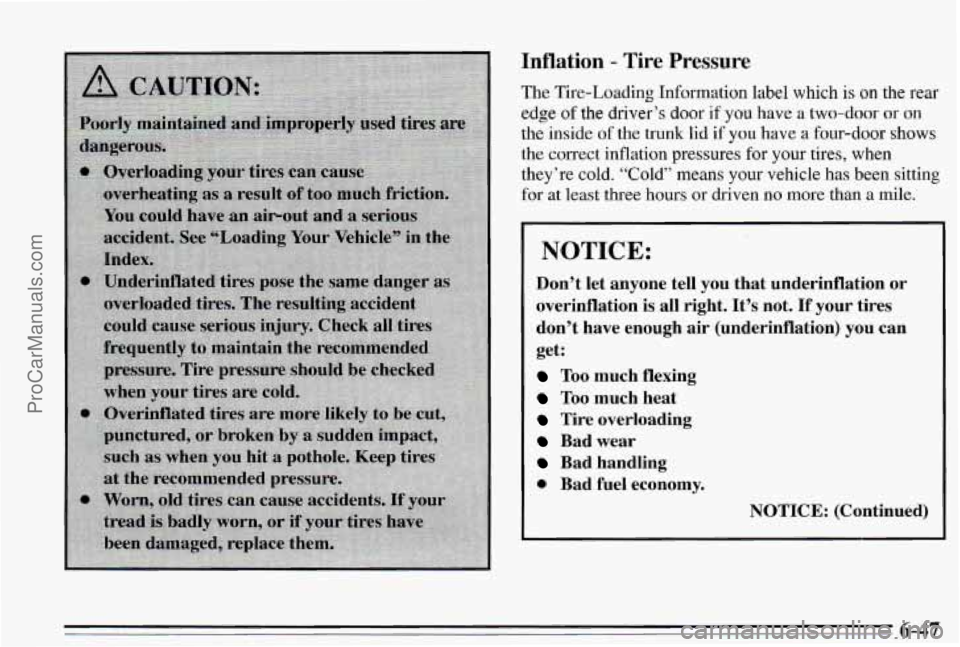
Mation - Tire Pressure
The Tire-Loading Information label which is on the rear
edge of the driver’s door if you have a two-door or on
the inside of the trunk lid if you have a four-door shows
the correct inflation pressures for your tires, when
they’re cold. “Cold” means your vehicle has been
sitting
for at least three hours or driven no more than a mile.
NOTICE:
Don’t let anyone tell you that underinflation or
overinflation is all right. It’s not. If your tires
don’t have enough air (underinflation) you can
get:
Too much flexing
Too much heat
Tire overloading
Bad wear
Bad handling
0 Bad fuel economy.
NOTICE: (Continued)
6-47 ProCarManuals.com
Trending: tow bar, ignition, instrument cluster, refrigerant type, ground clearance, flat tire, engine oil
