CAN Ram 1500 2015 Workshop Manual
[x] Cancel search | Manufacturer: RAM, Model Year: 2015, Model line: 1500, Model: Ram 1500 2015Pages: 871, PDF Size: 24.83 MB
Page 106 of 871

the tether strap to the anchorage and tighten the tether
strap. See the section “Installing Child Restraints
Using the Top Tether Anchorage” for directions to
attach a tether anchor.
9. Test that the child restraint is installed tightly by
pulling back and forth on the child seat at the seat belt
path. It should not move more than 1 inch (25.4 mm)
in any direction.
Any seat belt system will loosen with time, so check the
seat belt occasionally, and pull it tight if necessary.
Installing A Child Restraint With A Cinching
Latch Plate (CINCH) – If Equipped:
1. Place the child seat in the center of the seating
position. For some second row seats, you may need to
recline the seat and / or raise the head restraint to get
a better fit. If the rear seat can be moved forward and
rearward in the vehicle, you may wish to move it to its
rear-most position to make room for the child seat.
You may also move the front seat forward to allow
more room for the child seat.
2.Next, pull enough of the seat belt webbing from the
retractor to pass it through the belt path of the child
restraint. Do not twist the belt webbing in the belt path.
3. Slide the latch plate into the buckle until you hear a
“click.”
4. Finally, pull up on any excess webbing to tighten the
lap portion around the child restraint while you push
the child restraint rearward and downward into the
vehicle seat.
5. If the child restraint has a top tether strap and the
seating position has a top tether anchorage, connect
the tether strap to the anchorage and tighten the tether
strap. See the section “Installing Child Restraints
Using the Top Tether Anchorage” for directions to
attach a tether anchor.
104 THINGS TO KNOW BEFORE STARTING YOUR VEHICLE
Page 107 of 871

6. Test that the child restraint is installed tightly by
pulling back and forth on the child seat at the belt
path. It should not move more than 1 inch (25.4 mm)
in any direction.
Any seat belt system will loosen with time, so check the
belt occasionally, and pull it tight if necessary.
If the buckle or the cinching latch plate is too close to the
belt path opening of the child restraint, you may have
trouble tightening the seat belt. If this happens, discon-
nect the latch plate from the buckle and twist the short
buckle-end belt up to three full turns to shorten it. Insert
the latch plate into the buckle with the release button
facing out, away from the child restraint. Repeat steps 4
to 6, above, to complete the installation of the child
restraint.
If the belt still cannot be tightened after you shorten the
buckle, disconnect the latch plate from the buckle, turn
the buckle around one half turn, and insert the latch plate
into the buckle again. If you still cannot make the child
restraint installation tight, try a different seating position.
Installing Child Restraints Using The Top Tether
Anchorage
Regular and Mega Cab® Trucks:
In the regular cab truck, the top tether anchorages are
located behind the center and right passenger seats. In
the mega cab truck, the top tether anchorages are located
behind each rear seating position. There is a plastic cover
over each anchorage. To attach the tether strap of the
child restraint:
1. Place the child restraint on the seat and adjust the
tether strap so that it will reach over the seat back,
under the head restraint and to the tether anchor
directly behind the seat.
2
THINGS TO KNOW BEFORE STARTING YOUR VEHICLE 105
Page 109 of 871

WARNING!
Never place a rear facing infant seat in front of an air
bag. A deploying Passenger Advanced Front Air Bag
can cause death or serious injury to a child 12 years or
younger, including a child in a rearward facing infant
seat.
Quad Cab® or Crew Cab Trucks:
The top tether anchorages in this vehicle are tether strap
loops located between the rear glass and the back of the
rear seat. There is a tether strap loop located behind each
seating position. Follow the steps below to attach the
tether strap of the child restraint.
Mega Cab® Tether Strap Mounting
2
THINGS TO KNOW BEFORE STARTING YOUR VEHICLE 107
Page 115 of 871
WARNING!
•An incorrectly anchored tether strap could lead to
increased head motion and possible injury to the
child. Use only the anchorage position directly
behind the child seat to secure a child restraint top
tether strap.
•If your vehicle is equipped with a split rear seat,
make sure the tether strap does not slip into the
opening between the seatbacks as you remove
slack in the strap.
Transporting Pets
Air Bags deploying in the front seat could harm your pet.
An unrestrained pet will be thrown about and possibly
injured, or injure a passenger during panic braking or in
a collision.
Pets should be restrained in the rear seat in pet harnesses
or pet carriers that are secured by seat belts.
ENGINE BREAK-IN RECOMMENDATIONS
A long break-in period is not required for the engine and
drivetrain (transmission and axle) in your vehicle.
Drive moderately during the first 300 miles (500 km).
After the initial 60 miles (100 km), speeds up to 50 or
55 mph (80 or 90 km/h) are desirable.
While cruising, brief full-throttle acceleration within the
limits of local traffic laws contributes to a good break-in.
Wide-open throttle acceleration in low gear can be detri-
mental and should be avoided.
The engine oil installed in the engine at the factory is a
high-quality energy conserving type lubricant. Oil
changes should be consistent with anticipated climate
conditions under which vehicle operations will occur. For
the recommended viscosity and quality grades, refer to
“Maintenance Procedures” in “Maintaining Your Ve-
hicle”.
2
THINGS TO KNOW BEFORE STARTING YOUR VEHICLE 113
Page 117 of 871
Exhaust Gas
WARNING!
Exhaust gases can injure or kill. They contain carbon
monoxide (CO), which is colorless and odorless.
Breathing it can make you unconscious and can
eventually poison you. To avoid breathing (CO),
follow these safety tips:
•Do not run the engine in a closed garage or in
confined areas any longer than needed to move
your vehicle in or out of the area.
•If you are required to drive with the trunk/liftgate/
rear doors open, make sure that all windows are
closed and the climate control BLOWER switch is
set at high speed. DO NOT use the recirculation
mode.
(Continued)
WARNING!(Continued)
•If it is necessary to sit in a parked vehicle with the
engine running, adjust your heating or cooling
controls to force outside air into the vehicle. Set the
blower at high speed.
The best protection against carbon monoxide entry into
the vehicle body is a properly maintained engine exhaust
system.
Whenever a change is noticed in the sound of the exhaust
system, when exhaust fumes can be detected inside the
vehicle, or when the underside or rear of the vehicle is
damaged, have a competent mechanic inspect the com-
plete exhaust system and adjacent body areas for broken,
damaged, deteriorated, or mispositioned parts. Open
seams or loose connections could permit exhaust fumes
to seep into the passenger compartment. In addition,
inspect the exhaust system each time the vehicle is raised
for lubrication or oil change. Replace as required.
2
THINGS TO KNOW BEFORE STARTING YOUR VEHICLE 115
Page 118 of 871
Safety Checks You Should Make Inside The
Vehicle
Seat Belts
Inspect the seat belt system periodically, checking for
cuts, frays, and loose parts. Damaged parts must be
replaced immediately. Do not disassemble or modify the
system.
Front seat belt assemblies must be replaced after a
collision. Rear seat belt assemblies must be replaced after
a collision if they have been damaged (i.e., bent retractor,
torn webbing, etc.). If there is any question regarding seat
belt or retractor condition, replace the seat belt.
Air Bag Warning Light
The light should come on and remain on for
four to eight seconds as a bulb check when the
ignition switch is first turned ON. If the light is
not lit during starting, see your authorized dealer. If the
light stays on, flickers, or comes on while driving, have
the system checked by an authorized dealer.
Defroster
Check operation by selecting the defrost mode and place
the blower control on high speed. You should be able to
feel the air directed against the windshield. See your
authorized dealer for service if your defroster is inoper-
able.
Floor Mat Safety Information
Always use floor mats designed to fit the footwell of your
vehicle. Use only floor mats that leave the pedal area
unobstructed and that are firmly secured so that they
cannot slip out of position and interfere with the pedals
or impair safe operation of your vehicle in other ways.
11 6 T H I N G S TO K N O W B E F O R E S TA R T I N G Y O U R V E H I C L E
Page 119 of 871

WARNING!
Pedals that cannot move freely can cause loss of
vehicle control and increase the risk of serious per-
sonal injury.
•Always make sure that floor mats are properly
attached to the floor mat fasteners.
•Never place or install floor mats or other floor
coverings in the vehicle that cannot be properly
secured to prevent them from moving and interfer-
ing with the pedals or the ability to control the
vehicle.
•Never put floor mats or other floor coverings on top
of already installed floor mats. Additional floor
mats and other coverings will reduce the size of the
pedal area and interfere with the pedals.
(Continued)
WARNING!(Continued)
•Check mounting of mats on a regular basis. Always
properly reinstall and secure floor mats that have
been removed for cleaning.
•Always make sure that objects cannot fall into the
driver footwell while the vehicle is moving. Ob-
jects can become trapped under the brake pedal
and accelerator pedal causing a loss of vehicle
control.
•If required, mounting posts must be properly in-
stalled, if not equipped from the factory.
Failure to properly follow floor mat installation or
mounting can cause interference with the brake
pedal and accelerator pedal operation causing loss of
control of the vehicle.
2
THINGS TO KNOW BEFORE STARTING YOUR VEHICLE 117
Page 125 of 871
▫Programming A Non-Rolling Code.........218
▫Canadian/Gate Operator Programming.....220
▫Using HomeLink®....................221
▫Security............................221
▫Troubleshooting Tips...................222
▫General Information....................223
!POWER SUNROOF — IF EQUIPPED........224
▫Opening Sunroof — Manual Mode.........225
▫Closing Sunroof — Manual Mode..........225
▫Opening Sunroof — Express..............225
▫Closing Sunroof — Express...............225
▫Pinch Protect Feature...................226
▫Venting Sunroof — Express..............226
▫Sunshade Operation....................226
▫Wind Buffeting.......................226
▫Sunroof Maintenance...................227
▫Ignition Off Operation..................227
!ELECTRICAL POWER OUTLETS...........227
!CIGAR LIGHTER AND ASH RECEIVER — IF
EQUIPPED...........................232
!POWER INVERTER — IF EQUIPPED........233
!CUPHOLDERS........................234
▫Front Seat Cupholders (40–20–40 Seats)......234
▫Front Instrument Panel Cupholders — Floor
Mounted Shifter......................235
▫Rear Cupholder — Quad Cab®............235
▫Rear Cupholder — Crew Cab.............236
3
UNDERSTANDING THE FEATURES OF YOUR VEHICLE 123
Page 128 of 871
MIRRORS
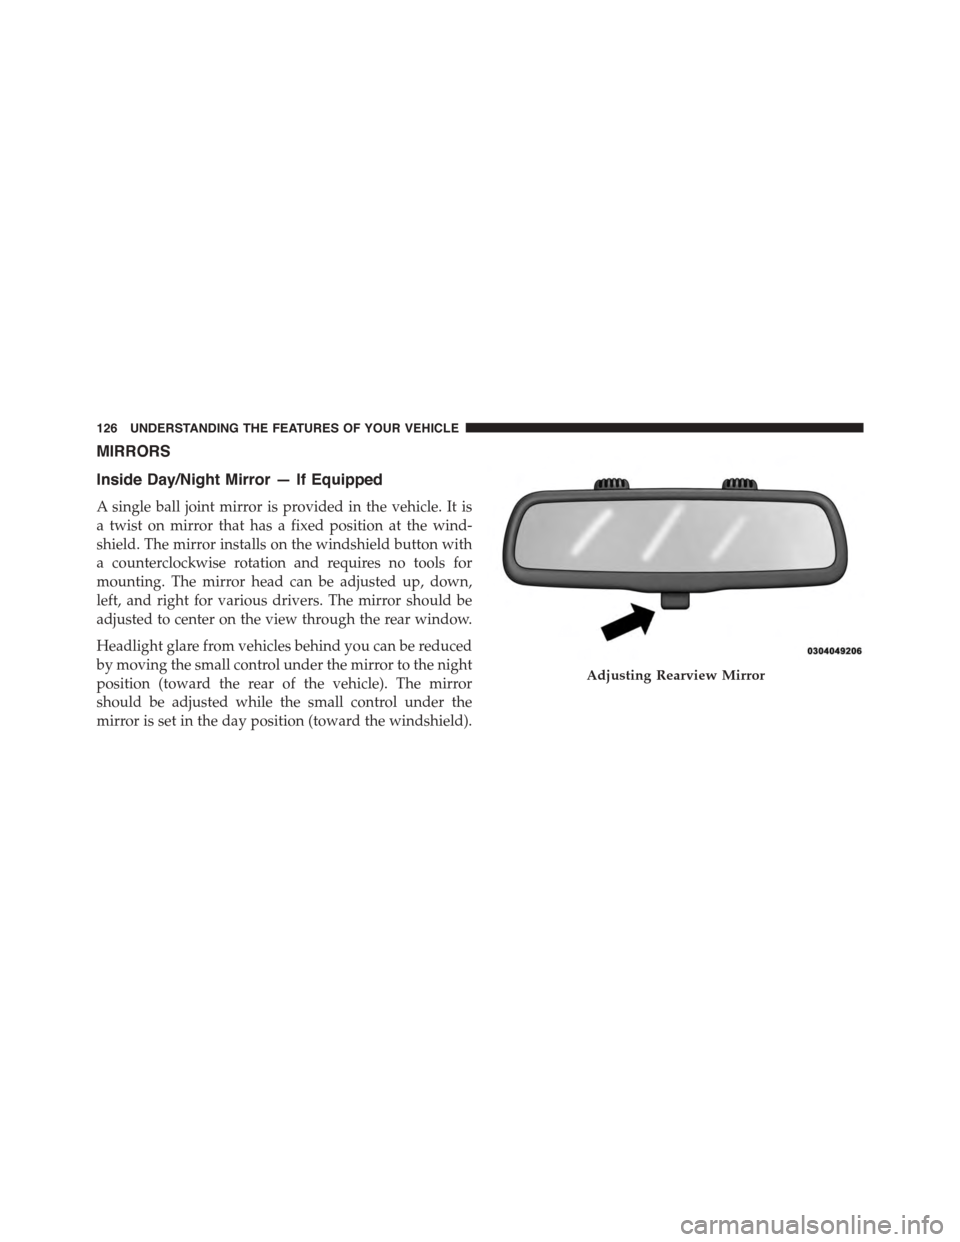
Inside Day/Night Mirror — If Equipped
A single ball joint mirror is provided in the vehicle. It is
a twist on mirror that has a fixed position at the wind-
shield. The mirror installs on the windshield button with
a counterclockwise rotation and requires no tools for
mounting. The mirror head can be adjusted up, down,
left, and right for various drivers. The mirror should be
adjusted to center on the view through the rear window.
Headlight glare from vehicles behind you can be reduced
by moving the small control under the mirror to the night
position (toward the rear of the vehicle). The mirror
should be adjusted while the small control under the
mirror is set in the day position (toward the windshield).
Adjusting Rearview Mirror
126 UNDERSTANDING THE FEATURES OF YOUR VEHICLE
Page 129 of 871
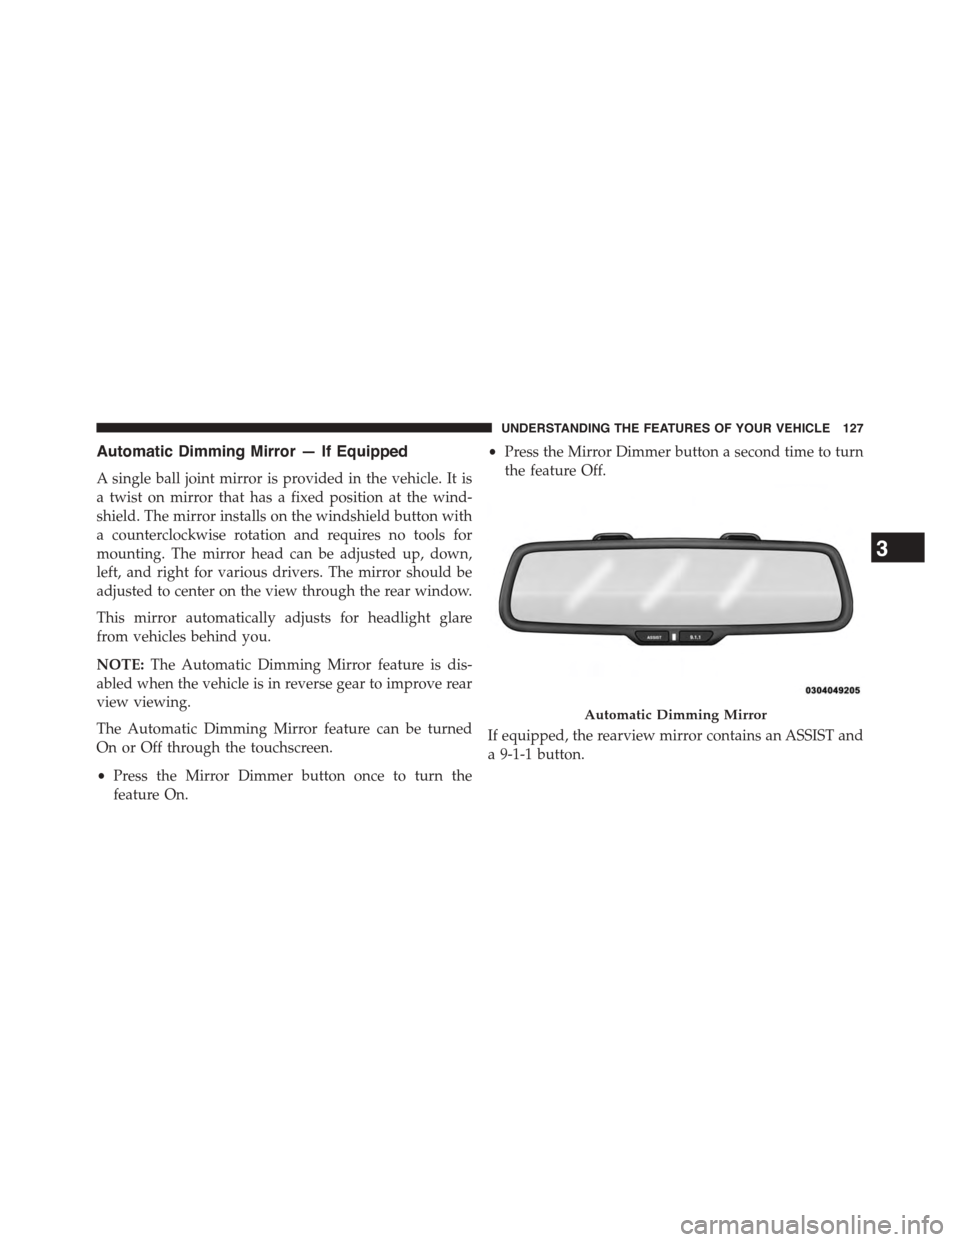
Automatic Dimming Mirror — If Equipped
A single ball joint mirror is provided in the vehicle. It is
a twist on mirror that has a fixed position at the wind-
shield. The mirror installs on the windshield button with
a counterclockwise rotation and requires no tools for
mounting. The mirror head can be adjusted up, down,
left, and right for various drivers. The mirror should be
adjusted to center on the view through the rear window.
This mirror automatically adjusts for headlight glare
from vehicles behind you.
NOTE:The Automatic Dimming Mirror feature is dis-
abled when the vehicle is in reverse gear to improve rear
view viewing.
The Automatic Dimming Mirror feature can be turned
On or Off through the touchscreen.
•Press the Mirror Dimmer button once to turn the
feature On.
•Press the Mirror Dimmer button a second time to turn
the feature Off.
If equipped, the rearview mirror contains an ASSIST and
a 9-1-1 button.
Automatic Dimming Mirror
3
UNDERSTANDING THE FEATURES OF YOUR VEHICLE 127