steering Ram 1500 2020 Workshop Manual
[x] Cancel search | Manufacturer: RAM, Model Year: 2020, Model line: 1500, Model: Ram 1500 2020Pages: 674, PDF Size: 32.69 MB
Page 386 of 674
384 STARTING AND OPERATING
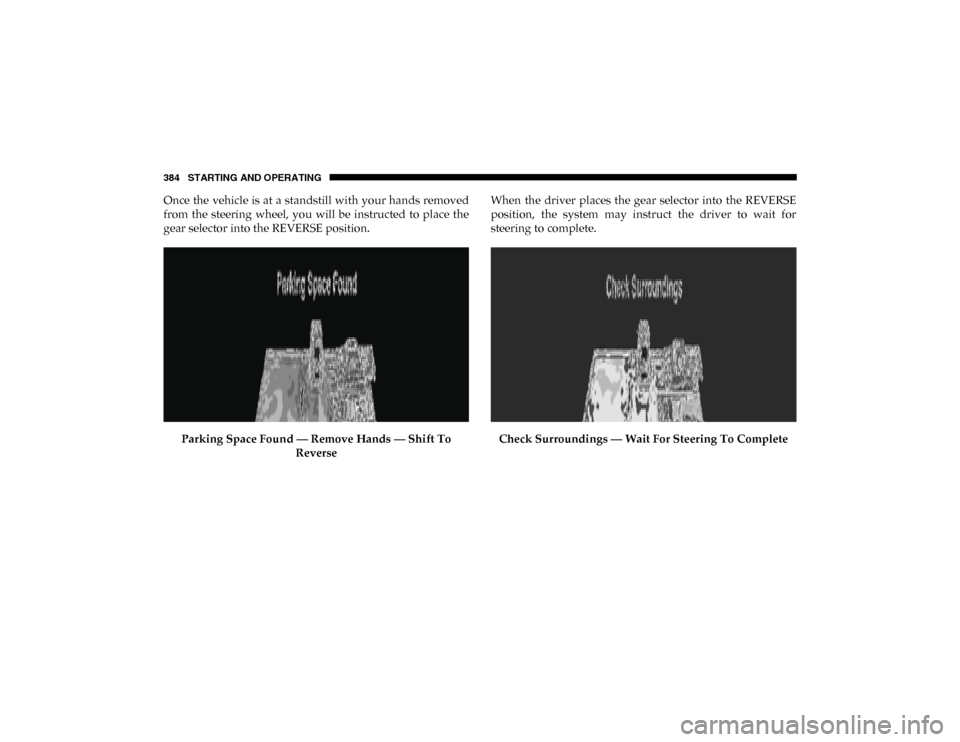
Once the vehicle is at a standstill with your hands removed
from the steering wheel, you will be instructed to place the
gear selector into the REVERSE position.Parking Space Found — Remove Hands — Shift To Reverse When the driver places the gear selector into the REVERSE
position, the system may instruct the driver to wait for
steering to complete.
Check Surroundings — Wait For Steering To Complete
2020_DT_1500_OM_US.book Page 384
Page 387 of 674
STARTING AND OPERATING 385
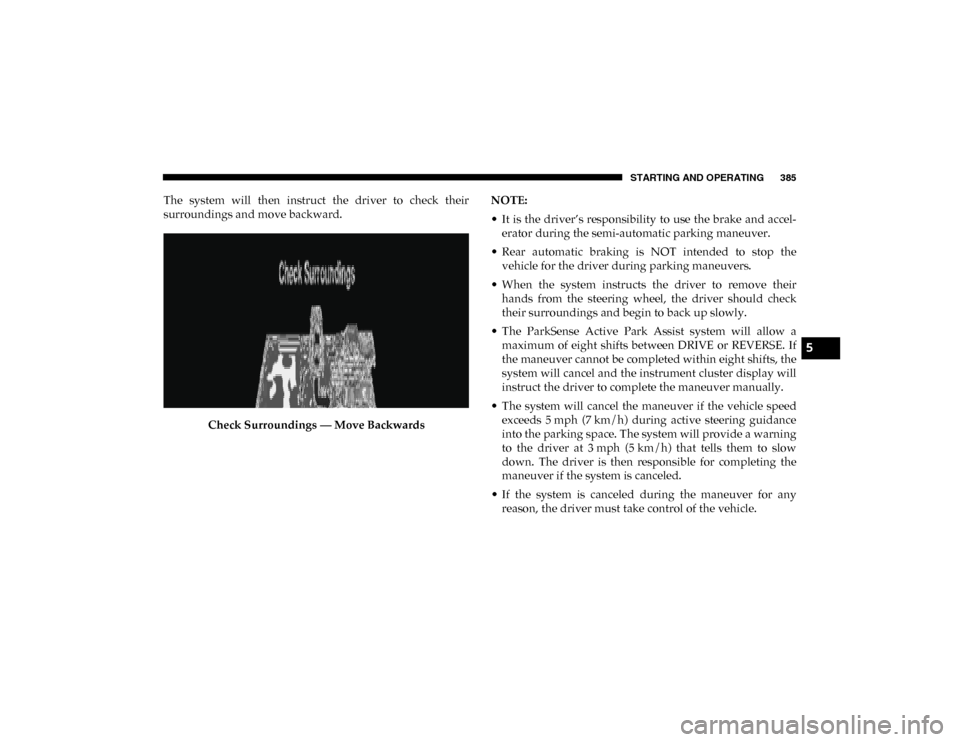
The system will then instruct the driver to check their
surroundings and move backward.Check Surroundings — Move Backwards NOTE:
• It is the driver’s responsibility to use the brake and accel
-
erator during the semi-automatic parking maneuver.
• Rear automatic braking is NOT intended to stop the vehicle for the driver during parking maneuvers.
• When the system instructs the driver to remove their hands from the steering wheel, the driver should check
their surroundings and begin to back up slowly.
• The ParkSense Active Park Assist system will allow a maximum of eight shifts between DRIVE or REVERSE. If
the maneuver cannot be completed within eight shifts, the
system will cancel and the instrument cluster display will
instruct the driver to complete the maneuver manually.
• The system will cancel the maneuver if the vehicle speed exceeds 5 mph (7 km/h) during active steering guidanceinto the parking space. The system will provide a warning
to the driver at 3 mph (5 km/h) that tells them to slowdown. The driver is then responsible for completing the
maneuver if the system is canceled.
• If the system is canceled during the maneuver for any reason, the driver must take control of the vehicle.
5
2020_DT_1500_OM_US.book Page 385
Page 389 of 674
STARTING AND OPERATING 387
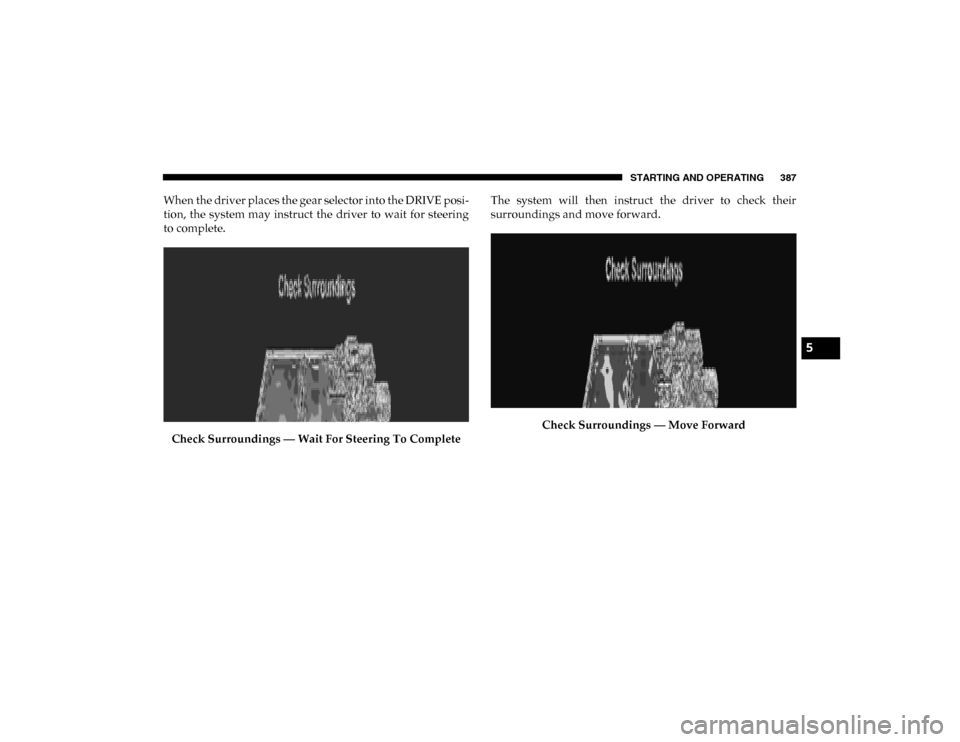
When the driver places the gear selector into the DRIVE posi-
tion, the system may instruct the driver to wait for steering
to complete.
Check Surroundings — Wait For Steering To Complete The system will then instruct the driver to check their
surroundings and move forward.
Check Surroundings — Move Forward
5
2020_DT_1500_OM_US.book Page 387
Page 391 of 674
STARTING AND OPERATING 389
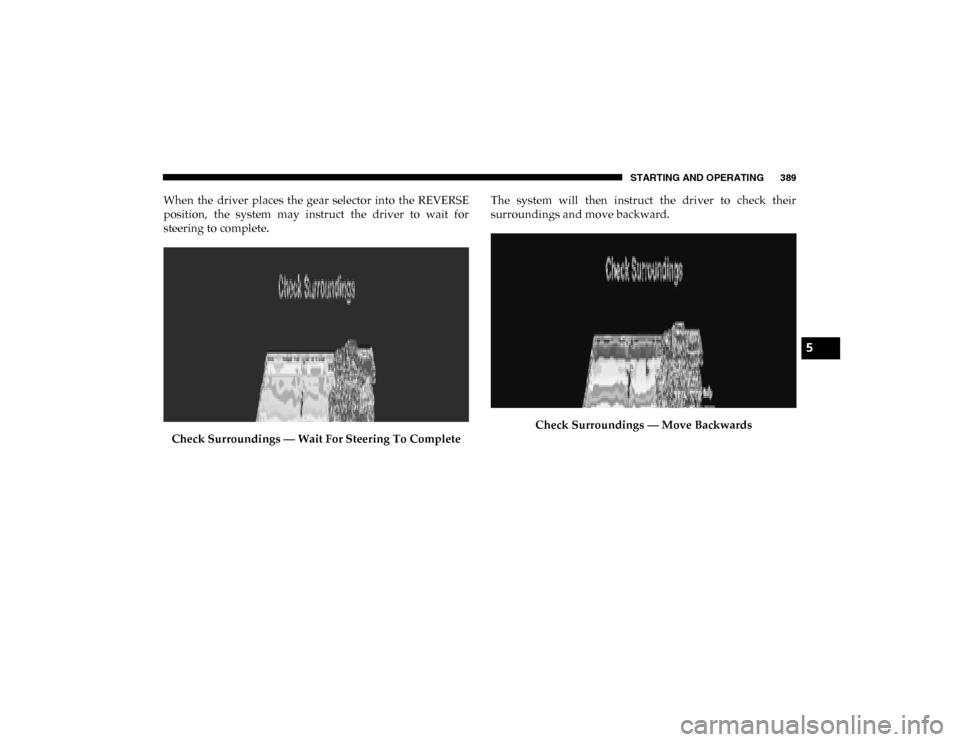
When the driver places the gear selector into the REVERSE
position, the system may instruct the driver to wait for
steering to complete.Check Surroundings — Wait For Steering To Complete The system will then instruct the driver to check their
surroundings and move backward.
Check Surroundings — Move Backwards
5
2020_DT_1500_OM_US.book Page 389
Page 393 of 674

STARTING AND OPERATING 391
LANESENSE — IF EQUIPPED
LaneSense Operation
The LaneSense system is operational at speeds above 37 mph
(60 km/h) and below 112 mph (180 km/h). It uses a forward
looking camera to detect lane markings and measure vehicle
position within the lane boundaries.
When both lane markings are detected and the driver unin -
tentionally drifts out of the lane while no turn signal has been
applied OR the driver departs the lane on the opposite side
of the applied turn signal (if the left turn signal is applied and
the vehicle departs to the right), the LaneSense system
provides a haptic warning in the form of torque applied to
the steering wheel to prompt the driver to remain within the
lane boundaries. The LaneSense system will also provide a
visual warning through the instrument cluster display to
prompt the driver to remain within the lane boundaries.
The driver may manually override the haptic warning by
applying torque into the steering wheel at any time. When only a single lane marking is detected and the driver
unintentionally drifts across that lane marking (no turn
signal applied), the LaneSense system provides a visual
warning through the instrument cluster display to prompt
the driver to remain within the lane. When only a single lane
marking is detected, a haptic (torque) warning will not be
provided.
NOTE:
When operating conditions have been met, the LaneSense
system will monitor if the driver’s hands are on the steering
wheel and provides an audible and visual warning to the
driver when the driver’s hands are not detected on the
steering wheel. The system will cancel if the driver does not
return their hands to the wheel.
Turning LaneSense On Or Off
The LaneSense button is located on the switch panel
below the Uconnect display.
NOTE:
If your vehicle is equipped with a 12–inch Uconnect Display
screen, the LaneSense button is located above the display.
5
2020_DT_1500_OM_US.book Page 391
Page 396 of 674
394 STARTING AND OPERATING
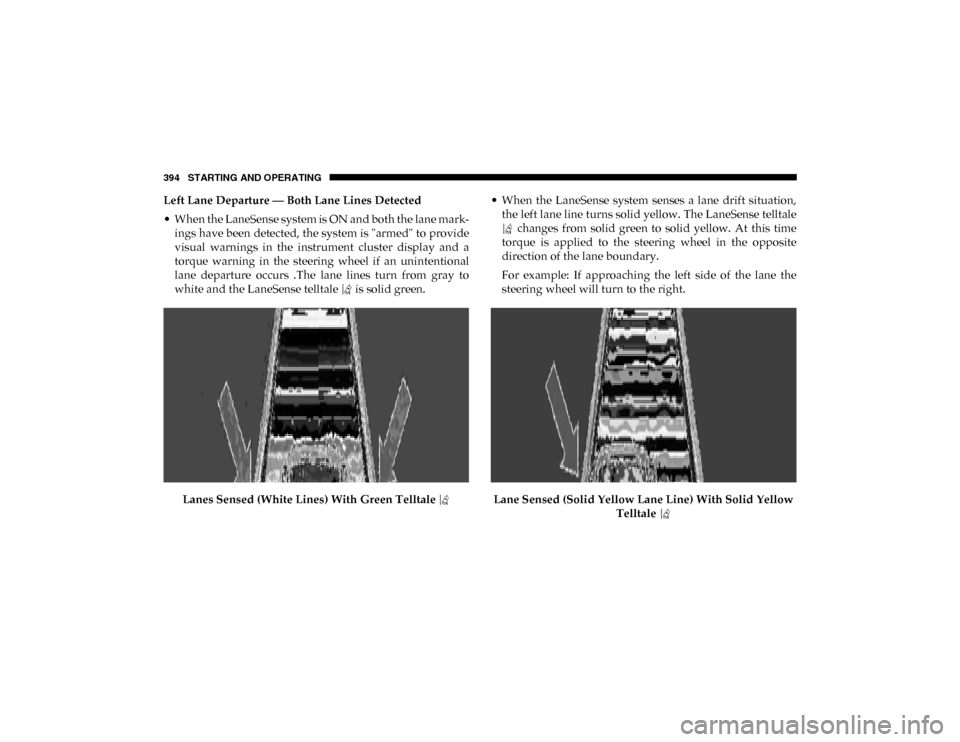
Left Lane Departure — Both Lane Lines Detected
• When the LaneSense system is ON and both the lane mark -
ings have been detected, the system is "armed" to provide
visual warnings in the instrument cluster display and a
torque warning in the steering wheel if an unintentional
lane departure occurs .The lane lines turn from gray to
white and the LaneSense telltale is solid green.
Lanes Sensed (White Lines) With Green Telltale • When the LaneSense system senses a lane drift situation,
the left lane line turns solid yellow. The LaneSense telltale changes from solid green to solid yellow. At this time
torque is applied to the steering wheel in the opposite
direction of the lane boundary.
For example: If approaching the left side of the lane the
steering wheel will turn to the right.
Lane Sensed (Solid Yellow Lane Line) With Solid Yellow Telltale
2020_DT_1500_OM_US.book Page 394
Page 397 of 674
STARTING AND OPERATING 395
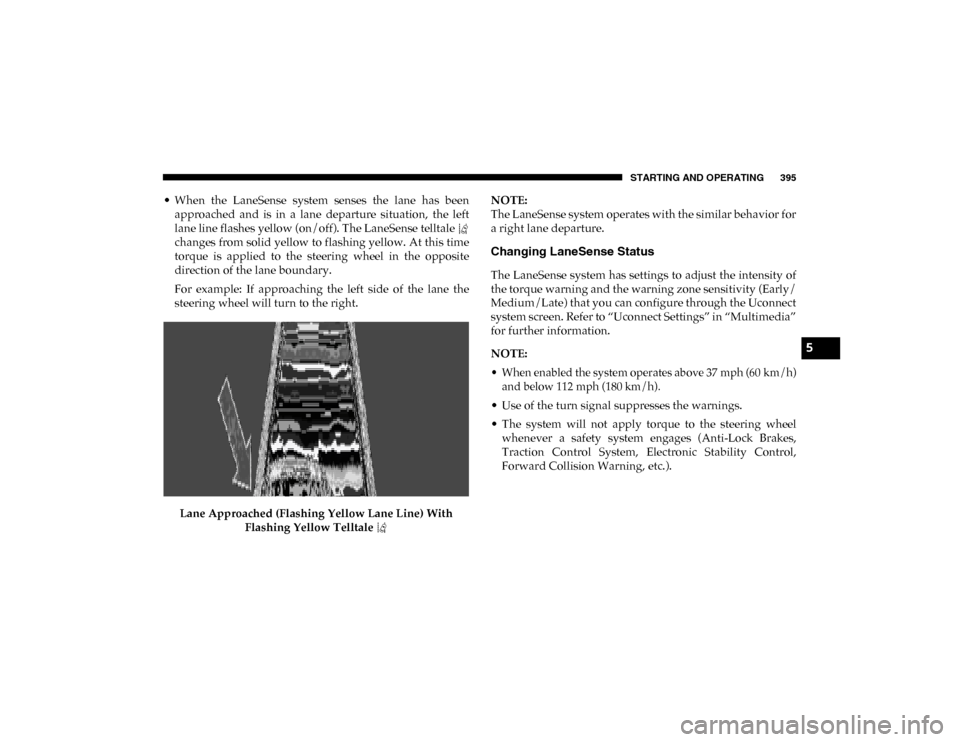
• When the LaneSense system senses the lane has beenapproached and is in a lane departure situation, the left
lane line flashes yellow (on/off). The LaneSense telltale
changes from solid yellow to flashing yellow. At this time
torque is applied to the steering wheel in the opposite
direction of the lane boundary.
For example: If approaching the left side of the lane the
steering wheel will turn to the right.
Lane Approached (Flashing Yellow Lane Line) With Flashing Yellow Telltale NOTE:
The LaneSense system operates with the similar behavior for
a right lane departure.
Changing LaneSense Status
The LaneSense system has settings to adjust the intensity of
the torque warning and the warning zone sensitivity (Early/
Medium/Late) that you can configure through the Uconnect
system screen. Refer to “Uconnect Settings” in “Multimedia”
for further information.
NOTE:
• When enabled the system operates above 37 mph (60 km/h)
and below 112 mph (180 km/h).
• Use of the turn signal suppresses the warnings.
• The system will not apply torque to the steering wheel whenever a safety system engages (Anti-Lock Brakes,
Traction Control System, Electronic Stability Control,
Forward Collision Warning, etc.).
5
2020_DT_1500_OM_US.book Page 395
Page 398 of 674
396 STARTING AND OPERATING
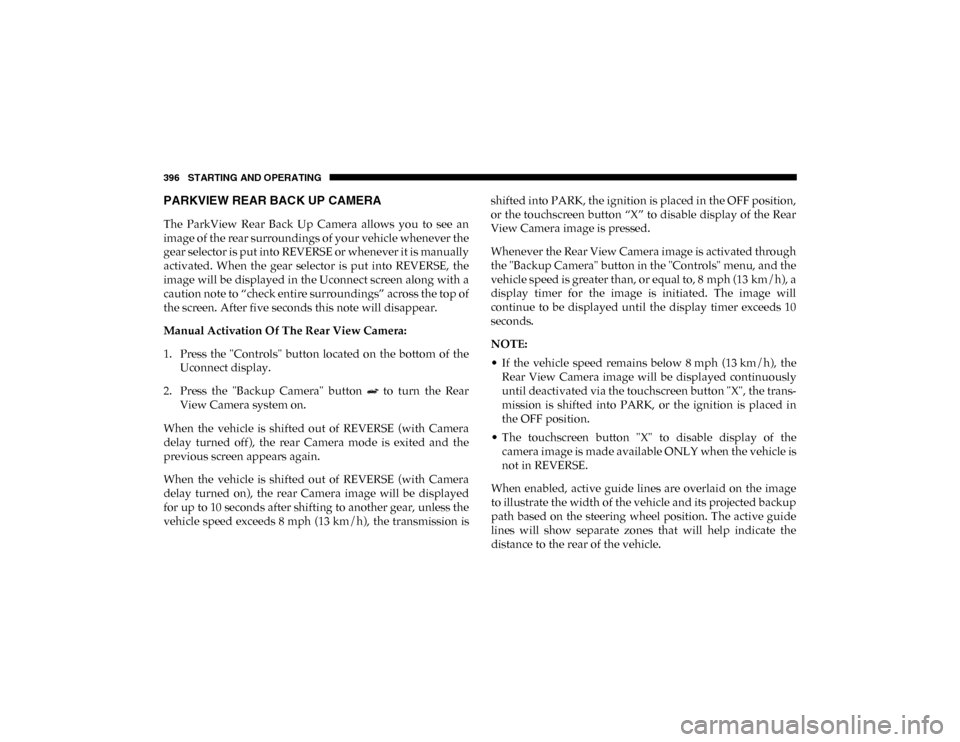
PARKVIEW REAR BACK UP CAMERA
The ParkView Rear Back Up Camera allows you to see an
image of the rear surroundings of your vehicle whenever the
gear selector is put into REVERSE or whenever it is manually
activated. When the gear selector is put into REVERSE, the
image will be displayed in the Uconnect screen along with a
caution note to “check entire surroundings” across the top of
the screen. After five seconds this note will disappear.
Manual Activation Of The Rear View Camera:
1. Press the "Controls" button located on the bottom of theUconnect display.
2. Press the "Backup Camera" button to turn the Rear View Camera system on.
When the vehicle is shifted out of REVERSE (with Camera
delay turned off), the rear Camera mode is exited and the
previous screen appears again.
When the vehicle is shifted out of REVERSE (with Camera
delay turned on), the rear Camera image will be displayed
for up to 10 seconds after shifting to another gear, unless the
vehicle speed exceeds 8 mph (13 km/h), the transmission is shifted into PARK, the ignition is placed in the OFF position,
or the touchscreen button “X” to disable display of the Rear
View Camera image is pressed.
Whenever the Rear View Camera image is activated through
the "Backup Camera" button in the "Controls" menu, and the
vehicle speed is greater than, or equal to, 8 mph (13 km/h), a
display timer for the image is initiated. The image will
continue to be displayed until the display timer exceeds 10
seconds.
NOTE:
• If the vehicle speed remains below 8 mph (13 km/h), the Rear View Camera image will be displayed continuously
until deactivated via the touchscreen button "X", the trans -
mission is shifted into PARK, or the ignition is placed in
the OFF position.
• The touchscreen button "X" to disable display of the camera image is made available ONLY when the vehicle is
not in REVERSE.
When enabled, active guide lines are overlaid on the image
to illustrate the width of the vehicle and its projected backup
path based on the steering wheel position. The active guide
lines will show separate zones that will help indicate the
distance to the rear of the vehicle.
2020_DT_1500_OM_US.book Page 396
Page 401 of 674
STARTING AND OPERATING 399
When the vehicle is shifted into REVERSE, the rear camera
view and top view is the default view of the system (Auto-
matic Activation).
When the vehicle is shifted out of REVERSE (with camera
delay turned on), the camera image will continue to be
displayed for up to 10 seconds after shifting out of REVERSE
unless the vehicle speed exceeds 8 mph (13 km/h), the
vehicle is shifted into PARK or the ignition is placed in the
OFF position. There is a touch screen button “X” to disable
the display of the camera image.
When the vehicle is shifted out of REVERSE (with camera
delay turned off), the surround view camera mode is exited
and the last known screen appears again.
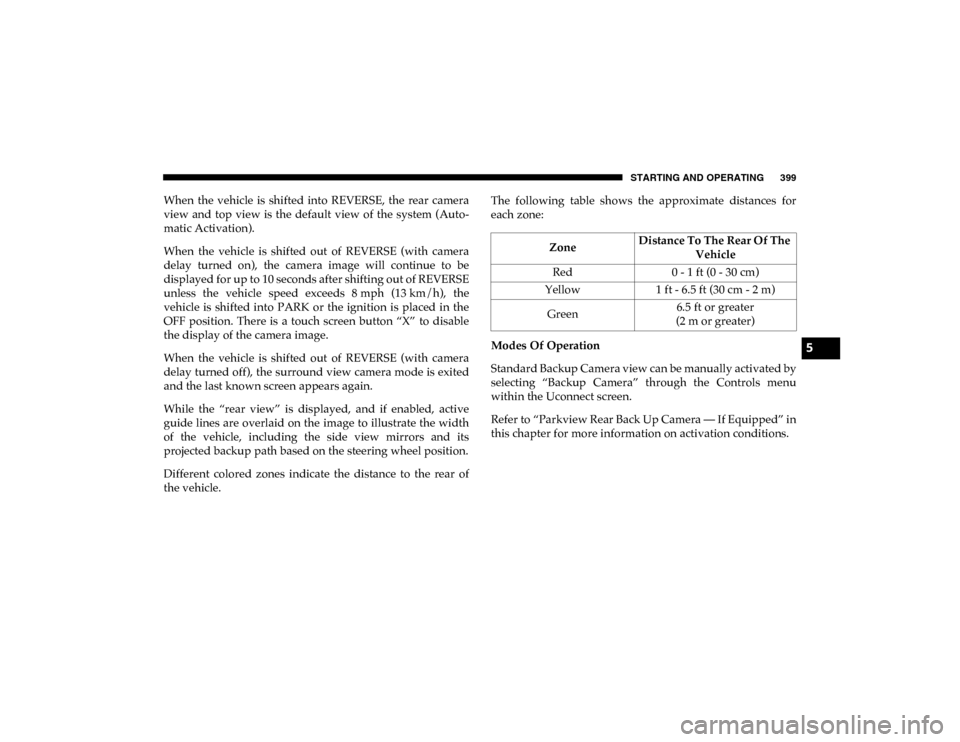
While the “rear view” is displayed, and if enabled, active
guide lines are overlaid on the image to illustrate the width
of the vehicle, including the side view mirrors and its
projected backup path based on the steering wheel position.
Different colored zones indicate the distance to the rear of
the vehicle. The following table shows the approximate distances for
each zone:
Modes Of Operation
Standard Backup Camera view can be manually activated by
selecting “Backup Camera” through the Controls menu
within the Uconnect screen.
Refer to “Parkview Rear Back Up Camera — If Equipped” in
this chapter for more information on activation conditions.
Zone
Distance To The Rear Of The
Vehicle
Red 0 - 1 ft (0 - 30 cm)
Yellow 1 ft - 6.5 ft (30 cm - 2 m)
Green 6.5 ft or greater
(2 m or greater)
5
2020_DT_1500_OM_US.book Page 399
Page 411 of 674
STARTING AND OPERATING 409
If equipped, the electronic TSC recognizes a swaying trailer
and automatically applies individual wheel brakes and/or
reduces engine power to attempt to eliminate the trailer sway.
Weight-Carrying Hitch
A weight-carrying hitch supports the trailer tongue weight,
just as if it were luggage located at a hitch ball or some other
connecting point of the vehicle. These kinds of hitches are the
most popular on the market today and they are commonly
used to tow small and medium sized trailers.
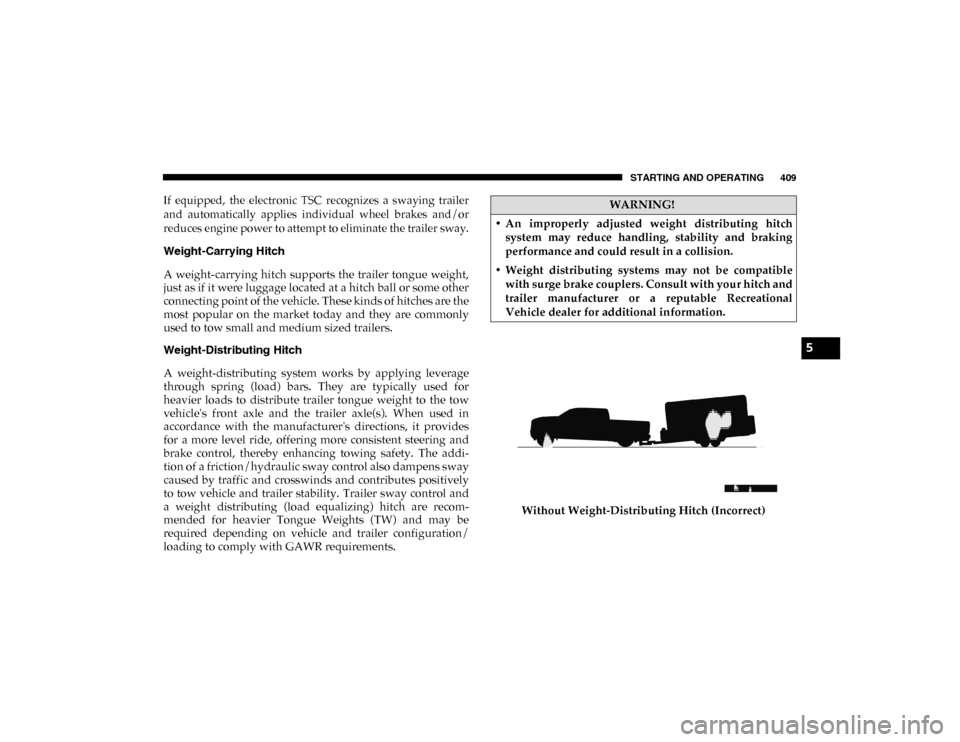
Weight-Distributing Hitch
A weight-distributing system works by applying leverage
through spring (load) bars. They are typically used for
heavier loads to distribute trailer tongue weight to the tow
vehicle's front axle and the trailer axle(s). When used in
accordance with the manufacturer's directions, it provides
for a more level ride, offering more consistent steering and
brake control, thereby enhancing towing safety. The addi-
tion of a friction/hydraulic sway control also dampens sway
caused by traffic and crosswinds and contributes positively
to tow vehicle and trailer stability. Trailer sway control and
a weight distributing (load equalizing) hitch are recom -
mended for heavier Tongue Weights (TW) and may be
required depending on vehicle and trailer configuration/
loading to comply with GAWR requirements. Without Weight-Distributing Hitch (Incorrect)WARNING!
• An improperly adjusted weight distributing hitch system may reduce handling, stability and braking
performance and could result in a collision.
• Weight distributing systems may not be compatible with surge brake couplers. Consult with your hitch and
trailer manufacturer or a reputable Recreational
Vehicle dealer for additional information.
5
2020_DT_1500_OM_US.book Page 409