lock Ram 2500 2020 Owner's Manual
[x] Cancel search | Manufacturer: RAM, Model Year: 2020, Model line: 2500, Model: Ram 2500 2020Pages: 553, PDF Size: 21.99 MB
Page 314 of 553

312STARTING AND OPERATING
(Continued)
ENGINE RUNAWAY — DIESEL ENGINE
Diesel engine runaway is a rare condition
affecting diesel engines, where the engine
consumes its own lubrication oil and runs at
higher and higher RPM until it overspeeds to a
point where it destroys itself due to either
mechanical failure or engine seizure through
lack of lubrication.
REFUELING THE VEHICLE — GAS ENGINE
The fuel filler cap (gas cap) is located behind the
fuel filler door, on the left side of the vehicle.
Open the fuel door and remove the fuel filler cap
by turning it counter-clockwise.
Fuel Filler Cap
NOTE:
When removing the fuel filler cap, lay the cap
tether in the hook, located on the fuel filler door.
WARNING!
In case of engine runaway due to flammable
fumes from fuel spills or turbocharger oil
leaks being sucked into the engine, do the
following to help avoid personal injury and/or
vehicle damage:
1. Turn the ignition switch to the OFF position.
2. Using a CO2 or dry chemical type fire
extinguisher, direct the spray from the fire
extinguisher into the grille on the driver side
so that the spray enters the engine air intake.
The inlet for the engine air intake is located
behind the drivers side headlamp and
receives air through the grille.
WARNING!
Never have any smoking materials lit in or
near the vehicle when the gas cap is
removed or the tank is being filled.
Never add fuel to the vehicle when the
engine is running.
A fire may result if gasoline is pumped into
a portable container that is inside of a
vehicle. You could be burned. Always place
gas containers on the ground while filling.
CAUTION!
Damage to the fuel system or emissions
control system could result from using an
improper fuel tank filler tube cap.
A poorly fitting fuel filler cap could let impu -
rities into the fuel system.
A poorly fitting fuel filler cap may cause the
“Malfunction Indicator Light (MIL)” to turn
on.
To avoid fuel spillage and overfilling, do not
“top off” the fuel tank after filling. When the
fuel nozzle “clicks” or shuts off, the fuel
tank is full.
WARNING! (Continued)
20_DJD2_OM_EN_USC_t.book Page 312
Page 326 of 553

324STARTING AND OPERATING
(Continued)
Towing Requirements — Tires
Do not attempt to tow a trailer while using a
compact spare tire.
Do not drive more than 50 mph (80 km/h) when towing while using a full size spare tire.
Proper tire inflation pressures are essential
to the safe and satisfactory operation of your
vehicle. Refer to “Tires” in “Servicing And
Maintenance” for proper tire inflation proce -
dures.
Check the trailer tires for proper tire inflation
pressures before trailer usage.
Check for signs of tire wear or visible tire
damage before towing a trailer. Refer to
“Tires” in “Servicing And Maintenance” for
the proper inspection procedure.
When replacing tires, refer to “Tires” in
“Servicing And Maintenance” for the proper
tire replacement procedures. Replacing tires
with a higher load carrying capacity will not
increase the vehicle's GVWR and GAWR
limits.
Towing Requirements — Trailer Brakes
Do not interconnect the hydraulic brake
system or vacuum system of your vehicle
with that of the trailer. This could cause inad -
equate braking and possible personal injury.
An electronically actuated trailer brake
controller is required when towing a trailer
with electronically actuated brakes. When
towing a trailer equipped with a hydraulic
surge actuated brake system, an electronic
brake controller is not required.
Trailer brakes are recommended for trailers
over 1,000 lbs (453 kg) and required for
trailers in excess of 2,000 lbs (907 kg).
When hauling cargo or towing a trailer, do
not overload your vehicle or trailer. Over -
loading can cause a loss of control, poor
performance or damage to brakes, axle,
engine, transmission, steering, suspension,
chassis structure or tires.
Safety chains must always be used
between your vehicle and trailer. Always
connect the chains to the hook retainers of
the vehicle hitch. Cross the chains under
the trailer tongue and allow enough slack
for turning corners.
Vehicles with trailers should not be parked
on a grade. When parking, apply the
parking brake on the tow vehicle. Put the
tow vehicle transmission in PARK. For
four-wheel drive vehicles, make sure the
transfer case is not in NEUTRAL. Always,
block or "chock" the trailer wheels.
GCWR must not be exceeded.
WARNING! (Continued)
Total weight must be distributed between
the tow vehicle and the trailer such that the
following four ratings are not exceeded :
GVWR
GTW
GAWR
Tongue weight rating for the trailer
hitch utilized.
WARNING! (Continued)
20_DJD2_OM_EN_USC_t.book Page 324
Page 328 of 553

326STARTING AND OPERATING
GAIN
The GAIN setting is used to set the trailer brake
control for the specific towing condition and
should be changed as towing conditions
change. Changes to towing conditions include
trailer load, vehicle load, road conditions and
weather.
Adjusting GAIN
NOTE:
This should only be performed in a traffic free
environment at speeds of approximately
20–25 mph (30–40 km/h).
1. Make sure the trailer brakes are in good
working condition, functioning normally
and properly adjusted. See your trailer
dealer if necessary.
2. Hook up the trailer and make the electrical connections according to the trailer manu -
facturer's instructions. 3. When a trailer with electric/EOH brakes is
plugged in, the trailer connected message
should appear in the instrument cluster
display (if the connection is not recognized
by the ITBM, braking functions will not be
available), the GAIN setting will illuminate
and the correct type of trailer must be
selected from the instrument cluster display
options.
4. Push the UP or DOWN button on the steering wheel until “TRAILER TOW”
appears on the screen.
5. Push the RIGHT arrow on the steering wheel to enter “TRAILER TOW”.
6. Push the UP or DOWN buttons until the Trailer Brake Type appears on the screen. 7. Push the RIGHT arrow and then push the UP
or DOWN buttons until the proper Trailer
Brake Type appears on the screen.
8. In a traffic-free environment, tow the trailer on a dry, level surface at a speed of
20–25 mph (30–40 km/h) and squeeze
the manual brake control lever completely.
9. If the trailer wheels lockup (indicated by squealing tires), reduce the GAIN setting; if
the trailer wheels turn freely, increase the
GAIN setting.
Repeat steps 8 and 9 until the GAIN setting is at
a point just below trailer wheel lockup. If towing
a heavier trailer, trailer wheel lockup may not be
attainable even with the maximum GAIN setting
of 10.
20_DJD2_OM_EN_USC_t.book Page 326
Page 338 of 553

336STARTING AND OPERATING
(Continued)
Off-Road Driving Tips
Care should be taken when attempting to climb
steep hills or driving diagonally across a hill or
slope. If natural obstacles force you to travel
diagonally up or down a hill, choose a mild angle
and keep as little side tilt as possible. Keep the
vehicle moving and make turns slowly and
cautiously. If you must back down a hill, back straight down
using REVERSE gear. Never back down in
NEUTRAL or diagonally across the hill.
When driving over sand, mud, and other soft
terrain, shift to low gear and drive steadily.
Apply the accelerator slowly to avoid spinning
the wheels.
Do not reduce the tire pressures for this type of
driving.
After Driving Off-Road
Off-road operation puts more stress on your
vehicle than does most on-road driving. After
going off-road, it is always a good idea to check
for damage. That way you can get any problems
taken care of right away and have your vehicle
ready when you need it.
Completely inspect the underbody of your
vehicle. Check tires, body structure, steering,
suspension, and exhaust system for damage.
Inspect the radiator for mud and debris and
clean as required.
Driving through standing water limits your
vehicle’s braking capabilities, which
increases stopping distances. Therefore,
after driving through standing water, drive
slowly and lightly press on the brake pedal
several times to dry the brakes.
Failure to follow these warnings may result
in injuries that are serious or fatal to you,
your passengers, and others around you.
CAUTION!
Always check the depth of the standing
water before driving through it. Never drive
through standing water that is deeper than
the bottom of the tire rims mounted on the
vehicle.
Determine the condition of the road or the
path that is under water and if there are any
obstacles in the way before driving through
the standing water.
Do not exceed 5 mph (8 km/h) when
driving through standing water. This will
minimize wave effects.
WARNING!
(Continued)
Driving through standing water may cause
damage to your vehicle’s drivetrain compo -
nents. Always inspect your vehicle’s fluids
(i.e., engine oil, transmission, axle, etc.) for
signs of contamination (i.e., fluid that is
milky or foamy in appearance) after driving
through standing water. Do not continue to
operate the vehicle if any fluid appears
contaminated, as this may result in further
damage. Such damage is not covered by
the New Vehicle Limited Warranty.
Getting water inside your vehicle’s engine
can cause it to lock up and stall out, and
cause serious internal damage to the
engine. Such damage is not covered by the
New Vehicle Limited Warranty.
CAUTION! (Continued)
20_DJD2_OM_EN_USC_t.book Page 336
Page 345 of 553

IN CASE OF EMERGENCY343
NOTE:
If your vehicle is equipped with an air suspen -
sion system, there is a feature which allows the
automatic leveling to be disabled to assist with
changing a tire.
This feature can be activated through the Ucon -
nect system.
Refer to “Uconnect Settings” in “Multimedia”
for further information.
Jack Location
The jack and jack tools are stored under the
front passenger seat.
Removal Of Jack And Tools
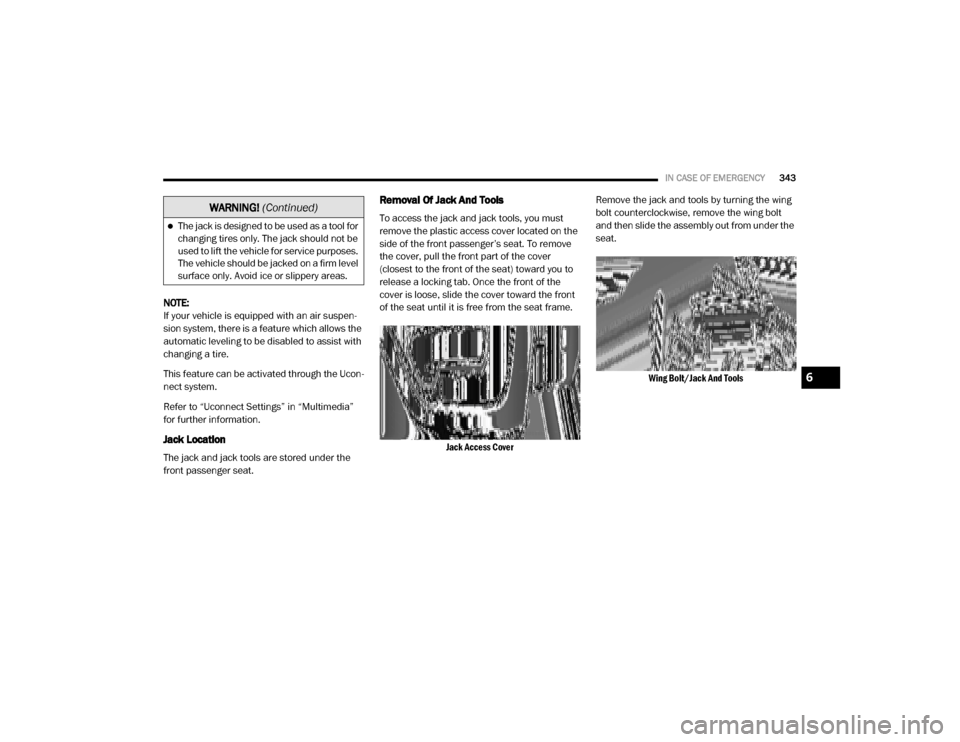
To access the jack and jack tools, you must
remove the plastic access cover located on the
side of the front passenger’s seat. To remove
the cover, pull the front part of the cover
(closest to the front of the seat) toward you to
release a locking tab. Once the front of the
cover is loose, slide the cover toward the front
of the seat until it is free from the seat frame.
Jack Access Cover
Remove the jack and tools by turning the wing
bolt counterclockwise, remove the wing bolt
and then slide the assembly out from under the
seat.
Wing Bolt/Jack And Tools
The jack is designed to be used as a tool for
changing tires only. The jack should not be
used to lift the vehicle for service purposes.
The vehicle should be jacked on a firm level
surface only. Avoid ice or slippery areas.
WARNING! (Continued)
6
20_DJD2_OM_EN_USC_t.book Page 343
Page 346 of 553

344IN CASE OF EMERGENCY
(Continued)
Remove the jack and tools from the bracket
assembly. Turn the jack turn-screw counter-
clockwise to release jack from bracket
assembly.
Jack And Tools Bracket AssemblyJacking Tools
There are two ways to assemble the tools:
Assembled For Spare Tire Lowering/Raising
Assembled For Spare Tire Lowering/Raising
Assembled For Jack Operation
Assembled For Jack Operation
1 — Lug Wrench
2 — Extension 2
3 — Extension 3
4 — Extension 4
CAUTION!
The lug wrench can only be attached to
extension two (2).
When attaching the tool to the winch mech -
anism be sure the large flared end opening
on extension four (4) is positioned correctly
over the winch mechanism adjusting nut.
Damage to the lug wrench, extensions and
winch mechanism may occur from
improper tool assembly.
1 — Lug Wrench
2 — Extension 2
3 — Extension 3
4 — Extension 4
5 — Jack Driver
CAUTION! (Continued)
20_DJD2_OM_EN_USC_t.book Page 344
Page 347 of 553

IN CASE OF EMERGENCY345
Removing The Spare Tire
1. Remove the spare tire before attempting to
jack up the truck. Attach the lug wrench to
the extension tubes with the curved angle
facing away from the vehicle. Insert the
extension tube through the access hole
between the lower tailgate and the top of
the bumper and into the winch mechanism
tube.
Winch Mechanism Tube
Inserting The Extension Tubes Into The Access Hole
2. Rotate the lug wrench handle counterclock -
wise until the spare tire is on the ground
with enough cable slack to allow you to pull
it out from under the vehicle.
Rotating The Lug Wrench Handle
3. Pull the spare tire out from under the vehicle to gain access to the spare tire
retainer.
Pulling The Spare Tire Out
WARNING!
After using the jack and tools, always reinstall
them in the original carrier and location.
While driving you may experience abrupt
stopping, rapid acceleration or sharp turns. A
loose jack, tools, bracket or other objects in
the vehicle may move around with force,
resulting in serious injury.
6
20_DJD2_OM_EN_USC_t.book Page 345
Page 348 of 553

346IN CASE OF EMERGENCY
4. Lift the spare tire with one hand to give
clearance to tilt the retainer at the end of
the cable.
Gaining Access To The Retainer
5. Pull the retainer through the center of the wheel.
Pulling The Retainer Through The Center Of The Wheel
NOTE:
The winch mechanism is designed for use with
the extension tubes only. Use of an air wrench
or other power tools is not recommended and
can damage the winch.
Preparations For Jacking
1. Park the vehicle on a firm, level surface.
Avoid ice or slippery areas.
2. Turn on the Hazard Warning Flashers.
3. Apply the parking brake.
4. Shift the transmission into Park (P).
5. Turn the ignition OFF. 6. Block both the front and rear of the wheel
diagonally opposite the jacking position. For
example, if the driver’s front wheel is being
changed, block the passenger’s rear wheel.
Wheel Blocked
NOTE:
Passengers should not remain in the vehicle
when the vehicle is being raised or lifted.
WARNING!
Do not attempt to change a tire on the side of
the vehicle close to moving traffic. Pull far
enough off the road to avoid being hit when
operating the jack or changing the wheel.
20_DJD2_OM_EN_USC_t.book Page 346
Page 349 of 553

IN CASE OF EMERGENCY347
(Continued)
Jacking Instructions
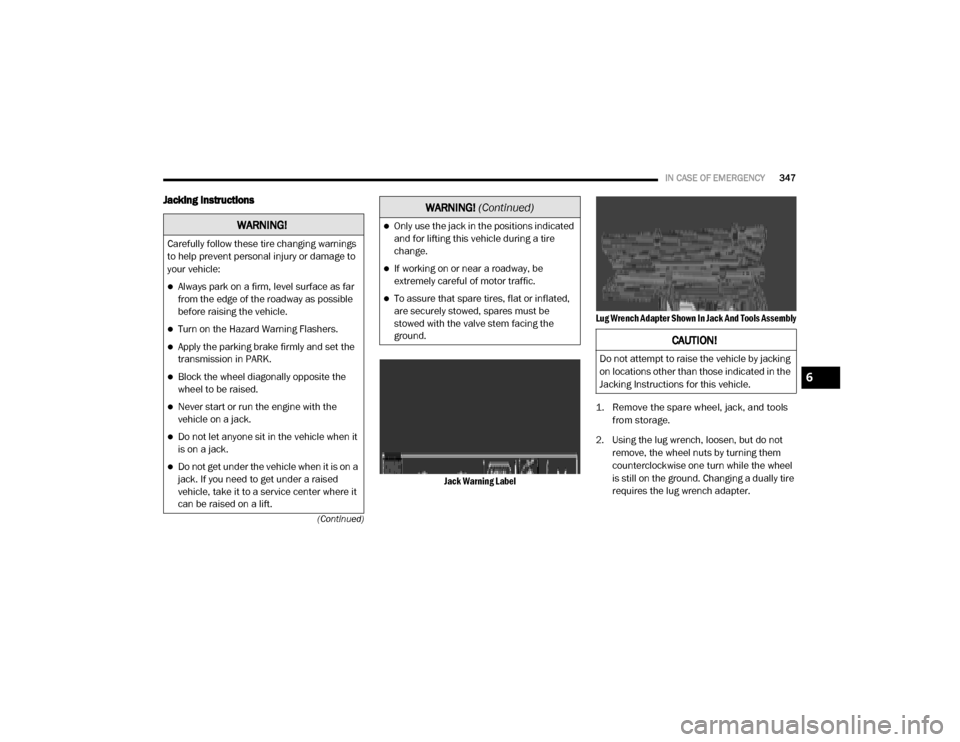
Jack Warning Label Lug Wrench Adapter Shown In Jack And Tools Assembly
1. Remove the spare wheel, jack, and tools
from storage.
2. Using the lug wrench, loosen, but do not remove, the wheel nuts by turning them
counterclockwise one turn while the wheel
is still on the ground. Changing a dually tire
requires the lug wrench adapter.
WARNING!
Carefully follow these tire changing warnings
to help prevent personal injury or damage to
your vehicle:
Always park on a firm, level surface as far
from the edge of the roadway as possible
before raising the vehicle.
Turn on the Hazard Warning Flashers.
Apply the parking brake firmly and set the
transmission in PARK.
Block the wheel diagonally opposite the
wheel to be raised.
Never start or run the engine with the
vehicle on a jack.
Do not let anyone sit in the vehicle when it
is on a jack.
Do not get under the vehicle when it is on a
jack. If you need to get under a raised
vehicle, take it to a service center where it
can be raised on a lift.
Only use the jack in the positions indicated
and for lifting this vehicle during a tire
change.
If working on or near a roadway, be
extremely careful of motor traffic.
To assure that spare tires, flat or inflated,
are securely stowed, spares must be
stowed with the valve stem facing the
ground.
WARNING! (Continued)
CAUTION!
Do not attempt to raise the vehicle by jacking
on locations other than those indicated in the
Jacking Instructions for this vehicle.
6
20_DJD2_OM_EN_USC_t.book Page 347
Page 351 of 553

IN CASE OF EMERGENCY349
under the axle between the spring and the
shock absorber with the extension tubes ex -
tending to the rear.
Rear Lifting Point
Rear Jacking Location
Connect the extension tubes and lug
wrench. NOTE:
If the bottle jack will not lower by turning the dial
(thumbwheel) by hand, it may be necessary to
use the jack driver in order to lower the jack.
4. By rotating the lug wrench clockwise, raise
the vehicle until the wheel just clears the
surface.
5. Remove the lug nuts and pull the wheel off. On Single Rear Wheel (SRW) trucks, install
the spare wheel and lug nuts with the cone
shaped end of the wheel nuts toward the
wheel. On 3500 Dual Rear Wheel models
(DRW) trucks, if the outer tire is being replaced then leave the inner wheel on the
vehicle. If the inner wheel is being replaced
remove the outer wheel and replace the
inner wheel. The wheel nuts are a two-piece
assembly with a flat face. Lightly tighten the
lug nuts. To avoid the risk of forcing the
vehicle off the jack, do not fully tighten the
lug nuts until the vehicle has been lowered.
Rear Inner Wheel Proper Placement (Dual Rear Wheel Equipped)
CAUTION!
Before raising the wheel off the ground, make
sure that the jack will not damage
surrounding truck parts and adjust the jack
position as required.
WARNING!
Raising the vehicle higher than necessary can
make the vehicle less stable. It could slip off
the jack and hurt someone near it. Raise the
vehicle only enough to remove the tire.
6
20_DJD2_OM_EN_USC_t.book Page 349