steering wheel Ram 2500 2020 Repair Manual
[x] Cancel search | Manufacturer: RAM, Model Year: 2020, Model line: 2500, Model: Ram 2500 2020Pages: 553, PDF Size: 21.99 MB
Page 367 of 553

IN CASE OF EMERGENCY365
GEAR SELECTOR OVERRIDE — 6–SPEED
TRANSMISSION
If a malfunction occurs and the gear selector
cannot be moved out of the PARK position, you
can use the following procedure to temporarily
move the gear selector:
1. Turn the engine OFF.
2. Firmly apply the parking brake.
3. Tilt the steering wheel to the full up position.
4. Press and maintain firm pressure on the
brake pedal. 5. Insert a screwdriver or similar tool into the
access port (ringed circle) on the bottom of
the steering column, and push and hold the
override release lever up.
Gear Selector Override Access Port Location Gear Selector Override Access Port Engaging The Access Port
6. Move the gear selector to the NEUTRAL position.
7. The vehicle may then be started in NEUTRAL.
CAUTION!
Accessories plugged into the vehicle power
outlets draw power from the vehicle’s battery,
even when not in use (i.e., cellular devices,
etc.). Eventually, if plugged in long enough
without engine operation, the vehicle’s
battery will discharge sufficiently to degrade
battery life and/or prevent the engine from
starting.
6
20_DJD2_OM_EN_USC_t.book Page 365
Page 369 of 553

IN CASE OF EMERGENCY367
To Reset The Manual Park Release:
1. Push the locking tab to the right, to unlock
the lever.
2. Rotate the Manual Park Release lever forward to its original position, until the
locking tab snaps into place to secure the
lever.
3. Pull gently on the tether strap to confirm that the lever is locked in its stowed posi-
tion.
4. Re-install the access cover.
IF YOUR ENGINE OVERHEATS
In any of the following situations, you can
reduce the potential for overheating by taking
the appropriate action.
On the highways — slow down.
In city traffic — while stopped, place the trans -
mission in NEUTRAL, but do not increase the
engine idle speed while preventing vehicle
motion with the brakes. NOTE:
There are steps that you can take to slow down
an impending overheat condition:
If your Air Conditioner (A/C) is on, turn it off.
The A/C system adds heat to the engine
cooling system and turning the A/C off can
help remove this heat.
You can also turn the temperature control to
maximum heat, the mode control to floor and
the blower control to high. This allows the
heater core to act as a supplement to the
radiator and aids in removing heat from the
engine cooling system.
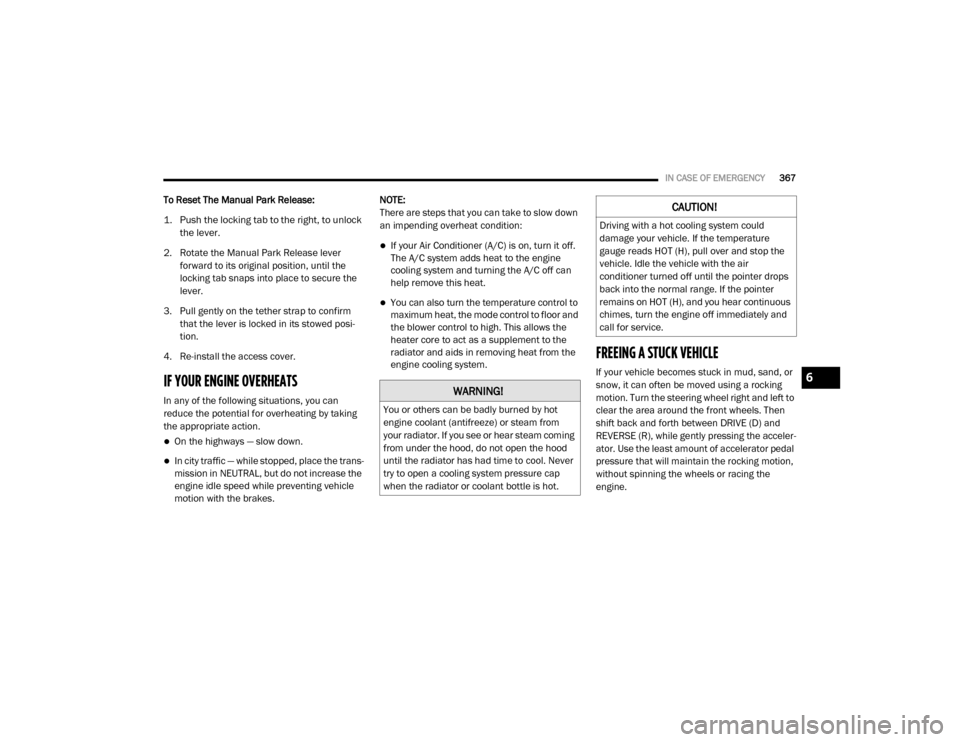
FREEING A STUCK VEHICLE
If your vehicle becomes stuck in mud, sand, or
snow, it can often be moved using a rocking
motion. Turn the steering wheel right and left to
clear the area around the front wheels. Then
shift back and forth between DRIVE (D) and
REVERSE (R), while gently pressing the acceler
-
ator. Use the least amount of accelerator pedal
pressure that will maintain the rocking motion,
without spinning the wheels or racing the
engine.
WARNING!
You or others can be badly burned by hot
engine coolant (antifreeze) or steam from
your radiator. If you see or hear steam coming
from under the hood, do not open the hood
until the radiator has had time to cool. Never
try to open a cooling system pressure cap
when the radiator or coolant bottle is hot.
CAUTION!
Driving with a hot cooling system could
damage your vehicle. If the temperature
gauge reads HOT (H), pull over and stop the
vehicle. Idle the vehicle with the air
conditioner turned off until the pointer drops
back into the normal range. If the pointer
remains on HOT (H), and you hear continuous
chimes, turn the engine off immediately and
call for service.
6
20_DJD2_OM_EN_USC_t.book Page 367
Page 372 of 553

370IN CASE OF EMERGENCY
If the key fob is unavailable or the vehicle's
battery is discharged, refer to ”Manual Park
Release” in this section for instructions on
shifting the transmission out of PARK for
towing.
Two-Wheel Drive Models
The manufacturer recommends towing your
vehicle with all four wheels OFF the ground
using a flatbed.
If flatbed equipment is not available, and the
transmission is operable, the vehicle may be
towed (with rear wheels ON the ground) under
the following conditions:
The transmission must be in NEUTRAL. NOTE:
Refer to “Manual Park Release” in this section
for instructions on shifting the transmission to
NEUTRAL when the engine is OFF.
The towing speed must not exceed 30 mph
(48 km/h).
The towing distance must not exceed
30 miles (48 km) for 8–speed transmission.
The towing distance must not exceed
15 miles (24 km) for 6–speed transmission.
If the transmission is not operable, or the
vehicle must be towed faster than 30 mph
(48 km/h) or farther than 30 miles (48 km) for 8–speed transmission, tow with the rear wheels
OFF the ground. Acceptable methods are to tow
the vehicle on a flatbed, or with the front wheels
raised and the rear wheels on a towing dolly, or
(when using a suitable steering wheel stabilizer
to hold the front wheels in the straight position)
with the rear wheels raised and the front wheels
on the ground.
Four-Wheel Drive Models
The manufacturer recommends towing with all
wheels OFF the ground. Acceptable methods
are to tow the vehicle on a flatbed or with one
end of vehicle raised and the opposite end on a
towing dolly.
If flatbed equipment is not available, and the
transfer case is operable, the vehicle may be
towed (in the forward direction, with ALL wheels
on the ground), IF the transfer case is in
NEUTRAL (N) and the transmission is in PARK.
Refer to “Recreational Towing” in “Starting And
Operating” for further information and detailed
instructions.
CAUTION!
Do not use sling type equipment when
towing. Vehicle damage may occur.
When securing the vehicle to a flat bed
truck, do not attach to front or rear suspen -
sion components. Damage to your vehicle
may result from improper towing.
CAUTION!
Towing this vehicle in violation of the above
requirements can cause severe transmission
damage. Damage from improper towing is not
covered under the New Vehicle Limited
Warranty.
20_DJD2_OM_EN_USC_t.book Page 370
Page 434 of 553

432SERVICING AND MAINTENANCE
Tire Types
All Season Tires — If Equipped
All Season tires provide traction for all seasons
(Spring, Summer, Autumn, and Winter). Traction
levels may vary between different all season
tires. All season tires can be identified by the
M+S, M&S, M/S or MS designation on the tire
sidewall. Use all season tires only in sets of four;
failure to do so may adversely affect the safety
and handling of your vehicle.
Summer Or Three Season Tires — If Equipped
Summer tires provide traction in both wet and
dry conditions, and are not intended to be
driven in snow or on ice. If your vehicle is
equipped with Summer tires, be aware these
tires are not designed for Winter or cold driving
conditions. Install Winter tires on your vehicle
when ambient temperatures are less than 40°F
(5°C) or if roads are covered with ice or snow. For more information, contact an authorized
dealer.
Summer tires do not contain the all season
designation or mountain/snowflake symbol on
the tire sidewall. Use Summer tires only in sets
of four; failure to do so may adversely affect the
safety and handling of your vehicle.
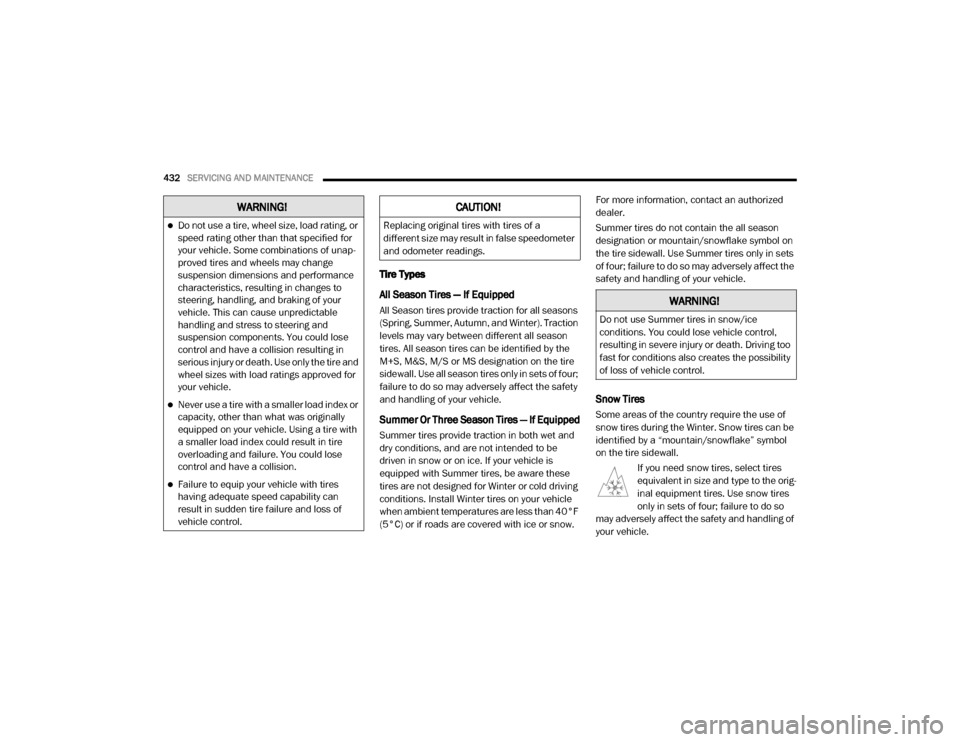
Snow Tires
Some areas of the country require the use of
snow tires during the Winter. Snow tires can be
identified by a “mountain/snowflake” symbol
on the tire sidewall.
If you need snow tires, select tires
equivalent in size and type to the orig -
inal equipment tires. Use snow tires
only in sets of four; failure to do so
may adversely affect the safety and handling of
your vehicle.
WARNING!
Do not use a tire, wheel size, load rating, or
speed rating other than that specified for
your vehicle. Some combinations of unap -
proved tires and wheels may change
suspension dimensions and performance
characteristics, resulting in changes to
steering, handling, and braking of your
vehicle. This can cause unpredictable
handling and stress to steering and
suspension components. You could lose
control and have a collision resulting in
serious injury or death. Use only the tire and
wheel sizes with load ratings approved for
your vehicle.
Never use a tire with a smaller load index or
capacity, other than what was originally
equipped on your vehicle. Using a tire with
a smaller load index could result in tire
overloading and failure. You could lose
control and have a collision.
Failure to equip your vehicle with tires
having adequate speed capability can
result in sudden tire failure and loss of
vehicle control.
CAUTION!
Replacing original tires with tires of a
different size may result in false speedometer
and odometer readings.
WARNING!
Do not use Summer tires in snow/ice
conditions. You could lose vehicle control,
resulting in severe injury or death. Driving too
fast for conditions also creates the possibility
of loss of vehicle control.
20_DJD2_OM_EN_USC_t.book Page 432
Page 438 of 553

436SERVICING AND MAINTENANCE
(Continued)
2500 Models
Install on rear tires only.
For LT245/70R17E, LT275/70R18E and
LT285/60R20E tires, use of a U-class snow
chain is recommended.
2500 Power Wagon Models
Install on rear tires only.
For a LT285/70R17D tire, use of a U-class
snow chain is recommended.
3500 (Single Rear Wheel) Models
Install on rear tires only.
For LT275/70R18E and LT285/60R20E
tires, use of a U-class snow chain is recom -
mended.
3500 (Dual Rear Wheel) Models
Install on front/rear tires.
For a LT235/80R17E tire, use of a U-class
snow chain is recommended.
Tire Rotation Recommendations
Tires on the front and rear axles of vehicles
operate at different loads and perform different
steering, driving, and braking functions. For
these reasons, they wear at unequal rates.
These effects can be reduced by timely rotation
of tires. The benefits of rotation are especially
worthwhile with aggressive tread designs such
as those on all season type tires. Rotation will
WARNING!
Using tires of different size and type (M+S,
Snow) between front and rear axles can
cause unpredictable handling. You could lose
control and have a collision.
CAUTION!
To avoid damage to your vehicle or tires,
observe the following precautions:
Because of restricted traction device clear -
ance between tires and other suspension
components, it is important that only trac -
tion devices in good condition are used.
Broken devices can cause serious damage.
Stop the vehicle immediately if noise
occurs that could indicate device breakage.
Remove the damaged parts of the device
before further use.
Install device as tightly as possible and
then retighten after driving about ½ mile
(0.8 km). Autosock traction devices do not
require retightening.
Do not exceed 30 mph (48 km/h).
Drive cautiously and avoid severe turns and
large bumps, especially with a loaded
vehicle.
Do not drive for a prolonged period on dry
pavement.
Observe the traction device manufacturer’s
instructions on the method of installation,
operating speed, and conditions for use.
Always use the suggested operating speed
of the device manufacturer’s if it is less
than 30 mph (48 km/h).
Do not use traction devices on a compact
spare tire.
CAUTION! (Continued)
20_DJD2_OM_EN_USC_t.book Page 436
Page 446 of 553

444
TECHNICAL SPECIFICATIONS
IDENTIFICATION DATA
Vehicle Identification Number
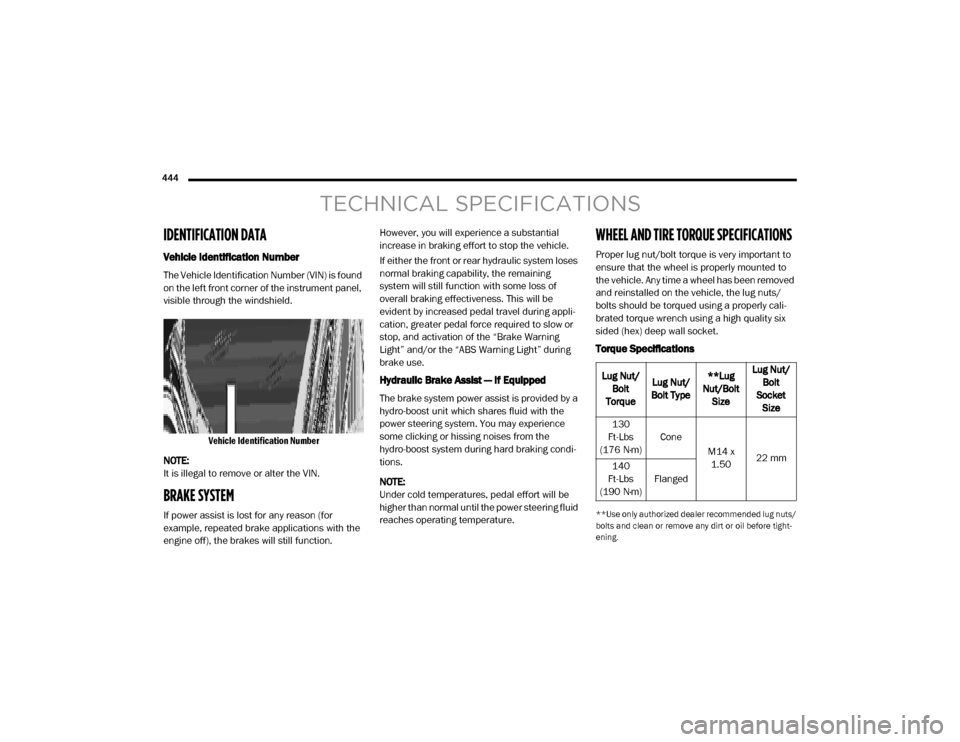
The Vehicle Identification Number (VIN) is found
on the left front corner of the instrument panel,
visible through the windshield.
Vehicle Identification Number
NOTE:
It is illegal to remove or alter the VIN.
BRAKE SYSTEM
If power assist is lost for any reason (for
example, repeated brake applications with the
engine off), the brakes will still function. However, you will experience a substantial
increase in braking effort to stop the vehicle.
If either the front or rear hydraulic system loses
normal braking capability, the remaining
system will still function with some loss of
overall braking effectiveness. This will be
evident by increased pedal travel during appli
-
cation, greater pedal force required to slow or
stop, and activation of the “Brake Warning
Light” and/or the “ABS Warning Light” during
brake use.
Hydraulic Brake Assist — If Equipped
The brake system power assist is provided by a
hydro-boost unit which shares fluid with the
power steering system. You may experience
some clicking or hissing noises from the
hydro-boost system during hard braking condi -
tions.
NOTE:
Under cold temperatures, pedal effort will be
higher than normal until the power steering fluid
reaches operating temperature.
WHEEL AND TIRE TORQUE SPECIFICATIONS
Proper lug nut/bolt torque is very important to
ensure that the wheel is properly mounted to
the vehicle. Any time a wheel has been removed
and reinstalled on the vehicle, the lug nuts/
bolts should be torqued using a properly cali -
brated torque wrench using a high quality six
sided (hex) deep wall socket.
Torque Specifications
**Use only authorized dealer recommended lug nuts/
bolts and clean or remove any dirt or oil before tight -
ening.
Lug Nut/ Bolt
Torque Lug Nut/
Bolt Type **Lug
Nut/Bolt Size Lug Nut/
Bolt
Socket Size
130
Ft-Lbs
(176 N·m) Cone
M14 x 1.50 22 mm
140
Ft-Lbs
(190 N·m) Flanged
20_DJD2_OM_EN_USC_t.book Page 444
Page 456 of 553

454TECHNICAL SPECIFICATIONS
Chassis
FLUIDS AND LUBRICANTS — DIESEL ENGINE
Engine
Component Fluid, Lubricant, or Genuine Part
Automatic Transmission – Eight-Speed Automatic Use only Mopar ZF 8&9 Speed ATF Automatic Transmission Fluid, or
equivalent. Failure to use the correct fluid may affect the function or
performance of your transmission.
Transfer Case We recommend you use Mopar Transfer Case Lubricant for Borg Warner
44-44 and 44-45.
Front and Rear Axle We recommend you use SAE 75W-85 HD Ram GL-5 Synthetic Axle
Lubricant in 9.25 Front, 11.5 and 12.0 (Single Rear Wheel) Rear Axles.
Use Mopar GL-5 Synthetic Gear Lubricant SAE 75W-140 in 12.0 (Dual
Rear Wheel) Rear axles. Limited slip additive is required for limited slip
axles.
Brake Master Cylinder We recommend you use Mopar DOT 3.
Power Steering Reservoir We recommend you use Mopar Power Steering Fluid +4 or Mopar ATF+4
Automatic Transmission Fluid.
Component
Fluid, Lubricant, or Genuine Part
Engine Coolant We recommend you use Mopar Antifreeze/Coolant 10 Year/
150,000 Mile Formula OAT (Organic Additive Technology).
20_DJD2_OM_EN_USC_t.book Page 454
Page 466 of 553

464MULTIMEDIA
Forward Facing Camera Guidelines
— If Equipped On
Off
NOTE:
The “Forward Facing Camera Guidelines” feature is an off-road type of feature that shows the path of the tires based on the steering wheel input. CHMSL (Center High Mounted Stop Lamp) Camera Dynamic Centerline — If Equipped On
Off
NOTE:
When the “CHMSL Camera Dynamic Centerline” feature is selected, it will assist in backing up for trailer alignment and hook up. This feature is only
available if your vehicle is equipped with Surround View Camera. Rain Sensing Auto Wipers — If Equipped On
Off
NOTE:
When the “Rain Sensing Auto Wipers” feature is selected, the system automatically activates the windshield wipers if it senses moisture on the wind -
shield.
Hill Start Assist — If Equipped On Off
NOTE:
When the “Hill Start Assist” feature is selected, the Hill Start Assist (HSA) system becomes active. Tire Fill Assist On Off
Setting Name Selectable Options
20_DJD2_OM_EN_USC_t.book Page 464
Page 467 of 553

MULTIMEDIA465
Lights
After pressing the Lights button on the touchscreen, the following settings will be available:
Setting Name Selectable Options
Headlight Off Delay0 sec
30 sec
60 sec 90 sec
Headlight Illumination On Approach 0 sec
30 sec
60 sec 90 sec
NOTE:
When the “Headlight Illumination On Approach” feature is selected, it allows the adjustment of the amount of time the headlights remain on when
the doors are unlocked with the key fob. Headlights With Wipers — If Equipped OnOff
Auto Dim High Beams — If Equipped OnOff
Flash Lights With Lock OnOff
NOTE:
When the “Flash Lights With Lock” feature is selected, the exterior lights flash when the doors are locked or unlocked with the key fob. This feature
may be selected with or without the Sound Horn On Lock feature selected. Steering Directed Lights - If Equipped OnOff
NOTE:
When the “Steering Directed Lights” feature is selected, the headlights turn with the direction of the steering wheel. Rear Cargo Guidance Lights — If Equipped OnOff
NOTE:
When the “Rear Cargo Guidance Lights” feature is selected, the lights in the cargo and bed of the truck will come on either when the headlight switch
is pressed, or the button on the back bed of the truck is pressed.
9
20_DJD2_OM_EN_USC_t.book Page 465
Page 469 of 553

MULTIMEDIA467
Power Side Steps — If Equipped
After pressing the Power Side Steps button on the touchscreen, the following settings will be available:
Auto-On Comfort Systems — If Equipped
After pressing the Auto-On Comfort Systems button on the touchscreen, the following settings will be available:Passive Entry — If Equipped
On Off
NOTE:
The “Passive Entry” feature allows you to lock and unlock the vehicle’s door(s) without having to push the key fob lock or unlock buttons. It automat -
ically unlocks the doors when the outside door handle is grabbed.
Flash Lights With Lock On Off
NOTE:
When the “Flash Lights With Lock” feature is selected, the exterior lights flash when the doors are locked or unlocked with the key fob. This feature
may be selected with or without the “Sound Horn With Lock” feature selected.
Setting Name Selectable Options
Setting NameSelectable Options
Power Side StepsAutomaticStow
Setting Name Selectable Options
Auto-On Driver Heated/Ventilated
Seat & Steering Wheel With Vehicle Start — If Equipped Off
Remote Start Only All Starts9
20_DJD2_OM_EN_USC_t.book Page 467