service Ram 3500 2018 Owner's Guide
[x] Cancel search | Manufacturer: RAM, Model Year: 2018, Model line: 3500, Model: Ram 3500 2018Pages: 372, PDF Size: 7.1 MB
Page 158 of 372
NOTE:
You must press and hold the brake pedal
while shifting out of PARK.
Key Ignition Park Interlock
This vehicle is equipped with a Key Ignition
Park Interlock which requires the transmis-
sion to be in PARK before the ignition can be
turned to the LOCK/OFF (key removal) posi-
tion. The key fob can only be removed from
the ignition when the ignition is in the LOCK/
OFF position, and the transmission is locked
in PARK whenever the ignition is in the
LOCK/OFF position.
NOTE:
If a malfunction occurs, the system will trap
the key fob in the ignition to warn you that
this safety feature is inoperable. The engine
can be started and stopped but the key fob
cannot be removed until you obtain service.
Brake/Transmission Shift
Interlock System
This vehicle is equipped with a Brake Trans-
mission Shift Interlock System (BTSI) that
holds the transmission gear selector in PARKunless the brakes are applied. To shift the
transmission out of PARK, the ignition must
be turned to the ON/RUN mode (engine run-
ning, for vehicles with eight-speed transmis-
sion) and the brake pedal must be pressed.
In 8-speed vehicles, the brake pedal must
also be pressed to shift from NEUTRAL into
DRIVE or REVERSE when the vehicle is
stopped or moving at low speeds.
Eight-Speed Automatic
Transmission — If Equipped
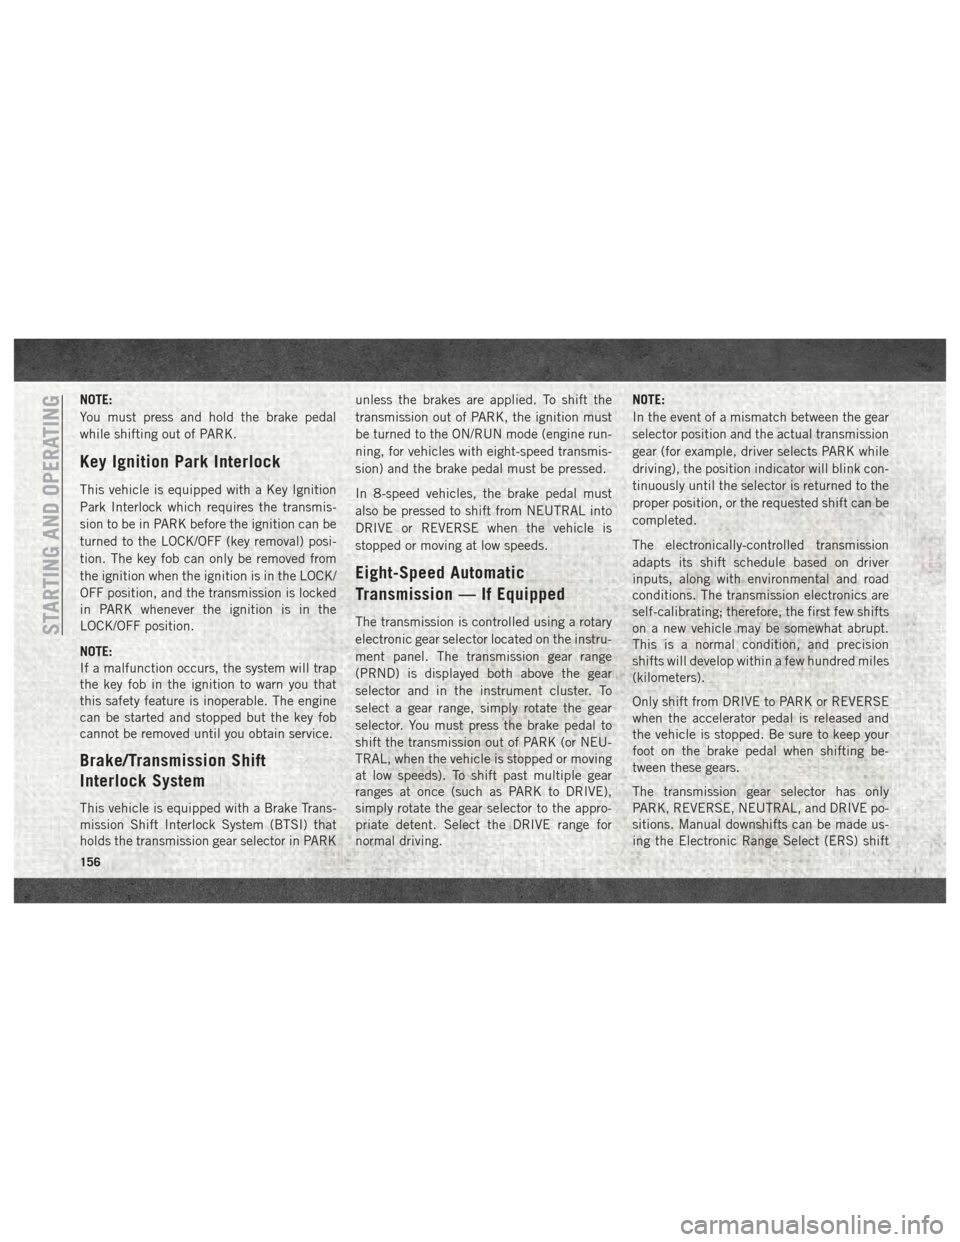
The transmission is controlled using a rotary
electronic gear selector located on the instru-
ment panel. The transmission gear range
(PRND) is displayed both above the gear
selector and in the instrument cluster. To
select a gear range, simply rotate the gear
selector. You must press the brake pedal to
shift the transmission out of PARK (or NEU-
TRAL, when the vehicle is stopped or moving
at low speeds). To shift past multiple gear
ranges at once (such as PARK to DRIVE),
simply rotate the gear selector to the appro-
priate detent. Select the DRIVE range for
normal driving. NOTE:
In the event of a mismatch between the gear
selector position and the actual transmission
gear (for example, driver selects PARK while
driving), the position indicator will blink con-
tinuously until the selector is returned to the
proper position, or the requested shift can be
completed.
The electronically-controlled transmission
adapts its shift schedule based on driver
inputs, along with environmental and road
conditions. The transmission electronics are
self-calibrating; therefore, the first few shifts
on a new vehicle may be somewhat abrupt.
This is a normal condition, and precision
shifts will develop within a few hundred miles
(kilometers).
Only shift from DRIVE to PARK or REVERSE
when the accelerator pedal is released and
the vehicle is stopped. Be sure to keep your
foot on the brake pedal when shifting be-
tween these gears.
The transmission gear selector has only
PARK, REVERSE, NEUTRAL, and DRIVE po-
sitions. Manual downshifts can be made us-
ing the Electronic Range Select (ERS) shiftSTARTING AND OPERATING
156
Page 159 of 372

control. Pressing the GEAR-/GEAR+ switches
(on the steering wheel) while in the DRIVE
position will select the highest available
transmission gear, and will display that gear
limit in the instrument cluster as 1, 2, 3, etc.
Refer to “Electronic Range Select (ERS) Op-
eration” in this section for further informa-
tion. Some models will display both the se-
lected gear limit, and the actual current gear,
while in ERS mode.Transmission Limp Home Mode
Transmission function is monitored electroni-
cally for abnormal conditions. If a condition
is detected that could result in transmission
damage, Transmission Limp Home Mode is
activated. In this mode, the transmission may
operate only in certain gears, or may not shift
at all. Vehicle performance may be severely
degraded and the engine may stall. In some
situations, the transmission may not re-
engage if the engine is turned off and re-
started. The Malfunction Indicator Light
(MIL) may be illuminated. A message in the
instrument cluster will inform the driver of
the more serious conditions, and indicate
what actions may be necessary.
In the event of a momentary problem, the
transmission can be reset to regain all for-
ward gears by performing the following steps:
NOTE:
In cases where the instrument cluster mes-
sage indicates the transmission may not re-
engage after engine shutdown, perform this
procedure only in a desired location (prefer-
ably, at your authorized dealer).1. Stop the vehicle.
2. Shift the transmission into PARK, if pos-
sible. If not, shift the transmission to
NEUTRAL.
3. Turn the ignition to the OFF position. On vehicles with Keyless Enter-N-Go, push
and hold the ignition switch until the
engine turns OFF.
4. Wait approximately 30 seconds.
5. Restart the engine.
6. Shift into the desired gear range. If the problem is no longer detected, the trans-
mission will return to normal operation.
NOTE:
Even if the transmission can be reset, we
recommend that you visit your authorized
dealer at your earliest possible convenience.
Your authorized dealer has diagnostic equip-
ment to assess the condition of your trans-
mission.
If the transmission cannot be reset, autho-
rized dealer service is required.
Electronic Transmission Gear Selector
157
Page 161 of 372
Only shift from DRIVE to PARK or REVERSE
when the accelerator pedal is released and
the vehicle is stopped. Be sure to keep your
foot on the brake pedal when shifting be-
tween these gears.
The transmission gear selector has only
PARK, REVERSE, NEUTRAL, and DRIVE
shift positions. Manual downshifts can be
made using the Electronic Range Select
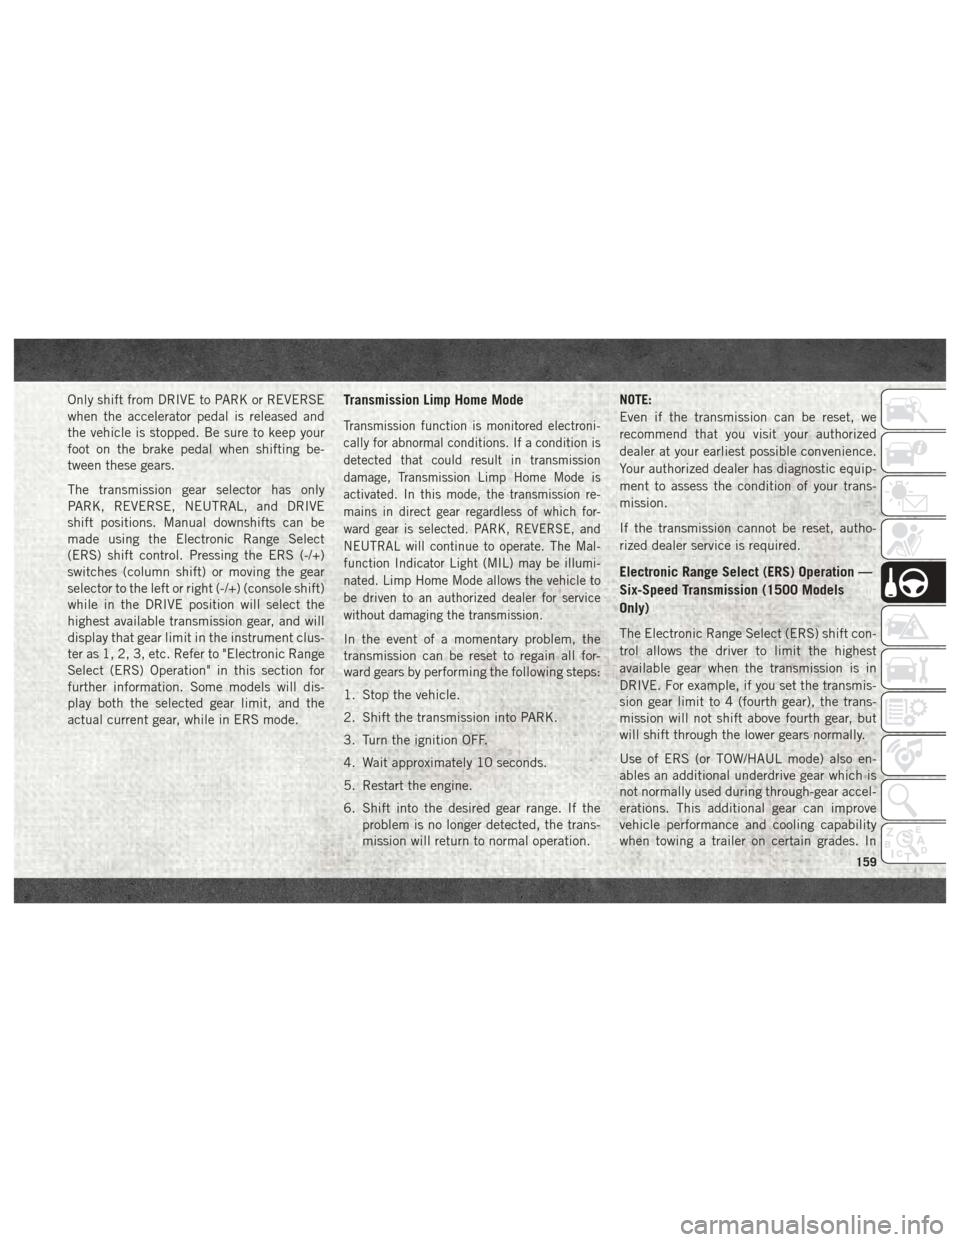
(ERS) shift control. Pressing the ERS (-/+)
switches (column shift) or moving the gear
selector to the left or right (-/+) (console shift)
while in the DRIVE position will select the
highest available transmission gear, and will
display that gear limit in the instrument clus-
ter as 1, 2, 3, etc. Refer to "Electronic Range
Select (ERS) Operation" in this section for
further information. Some models will dis-
play both the selected gear limit, and the
actual current gear, while in ERS mode.Transmission Limp Home Mode
Transmission function is monitored electroni-
cally for abnormal conditions. If a condition is
detected that could result in transmission
damage, Transmission Limp Home Mode is
activated. In this mode, the transmission re-
mains in direct gear regardless of which for-
ward gear is selected. PARK, REVERSE, and
NEUTRAL will continue to operate. The Mal-
function Indicator Light (MIL) may be illumi-
nated. Limp Home Mode allows the vehicle to
be driven to an authorized dealer for service
without damaging the transmission.
In the event of a momentary problem, the
transmission can be reset to regain all for-
ward gears by performing the following steps:
1. Stop the vehicle.
2. Shift the transmission into PARK.
3. Turn the ignition OFF.
4. Wait approximately 10 seconds.
5. Restart the engine.
6. Shift into the desired gear range. If theproblem is no longer detected, the trans-
mission will return to normal operation. NOTE:
Even if the transmission can be reset, we
recommend that you visit your authorized
dealer at your earliest possible convenience.
Your authorized dealer has diagnostic equip-
ment to assess the condition of your trans-
mission.
If the transmission cannot be reset, autho-
rized dealer service is required.
Electronic Range Select (ERS) Operation —
Six-Speed Transmission (1500 Models
Only)
The Electronic Range Select (ERS) shift con-
trol allows the driver to limit the highest
available gear when the transmission is in
DRIVE. For example, if you set the transmis-
sion gear limit to 4 (fourth gear), the trans-
mission will not shift above fourth gear, but
will shift through the lower gears normally.
Use of ERS (or TOW/HAUL mode) also en-
ables an additional underdrive gear which is
not normally used during through-gear accel-
erations. This additional gear can improve
vehicle performance and cooling capability
when towing a trailer on certain grades. In
159
Page 163 of 372
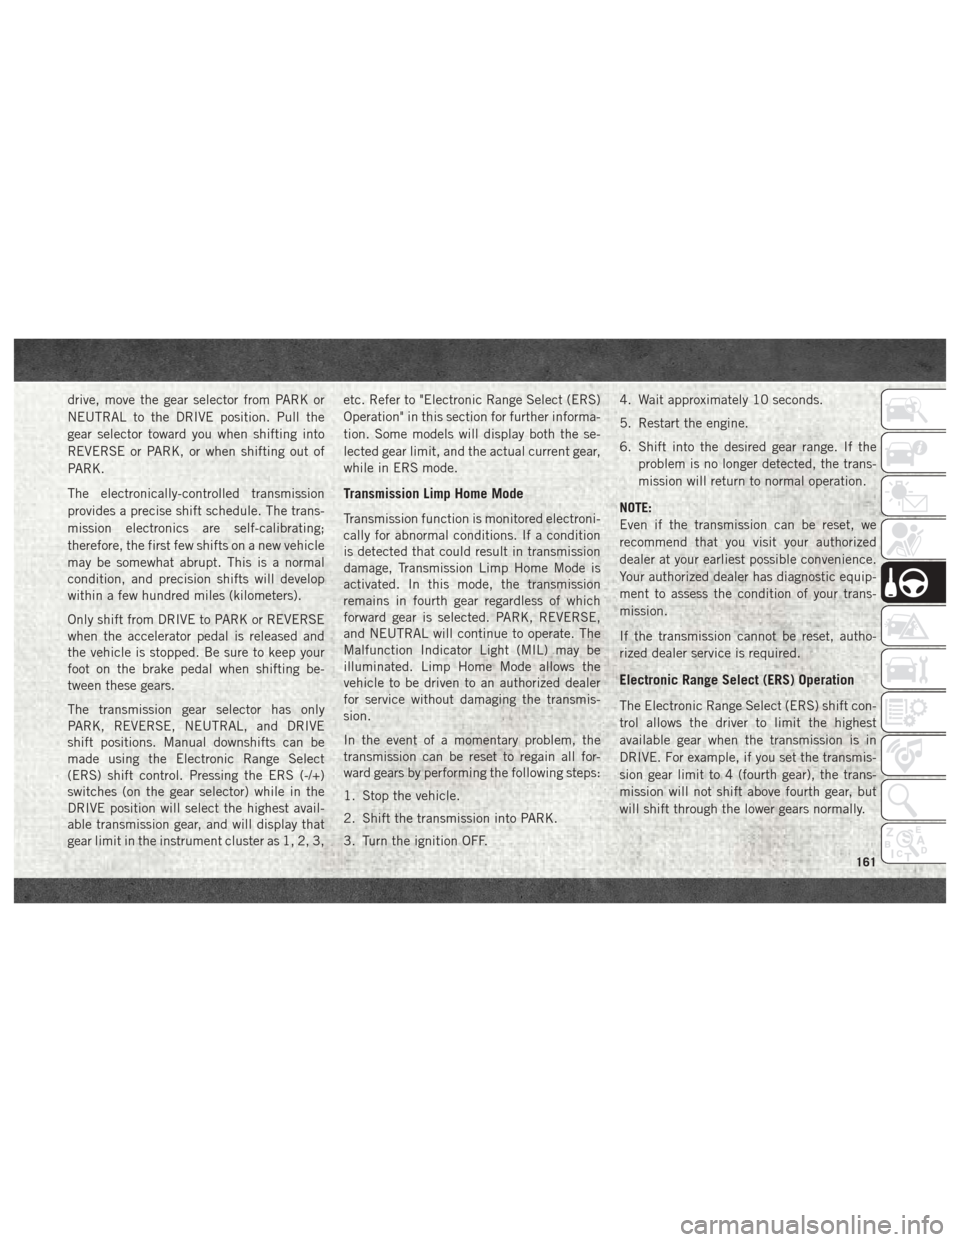
drive, move the gear selector from PARK or
NEUTRAL to the DRIVE position. Pull the
gear selector toward you when shifting into
REVERSE or PARK, or when shifting out of
PARK.
The electronically-controlled transmission
provides a precise shift schedule. The trans-
mission electronics are self-calibrating;
therefore, the first few shifts on a new vehicle
may be somewhat abrupt. This is a normal
condition, and precision shifts will develop
within a few hundred miles (kilometers).
Only shift from DRIVE to PARK or REVERSE
when the accelerator pedal is released and
the vehicle is stopped. Be sure to keep your
foot on the brake pedal when shifting be-
tween these gears.
The transmission gear selector has only
PARK, REVERSE, NEUTRAL, and DRIVE
shift positions. Manual downshifts can be
made using the Electronic Range Select
(ERS) shift control. Pressing the ERS (-/+)
switches (on the gear selector) while in the
DRIVE position will select the highest avail-
able transmission gear, and will display that
gear limit in the instrument cluster as 1, 2, 3,etc. Refer to "Electronic Range Select (ERS)
Operation" in this section for further informa-
tion. Some models will display both the se-
lected gear limit, and the actual current gear,
while in ERS mode.
Transmission Limp Home Mode
Transmission function is monitored electroni-
cally for abnormal conditions. If a condition
is detected that could result in transmission
damage, Transmission Limp Home Mode is
activated. In this mode, the transmission
remains in fourth gear regardless of which
forward gear is selected. PARK, REVERSE,
and NEUTRAL will continue to operate. The
Malfunction Indicator Light (MIL) may be
illuminated. Limp Home Mode allows the
vehicle to be driven to an authorized dealer
for service without damaging the transmis-
sion.
In the event of a momentary problem, the
transmission can be reset to regain all for-
ward gears by performing the following steps:
1. Stop the vehicle.
2. Shift the transmission into PARK.
3. Turn the ignition OFF.4. Wait approximately 10 seconds.
5. Restart the engine.
6. Shift into the desired gear range. If the
problem is no longer detected, the trans-
mission will return to normal operation.
NOTE:
Even if the transmission can be reset, we
recommend that you visit your authorized
dealer at your earliest possible convenience.
Your authorized dealer has diagnostic equip-
ment to assess the condition of your trans-
mission.
If the transmission cannot be reset, autho-
rized dealer service is required.
Electronic Range Select (ERS) Operation
The Electronic Range Select (ERS) shift con-
trol allows the driver to limit the highest
available gear when the transmission is in
DRIVE. For example, if you set the transmis-
sion gear limit to 4 (fourth gear), the trans-
mission will not shift above fourth gear, but
will shift through the lower gears normally.
161
Page 177 of 372
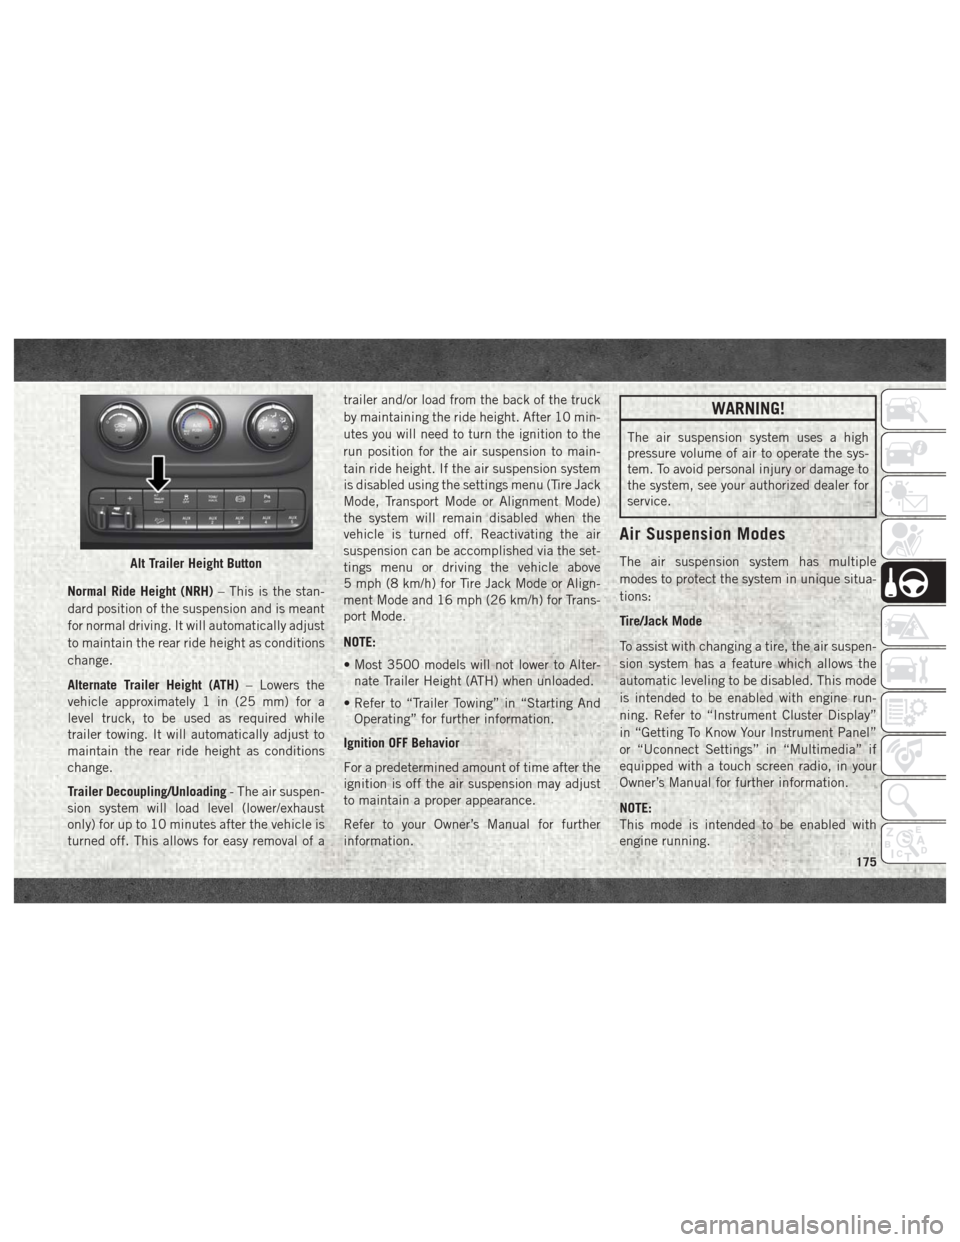
Normal Ride Height (NRH)– This is the stan-
dard position of the suspension and is meant
for normal driving. It will automatically adjust
to maintain the rear ride height as conditions
change.
Alternate Trailer Height (ATH) – Lowers the
vehicle approximately 1 in (25 mm) for a
level truck, to be used as required while
trailer towing. It will automatically adjust to
maintain the rear ride height as conditions
change.
Trailer Decoupling/Unloading - The air suspen-
sion system will load level (lower/exhaust
only) for up to 10 minutes after the vehicle is
turned off. This allows for easy removal of a trailer and/or load from the back of the truck
by maintaining the ride height. After 10 min-
utes you will need to turn the ignition to the
run position for the air suspension to main-
tain ride height. If the air suspension system
is disabled using the settings menu (Tire Jack
Mode, Transport Mode or Alignment Mode)
the system will remain disabled when the
vehicle is turned off. Reactivating the air
suspension can be accomplished via the set-
tings menu or driving the vehicle above
5 mph (8 km/h) for Tire Jack Mode or Align-
ment Mode and 16 mph (26 km/h) for Trans-
port Mode.
NOTE:
• Most 3500 models will not lower to Alter-
nate Trailer Height (ATH) when unloaded.
• Refer to “Trailer Towing” in “Starting And Operating” for further information.
Ignition OFF Behavior
For a predetermined amount of time after the
ignition is off the air suspension may adjust
to maintain a proper appearance.
Refer to your Owner’s Manual for further
information.
WARNING!
The air suspension system uses a high
pressure volume of air to operate the sys-
tem. To avoid personal injury or damage to
the system, see your authorized dealer for
service.
Air Suspension Modes
The air suspension system has multiple
modes to protect the system in unique situa-
tions:
Tire/Jack Mode
To assist with changing a tire, the air suspen-
sion system has a feature which allows the
automatic leveling to be disabled. This mode
is intended to be enabled with engine run-
ning. Refer to “Instrument Cluster Display”
in “Getting To Know Your Instrument Panel”
or “Uconnect Settings” in “Multimedia” if
equipped with a touch screen radio, in your
Owner’s Manual for further information.
NOTE:
This mode is intended to be enabled with
engine running.Alt Trailer Height Button
175
Page 187 of 372

2. Insert DEF fill adapter/nozzle into DEFtank filler neck. NOTE:
• The DEF gauge may take up to five seconds to update after adding a gallon
or more of Diesel Exhaust Fluid (DEF)
to the DEF tank. If you have a fault
related to the DEF system, the gauge
may not update to the new level. See
your authorized dealer for service.
• The DEF gauge may also not immedi- ately update after a refill if the tempera-
ture of the DEF fluid is below 12F
(-11C). The DEF line heater will possi-
bly warm up the DEF fluid and allow the
gauge to update after a period of run
time. Under very cold conditions, it is
possible that the gauge may not reflect
the new fill level for several drives.
CAUTION!
•To avoid DEF spillage, and possible dam-
age to the DEF tank from overfilling, do
not “top off” the DEF tank after filling.
CAUTION!
• DO NOT OVERFILL. DEF will freeze be-
low 12ºF (-11ºC). The DEF system is
designed to work in temperatures below
the DEF freezing point, however, if the
tank is overfilled and freezes, the system
could be damaged.
• When DEF is spilled, clean the area immediately with water and use an ab-
sorbent material to soak up the spills on
the ground.
• Do not attempt to start your engine if DEF is accidentally added to the diesel
fuel tank as it can result in severe dam-
age to your engine, including but not
limited to failure of the fuel pump and
injectors.
Fill Locations
1 — Diesel Exhaust Fluid (DEF) Fill
Location
2 — Diesel Fuel Fill Location
185
Page 191 of 372

Adding Diesel Exhaust Fluid
The DEF gauge (located on the instrument
cluster) will display the level of DEF remain-
ing in the tank. Refer to “Instrument Cluster”
and “Instrument Cluster Descriptions” in
“Getting To Know Your Instrument Panel” for
further information.
NOTE:
• Driving conditions (altitude, vehicle speed,load, etc.) will effect the amount of DEF
that is used in your vehicle.
• Another factor is that outside temperature can affect DEF consumption. In cold con-
ditions, 12° F (-11° C) and below, the DEF
gauge needle can stay on a fixed position
and may not move for extended periods of
time. This is a normal function of the sys-
tem.
• There is an electric heater inside the DEF tank that automatically works when neces-
sary. And if the DEF supply does freeze, the
truck will operate normally until it thaws. DEF Fill Procedure
NOTE:
Refer to “Fluids And Lubricants” in “Techni-
cal Specifications” for the correct fluid type.
1. Remove cap from DEF tank (located on
drivers side of the vehicle or in fuel door). 2. Insert DEF fill adapter/nozzle into DEF
tank filler neck.
NOTE: • The DEF gauge may take up to five seconds to update after adding a gallon
or more of Diesel Exhaust Fluid (DEF)
to the DEF tank. If you have a fault
related to the DEF system, the gauge
may not update to the new level. See
your authorized dealer for service.
• The DEF gauge may also not immedi- ately update after a refill if the tempera-
ture of the DEF fluid is below 12F
(-11C). The DEF line heater will possi-
bly warm up the DEF fluid and allow the
gauge to update after a period of run
time. Under very cold conditions, it is
possible that the gauge may not reflect
the new fill level for several drives.
CAUTION!
•To avoid DEF spillage, and possible dam-
age to the DEF tank from overfilling, do
not “top off” the DEF tank after filling.
Fill Locations
1 — Diesel Exhaust Fluid (DEF) Fill
Location
2 — Diesel Fuel Fill Location
189
Page 204 of 372
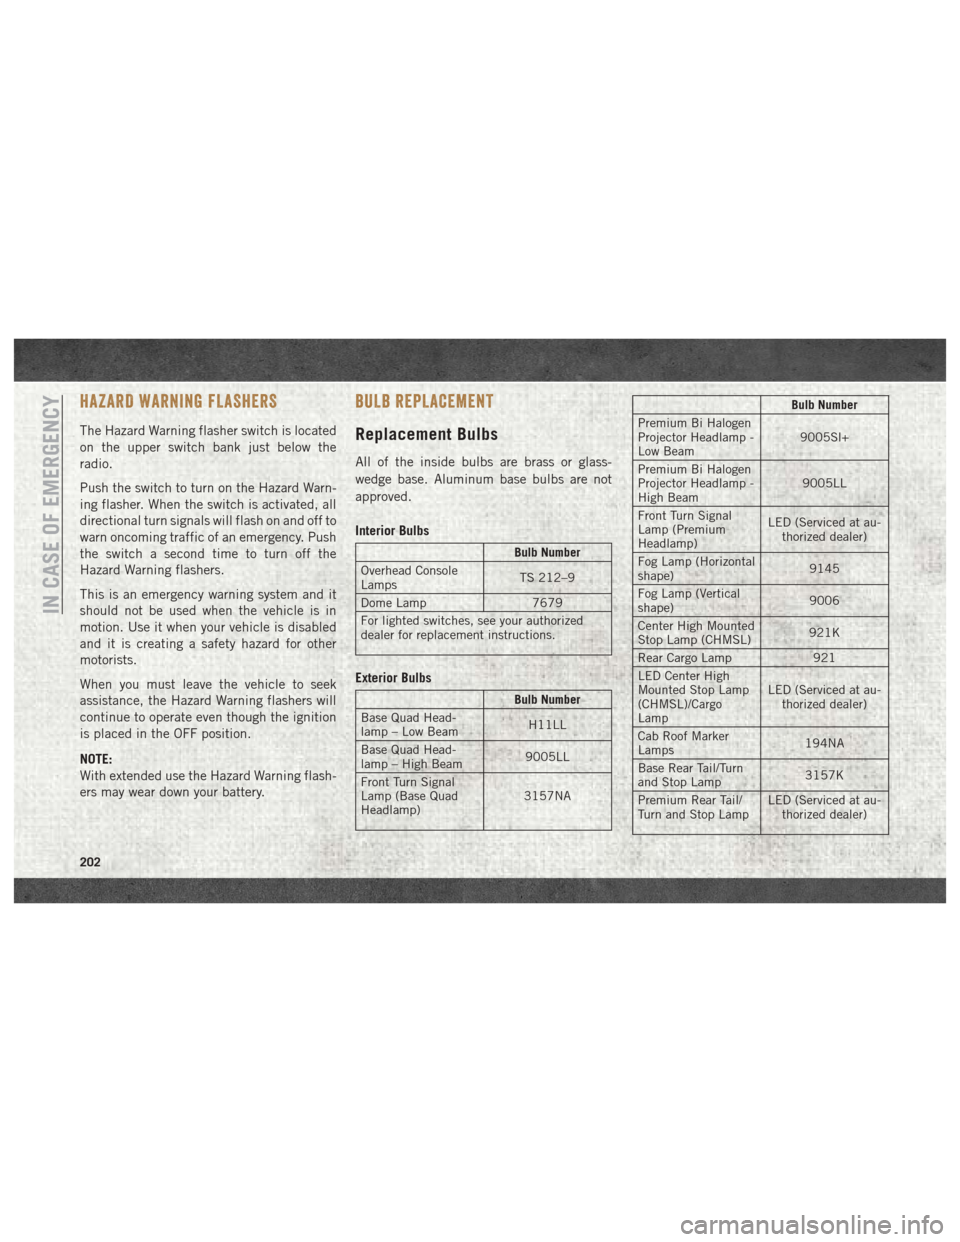
HAZARD WARNING FLASHERS
The Hazard Warning flasher switch is located
on the upper switch bank just below the
radio.
Push the switch to turn on the Hazard Warn-
ing flasher. When the switch is activated, all
directional turn signals will flash on and off to
warn oncoming traffic of an emergency. Push
the switch a second time to turn off the
Hazard Warning flashers.
This is an emergency warning system and it
should not be used when the vehicle is in
motion. Use it when your vehicle is disabled
and it is creating a safety hazard for other
motorists.
When you must leave the vehicle to seek
assistance, the Hazard Warning flashers will
continue to operate even though the ignition
is placed in the OFF position.
NOTE:
With extended use the Hazard Warning flash-
ers may wear down your battery.
BULB REPLACEMENT
Replacement Bulbs
All of the inside bulbs are brass or glass-
wedge base. Aluminum base bulbs are not
approved.
Interior Bulbs
Bulb Number
Overhead Console
Lamps TS 212–9
Dome Lamp 7679
For lighted switches, see your authorized
dealer for replacement instructions.
Exterior Bulbs
Bulb Number
Base Quad Head-
lamp – Low Beam H11LL
Base Quad Head-
lamp – High Beam 9005LL
Front Turn Signal
Lamp (Base Quad
Headlamp) 3157NA
Bulb Number
Premium Bi Halogen
Projector Headlamp -
Low Beam 9005Sl+
Premium Bi Halogen
Projector Headlamp -
High Beam 9005LL
Front Turn Signal
Lamp (Premium
Headlamp) LED (Serviced at au-
thorized dealer)
Fog Lamp (Horizontal
shape) 9145
Fog Lamp (Vertical
shape) 9006
Center High Mounted
Stop Lamp (CHMSL) 921K
Rear Cargo Lamp 921
LED Center High
Mounted Stop Lamp
(CHMSL)/Cargo
Lamp LED (Serviced at au-
thorized dealer)
Cab Roof Marker
Lamps 194NA
Base Rear Tail/Turn
and Stop Lamp 3157K
Premium Rear Tail/
Turn and Stop Lamp LED (Serviced at au-
thorized dealer)
IN CASE OF EMERGENCY
202
Page 205 of 372

Bulb Number
Premium Backup
Lamp 7440/W21W
Rear Lamp Bar ID
Marker Lamp 194
Side Marker Lamps
(Dual Rear Wheels) 194
Backup Lamp 921
Rear License Plate
Lamp 194
FUSES
WARNING!
• When replacing a blown fuse, always use
an appropriate replacement fuse with
the same amp rating as the original fuse.
Never replace a fuse with another fuse of
WARNING!
higher amp rating. Never replace a
blown fuse with metal wires or any other
material. Do not place a fuse inside a
circuit breaker cavity or vice versa. Fail-
ure to use proper fuses may result in
serious personal injury, fire and/or prop-
erty damage.
• Before replacing a fuse, make sure that
the ignition is off and that all the other
services are switched off and/or disen-
gaged.
• If the replaced fuse blows again, contact
an authorized dealer.
• If a general protection fuse for safety
systems (air bag system, braking sys-
tem), power unit systems (engine sys-
tem, transmission system) or steering
WARNING!
system blows, contact an authorized
dealer.
Power Distribution Center
The Power Distribution Center is located in
the engine compartment near the battery.
This center contains cartridge fuses, micro
fuses, relays, and circuit breakers. A descrip-
tion of each fuse and component may be
stamped on the inside cover, otherwise the
cavity number of each fuse is stamped on the
inside cover that corresponds to the following
chart.
Cavity Cartridge Fuse Micro Fuse Description
F01 80 Amp Black –Rad Fan Control Module – If Equipped
F03 60 Amp Yellow –Rad Fan – If Equipped
F05 40 Amp Green –Compressor for Air Suspension – If Equipped
F06 40 Amp Green –Antilock Brakes/Electronic Stability Control Pump
203
Page 206 of 372

CavityCartridge Fuse Micro Fuse Description
F07 40 Amp Green – Starter Solenoid
F08 20 Amp Blue (1500 LD/
Cummins Diesel) –
Emissions Diesel – If Equipped
F09 40 Amp Green (Special
Services Vehicle & Cum- mins Diesel) –
Diesel Fuel Heater – If Equipped
F10 40 Amp Green –Body Controller / Exterior Lighting #2
F10 50 Amp Red –Body Controller / Exterior Lighting #2 – If Equipped with
Stop/Start
F11 30 Amp Pink –Integrated Trailer Brake Module – If Equipped
F12 40 Amp Green –Body Controller #3 / Power Locks
F13 40 Amp Green – Blower Motor
F14 40 Amp Green –Body Controller #4 / Interior Lighting
F16 30 Amp Pink –Smart Bar – If Equipped
F19 20 Amp Blue (1500 LD
Diesel)
30 Amp Pink (Cummins Diesel) –
SCR – If Equipped
F20 30 Amp Pink –Passenger Door Module
F21 30 Amp Pink –Drive Train Control Module
F22 20 Amp Blue
30 Amp Pink (Cummins Diesel) –
Engine Control Module
F23 30 Amp Pink –Body Controller #1 / Interior Lighting
F24 30 Amp Pink –Driver Door Module
IN CASE OF EMERGENCY
204