cooling RENAULT KANGOO 1997 KC / 1.G Engine And Peripherals Owner's Manual
[x] Cancel search | Manufacturer: RENAULT, Model Year: 1997, Model line: KANGOO, Model: RENAULT KANGOO 1997 KC / 1.GPages: 208
Page 175 of 208
COOLING
Specifications
19
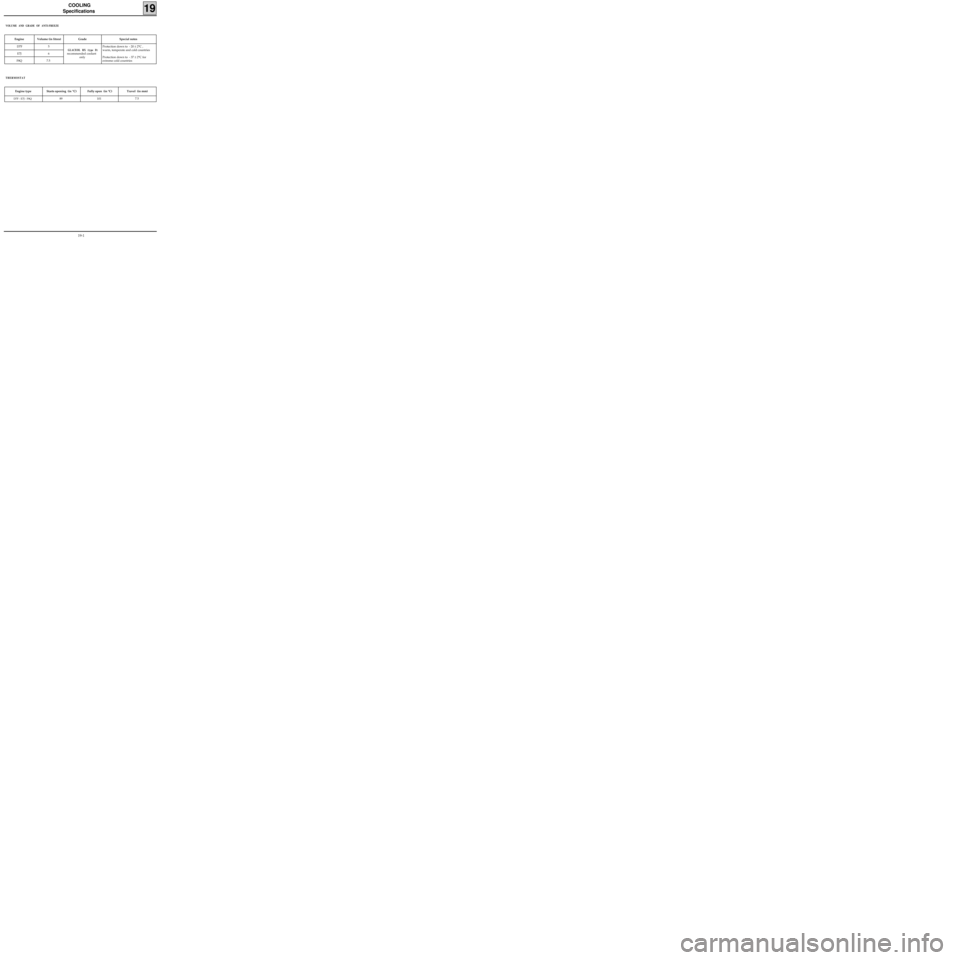
VOLUME AND GRADE OF ANTI-FREEZE
Engine Volume (in litres) Grade Special notes
D7F
E7J
F8Q5
6
7.5
GLACEOL RX (type D)
recommended coolant
onlyProtection down to - 20 ± 2°C ,
warm, temperate and cold countries
Protection down to - 37 ± 2°C for
extreme cold countries
THERMOSTAT
Engine type Starts opening (in °C) Fully open (in °C) Travel (in mm)
D7F - E7J - F8Q89 101 7.5
19-1
Page 176 of 208
COOLING
Filling and bleeding
19
There is no heater matrix water control valve.
Water flow is continuous in the heater matrix,
which contributes to the cooling of the engine.
FILLING
Check the tightening of the drain plug(s).
Open the two bleed screws.
Fill the circuit through the opening in the expan-
sion bottle.
Tighten the bleed screws as soon as the liquid
flows in a continuous jet.
Start the engine (2 500 rpm).
Adjust the level by overflow for a period of about
4 minutes .
Close the bottle.
BLEEDING
Allow the engine to run for about 10 minutes at
2 500 rpm, until the fan(s) operate (time necessary
for automatic degassing).
Check the liquid level is at the "Maximum" mar-
ker.
DO NOT OPEN THE BLEED SCREWS WHILST THE
ENGINE IS TURNING.
RE-TIGHTEN THE EXPANSION BOTTLE CAP WHILST
THE ENGINE IS WARM.
19-2
Page 177 of 208
COOLING
Testing
19
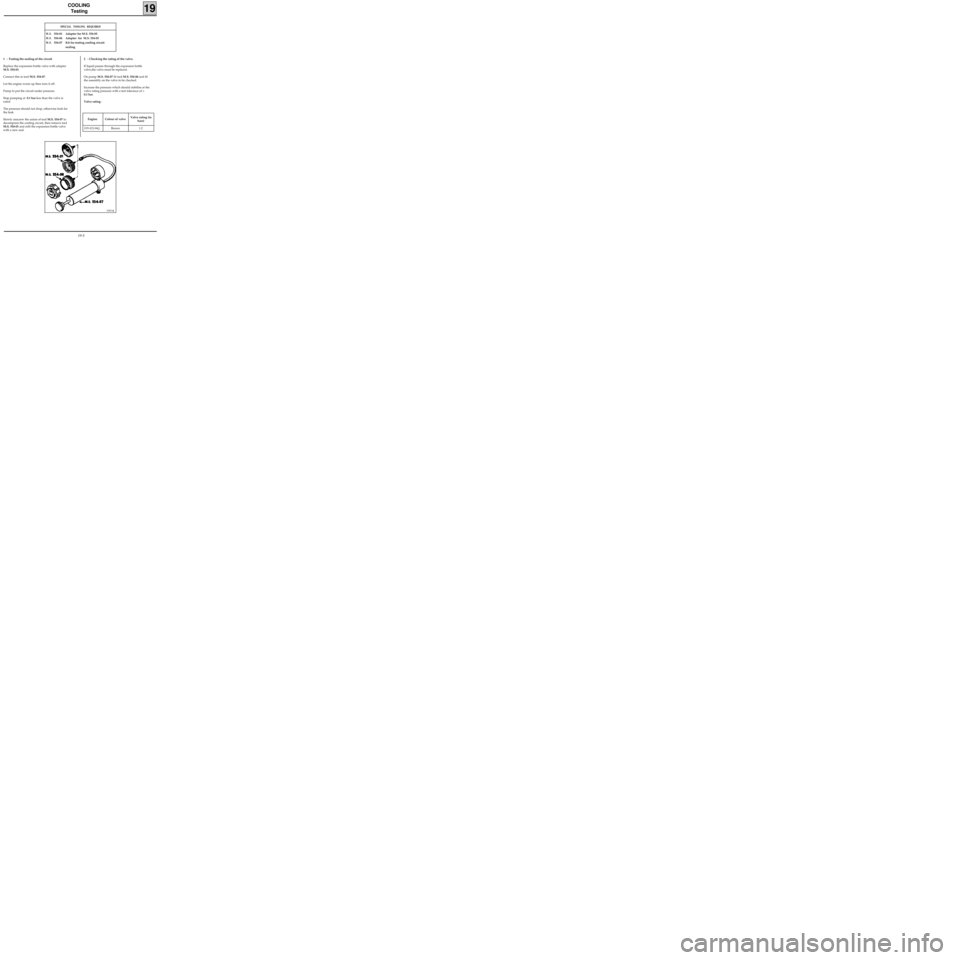
SPECIAL TOOLING REQUIRED
M.S.554-01 Adapter for M.S. 554-05
M.S.554-06 Adapter for M.S. 554-05
M.S.554-07 Kit for testing cooling circuit
sealing
97871R
Engine Colour of valve Valve rating (in
bars)
D7F-E7J-F8QBrown 1.2
1 - Testing the sealing of the circuit
Replace the expansion bottle valve with adapter
M.S. 554-01.
Connect this to tool M.S. 554-07.
Let the engine warm up then turn it off.
Pump to put the circuit under pressure.
Stop pumping at 0.1 bar less than the valve is
rated.
The pressure should not drop, otherwise look for
the leak.
Slowly unscrew the union of tool M.S. 554-07 to
decompress the cooling circuit, then remove tool
M.S. 554-01 and refit the expansion bottle valve
with a new seal.2 - Checking the rating of the valve.
If liquid passes through the expansion bottle
valve,the valve must be replaced.
On pump M.S. 554-07 fit tool M.S. 554-06 and fit
the assembly on the valve to be checked.
Increase the pressure which should stabilise at the
valve rating pressure with a test tolerance of
±
0.1 bar.
Valve rating :
19-3
Page 178 of 208
COOLING
Diagram
19
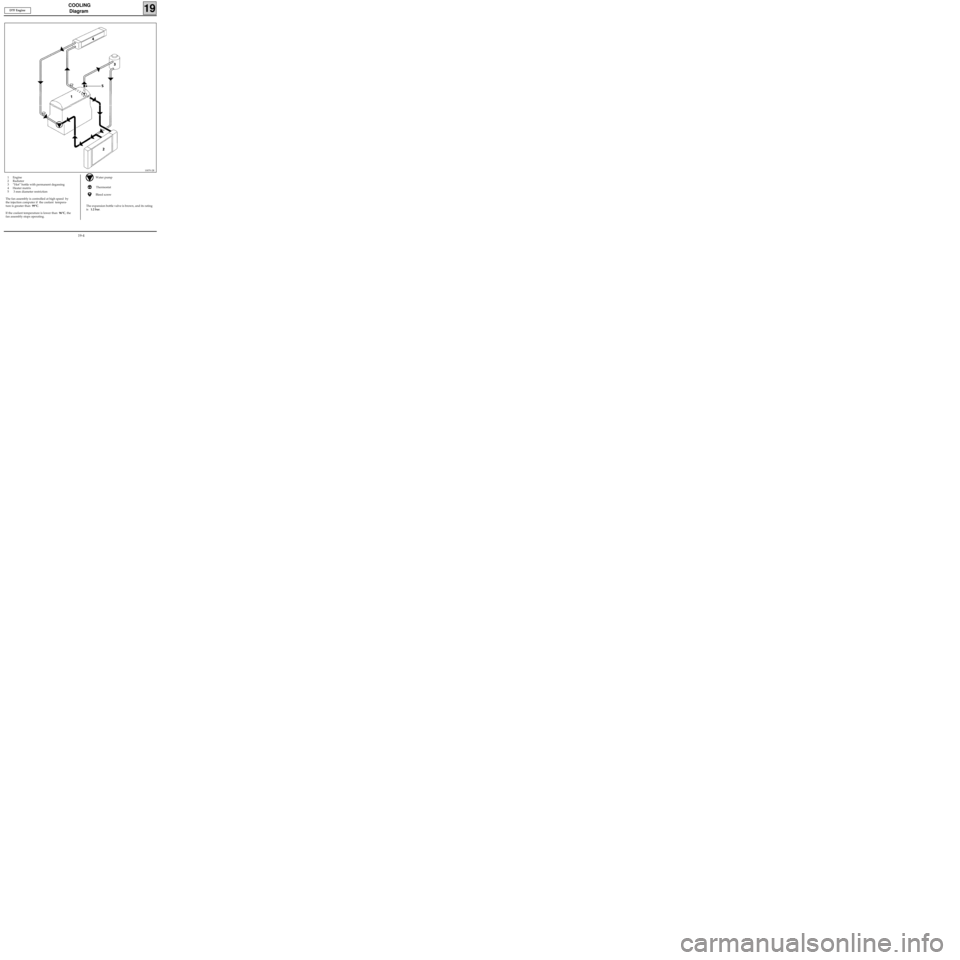
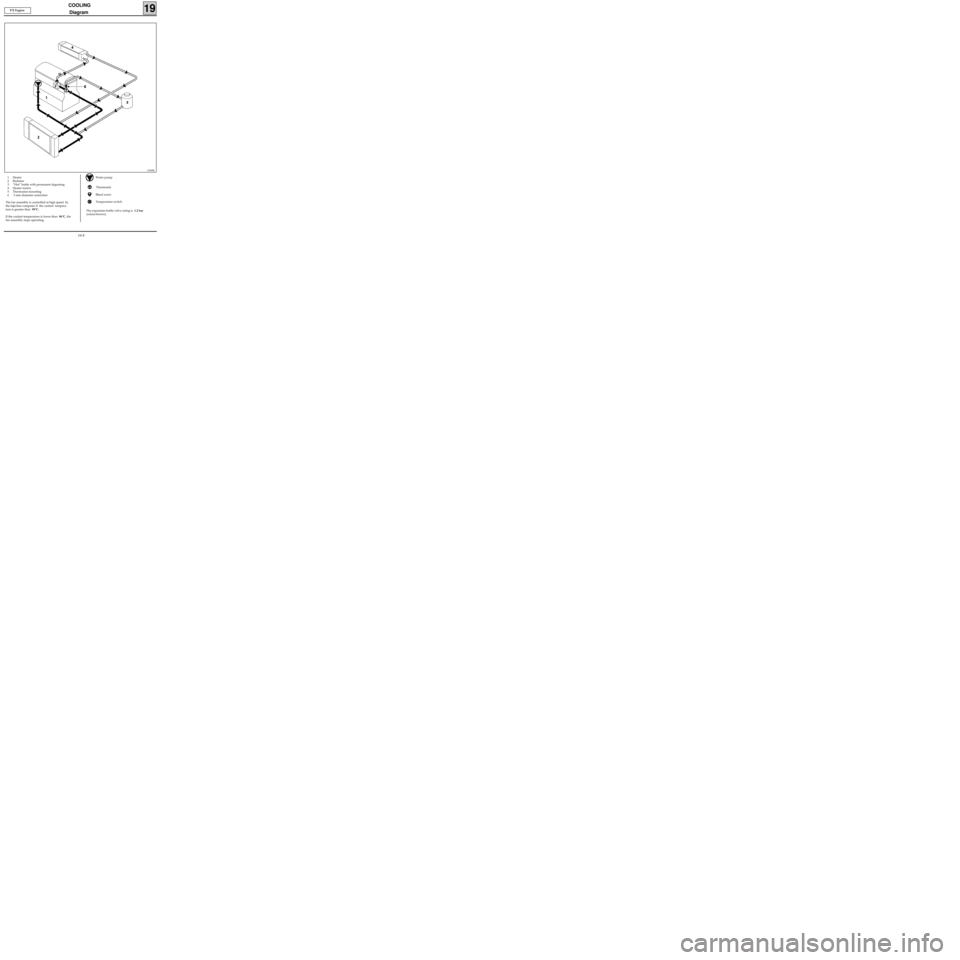
1 Engine
2 Radiator
3 ”Hot” bottle with permanent degassing
4 Heater matrix
5 3 mm diameter restriction
The fan assembly is controlled at high speed by
the injection computer if the coolant tempera-
ture is greater than 99°C.
If the coolant temperature is lower than 96°C, the
fan assembly stops operating.Water pump
Thermostat
Bleed screw
The expansion bottle valve is brown, and its rating
is 1.2 bar.
10070-2R
D7F Engine
19-4
Page 179 of 208
COOLING
Diagram
19
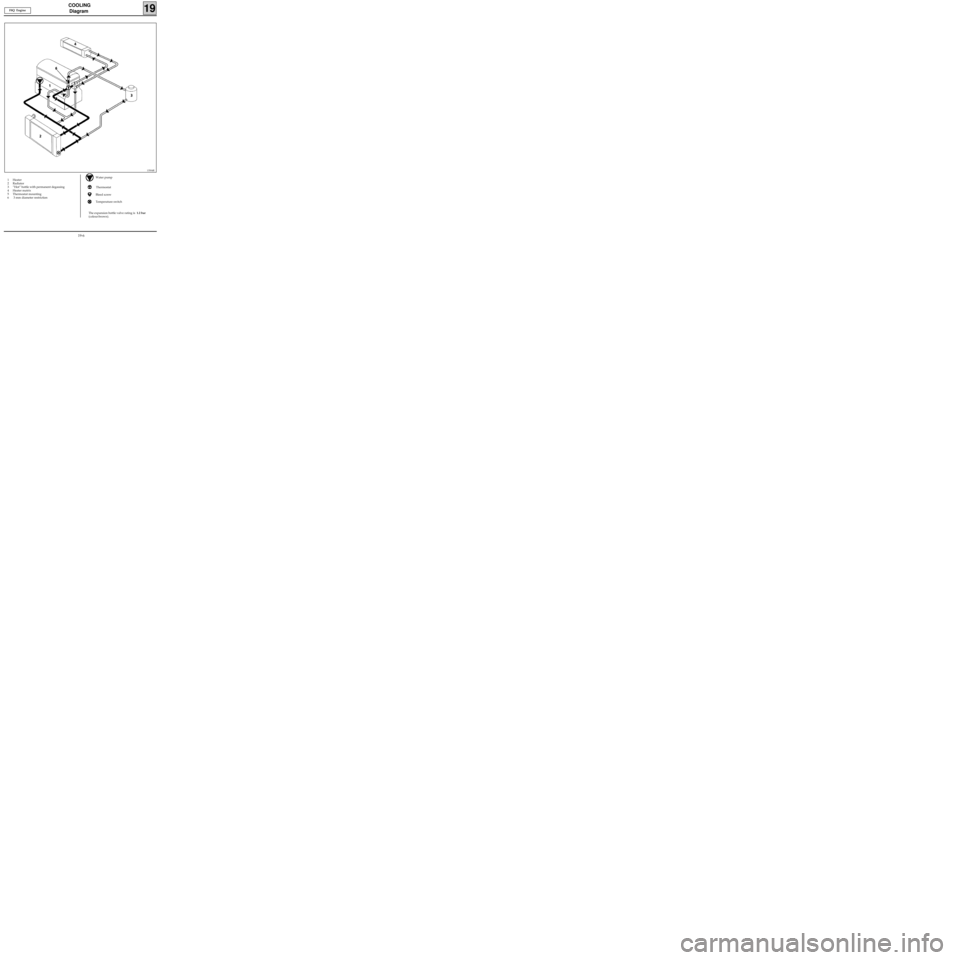
1 Heater
2 Radiator
3 ”Hot” bottle with permanent degassing
4 Heater matrix
5 Thermostat mounting
6 3 mm diameter restriction
The fan assembly is controlled at high speed by
the injection computer if the coolant tempera-
ture is greater than 99°C.
If the coolant temperature is lower than 96°C, the
fan assembly stops operating.Water pump
Thermostat
Bleed screw
Temperature switch
The expansion bottle valve rating is 1.2 bar
(colour:brown).
13508R
E7J Engine
19-5
Page 180 of 208
COOLING
Diagram
19
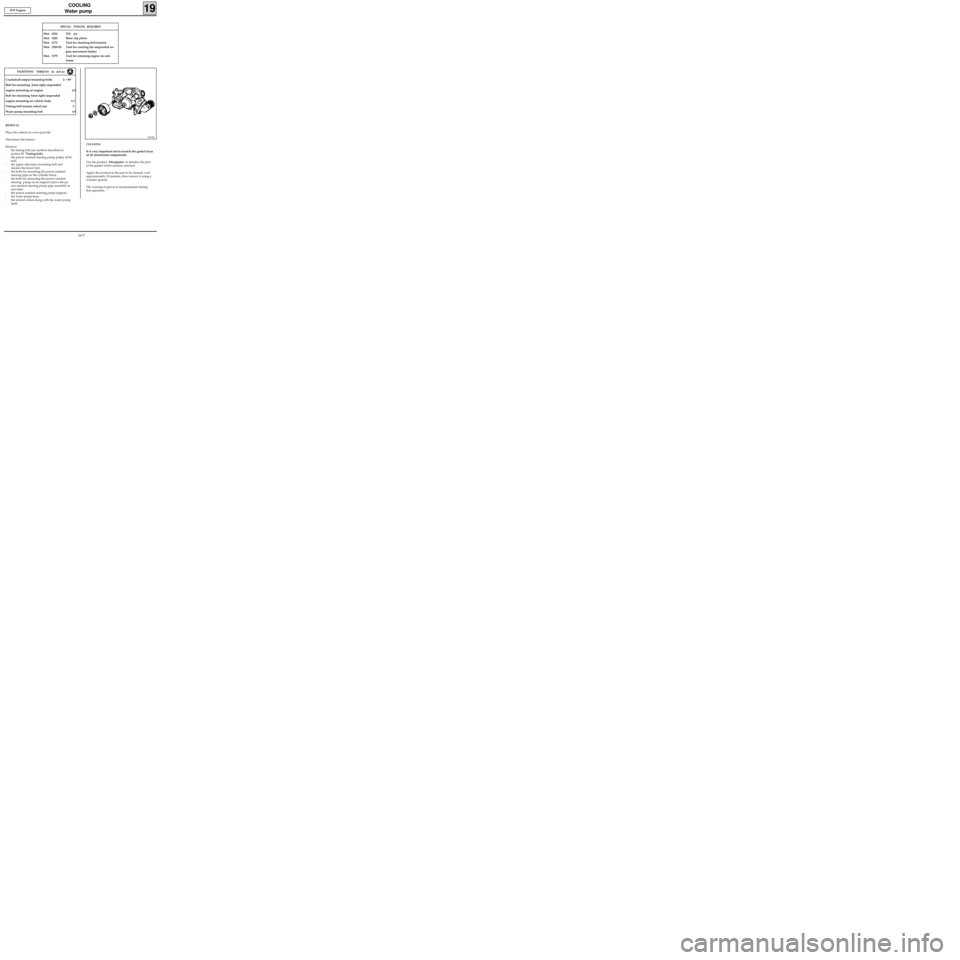
Water pump
Thermostat
Bleed screw
Temperature switch
13504R
F8Q Engine
1 Heater
2 Radiator
3 ”Hot” bottle with permanent degassing
4 Heater matrix
5 Thermostat mounting
6 3 mm diameter restriction
The expansion bottle valve rating is 1.2 bar
(colour:brown).
19-6
Page 181 of 208
COOLING
Water pump
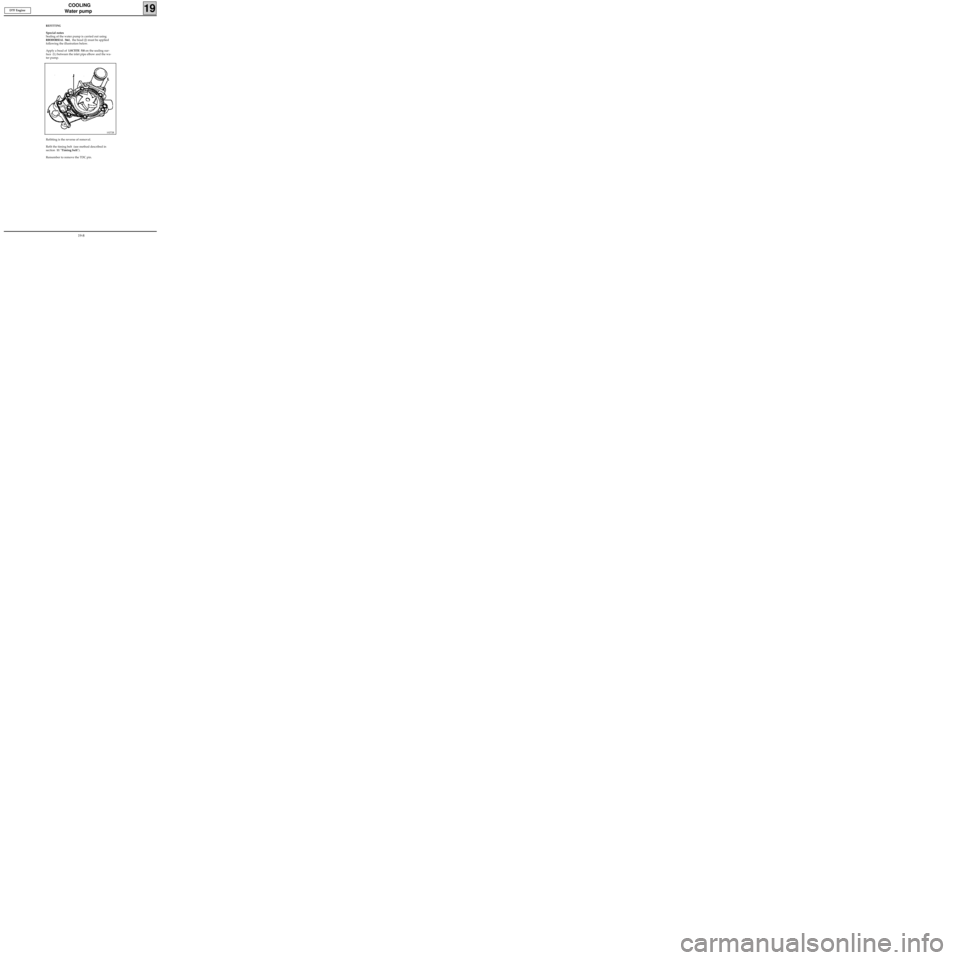
CLEANING
It is very important not to scratch the gasket faces
of all aluminium components.
Use the product Décapjoint to dissolve the part
of the gasket which remains attached.
Apply the product to the part to be cleaned, wait
approximately 10 minutes, then remove it using a
wooden spatula.
The wearing of gloves is recommended during
this operation.
19
SPECIAL TOOLING REQUIRED
Mot. 1054TDC pin
Mot. 1202 Hose clip pliers
Mot. 1273 Tool for checking belt tension
Mot. 1289-03 Tool for centring the suspended en-
gine movement limiter
Mot. 1379 Tool for retaining engine on sub-
frame
10478S
D7F Engine
Crankshaft output mounting bolts 2 + 90°
Bolt for mounting front right suspended
engine mounting on engine 6.2
Bolt for mounting front right suspended
engine mounting on vehicle body 6.2
Timing belt tension wheel nut 5
Water pump mounting bolt 0.9
TIGHTENING TORQUES (in daN.m)
REMOVAL
Place the vehicle on a two post lift.
Disconnect the battery.
Remove:
- the timing belt (see method described in
section 11 "Timing belt),
- the power assisted steering pump pulley (if fit-
ted),
- the upper alternator mounting bolt and
slacken the lower bolt,
- the bolts for mounting the power assisted
steering pipe on the cylinder block,
- the bolts for mounting the power assisted
steering pump on its support (move the po-
wer assisted steering pump-pipe assembly to
one side),
- the power assisted steering pump support,
- the water pump hose,
- the tension wheel along with the water pump
itself.
19-7
Page 182 of 208
COOLING
Water pump
Refitting is the reverse of removal.
Refit the timing belt (see method described in
section 11 "Timing belt").
Remember to remove the TDC pin.
19
10272R
D7F Engine
REFITTING
Special notes
Sealing of the water pump is carried out using
RHODORSEAL 5661, the bead (J) must be applied
following the illustration below.
Apply a bead of
LOCTITE 518 on the sealing sur-
face (L) between the inlet pipe elbow and the wa-
ter pump.
19-8
Page 183 of 208
COOLING
Water pump
Refit the timing belt (see method described in
chapter 11 "Timing belt").
Fill and bleed the cooling circuit (see section 19
"Filling - Bleeding").
19
SPECIAL TOOLING REQUIRED
Mot. 591-02 Index
Mot. 591-04 Angle tightening wrench
Mot. 1135-01 Tool for tensioning the timing belt
Mot. 1202 Hose clip pliers
Mot. 1273 Tool for checking belt tension
92068R
E7J Engine
Tension wheel nut 5
Crankshaft pulley bolt 2 + 68° + 6°
Bolt for suspended engine mounting cover 6,2
Nut for suspended engine mounting cover 4,4
Water pump bolt 2,2
Water pump nut 1
Wheel bolts 9
TIGHTENING TORQUES (in daN.m)
EQUIPMENT REQUIRED
Engine support tool
REFITTING
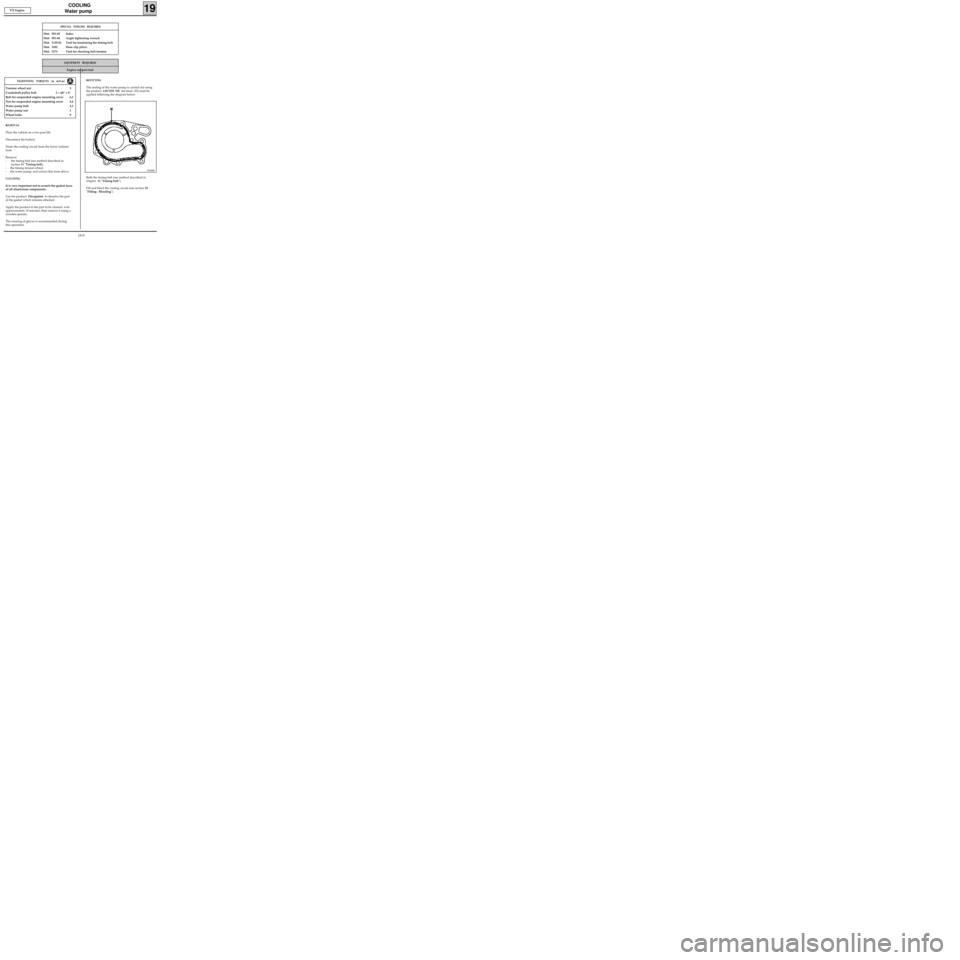
The sealing of the water pump is carried out using
the product
LOCTITE 518; the bead (H) must be
applied following the diagram below.
REMOVAL
Place the vehicle on a two post lift.
Disconnect the battery.
Drain the cooling circuit from the lower radiator
hose.
Remove:
- the timing belt (see method described in
section 11 "Timing belt),
- the timing tension wheel,
- the water pump, and extract this from above.
CLEANING
It is very important not to scratch the gasket faces
of all aluminium components.
Use the product Décapjoint to dissolve the part
of the gasket which remains attached.
Apply the product to the part to be cleaned, wait
approximately 10 minutes, then remove it using a
wooden spatula.
The wearing of gloves is recommended during
this operation.
19-9
Page 184 of 208
COOLING
Water pump
19
SPECIAL TOOLING REQUIRED
Mot. 1202 Hose clip pliers
13090R
F8Q Engine
Water pump bolt 1.6
Bolt for water pump pulley 2
Bolt for crankshaft pulley 2 + 115° ± 15°
TIGHTENING TORQUES (in daN.m)
REMOVAL
Place the vehicle on a two post lift.
Disconnect the battery.
Drain the cooling circuit through the lower radia-
tor hose.
Fit the engine support tool.
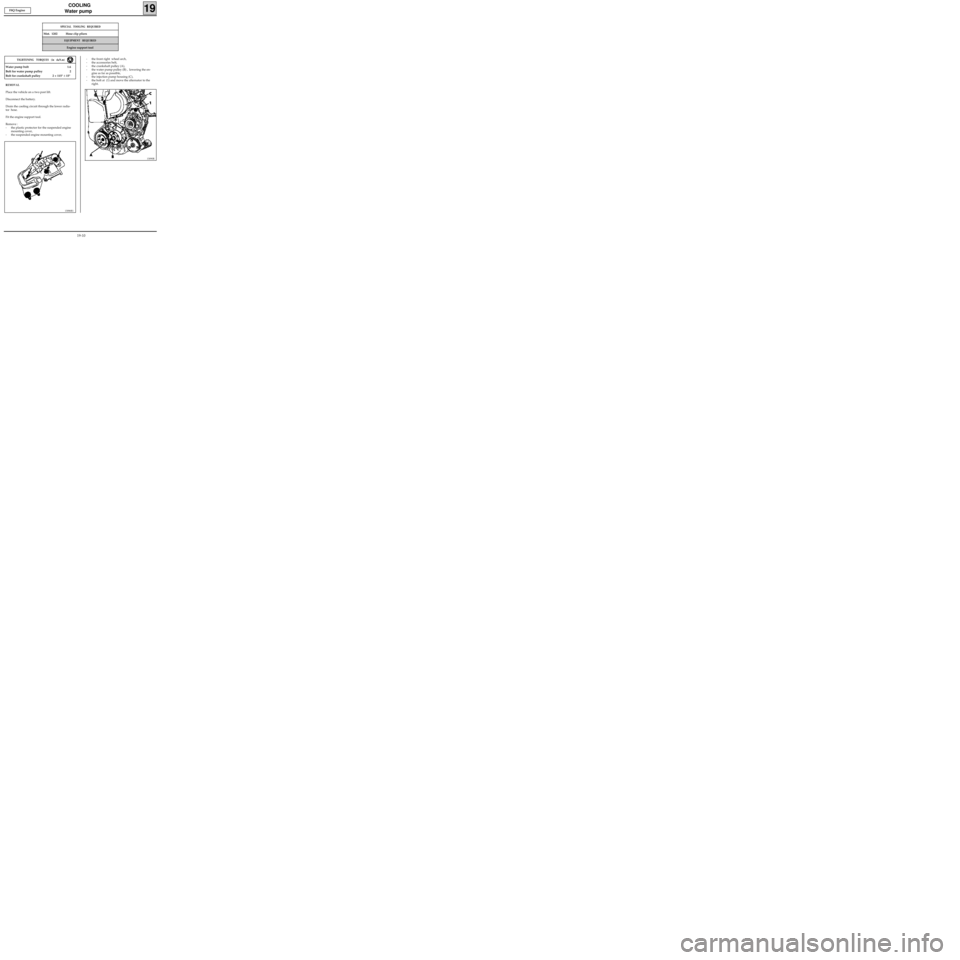
Remove :
- the plastic protector for the suspended engine
mounting cover,
- the suspended engine mounting cover,
EQUIPMENT REQUIRED
Engine support tool
- the front right wheel arch,
- the accessories belt,
- the crankshaft pulley (A),
- the water pump pulley (B) , lowering the en-
gine as far as possible,
- the injection pump housing (C),
- the bolt at (1) and move the alternator to the
right.
13086R1
19-10