power steering RENAULT KANGOO 1997 KC / 1.G Engine And Peripherals Workshop Manual
[x] Cancel search | Manufacturer: RENAULT, Model Year: 1997, Model line: KANGOO, Model: RENAULT KANGOO 1997 KC / 1.GPages: 208
Page 11 of 208
ENGINE AND ENGINE PERIPHERALS
Engine - Gearbox
- the mounting bolts (2) of the rubber engine
mounting pad (1).
Note the position of the engine mounting pad(1)
in relation to the body.
10
99893S
12924R1
Remove:
- the gearbox side support,Remove the engine and transmission assembly
after taking the power assisted steering unit out
of the engine compartment and protecting the
radiator. Remove:
- the computer support plate.
- the power assisted steering pipe mountings
on the engine,
- the power assisted steering pump belt (see
section 07),
- the power assisted steering pulley,
- the power assisted steering bolts.
Release the power assisted steering unit.
Attach the load positioner to the engine lifting
rings.
12924R2
D7F engine
10-7
Page 12 of 208
ENGINE AND ENGINE PERIPHERALS
Engine - Gearbox
10
12924R3
Apply Rhodorseal 5661 to the driveshaft roll pin hole.
Press the brake pedal several times to bring the pistons into contact with the brake pads.
Refit the power assisted steering pump belt (see section 07).
Fill:
- the gearbox with oil,
- the engine with oil (if necessary),
- the cooling circuit and bleed it (see section 19).
REFITTING (special notes)
Refitting is the reverse of removal.
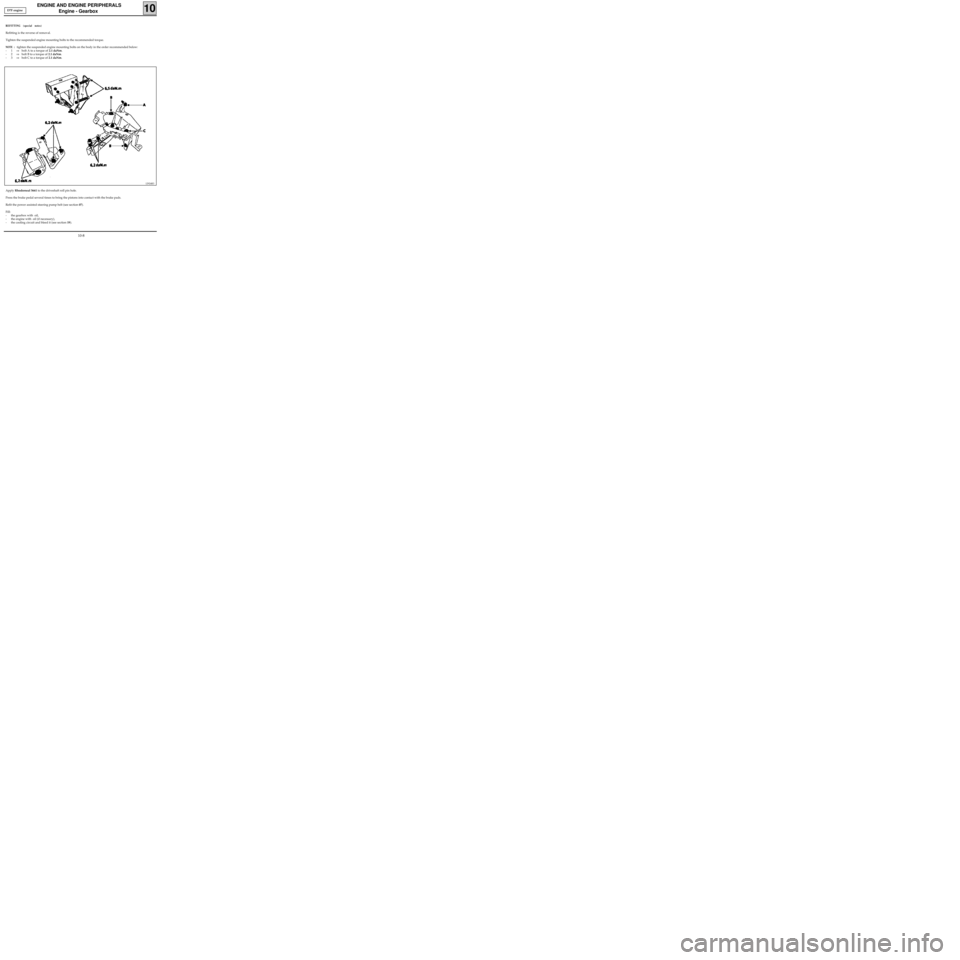
Tighten the suspended engine mounting bolts to the recommended torque.
NOTE : tighten the suspended engine mounting bolts on the body in the order recommended below:
-1⇒bolt A to a torque of 2.1 daNm.
-2⇒bolt B to a torque of 2.1 daNm.
-3⇒bolt C to a torque of 2.1 daNm. D7F engine
10-8
Page 13 of 208
ENGINE AND ENGINE PERIPHERALS
Engine and transmission assembly
10
REMOVAL
Put the vehicle on a 2 post lift.
Disconnect:
- the battery,
- the electrical connectors from the engine
connection unit and its environment.
13034S
Drain:
- the cooling circuit (disconnect the bottom
hose of the radiator),
- the gearbox oil if necessary,
- the engine oil if necessary.
Remove:
- the battery,
- the wheels,
- the air intake pipe,
- the upper radiator mountings,
- the expansion bottle and fix it to the engine,
- the power assisted steering fluid reservoir,
and secure it onto the engine. Shock absorber base bolts 18
Track rod end 3.7
Front sub-frame mounting bolt 6.2
Rear sub-frame mounting bolt 10.5
Driveshaft gaiter mounting bolt 2.5
Wheel bolt 9
Mounting nut for rubber engine mounting
pad on left suspended engine mounting 6.2
Mounting bolt for front right suspended
engine mounting on the engine 6.2
Mounting bolt for front right suspended
engine mounting on the body 6.2
Steering shaft yoke bolt 2.5
TIGHTENING TORQUES (in daN.m)
D7F engine
SPECIAL TOOLING REQUIRED
B. Vi. 31-01 Set of punches for roll pins
Mot. 1040-01 Dummy sub-frame for
removing and refitting engine
and transmission assembly
Mot. 1202 Hose clip pliers
Mot. 1311-06 Tool for removal of fuel pipe
Mot. 1379 Tool for retaining engine on
sub-frame
T. Av. 476 Ball joint extractor
T. Av. 1233-01 Tool for sub-frame and axle
assembly
10-9
Page 20 of 208
ENGINE AND ENGINE PERIPHERALS
Engine and transmission assembly
10
- the relay plate (4), the connector (5) and the
fuse support (6) by removing the fuse holder
(7),
13034R
- the canister pipe,
- the fuel supply and return pipes with the aid
of tool Mot. 1311-06, after removing the co-
ver,
- the accelerator and clutch cables.
Unclip the power assisted steering reservoir and
place it on the engine.
Remove:
- the upper mountings of the radiator and at-
tach it to the engine,
- the nut and the eccentric bolt of the steering
shaft yoke, after pushing back the guard.
97390S1
SPECIAL NOTES FOR VEHICLES FITTED WITH
DRIVER’S AIR BAG
99024R2
WARNING
In order to prevent any risk of damage to the ro-
tary switch beneath the steering wheel, the follo-
wing instructions should be observed:
• Before disconnecting the steering column and
the rack, the steering wheel MUST be immobi-
lised with the wheels straight, using a "stee-
ring wheel lock", throughout the operation.
• If there is any doubt that the rotary switch is
properly centred, the steering wheel must be
removed in order to apply the centring method
described in section 88 "Air bag".
REMINDER: this kind of work must only be carried
out by properly trained and qualified staff.
Fit tool Mot. 1159 between the sub-frame and the
cylinder block. E7J engine
10-16
Page 26 of 208
ENGINE AND ENGINE PERIPHERALS
Engine and transmission assembly
10
Remove:
- the upper mountings of the radiator and at-
tach it to the engine,
- the nut and the eccentric bolt of the steering
shaft yoke, after pushing back the guard.
97390S1
SPECIAL NOTES FOR VEHICLES FITTED WITH
DRIVER’S AIR BAG
WARNING
In order to prevent any risk of damage to the ro-
tary switch beneath the steering wheel, the follo-
wing instructions should be observed:
• Before disconnecting the steering column and
the rack, the steering wheel MUST be immobi-
lised with the wheels straight, using a "stee-
ring wheel lock", throughout the operation.
• If there is any doubt that the rotary switch is
properly centred, the steering wheel must be
removed in order to apply the centring method
described in section 88 "Air bag".
REMINDER: this kind of work must only be carried
out by properly trained and qualified staff.
F8Q engine
13084R
13034R
- the relay plate (4), the connector (5) and the
fuse support (6) by removing the fuse holders
(7),
- the accelerator and clutch cables.
Unclip the power assisted steering reservoir and
place it on the engine.
10-22
Page 30 of 208
ENGINE AND ENGINE PERIPHERALS
Sump
10
Front sub-frame mounting bolt 6.2
Rear sub-frame mounting bolt 10.5
E7J sump bolt 1
F8Q sump bolt 1.5
Steering shaft yoke mounting bolt 3
Engine tie-bar bolt 6.2
Wheel bolt 9
TIGHTENING TORQUES (in daN.m)
REMOVAL
Put the vehicle on a 2 post lift.
Disconnect the battery.
Drain the engine oil.
Remove:
- the front wheels,
- the nut and the eccentric bolt of the steering
shaft yoke, after pushing back the guard,
97390S1
- the lower ball joint mountings and the track
rod ends for the
E7J engine,
- the sub-frame and body tie rods,
- the gear control on the gearbox side,
- bolt (1), and slacken engine tie-bar bolt (2),
without removing it,
E7J / F8Q
engines
SPECIAL TOOLING REQUIRED
Mot. 1233-01 Threaded rods for lowering the
sub-frame
13359R1
- the bottom mountings of the bumper,
- the exhaust downpipe for the
F8Q engine.
Special notes for the E7J engine
Remove:
- the exhaust manifold heat shield,
- the catalytic converter,
- the engine flywheel guard,
- the power assisted steering pipe mountings
on the cylinder block and the multifunction
mounting.
10-26
Page 36 of 208
TIGHTENING TORQUES (in daN.m)
TOP AND FRONT OF ENGINE
Timing belt
REMOVAL
Place the vehicle on a two post lift.
Disconnect the battery.
Remove :
- the front right hand wheel,
- the belt from the alternator and the power
assisted steering pump if fitted (see section
07),
- the crankshaft accessories pulley.
11
10267R
SPECIAL TOOLING REQUIRED
Crankshaft accessories pulley
mounting bolt 2 + 90°
Mounting bolt for front right
suspended engine mounting
on engine 6.2
Mounting bolt for front right
suspended engine mounting
on vehicle body 6.2
Timing belt tension wheel nut 5
Mot. 1054TDC pin
Mot. 1135-01 Tool for tensioning timing
belt
Mot. 1273 Tool for checking belt tension
Mot. 1379 Tool for securing engine to
subframe
Mot. 1386 Tool for pre-tensioning timing
belt
Fit tool Mot. 1379. D7F engine
11-1
Page 40 of 208
TOP AND FRONT OF ENGINE
Timing belt
REMOVAL
Place the vehicle on a 2 post lift.
Disconnect the battery.
Fit the engine support tool.
11
13370S
SPECIAL TOOLING REQUIRED
Mot. 591-02 Index pin
Mot. 591-04 Angle tightening wrench
Mot. 1135-01 Tool for tensioning timing
belt
Mot. 1273 Tool for checking belt tension
Wheel bolts 9
Crankshaft pulley bolts 2 + 68° ± 6°
Tension wheel nut 5
Bolt for suspended engine mounting cover 6.2
Nut for suspended engine mounting cover 4.4
13359R
Remove :
- the front right wheel along with the mud-
guard,
- the suspended engine mounting cover,
EQUIPMENT REQUIRED
Engine support tool
- the belts for the alternator and the power
assisted steering pump.
TIGHTENING TORQUES (In daN.m or /and°)
E7J Engine
11-5
Page 54 of 208
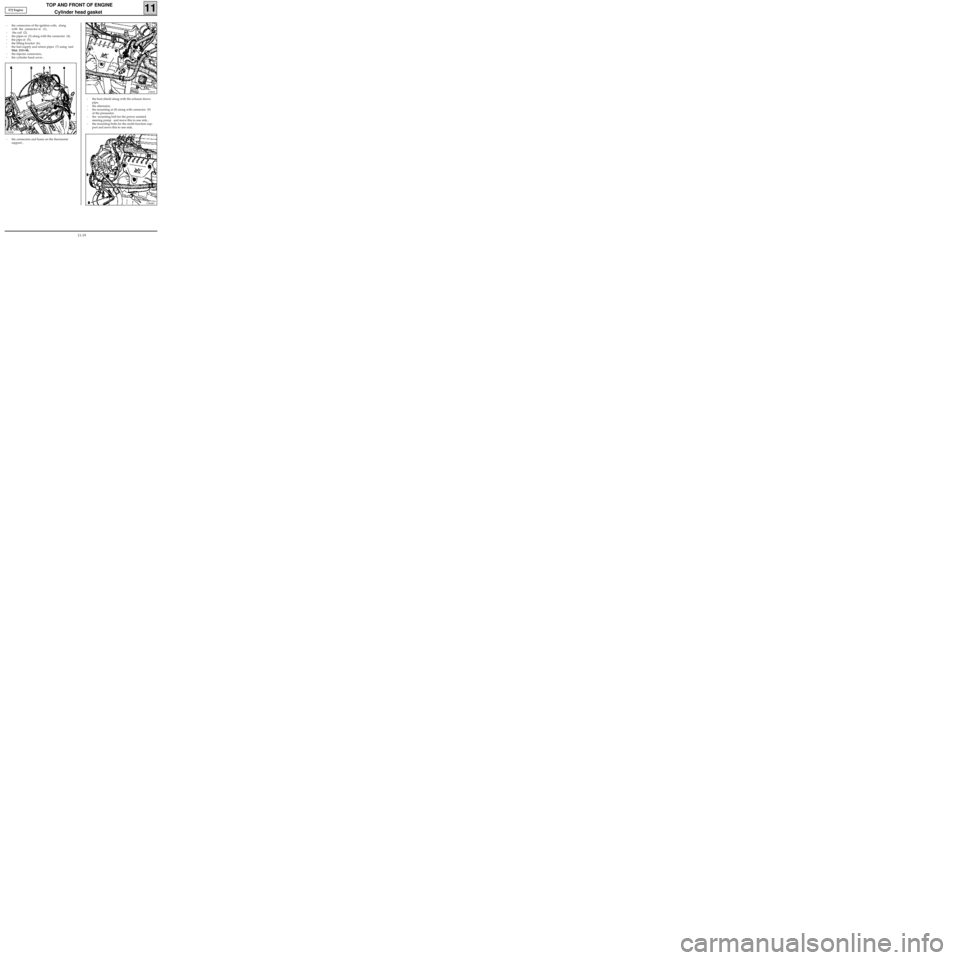
- the heat shield along with the exhaust down-
pipe,
- the alternator,
- the mounting at (8) along with connector (9)
of the pressostat,
- the mounting bolt for the power assisted
steering pump and move this to one side ,
- the mounting bolts for the multi-function sup-
port and move this to one side,
TOP AND FRONT OF ENGINE
Cylinder head gasket
11
13365S
13364R1
13360R
- the connectors and hoses on the thermostat
support , - the connectors of the ignition coils, along
with the connector at (1),
- the coil (2),
- the pipes at (3) along with the connector (4),
- the pipe at (5),
- the lifting bracket (6),
- the fuel supply and return pipes (7) using tool
Mot. 1311-06,
- the injector connectors,
- the cylinder head cover , E7J Engine
11-19
Page 93 of 208
DIESEL EQUIPMENT
General
13
The use of electronic injection in Diesel engines has allowed the operational power of these engines to be
optimised, thus reducing the emission rate of pollutant gases.
The system consists of a computer, which receives information from:
- the coolant temperature sensor,
- the air temperature sensor,
- the engine speed sensor,
- the vehicle speed sensor,
- the load potentiometer,
- the injection start sensor, which forms part of the injector of cylinder n° 3 (injector with sensor).
It controls :
- the injection pump :
• the altimetric corrector (F8Q 630) via a relay
• the advance solenoid valve.
- the cold engine starting system (heater plugs and pre-postheating unit),
- the exhaust gas recycling system (EGR),
- the diesel injection fault warning light,
- the preheating warning light,
- the solenoid valve controlling the fast idle speed LDA,
- the relay controlling the power assisted steering electric pump assembly (for vehicles with air conditio-
ning), the pump assembly is supplied once the engine speed exceeds 650 rpm.
It carries out a self diagnosis procedure which may be visualised through the
XR25.
SPECIAL FEATURES
On the injection pump it is possible to replace:
- the load potentiometer,
- the advance solenoid valve,
- the altimetric corrector,
- the electrical solenoid.
13-13