ESP RENAULT SCENIC 2009 J84 / 2.G Automatic Transmission AJ0 BVA Workshop Manual
[x] Cancel search | Manufacturer: RENAULT, Model Year: 2009, Model line: SCENIC, Model: RENAULT SCENIC 2009 J84 / 2.GPages: 162
Page 3 of 162
AUTOMATIC TRANSMISSION
Fault finding - Introduction
23A
23A-3V3 MR-372-J84-23A000$045.mif
AJ0 BVA
Vdiag No.: 04, 05
Faults
Faults are declared present or stored (depending on whether they appeared in a certain context and have
disappeared since, or whether they remain present but are not diagnosed within the current context).
The present or stored status of faults should be considered when using the diagnostic tool after the + after ignition
feed is switched on (without any action on the system components).
For a present fault, apply the procedure described in the Interpretation of faults section.
For a stored fault, note the faults displayed and apply the Notes section.
If the fault is confirmed when the instructions are applied, the fault is present. Deal with the fault.
If the fault is not confirmed, check:
–the electrical lines which correspond to the fault,
–the connectors for these lines (for oxidation, bent pins, etc.),
–the resistance of the component detected as faulty,
–the condition of the wires (melted or split insulation, wear).
Conformity check
The aim of the conformity check is to check data that does not produce a fault on the diagnostic tool when the data
is inconsistent. Therefore, this stage is used to:
–carry out fault finding on faults that do not have a fault display, and which may correspond to a customer
complaint.
–check that the system is operating correctly and that there is no risk of a fault recurring after repairs.
This section gives the fault finding procedures for statuses and parameters and the conditions for checking them.
If a status is not behaving normally or a parameter is outside the permitted tolerance values, consult the
corresponding fault finding page.
Customer complaints - Fault finding chart
If the test with the diagnostic tool is OK but the customer complaint is still present, the fault should be processed by
customer complaints.
A synopsis of the general procedure to follow is provided on the following page in the
form of a flow chart.
Page 5 of 162
AUTOMATIC TRANSMISSION
Fault finding - Introduction
23A
23A-5V3 MR-372-J84-23A000$045.mif
AJ0 BVA
Vdiag No.: 04, 05
4. FAULT FINDING PROCEDURE (continued)
Wiring check
Fault finding problems
Disconnecting the connectors and/or manipulating the wiring may temporarily remove the cause of a fault.
Electrical measurements of voltage, resistance and insulation are generally correct, especially if the fault is not
present when the analysis is made (stored fault).
Visual inspection
Look for damage under the bonnet and in the passenger compartment.
Carefully check the fuses, insulators and wiring harness routing.
Look for signs of oxidation.
Physical inspection
While manipulating the wiring, use the diagnostic tool to note any change in fault status from stored to present.
Make sure that the connectors are properly locked.
Apply light pressure to the connectors.
Twist the wiring harness.
If there is a change in status, try to locate the source of the fault.
Inspection of each component
Disconnect the connectors and check the appearance of the clips and tabs, as well as the crimping (no crimping on
the insulating section).
Make sure that the clips and tabs are properly locked in the sockets.
Check that no clips or tabs have been dislodged during connection.
Check the clip contact pressure using an appropriate model of tab.
Resistance check
Check the continuity of entire lines, then section by section.
Look for a short circuit to earth, to + 12 V or with another wire.
If a fault is detected, repair or replace the wiring harness.
Page 24 of 162
AUTOMATIC TRANSMISSION
Fault finding - Replacement of components
23A
23A-24V3 MR-372-J84-23A000$270.mif
AJ0 BVA
Vdiag No.: 04, 05
Replacing the transmission computer:
Remove the automatic transmission computer (see MR 370 mechanical, 23A, Automatic transmission,
Automatic transmission computer, Removal - Refitting).
Refit the automatic transmission computer (see MR 370 mechanical, 23A, Automatic transmission,
Automatic transmission computer, Removal - Refitting).
Establish dialogue with the diagnostic tool.
Use command VP001 Enter VIN.
Run command VP009 Write last After-Sales Service operation date.
Do not carry out any automatic programming if replacing the automatic transmission computer. Automatic
programming is finalised when the vehicle is driven.
In order to optimise the automatic programming before delivering the vehicle to the customer, apply the
"Programming procedure" shown below.
Replacing the hydraulic distributor:
Remove the transmission hydraulic distributor (see MR 370 mechanical, 23A, Automatic transmission,
Hydraulic distributor, Removal - Refitting).
Refit the transmission hydraulic distributor (see MR 370 Mechanical, 23A, Automatic transmission, Hydraulic
distributor, Removal - Refitting).
Replacing the automatic transmission
Remove the transmission (see MR 370,Mechanical, 23A, Automatic transmission, Removal - Refitting).
Refit the transmission (see MR 370, Mechanical, 23A, Automatic transmission, Removal - Refitting).
Establish communication with the diagnostic tool.
Initialise all the programming, use the command RZ009 Self-adapting clearing (Vdiag05 only).
Run command VP009 Write last After-Sales Service operation date.
The self-programming functions are performed when the vehicle is being driven.
In order to optimise the automatic programming before delivering the vehicle to the customer, apply the
"Programming procedure" shown below.
* APV: After-SalesPROGRAMMING PROCEDURE:
Programming conditions:
The automatic gearbox oil temperature should be between 60˚C and 100˚C.
Stationary, engine running, brake pedal depressed:
Engage neutral at least 5 times to consolidate the programming.
While driving:
Engage the same gear at least 5 times (i.e. in the same conditions) to consolidate the programming.
Note:
Gear changes are slow and harsh the first few times the vehicle is driven, until the automatic transmission computer
has carried out its automatic programming.
During upshifts and downshifts, the system analyses variations in oil pressure, components (play in the brakes and
clutches, changes to spring stiffness due to ageing) and input torque, then corrects them in order to maintain the
quality of gear changes.
The system analyses the turbine speed during the 3 phases of drag reduction (selection of Neutral when stationary,
regulation during drag reduction and deselection of Neutral) and corrects this speed by adjusting the converter
lock-up solenoid valve pressure.
Page 33 of 162
AUTOMATIC TRANSMISSION
Fault finding - Interpretation of faults
23A
23A - 33V3 MR-372-J84-23A000$405.mif
AJ0 BVA
Vdiag No.: 04, 05
If the fault is stored:DF067
PRESENT
OR
STORED
LEVER POSITION SWITCH CIRCUIT
1.DEF: Open circuit or short circuit
NOTESConditions for applying fault finding procedures to stored faults:
The fault is declared present after:
–in the event of open circuit or short circuit-:
–+ after ignition feed and change of lever position.
–in the event of short circuit+:
–+ after ignition feed, initial lever position: Position "P", "R", "N" or "D".
Effect on system:
The lever value is held at its previous valid position until the fault is confirmed. Then
the lever position becomes DRIVE (internal software variable) irrespective of the fault.
–If the fault is present and the lever in position "P", the transmission is in "N", hydraulic
neutral.
–If the fault is present and the lever in position "R", the transmission is in "R", hydraulic
reverse.
–If the fault is present and the lever in position "N", the transmission is in "N", hydraulic
neutral.
–If the fault is present and the lever in position "D", the transmission is in "D", hydraulic
forward gear.
lock-up is inhibited.
Customer complaint:
No lever position display on the instrument panel following fault confirmation and
starting impossible.
If the engine is already running when the fault occurs, there is jolting when shifting from
"P" or "N" to "R" or "D".
Fault warning light comes on.
Use the Wiring Diagrams Technical Note, SCENIC II ph2.
Note:
It is possible to produce this fault if the driver or operator voluntarily keep the lever between two normal positions
for longer than 2 seconds.
AFTER REPAIRDeal with any other faults. Clear the fault memory.
Switch off the ignition, wait 1 minute and carry out a road test followed by another
check with the diagnostic tool.
AJ0_V04_DF067/AJ0_V05_DF067
Page 92 of 162
AUTOMATIC TRANSMISSION
Fault finding - Interpretation of faults
23A
23A - 92V3 MR-372-J84-23A000$495.mif
AJ0 BVA
Vdiag No.: 04, 05
DF301
PRESENT
OR
STOREDCLUTCH 1 PRESSURE SWITCH CIRCUIT
1.DEF: Open circuit or short circuit
NOTESConditions for applying fault finding procedures to stored faults:
The fault appears after:
Lever in "Drive" position, Gear engaged = 1, 2, 3, 4,
and accelerator pedal > 0 %, vehicle speed > 6 mph (10 km/h),
and for each gear, the status of clutch 1 pressure switch does not correspond to the
solenoid control status.
After engaging 4th gear, switch off the ignition and remove card from its drive. Reinsert
the card in the card reader, start up the vehicle then repeat the previous operation.
Check (engine running) status ET261 "Clutch 1" (consult interpretation of status
ET261 "Clutch 1" (see Interpretation of statuses)).
Use the Wiring Diagrams Technical Note, SCENIC II ph2.
Look for any damage to the wiring and check the condition and connection of the connectors for components 119
and 754.
If the circuit is faulty and there is a repair procedure (see Technical Note 6015A, Electrical wiring repair, Wiring:
Precautions for repair), repair the wiring, otherwise replace it.
Check the continuity and insulation of the following connections on the external wiring harness:
●Connection code 5CZ.
●Connection code 5LW.
Between components 119 and 754.
If the connection or connections are faulty and there is a repair procedure (see Technical Note 6015A, Electrical
wiring repair, Wiring: Precautions for repair), repair the wiring, otherwise replace it.
Are the continuity and insulation correct?
If YES, move on to step 1.
If NO, replace the external wiring harness.
AFTER REPAIRDeal with any other faults. Clear the fault memory.
Switch off the ignition, wait 1 minute and carry out a road test followed by another
check with the diagnostic tool.
AJ0_V04_DF301/AJ0_V05_DF301
Page 94 of 162
AUTOMATIC TRANSMISSION
Fault finding - Interpretation of faults
23A
23A - 94V3 MR-372-J84-23A000$495.mif
AJ0 BVA
Vdiag No.: 04, 05
DF302
PRESENT
OR
STOREDCLUTCH 2 PRESSURE SWITCH CIRCUIT
1.DEF: Open circuit or short circuit
NOTESConditions for applying fault finding procedures to stored faults:
The fault appears after:
Lever in "Drive" position, gear engaged = 3, 5 OR Reverse position,
and accelerator pedal > 0 %, vehicle speed > 6 mph (10 km/h),
and for each gear, the status of clutch 2 pressure switch does not correspond to the
solenoid control status.
After engaging 4th gear, switch off the ignition and remove card from its drive. Reinsert
the card in the card reader, start up the vehicle then repeat the previous operation.
Use the Wiring Diagrams Technical Note, SCENIC II ph2.
Look for any damage to the wiring and check the condition and connection of the connectors for components 119
and 754.
If the circuit is faulty and there is a repair procedure (see Technical Note 6015A, Electrical wiring repair, Wiring:
Precautions for repair), repair the wiring, otherwise replace it.
Manipulate the wiring harness in order to observe any change in the fault status (Present → stored).
Check the continuity and insulation of the following connections on the external wiring harness:
●Connection code 5LM.
●Connection code 5LW.
Between components 119 and 754.
If the connection or connections are faulty and there is a repair procedure (see Technical Note 6015A, Electrical
wiring repair, Wiring: Precautions for repair), repair the wiring, otherwise replace it.
Are the continuity and insulation correct?
If YES, move on to step 1.
If NO, replace the external wiring harness.
AFTER REPAIRDeal with any other faults. Clear the fault memory.
Switch off the ignition, wait 1 minute and carry out a road test followed by another
check with the diagnostic tool.
AJ0_V04_DF302/AJ0_V05_DF302
Page 96 of 162
AUTOMATIC TRANSMISSION
Fault finding - Interpretation of faults
23A
23A - 96V3 MR-372-J84-23A000$495.mif
AJ0 BVA
Vdiag No.: 04, 05
DF303
PRESENT
OR
STOREDCLUTCH 3 PRESSURE SWITCH CIRCUIT
1.DEF: Open circuit or short circuit
NOTESConditions for applying fault finding procedures to stored faults:
The fault appears after:
Lever in "Drive" position, Gear engaged = 4, 5, 6
and accelerator pedal > 0 %, vehicle speed > 6 mph (10 km/h),
and for each gear, the status of clutch 3 pressure switch does not correspond to the
solenoid control status.
After engaging 4th gear, switch off the ignition and remove card from its drive. Reinsert
the card in the card reader, start up the vehicle then repeat the previous operation.
Use the Wiring Diagrams Technical Note, SCENIC II ph2.
Look for any damage to the wiring and check the condition and connection of the connectors for components 119
and 754.
If the connection is faulty and there is a repair procedure (see Technical Note 6015A, Electrical wiring repair,
Wiring: Precautions for repair), repair the wiring, otherwise replace it.
Manipulate the wiring harness in order to observe any change in the fault status (Present → stored).
Check the continuity and insulation of the following external wiring harness connections on the transmission:
●Connection code 5LH.
●Connection code 5LW.
Between components 119 and 754.
If the connection or connections are faulty and there is a repair procedure (see Technical Note 6015A, Electrical
wiring repair, Wiring: Precautions for repair), repair the wiring, otherwise replace it.
Are the continuity and insulation correct?
If YES, move on to step 1.
If NO, replace the external wiring harness.
AFTER REPAIRDeal with any other faults. Clear the fault memory.
Switch off the ignition, wait 1 minute and carry out a road test followed by another
check with the diagnostic tool.
AJ0_V04_DF303/AJ0_V05_DF303
Page 100 of 162
AUTOMATIC TRANSMISSION
Fault finding - Interpretation of faults
23A
23A - 100V3 MR-372-J84-23A000$495.mif
AJ0 BVA
Vdiag No.: 04, 05
DF305
PRESENT
OR
STOREDBRAKE 2 PRESSURE SWITCH CIRCUIT
1.DEF: Open circuit or short circuit
NOTESConditions for applying fault finding procedures to stored faults:
The fault appears after:
Lever in "Drive" position, Gear engaged = 2, 6,
and accelerator pedal > 0 %, vehicle speed > 6 mph (10 km/h),
and for each gear, the status of brake 2 pressure switch does not correspond to the
solenoid control status.
(consult the interpretation of faults ET260 "Brake 2" in the fault finding chapter,
Interpretation of statuses).
Use the Wiring Diagrams Technical Note, SCENIC II ph2.
Look for any damage to the wiring and check the condition and connection of the connectors for components 119
and 754.
If the connection is faulty and there is a repair procedure (see Technical Note 6015A, Electrical wiring repair,
Wiring: Precautions for repair), repair the wiring, otherwise replace it.
Manipulate the wiring harness in order to observe any change in the fault status (Present → stored).
Check the continuity and insulation of the following external wiring harness connections on the transmission:
●Connection code 5LK.
●Connection code 5LW.
Between components 119 and 754.
If the connection or connections are faulty and there is a repair procedure (see Technical Note 6015A, Electrical
wiring repair, Wiring: Precautions for repair), repair the wiring, otherwise replace it.
Are the continuity and insulation correct?
If YES, move on to step 1.
If NO, replace the external wiring harness.
AFTER REPAIRDeal with any other faults. Clear the fault memory.
Switch off the ignition, wait 1 minute and carry out a road test followed by another
check with the diagnostic tool.
AJ0_V04_DF305/AJ0_V05_DF305
Page 106 of 162
AUTOMATIC TRANSMISSION
Fault finding - Interpretation of faults
23A
23A - 106V3 MR-372-J84-23A000$495.mif
AJ0 BVA
Vdiag No.: 04, 05
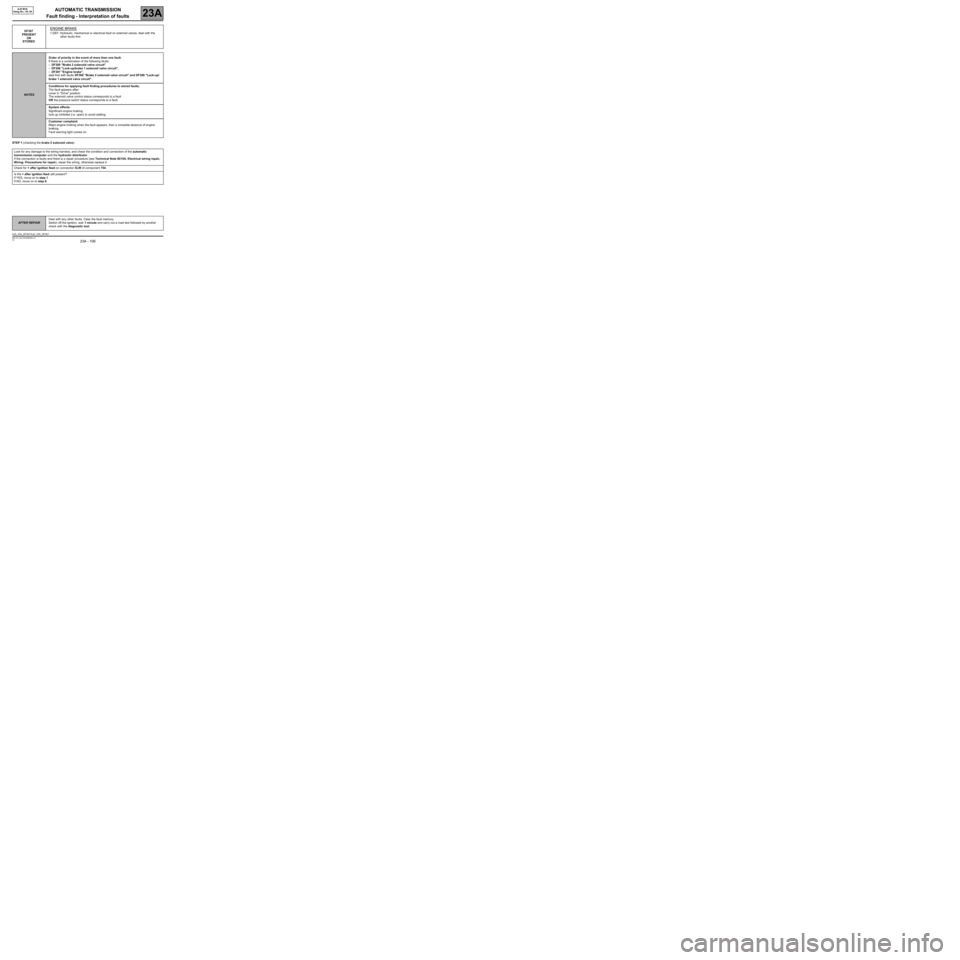
STEP 1 (checking the brake 2 solenoid valve): DF307
PRESENT
OR
STORED
ENGINE BRAKE
1.DEF: Hydraulic, mechanical or electrical fault on solenoid valves, deal with the
other faults first
NOTESOrder of priority in the event of more than one fault:
If there is a combination of the following faults:
–DF300 "Brake 2 solenoid valve circuit"
–DF306 "Lock-up/brake 1 solenoid valve circuit",
–DF307 "Engine brake",
deal first with faults DF300 "Brake 2 solenoid valve circuit" and DF306 "Lock-up/
brake 1 solenoid valve circuit".
Conditions for applying fault finding procedures to stored faults:
The fault appears after:
Lever in "Drive" position.
The solenoid valve control status corresponds to a fault
OR the pressure switch status corresponds to a fault.
System effects:
Significant engine braking.
lock-up inhibited (i.e. open) to avoid stalling.
Customer complaint:
Major engine braking when the fault appears, then a complete absence of engine
braking.
Fault warning light comes on.
Look for any damage to the wiring harness, and check the condition and connection of the automatic
transmission computer and the hydraulic distributor.
If the connection is faulty and there is a repair procedure (see Technical Note 6015A, Electrical wiring repair,
Wiring: Precautions for repair), repair the wiring, otherwise replace it.
Check for + after ignition feed on connection 5LW of component 754.
Is the + after ignition feed still present?
If YES, move on to step 1.
If NO, move on to step 8.
AFTER REPAIRDeal with any other faults. Clear the fault memory.
Switch off the ignition, wait 1 minute and carry out a road test followed by another
check with the diagnostic tool.
AJ0_V04_DF307/AJ0_V05_DF307
Page 116 of 162
AUTOMATIC TRANSMISSION
Fault finding - Interpretation of statuses
23A
23A - 116V3 MR-372-J84-23A000$675.mif
AJ0 BVA
Vdiag No.: 04, 05AUTOMATIC TRANSMISSION
Fault finding - Interpretation of statuses
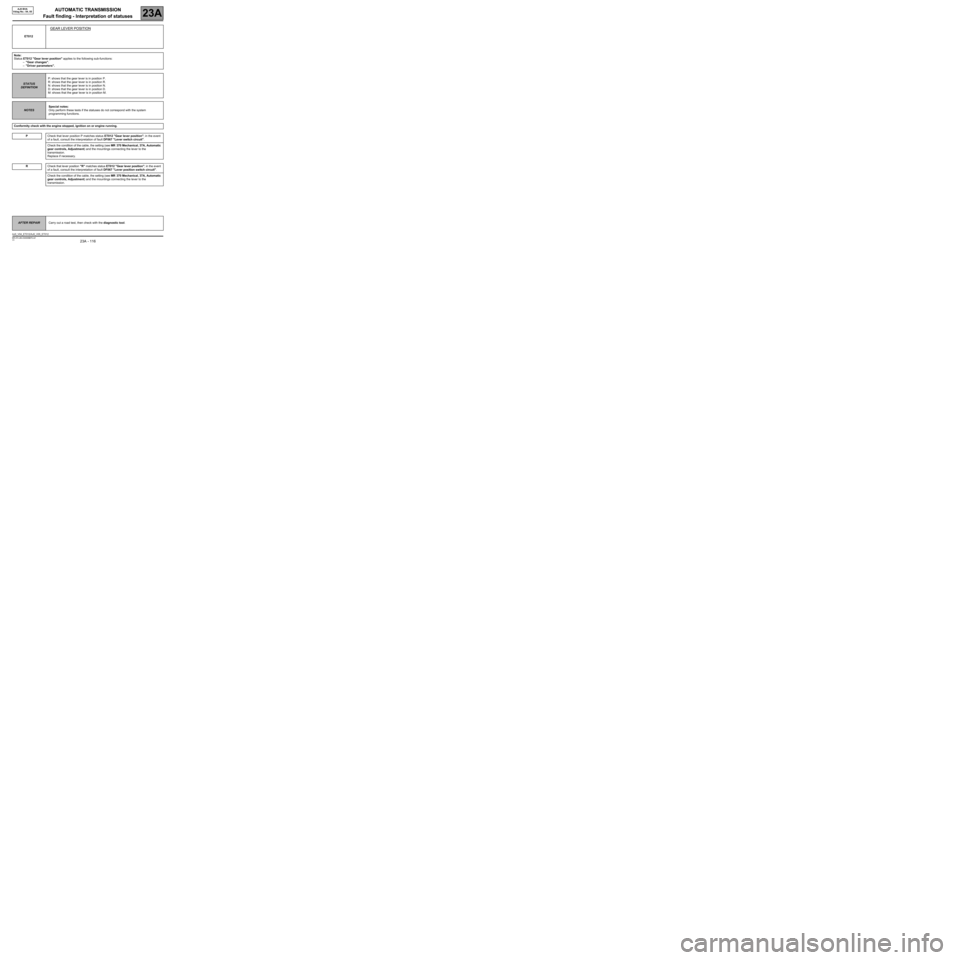
ET012
GEAR LEVER POSITION
Note:
Status ET012 "Gear lever position" applies to the following sub-functions:
–"Gear changes".
–"Driver parameters".
STATUS
DEFINITIONP: shows that the gear lever is in position P.
R: shows that the gear lever is in position R.
N: shows that the gear lever is in position N.
D: shows that the gear lever is in position D.
M: shows that the gear lever is in position M.
NOTESSpecial notes:
Only perform these tests if the statuses do not correspond with the system
programming functions.
Conformity check with the engine stopped, ignition on or engine running.
P
R
Check that lever position P matches status ET012 "Gear lever position"; in the event
of a fault, consult the interpretation of fault DF067 "Lever switch circuit".
Check the condition of the cable, the setting (see MR 370 Mechanical, 37A, Automatic
gear controls, Adjustment) and the mountings connecting the lever to the
transmission.
Replace if necessary.
Check that lever position "R" matches status ET012 "Gear lever position"; in the event
of a fault, consult the interpretation of fault DF067 "Lever position switch circuit".
Check the condition of the cable, the setting (see MR 370 Mechanical, 37A, Automatic
gear controls, Adjustment) and the mountings connecting the lever to the
transmission.
AFTER REPAIRCarry out a road test, then check with the diagnostic tool.
AJ0_V04_ET012/AJ0_V05_ET012
MR-372-J84-23A000$675.mif