ignition RENAULT SCENIC 2009 J84 / 2.G Engine And Peripherals EDC16 Owner's Manual
[x] Cancel search | Manufacturer: RENAULT, Model Year: 2009, Model line: SCENIC, Model: RENAULT SCENIC 2009 J84 / 2.GPages: 273
Page 67 of 273
DIESEL INJECTION
Fault finding – Interpretation of faults13B
13B-67V3 MR-372-J84-13B250$360.mif
EDC16
PROGRAM No.: C1
Vdiag No.: 51
DF042
PRESENT
OR
STOREDCYLINDER 3 INJECTOR CIRCUIT
CC.1 : Short circuit to + 12 V
CO : Open circuit
CC : Short circuit
1.DEF : Injector control
NOTESConditions for applying the fault finding procedure to a stored fault:
The fault is declared present after the engine has been started.
Special notes:
If CC.1, CC, or 1.DEF is present, the level 2 warning light is lit.
If CO is present the level 1 warning light is lit.
If CO is still present, the OBD warning light will come on after three consecutive driving
cycles (starting + 5 seconds + switching off the ignition and waiting for 1 minute).
If the fault is present, the injection on cylinder 3 is disabled.
Use bornier Ele. 1681 or Ele. 1590 for any operation on the injection computer
connectors.
WARNING
This fault may appear if the wiring harness has been damaged.
Follow the procedure described in the Wiring Check in the Introduction.
This test enables the condition and the conformity of the engine wiring harness to be checked.
CC.1
CO
CC
1.DEF
NOTESNone
Check the connections on injector no. 3.
Check the injection computer connections.
Repair if necessary.
Disconnect injector no.3.
Measure the resistance of injector no. 3 between tracks 1 and 2.
Replace the injector if it has a short circuit (R = 0 Ω) or open circuit (infinite resistance measurement).
Otherwise reconnect injector no. 3.
AFTER REPAIRDeal with any faults.
Carry out a road test followed by another check with the diagnostic tool.
EDC16_V51_DF042
Page 69 of 273
DIESEL INJECTION
Fault finding – Interpretation of faults13B
13B-69V3 MR-372-J84-13B250$360.mif
EDC16
PROGRAM No.: C1
Vdiag No.: 51
DF043
PRESENT
OR
STOREDCYLINDER 4 INJECTOR CIRCUIT
CC.1 : Short circuit to + 12 V
CO : Open circuit
CC : Short circuit
1.DEF : Injector control
NOTESConditions for applying the fault finding procedure to a stored fault:
The fault is declared present after the engine has been started.
Special notes:
If CC.1, CC, or 1.DEF is present, the level 2 warning light is lit.
If CO is present the level 1 warning light is lit.
If CO is still present, the OBD warning light will come on after three consecutive driving
cycles (starting + 5 seconds + switching off the ignition and waiting for 1 minute).
If the fault is present, the injection on cylinder 4 is disabled.
Use bornier Ele. 1681 or Ele. 1590 for any operation on the injection computer
connectors.
WARNING
This fault may appear if the wiring harness has been damaged.
Follow the procedure described in the Wiring Check in the Introduction.
This test enables the condition and the conformity of the engine wiring harness to be checked.
CC.1
CO
CC
1.DEF
NOTESNone
Check the connections on injector no 4.
Check the injection computer connections.
Repair if necessary.
Disconnect injector no. 4.
Measure the resistance of injector no. 4 between tracks 1 and 2.
Replace the injector if it has a short circuit (R = 0 Ω) or open circuit (infinite resistance measurement).
Otherwise reconnect injector no. 4.
AFTER REPAIRDeal with any faults.
Carry out a road test followed by another check with the diagnostic tool.
EDC16_V51_DF043
Page 71 of 273
DIESEL INJECTION
Fault finding – Interpretation of faults13B
13B-71V3 MR-372-J84-13B250$360.mif
EDC16
PROGRAM No.: C1
Vdiag No.: 51
DF046
PRESENT
OR
STOREDBATTERY VOLTAGE
1.DEF : Excess voltage
2.DEF : Undervoltage
NOTESConditions for applying the fault finding procedure to a stored fault:
The fault is declared present following a road test or after attempting to start the engine.
Special notes:
Computer operating voltage: 9 V < operating voltage < 16 V.
Battery voltage that is too low can cause the level 1 fault warning light to come on
thereby causing other faults to appear.
It is then not possible to start the engine.
Use bornier Ele. 1681 or Ele. 1590 for any operation on the injection computer
connectors.
1.DEF
NOTESNone
Check the charge circuits:
–Condition of the battery.
–Condition of the alternator (full fault finding procedure).
–Carry out the necessary repairs.
2.DEF
NOTESNone
With the ignition off, measure the voltage across the battery terminals.
If the voltage is less than 11.5 V, test the battery.
If the battery is faulty, replace the battery then test the charge circuit.
With the ignition on and the with the starter motor turning, measure the voltage between the battery terminals
If the voltage drops below 9.6 V, check the tightness and condition of the battery terminals.
Repair if necessary.
If the terminals are in good condition, test the battery.
If they are faulty, replace the battery.
If the starter is cranking the engine correctly, but the fault is still present,
–Check the continuity and absence of interference resistance of the following connections:
+ 12 V Supply relay track 5track M2 connector B of the engine management
computer
track 4 of Protection and Switching Unit
grey connectortrack G1 connector A of the engine management
computer
Battery earthtracks G4, H4, H1 injection computer connector A
Repair if necessary.
AFTER REPAIRDeal with any faults.
Carry out a road test followed by another check with the diagnostic tool.
EDC16_V51_DF046
Page 76 of 273
DIESEL INJECTION
Fault finding – Interpretation of faults13B
13B-76V3 MR-372-J84-13B250$360.mif
EDC16
PROGRAM No.: C1
Vdiag No.: 51
DF050
CONTINUED
Replace the switch if necessary.
Check the condition of fuse H 15A on the passenger compartment fuse and relay plate.
Replace the fuse if necessary.
Check the feeds to the switch:
+ 12 V after ignitiontrack 2 of the brake pedal switch connector
+ 12 V battery feedtrack 4 of the brake pedal switch connector
(via the UCH)
Replace the switch if necessary.
Check the continuity and insulation of the following connections:
Injection computer black 32-track
connector A, track E4Track 3 of the brake pedal switch connector
Repair if necessary.
2.DEF
NOTESNone
Check the brake pedal switch connections.
Check the condition and adjustment of the brake pedal switch.
Repair if necessary.
Check the continuity and the absence of interference resistance on the following connection:
Injection computer black 32-track connector A
track E4Track 3 of the brake switch
Repair if necessary.
Check the conformity of the switch by consulting the interpretation of statuses ET704 Brake switch no. 1 and
ET705 Brake switch no. 2.
If the fault is still present, carry out fault finding on the ABS computer.
AFTER REPAIRDeal with any faults.
Carry out a road test followed by another check with the diagnostic tool.
Page 77 of 273
DIESEL INJECTION
Fault finding – Interpretation of faults13B
13B-77V3 MR-372-J84-13B250$360.mif
EDC16
PROGRAM No.: C1
Vdiag No.: 51
DF051
PRESENT
OR
STOREDCRUISE CONTROL/SPEED LIMITER FUNCTION
1.DEF : Inconsistency of the signal
2.DEF : Inconsistent vehicle speed
3.DEF : Steering wheel controls
NOTESConditions for applying the fault finding procedure to a stored fault:
The fault is declared present after the engine is started or following a road test.
Special notes:
The cruise control/speed limiter function is inhibited.
Use bornier Elé. 1681 or Elé. 1590 for any operation on the injection computer
connectors.
WARNING
This fault may appear if the wiring harness has been damaged.
Follow the procedure described in the Wiring Check in the Introduction.
This check enables the condition and the conformity of the engine wiring harness to be checked.
If the fault is declared present, refer to the section of the conformity check on the Cruise control/Speed limiter,
and to the interpretation of statuses:
ET042 Cruise control/speed limiter.
ET415 Deactivation of cruise control/speed limiter.
ET703: Cruise control/speed limiter buttons
Check that by pressing the buttons the statuses change and that, with the ignition switched on, all the values are
correct.
If the fault is still present, contact the Techline.
AFTER REPAIRDeal with any faults.
Carry out a road test followed by another check with the diagnostic tool.
EDC16_V51_DF051
Page 79 of 273
DIESEL INJECTION
Fault finding – Interpretation of faults13B
13B-79V3 MR-372-J84-13B250$360.mif
EDC16
PROGRAM No.: C1
Vdiag No.: 51
DF053
CONTINUED 1
CC.0
CO
NOTESNone
Measure the resistance of the rail pressure regulator between tracks 1 and 2.
If the resistance is not 3 ± 1 Ω at 20˚C, replace the injection pump.
Check the continuity and insulation from the + 12 V feed of the following connection:
Injection computer brown 48-track
connector B, track M4Track 2 of the rail pressure regulator (fuel flow actuator)
Check the rail pressure sensor using the interpretation of DF007 Rail pressure sensor circuit.
If the fault is still present, replace the injection pump.
Check the rail pressure regulator connectors.
Check the injection computer connections.
Check the low pressure circuit by applying test 2 Low pressure circuit check.
Check the conformity of the fuel used by applying test 10 Diesel fuel conformity check.
Check the injector return flow, run test 8 Poor injector operation.
Check the operation of the overpressure valve if fitted to the vehicle, run test 11 Incorrect operation of the
overpressure valve.
Repair if necessary.
Measure the resistance of the rail pressure regulator between tracks 1 and 2.
If the resistance is not 3 ± 1 Ω at 20˚C, replace the injection pump.
Check the continuity, and insulation from earth of the following connection:
Injection computer brown 48-track
connector B, track M4Track 2 of the rail pressure regulator (fuel flow actuator)
With the ignition on, check for + 12 V after relay on track 1 of the rail pressure regulator.
If there is not + 12 V on track 1, check the continuity and absence of interference resistance of the following
connection:
Rail pressure regulator track 1Injection supply relay mounting track 5
Repair if necessary.
Check the rail pressure sensor using the interpretation of DF007 Rail pressure sensor circuit.
If the fault is still present, replace the injection pump.
AFTER REPAIRDeal with any faults.
Carry out a road test followed by another check with the diagnostic tool.
Page 84 of 273
DIESEL INJECTION
Fault finding – Interpretation of faults13B
13B-84V3 MR-372-J84-13B250$360.mif
EDC16
PROGRAM No.: C1
Vdiag No.: 51
DF054
PRESENT
OR
STORED
TURBOCHARGING SOLENOID VALVE CONTROL CIRCUIT
CC.1 : Short circuit to + 12 V
CC.0 : Short circuit to earth
CO : Open circuit
1.DEF : Internal electronic fault
2.DEF : Inconsistent signal
3.DEF : Below minimum threshold
4.DEF : Above maximum threshold
5.DEF : Permanent high signal
NOTESConditions for applying the fault finding procedure to stored faults:
The fault is declared present after:
–the engine is started,
–a road test,
–actuator command AC004 Turbocharging solenoid valve.
Special notes:
If the fault is present:
–turbocharging is no longer authorised,
–the EGR function is inhibited,
–the vehicle performance is reduced,
–the level 1 warning light is lit,
–If CC.0 is present, the OBD warning light will come on after three consecutive driving
cycles (starting + 5 seconds + switching off the ignition and waiting for 1 minute).
Use bornier Ele. 1681 or Ele. 1590 for any operation on the injection computer
connectors.
CC.1
4.DEF
5.DEF
NOTESNone
Check the turbocharging solenoid valve connections.
Check the injection computer connections.
Repair if necessary.
Measure the resistance of the turbocharging solenoid valve between tracks 1 and 2:
If the resistance displayed is not 15.4 ± 0.7 Ω at 20˚C, replace the turbocharger solenoid valve.
Check the continuity and insulation from the + 12 V feed of the following connection:
Injection computer grey 32-track connector C,
track E1Track 1 turbocharging solenoid valve
Repair if necessary.
If the fault is still present, replace the turbocharging solenoid valve.
AFTER REPAIRDeal with any faults.
Carry out a road test followed by another check with the diagnostic tool.
EDC16_V51_DF054
Page 90 of 273
DIESEL INJECTION
Fault finding – Interpretation of faults13B
13B-90V3 MR-372-J84-13B250$405.mif
EDC16
PROGRAM No.: C1
Vdiag No.: 51DIESEL INJECTION
Fault finding – Interpretation of faults
DF056
PRESENT
OR
STOREDAIR FLOWMETER CIRCUIT
CC.1 : Short circuit to + 12 V
CO.0 : Open circuit or short circuit to earth
1.DEF : Offset at maximum threshold
2.DEF : Offset at minimum threshold
NOTESConditions for applying the fault finding procedure to a stored fault:
The fault is declared present after a road test.
Special notes:
If the fault is present:
–the level 1 warning light is lit,
–the OBD warning light will come on after three consecutive driving cycles (starting
+ 5 seconds + switching off the ignition and waiting 1 minute).
Use bornier Ele. 1681 or Ele. 1590 for any operation on the injection computer
connectors.
Priorities when dealing with a number of faults:
Deal with fault DF013 Sensor supply voltage no. 3 first, if it is present or stored.
CC.1
NOTESNone
Check the air flowmeter connections.
Check the injection computer connections.
Repair if necessary.
Check the continuity and the insulation to + 12 V of the following connections:
Injection computer brown 48-track connector B, track E2 Track 2 of the air flow sensor
Injection computer brown 48-track connector B, track L4 Track 6 of the air flow sensor
Injection computer brown 48-track connector B, track G1 Track 5 of the air flow sensor
Injection computer brown 48-track connector B, track B4 Track 3 of the air flow sensor
If the fault is still present, replace the air flowmeter.
AFTER REPAIRDeal with any faults.
Carry out a road test followed by another check with the diagnostic tool.
EDC16_V51_DF056
Page 92 of 273
DIESEL INJECTION
Fault finding – Interpretation of faults13B
13B-92V3 MR-372-J84-13B250$405.mif
EDC16
PROGRAM No.: C1
Vdiag No.: 51
DF056
CONTINUED 2
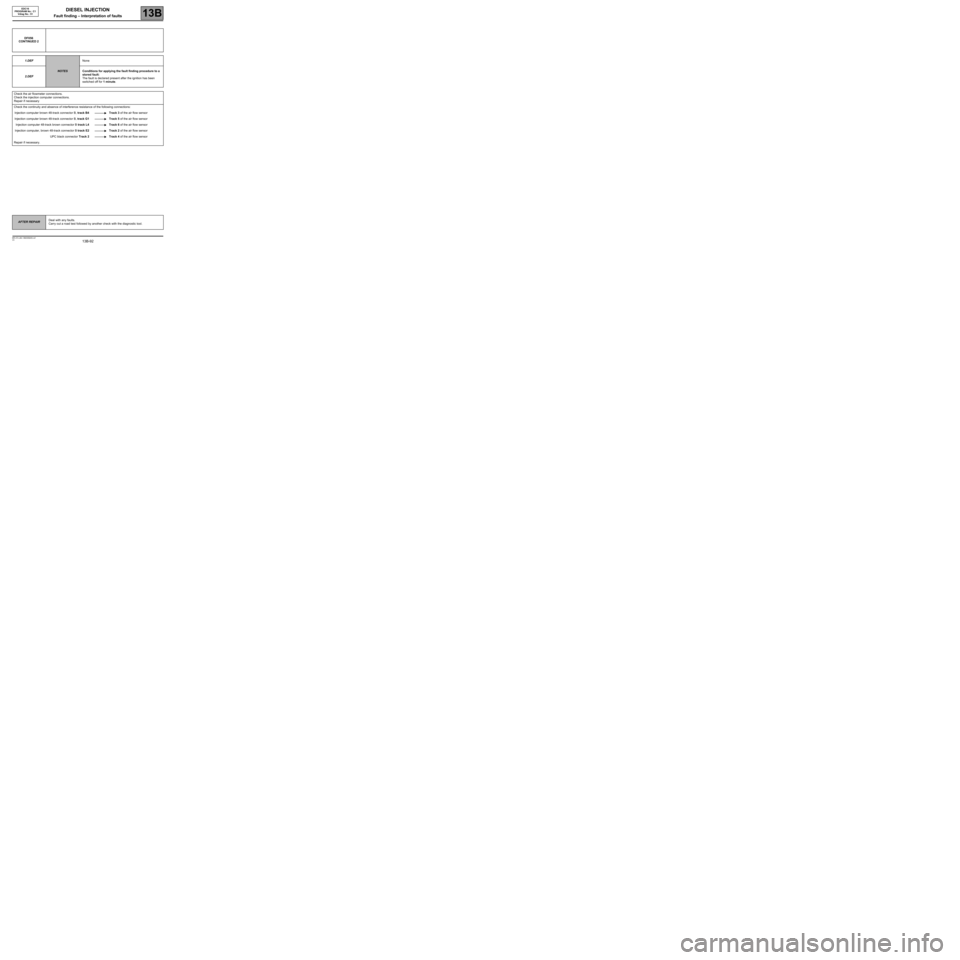
1.DEF
NOTESNone
2.DEFConditions for applying the fault finding procedure to a
stored fault:
The fault is declared present after the ignition has been
switched off for 1 minute.
Check the air flowmeter connections.
Check the injection computer connections.
Repair if necessary
Check the continuity and absence of interference resistance of the following connections:
Injection computer brown 48-track connector B, track B4 Track 3 of the air flow sensor
Injection computer brown 48-track connector B, track G1 Track 5 of the air flow sensor
Injection computer 48-track brown connector B track L4 Track 6 of the air flow sensor
Injection computer, brown 48-track connector B track E2 Track 2 of the air flow sensor
UPC black connector Track 2 Track 4 of the air flow sensor
Repair if necessary.
AFTER REPAIRDeal with any faults.
Carry out a road test followed by another check with the diagnostic tool.
Page 93 of 273
DIESEL INJECTION
Fault finding – Interpretation of faults13B
13B-93V3 MR-372-J84-13B250$405.mif
AFTER REPAIRDeal with any faults.
Carry out a road test followed by another check with the diagnostic tool.
EDC16
PROGRAM No.: C1
Vdiag No.: 51
DF056
CONTINUED 3
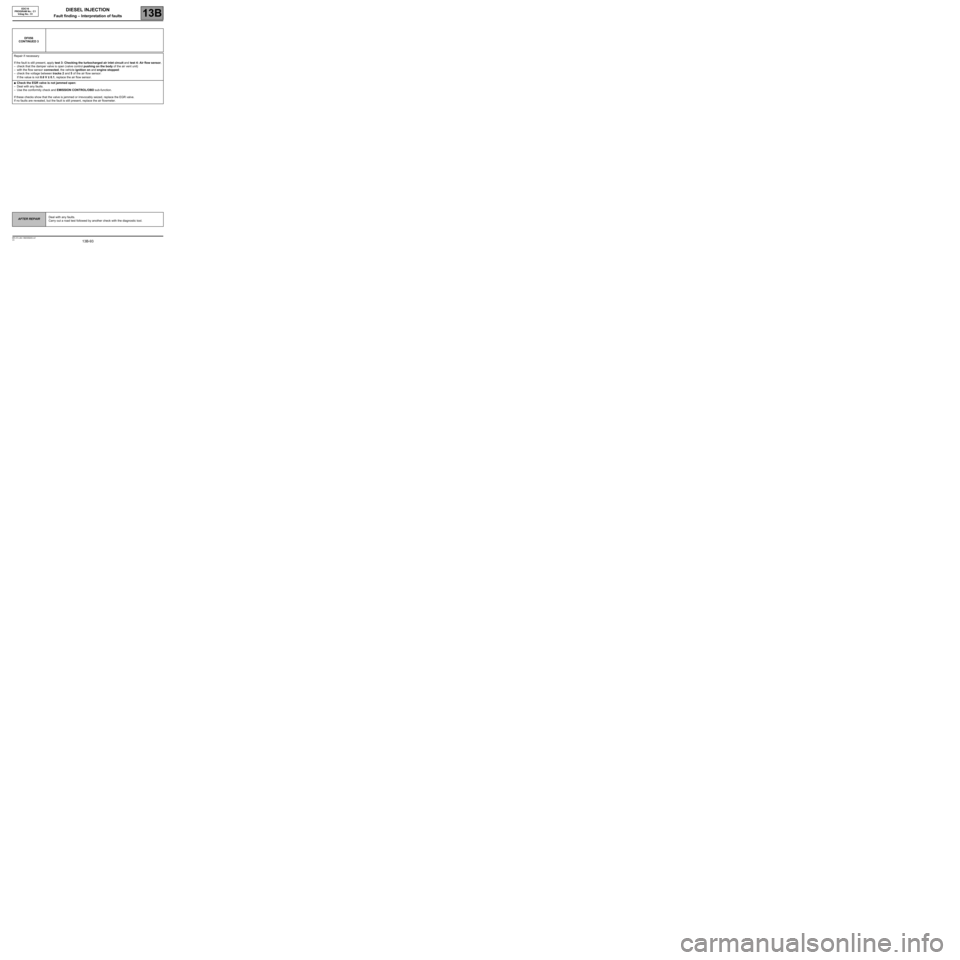
Repair if necessary
If the fault is still present, apply test 3: Checking the turbocharged air inlet circuit and test 4: Air flow sensor,
–check that the damper valve is open (valve control pushing on the body of the air vent unit)
–with the flow sensor connected, the vehicle ignition on and engine stopped:
–check the voltage between tracks 2 and 5 of the air flow sensor:
If the value is not 0.6 V ± 0.1, replace the air flow sensor.
●Check the EGR valve is not jammed open:
–Deal with any faults.
–Use the conformity check and EMISSION CONTROL/OBD sub-function.
If these checks show that the valve is jammed or irrevocably seized, replace the EGR valve.
If no faults are revealed, but the fault is still present, replace the air flowmeter.