lock RENAULT SCENIC 2011 J95 / 3.G Engine And Peripherals EDC16 Injection Workshop Manual
[x] Cancel search | Manufacturer: RENAULT, Model Year: 2011, Model line: SCENIC, Model: RENAULT SCENIC 2011 J95 / 3.GPages: 236, PDF Size: 1.32 MB
Page 5 of 236
13B - 5
DIESEL INJECTION
Fault finding - Introduction13B
V10 MR-372-J84-13B150$047.mif
EDC16 INJECTION
Program No.: C1
Vdiag No.: 44, 48 and 4C
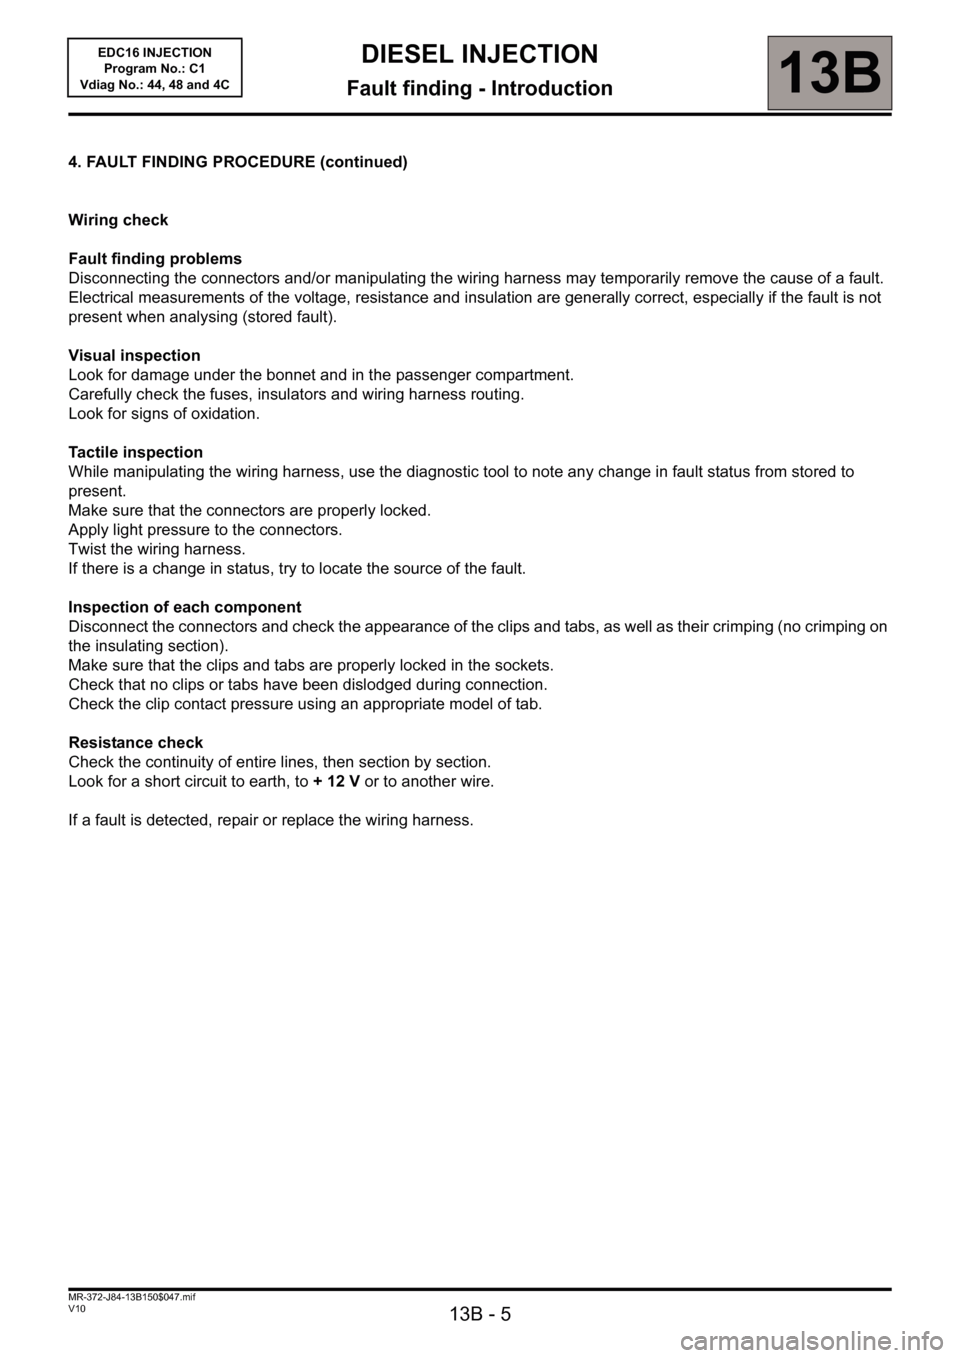
4. FAULT FINDING PROCEDURE (continued)
Wiring check
Fault finding problems
Disconnecting the connectors and/or manipulating the wiring harness may temporarily remove the cause of a fault.
Electrical measurements of the voltage, resistance and insulation are generally correct, especially if the fault is not
present when analysing (stored fault).
Visual inspection
Look for damage under the bonnet and in the passenger compartment.
Carefully check the fuses, insulators and wiring harness routing.
Look for signs of oxidation.
Tactile inspection
While manipulating the wiring harness, use the diagnostic tool to note any change in fault status from stored to
present.
Make sure that the connectors are properly locked.
Apply light pressure to the connectors.
Twist the wiring harness.
If there is a change in status, try to locate the source of the fault.
Inspection of each component
Disconnect the connectors and check the appearance of the clips and tabs, as well as their crimping (no crimping on
the insulating section).
Make sure that the clips and tabs are properly locked in the sockets.
Check that no clips or tabs have been dislodged during connection.
Check the clip contact pressure using an appropriate model of tab.
Resistance check
Check the continuity of entire lines, then section by section.
Look for a short circuit to earth, to + 12 V or to another wire.
If a fault is detected, repair or replace the wiring harness.
Page 18 of 236
13B - 18
DIESEL INJECTION
Fault finding - Allocation of computer tracks13B
V10 MR-372-J84-13B150$141.mif
EDC16 INJECTION
Program No.: C1
Vdiag No: 44, 48 and 4C
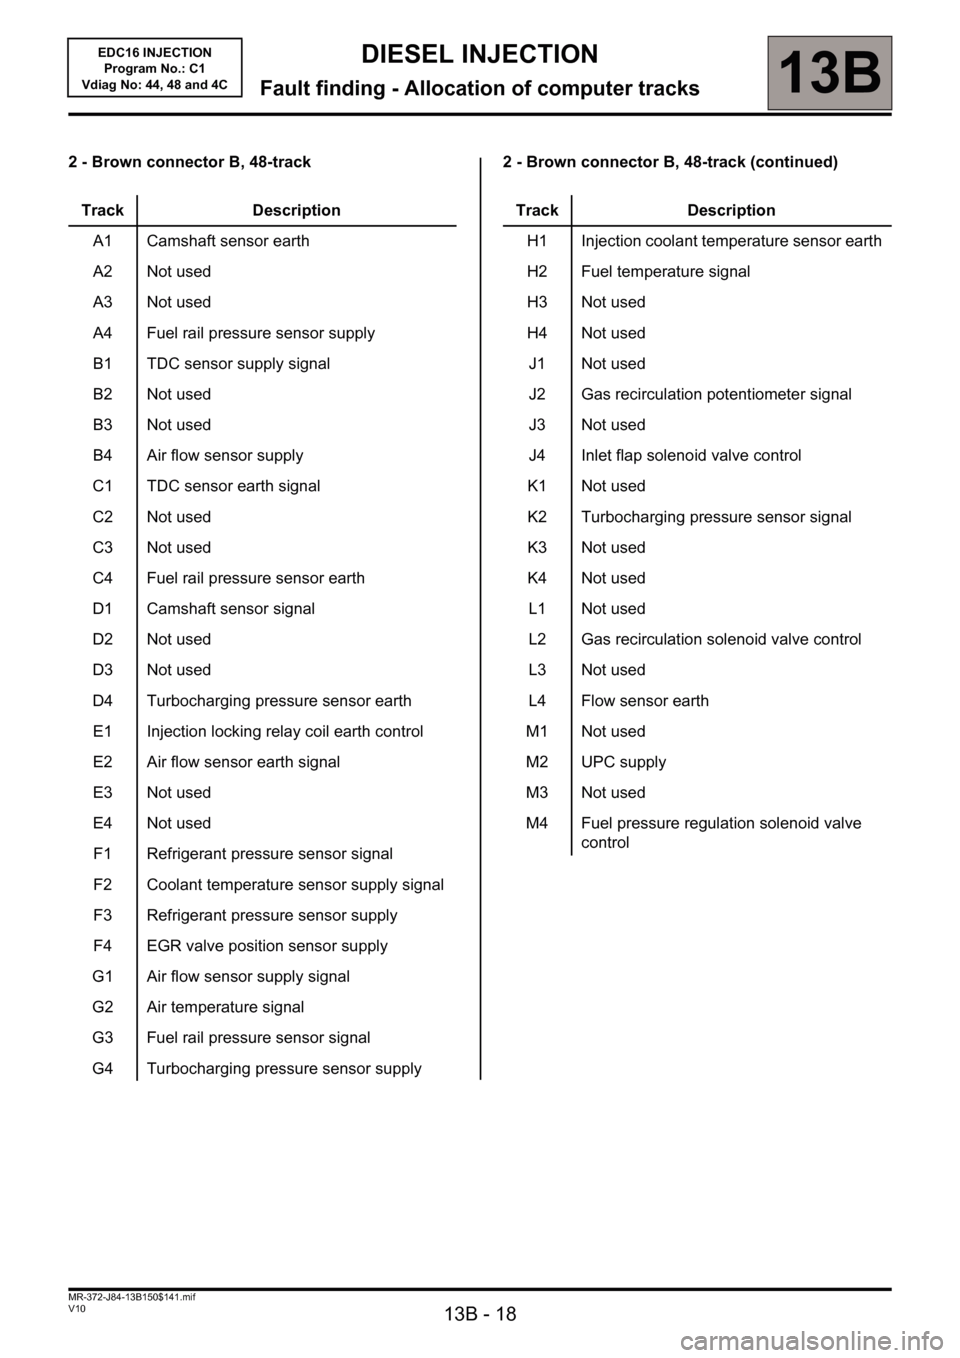
2 - Brown connector B, 48-track 2 - Brown connector B, 48-track (continued)
Track Description
A1 Camshaft sensor earth
A2 Not used
A3 Not used
A4 Fuel rail pressure sensor supply
B1 TDC sensor supply signal
B2 Not used
B3 Not used
B4 Air flow sensor supply
C1 TDC sensor earth signal
C2 Not used
C3 Not used
C4 Fuel rail pressure sensor earth
D1 Camshaft sensor signal
D2 Not used
D3 Not used
D4 Turbocharging pressure sensor earth
E1 Injection locking relay coil earth control
E2 Air flow sensor earth signal
E3 Not used
E4 Not used
F1 Refrigerant pressure sensor signal
F2 Coolant temperature sensor supply signal
F3 Refrigerant pressure sensor supply
F4 EGR valve position sensor supply
G1 Air flow sensor supply signal
G2 Air temperature signal
G3 Fuel rail pressure sensor signal
G4 Turbocharging pressure sensor supply
Track Description
H1 Injection coolant temperature sensor earth
H2 Fuel temperature signal
H3 Not used
H4 Not used
J1 Not used
J2 Gas recirculation potentiometer signal
J3 Not used
J4 Inlet flap solenoid valve control
K1 Not used
K2 Turbocharging pressure sensor signal
K3 Not used
K4 Not used
L1 Not used
L2 Gas recirculation solenoid valve control
L3 Not used
L4 Flow sensor earth
M1 Not used
M2 UPC supply
M3 Not used
M4 Fuel pressure regulation solenoid valve
control
Page 34 of 236
13B-34
DIESEL INJECTION
Fault finding - Interpretation of faults13B
V10 MR-372-J84-13B150$282.mif
EDC16 INJECTION
Program No.: C1
Vdiag No.: 44, 48 and 4C
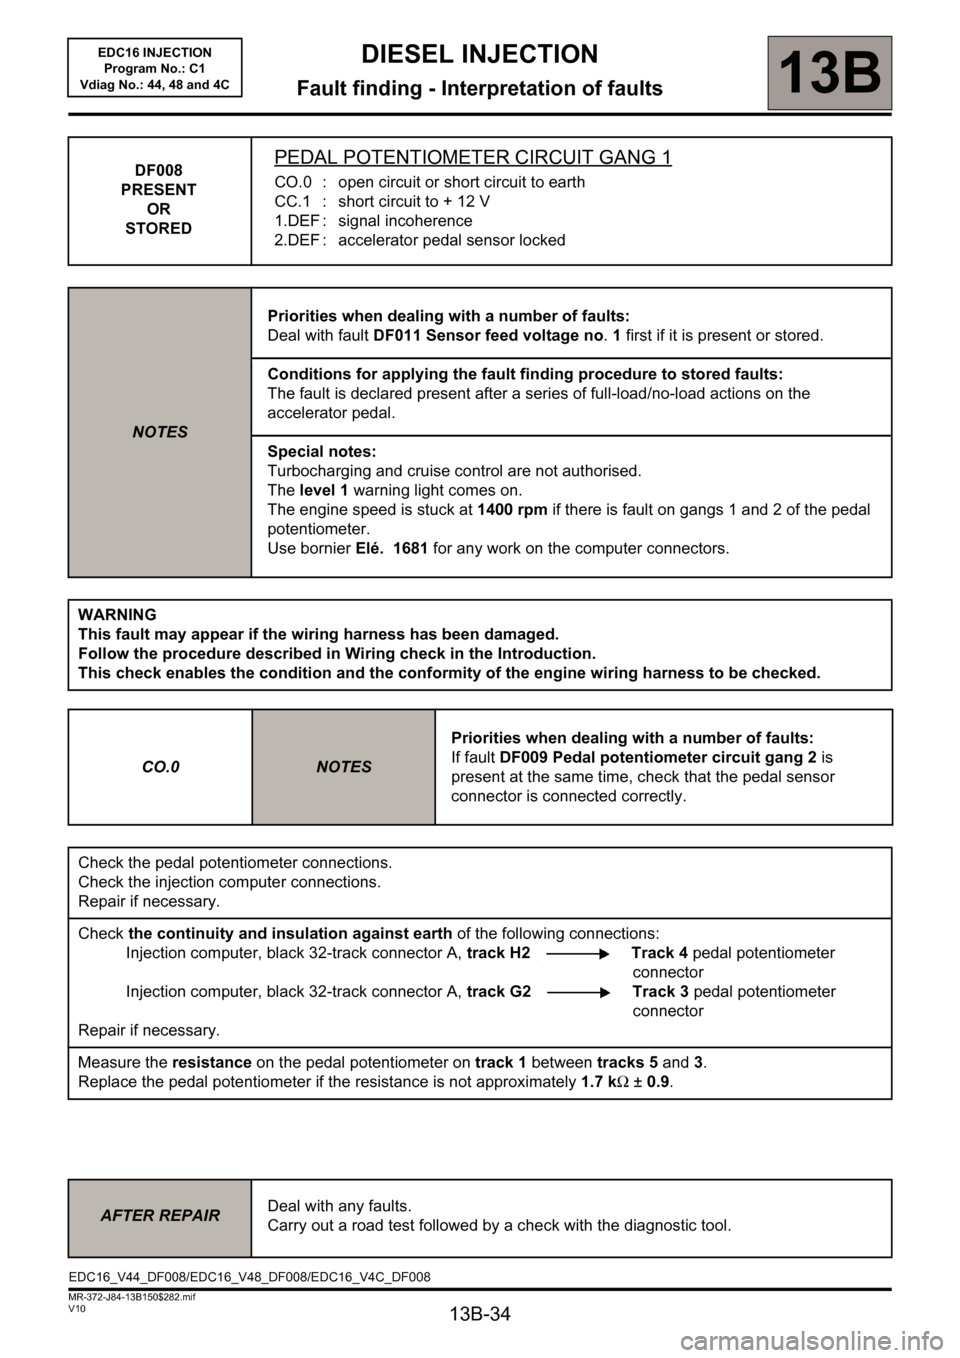
DF008
PRESENT
OR
STOREDPEDAL POTENTIOMETER CIRCUIT GANG 1
CO.0 : open circuit or short circuit to earth
CC.1 : short circuit to + 12 V
1.DEF : signal incoherence
2.DEF : accelerator pedal sensor locked
NOTESPriorities when dealing with a number of faults:
Deal with fault DF011 Sensor feed voltage no. 1 first if it is present or stored.
Conditions for applying the fault finding procedure to stored faults:
The fault is declared present after a series of full-load/no-load actions on the
accelerator pedal.
Special notes:
Turbocharging and cruise control are not authorised.
The level 1 warning light comes on.
The engine speed is stuck at 1400 rpm if there is fault on gangs 1 and 2 of the pedal
potentiometer.
Use bornier Elé. 1681 for any work on the computer connectors.
WARNING
This fault may appear if the wiring harness has been damaged.
Follow the procedure described in Wiring check in the Introduction.
This check enables the condition and the conformity of the engine wiring harness to be checked.
CO.0
NOTESPriorities when dealing with a number of faults:
If fault DF009 Pedal potentiometer circuit gang 2 is
present at the same time, check that the pedal sensor
connector is connected correctly.
Check the pedal potentiometer connections.
Check the injection computer connections.
Repair if necessary.
Check the continuity and insulation against earth of the following connections:
Injection computer, black 32-track connector A, track H2 Track 4 pedal potentiometer
connector
Injection computer, black 32-track connector A, track G2 Track 3 pedal potentiometer
connector
Repair if necessary.
Measure the resistance on the pedal potentiometer on track 1 between tracks 5 and 3.
Replace the pedal potentiometer if the resistance is not approximately 1.7 kΩ±0.9.
AFTER REPAIRDeal with any faults.
Carry out a road test followed by a check with the diagnostic tool.
EDC16_V44_DF008/EDC16_V48_DF008/EDC16_V4C_DF008
Page 36 of 236
13B-36
DIESEL INJECTION
Fault finding - Interpretation of faults13B
V10 MR-372-J84-13B150$282.mif
EDC16 INJECTION
Program No.: C1
Vdiag No.: 4C
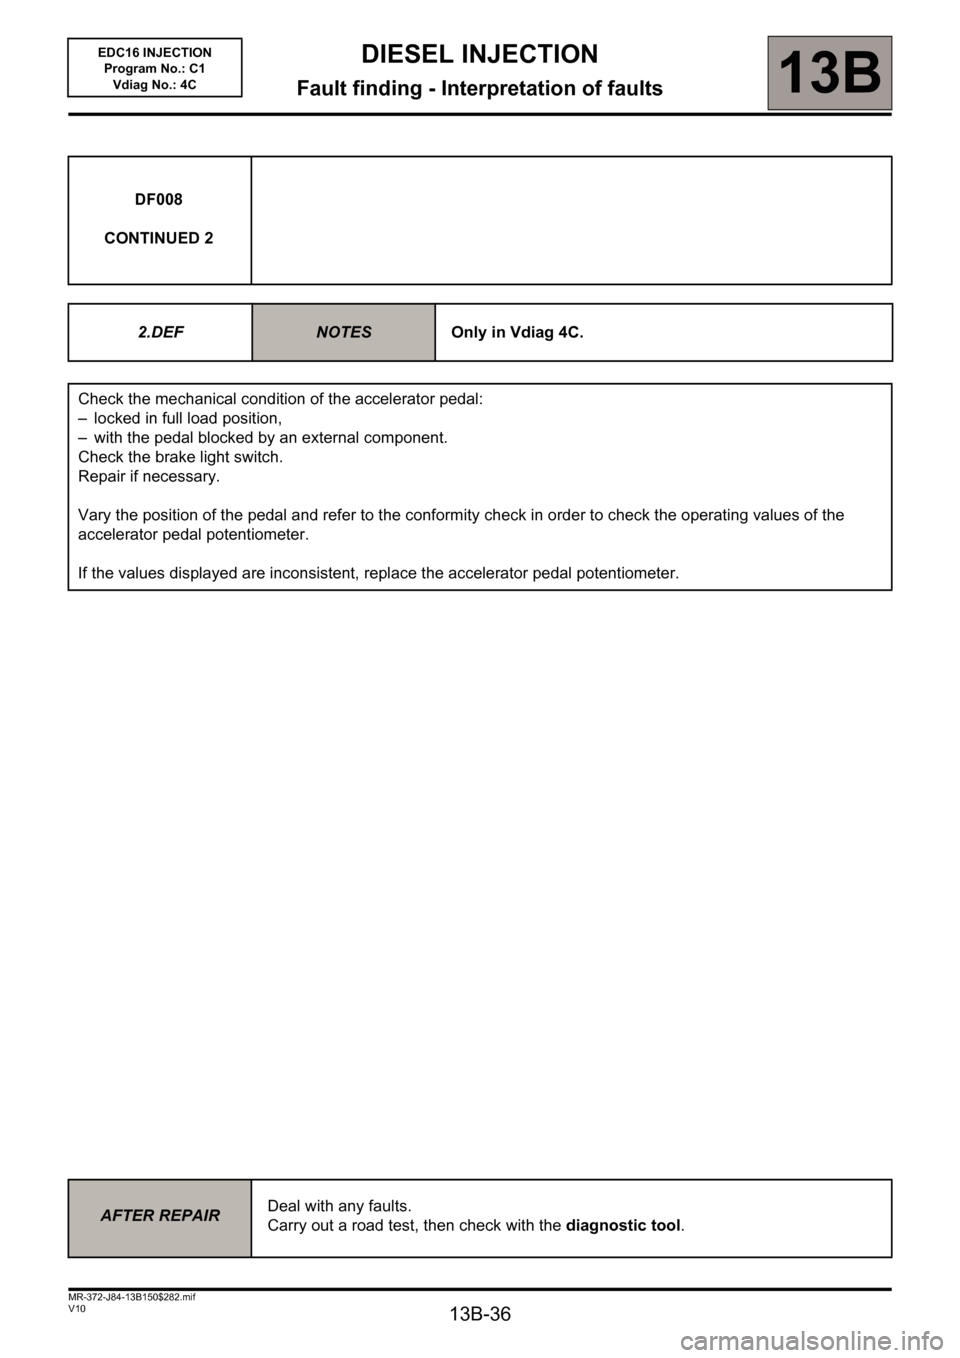
DF008
CONTINUED 2
2.DEF
NOTESOnly in Vdiag 4C.
Check the mechanical condition of the accelerator pedal:
– locked in full load position,
– with the pedal blocked by an external component.
Check the brake light switch.
Repair if necessary.
Vary the position of the pedal and refer to the conformity check in order to check the operating values of the
accelerator pedal potentiometer.
If the values displayed are inconsistent, replace the accelerator pedal potentiometer.
AFTER REPAIRDeal with any faults.
Carry out a road test, then check with the diagnostic tool.
Page 76 of 236
13B-76
DIESEL INJECTION
Fault finding - Interpretation of faults13B
V10 MR-372-J84-13B150$329.mif
EDC16 INJECTION
Program No.: C1
Vdiag No.: 44, 48 and 4C
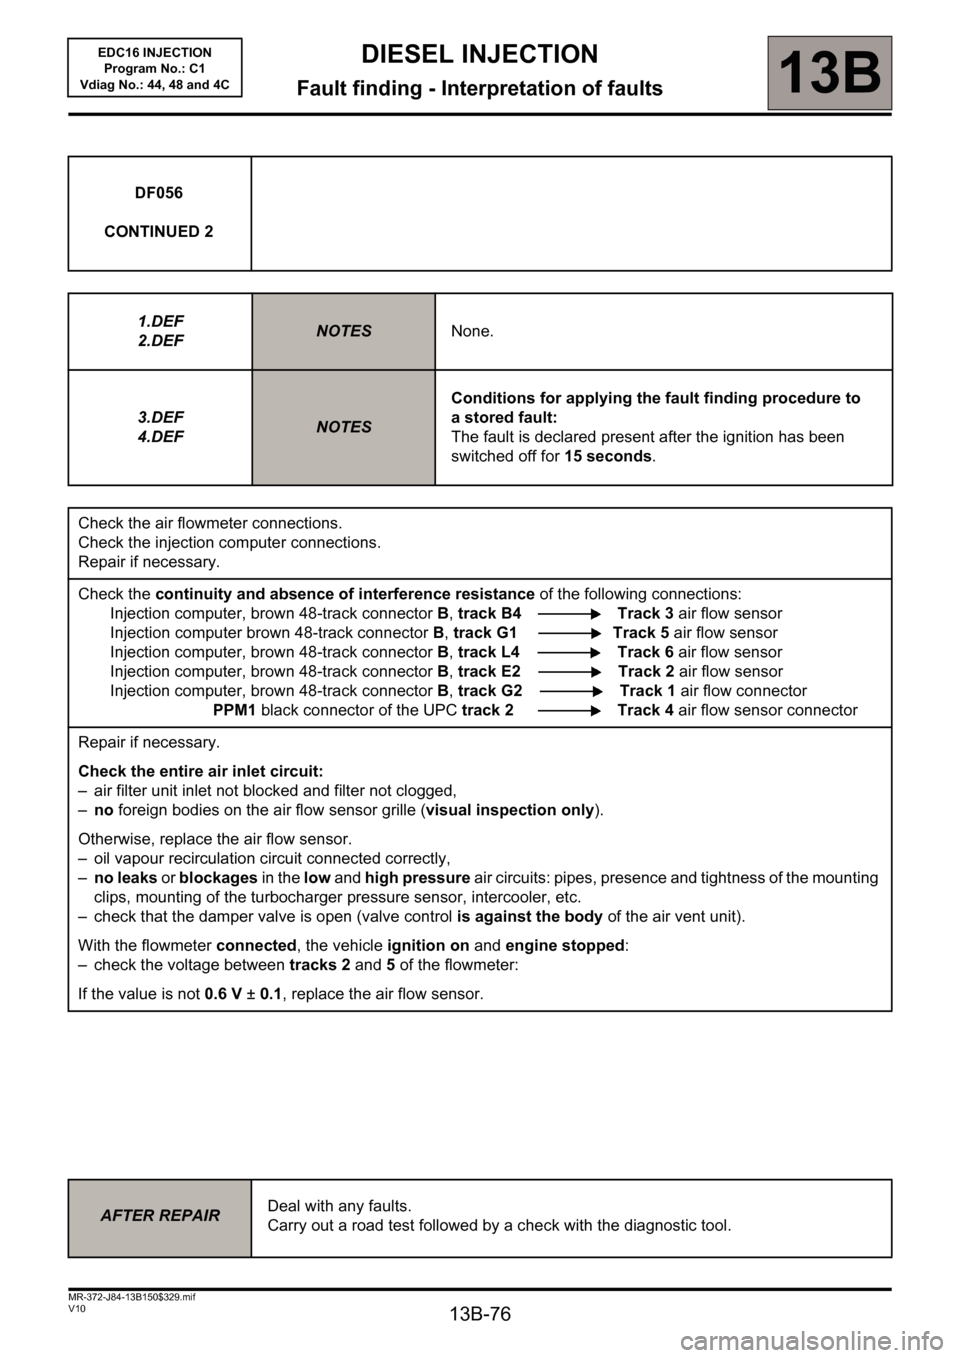
DF056
CONTINUED 2
1.DEF
2.DEF
NOTESNone.
3.DEF
4.DEF
NOTESConditions for applying the fault finding procedure to
a stored fault:
The fault is declared present after the ignition has been
switched off for 15 seconds.
Check the air flowmeter connections.
Check the injection computer connections.
Repair if necessary.
Check the continuity and absence of interference resistance of the following connections:
Injection computer, brown 48-track connector B, track B4 Track 3 air flow sensor
Injection computer brown 48-track connector B, track G1 Track 5 air flow sensor
Injection computer, brown 48-track connector B, track L4 Track 6 air flow sensor
Injection computer, brown 48-track connector B, track E2 Track 2 air flow sensor
Injection computer, brown 48-track connector B, track G2 Track 1 air flow connector
PPM1 black connector of the UPC track 2 Track 4 air flow sensor connector
Repair if necessary.
Check the entire air inlet circuit:
– air filter unit inlet not blocked and filter not clogged,
–no foreign bodies on the air flow sensor grille (visual inspection only).
Otherwise, replace the air flow sensor.
– oil vapour recirculation circuit connected correctly,
–no leaks or blockages in the low and high pressure air circuits: pipes, presence and tightness of the mounting
clips, mounting of the turbocharger pressure sensor, intercooler, etc.
– check that the damper valve is open (valve control is against the body of the air vent unit).
With the flowmeter connected, the vehicle ignition on and engine stopped:
– check the voltage between tracks 2 and 5 of the flowmeter:
If the value is not 0.6 V ± 0.1, replace the air flow sensor.
AFTER REPAIRDeal with any faults.
Carry out a road test followed by a check with the diagnostic tool.
Page 90 of 236
13B-90
DIESEL INJECTION
Fault finding - Interpretation of faults
13B
V10 MR-372-J84-13B150$376.mif
EDC16 INJECTION
Program No.: C1
Vdiag No.: 44, 48 and 4C
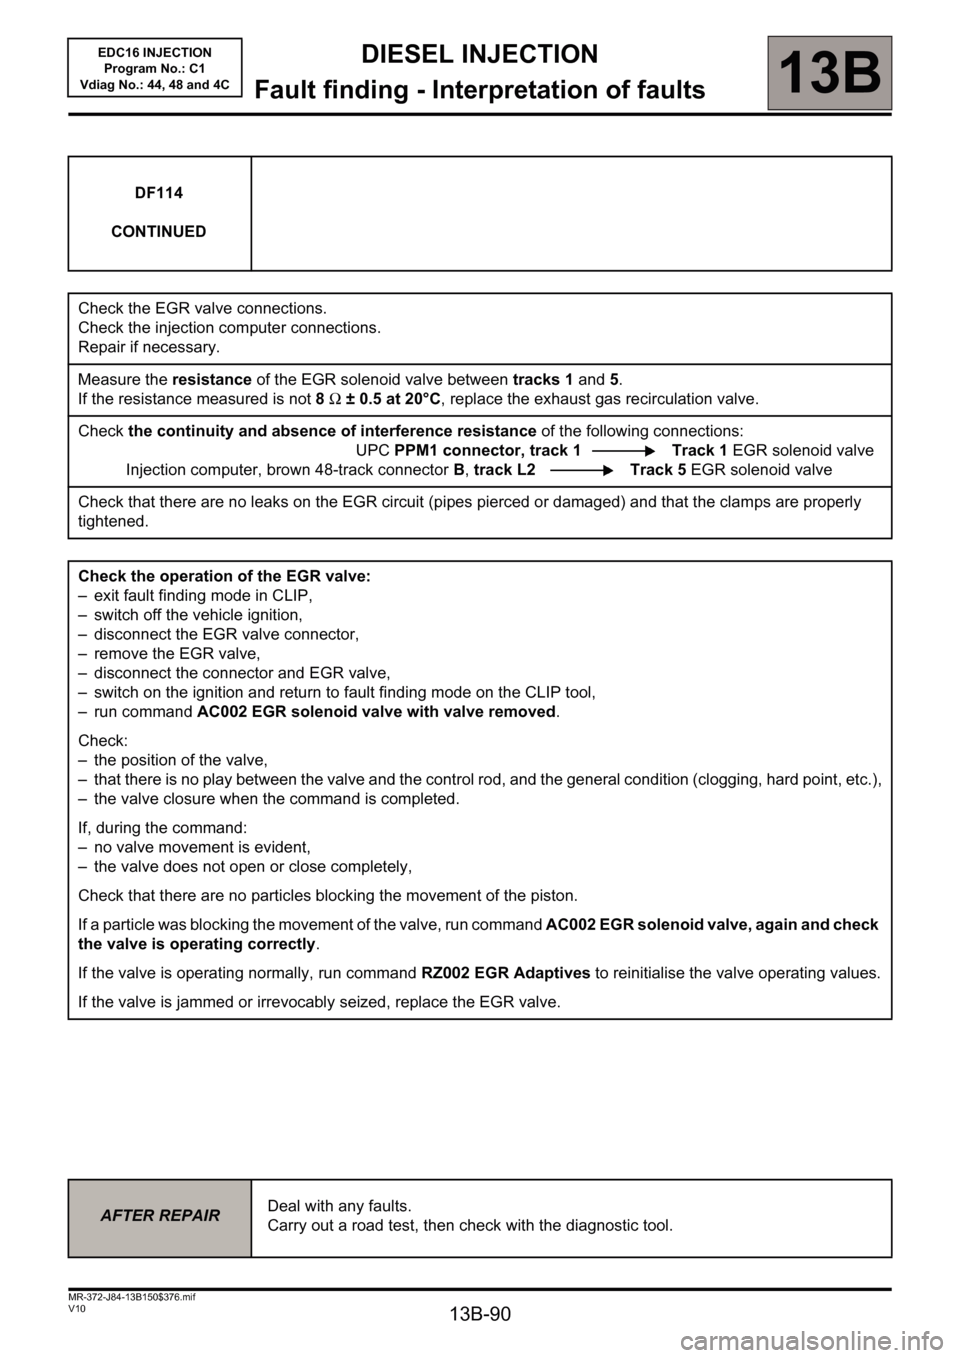
DF114
CONTINUED
Check the EGR valve connections.
Check the injection computer connections.
Repair if necessary.
Measure the resistance of the EGR solenoid valve between tracks 1 and 5.
If the resistance measured is not 8Ω ± 0.5 at 20°C, replace the exhaust gas recirculation valve.
Check the continuity and absence of interference resistance of the following connections:
UPC PPM1 connector, track 1 Track 1 EGR solenoid valve
Injection computer, brown 48-track connector B, track L2 Track 5 EGR solenoid valve
Check that there are no leaks on the EGR circuit (pipes pierced or damaged) and that the clamps are properly
tightened.
Check the operation of the EGR valve:
– exit fault finding mode in CLIP,
– switch off the vehicle ignition,
– disconnect the EGR valve connector,
– remove the EGR valve,
– disconnect the connector and EGR valve,
– switch on the ignition and return to fault finding mode on the CLIP tool,
– run command AC002 EGR solenoid valve with valve removed.
Check:
– the position of the valve,
– that there is no play between the valve and the control rod, and the general condition (clogging, hard point, etc.),
– the valve closure when the command is completed.
If, during the command:
– no valve movement is evident,
– the valve does not open or close completely,
Check that there are no particles blocking the movement of the piston.
If a particle was blocking the movement of the valve, run command AC002 EGR solenoid valve, again and check
the valve is operating correctly.
If the valve is operating normally, run command RZ002 EGR Adaptives to reinitialise the valve operating values.
If the valve is jammed or irrevocably seized, replace the EGR valve.
AFTER REPAIRDeal with any faults.
Carry out a road test, then check with the diagnostic tool.
Page 92 of 236
13B-92
DIESEL INJECTION
Fault finding - Interpretation of faults
13B
V10 MR-372-J84-13B150$376.mif
EDC16 INJECTION
Program No.: C1
Vdiag No.: 44, 48 and 4C
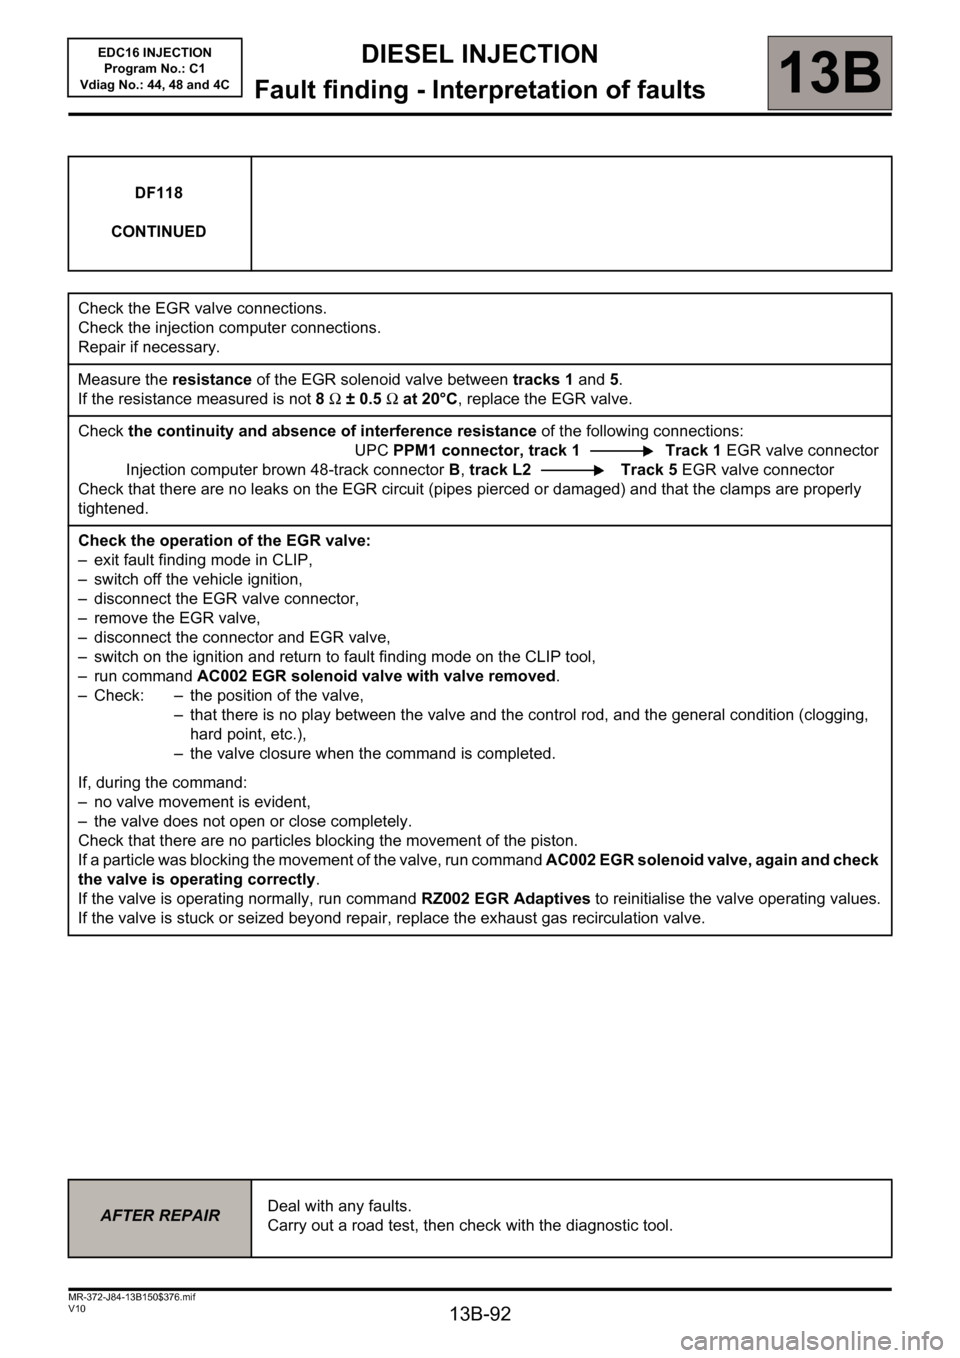
DF118
CONTINUED
Check the EGR valve connections.
Check the injection computer connections.
Repair if necessary.
Measure the resistance of the EGR solenoid valve between tracks 1 and 5.
If the resistance measured is not 8Ω ± 0.5Ωat 20°C, replace the EGR valve.
Check the continuity and absence of interference resistance of the following connections:
UPC PPM1 connector, track 1 Track 1 EGR valve connector
Injection computer brown 48-track connector B, track L2 Track 5 EGR valve connector
Check that there are no leaks on the EGR circuit (pipes pierced or damaged) and that the clamps are properly
tightened.
Check the operation of the EGR valve:
– exit fault finding mode in CLIP,
– switch off the vehicle ignition,
– disconnect the EGR valve connector,
– remove the EGR valve,
– disconnect the connector and EGR valve,
– switch on the ignition and return to fault finding mode on the CLIP tool,
– run command AC002 EGR solenoid valve with valve removed.
– Check: – the position of the valve,
– that there is no play between the valve and the control rod, and the general condition (clogging,
hard point, etc.),
– the valve closure when the command is completed.
If, during the command:
– no valve movement is evident,
– the valve does not open or close completely.
Check that there are no particles blocking the movement of the piston.
If a particle was blocking the movement of the valve, run command AC002 EGR solenoid valve, again and check
the valve is operating correctly.
If the valve is operating normally, run command RZ002 EGR Adaptives to reinitialise the valve operating values.
If the valve is stuck or seized beyond repair, replace the exhaust gas recirculation valve.
AFTER REPAIRDeal with any faults.
Carry out a road test, then check with the diagnostic tool.
Page 104 of 236
13B-104
DIESEL INJECTION
Fault finding - Interpretation of faults
13B
V10 MR-372-J84-13B150$376.mif
EDC16 INJECTION
Program No.: C1
Vdiag No.: 48 and 4C
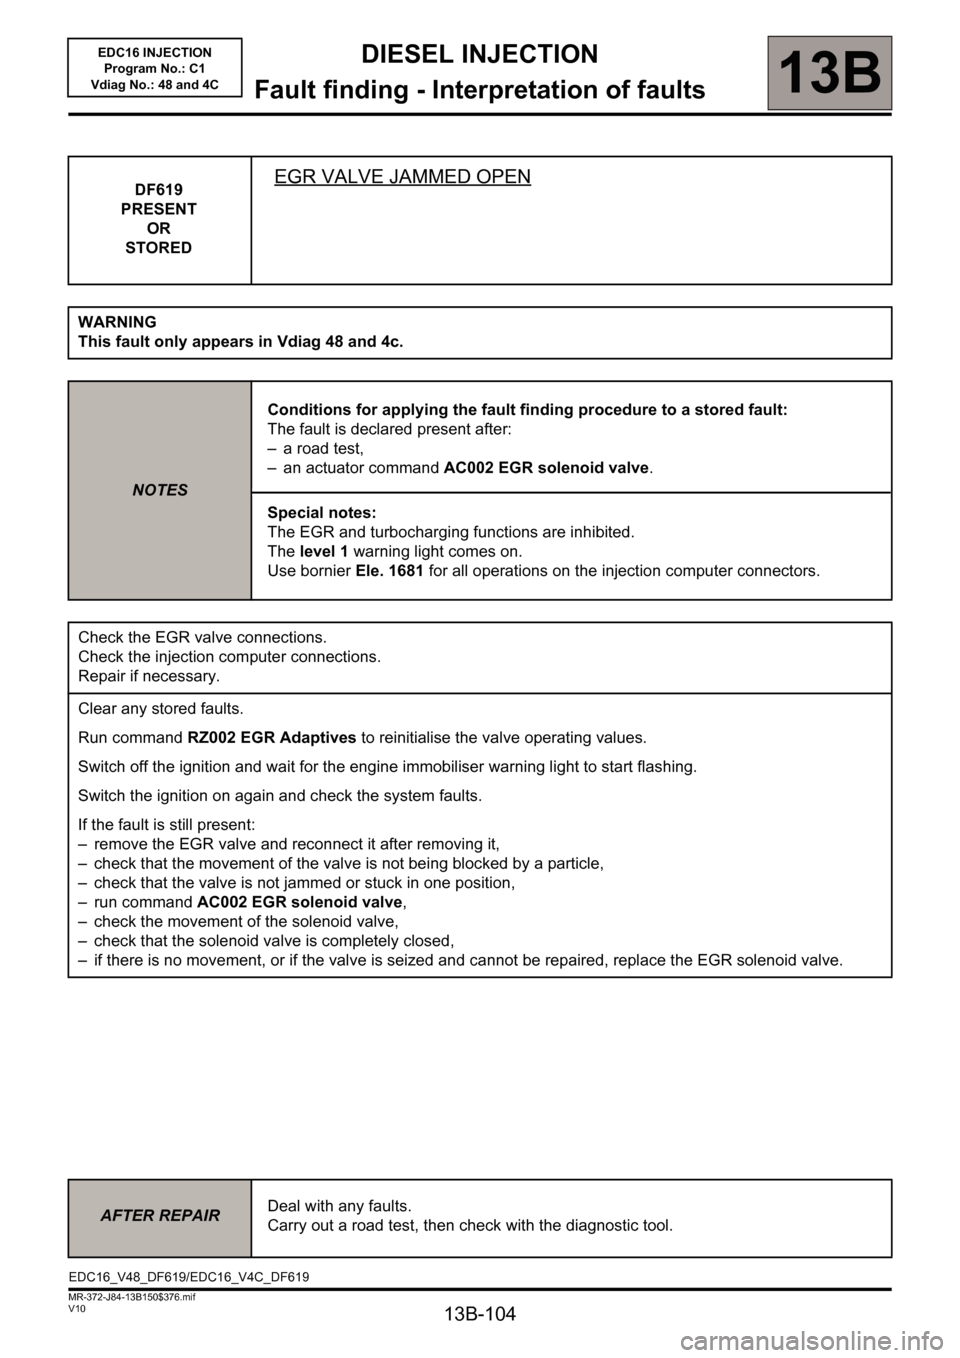
DF619
PRESENT
OR
STOREDEGR VALVE JAMMED OPEN
WARNING
This fault only appears in Vdiag 48 and 4c.
NOTESConditions for applying the fault finding procedure to a stored fault:
The fault is declared present after:
– a road test,
– an actuator command AC002 EGR solenoid valve.
Special notes:
The EGR and turbocharging functions are inhibited.
The level 1 warning light comes on.
Use bornier Ele. 1681 for all operations on the injection computer connectors.
Check the EGR valve connections.
Check the injection computer connections.
Repair if necessary.
Clear any stored faults.
Run command RZ002 EGR Adaptives to reinitialise the valve operating values.
Switch off the ignition and wait for the engine immobiliser warning light to start flashing.
Switch the ignition on again and check the system faults.
If the fault is still present:
– remove the EGR valve and reconnect it after removing it,
– check that the movement of the valve is not being blocked by a particle,
– check that the valve is not jammed or stuck in one position,
– run command AC002 EGR solenoid valve,
– check the movement of the solenoid valve,
– check that the solenoid valve is completely closed,
– if there is no movement, or if the valve is seized and cannot be repaired, replace the EGR solenoid valve.
AFTER REPAIRDeal with any faults.
Carry out a road test, then check with the diagnostic tool.
EDC16_V48_DF619/EDC16_V4C_DF619
Page 105 of 236
13B-105
DIESEL INJECTION
Fault finding - Interpretation of faults
13B
V10 MR-372-J84-13B150$376.mif
EDC16 INJECTION
Program No.: C1
Vdiag No.: 48
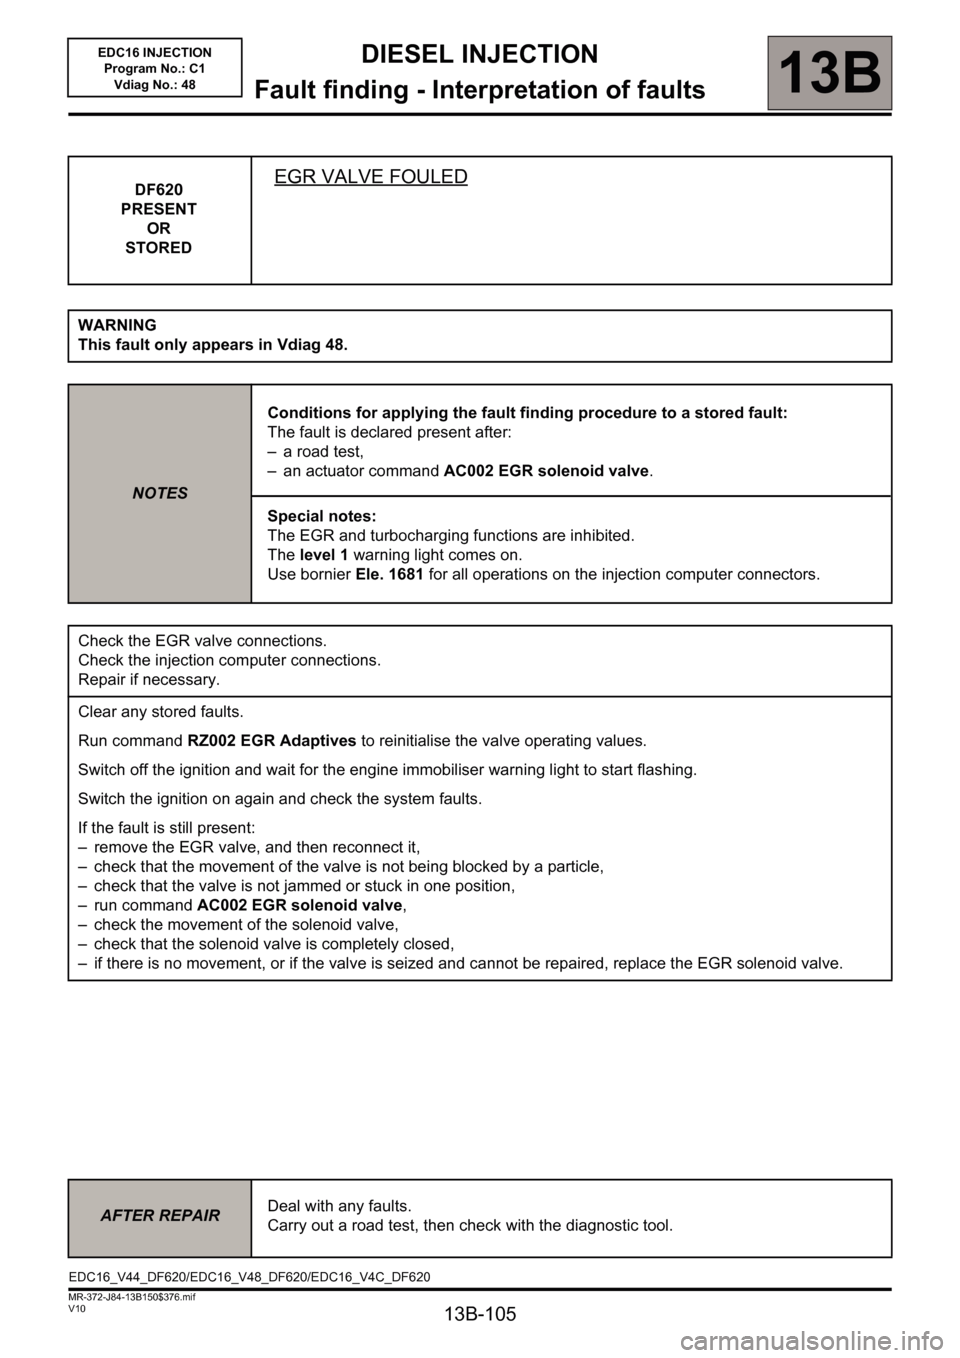
DF620
PRESENT
OR
STOREDEGR VALVE FOULED
WARNING
This fault only appears in Vdiag 48.
NOTESConditions for applying the fault finding procedure to a stored fault:
The fault is declared present after:
– a road test,
– an actuator command AC002 EGR solenoid valve.
Special notes:
The EGR and turbocharging functions are inhibited.
The level 1 warning light comes on.
Use bornier Ele. 1681 for all operations on the injection computer connectors.
Check the EGR valve connections.
Check the injection computer connections.
Repair if necessary.
Clear any stored faults.
Run command RZ002 EGR Adaptives to reinitialise the valve operating values.
Switch off the ignition and wait for the engine immobiliser warning light to start flashing.
Switch the ignition on again and check the system faults.
If the fault is still present:
– remove the EGR valve, and then reconnect it,
– check that the movement of the valve is not being blocked by a particle,
– check that the valve is not jammed or stuck in one position,
– run command AC002 EGR solenoid valve,
– check the movement of the solenoid valve,
– check that the solenoid valve is completely closed,
– if there is no movement, or if the valve is seized and cannot be repaired, replace the EGR solenoid valve.
AFTER REPAIRDeal with any faults.
Carry out a road test, then check with the diagnostic tool.
EDC16_V44_DF620/EDC16_V48_DF620/EDC16_V4C_DF620
Page 106 of 236
13B-106
DIESEL INJECTION
Fault finding - Interpretation of faults
13B
V10 MR-372-J84-13B150$376.mif
EDC16 INJECTION
Program No.: C1
Vdiag No.: 48 and 4C
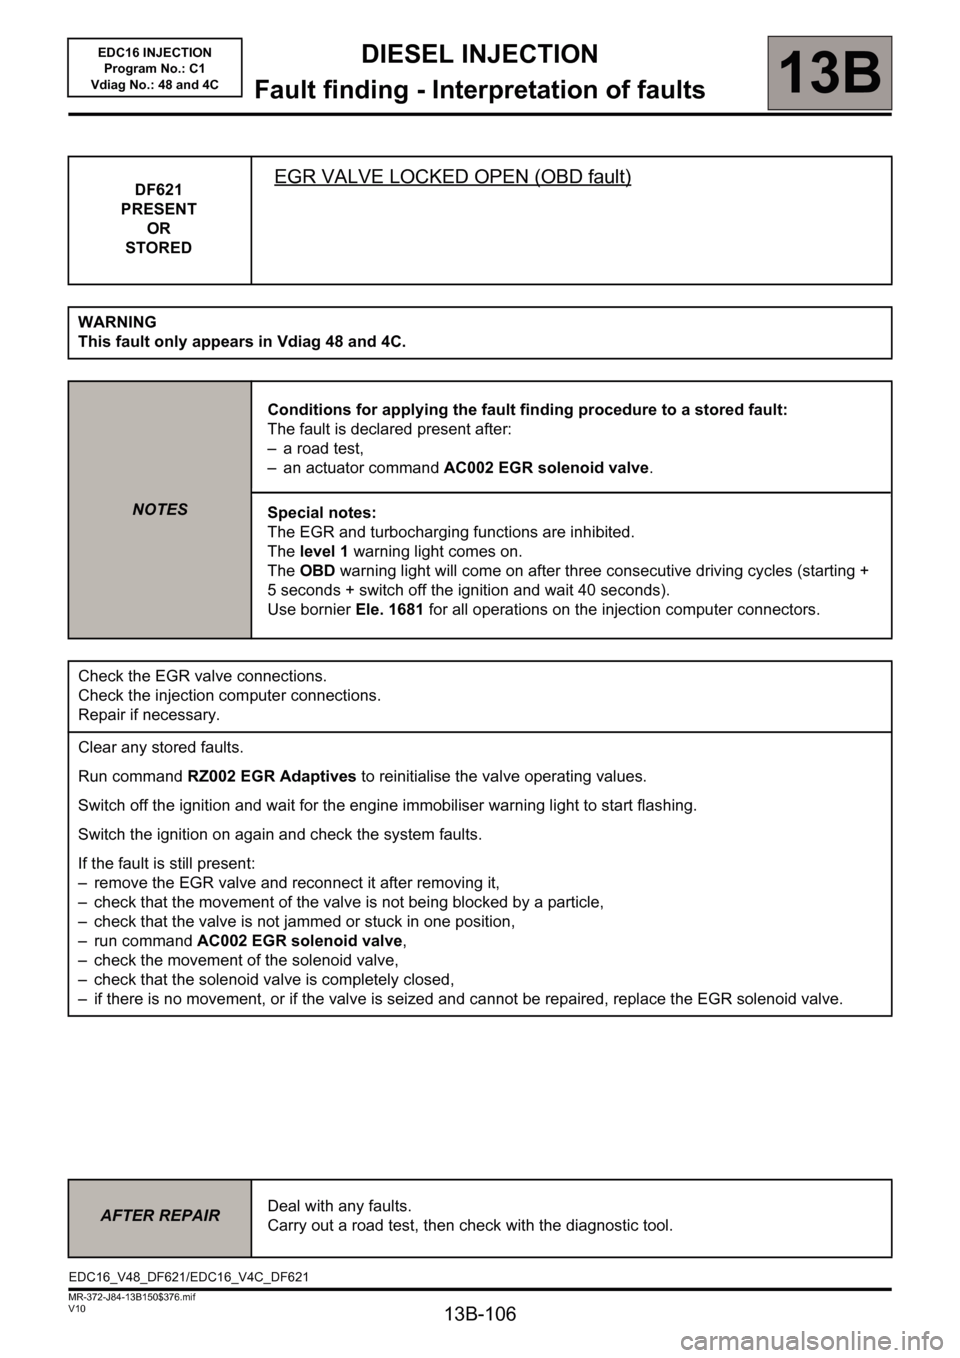
DF621
PRESENT
OR
STOREDEGR VALVE LOCKED OPEN (OBD fault)
WARNING
This fault only appears in Vdiag 48 and 4C.
NOTESConditions for applying the fault finding procedure to a stored fault:
The fault is declared present after:
– a road test,
– an actuator command AC002 EGR solenoid valve.
Special notes:
The EGR and turbocharging functions are inhibited.
The level 1 warning light comes on.
The OBD warning light will come on after three consecutive driving cycles (starting +
5 seconds + switch off the ignition and wait 40 seconds).
Use bornier Ele. 1681 for all operations on the injection computer connectors.
Check the EGR valve connections.
Check the injection computer connections.
Repair if necessary.
Clear any stored faults.
Run command RZ002 EGR Adaptives to reinitialise the valve operating values.
Switch off the ignition and wait for the engine immobiliser warning light to start flashing.
Switch the ignition on again and check the system faults.
If the fault is still present:
– remove the EGR valve and reconnect it after removing it,
– check that the movement of the valve is not being blocked by a particle,
– check that the valve is not jammed or stuck in one position,
– run command AC002 EGR solenoid valve,
– check the movement of the solenoid valve,
– check that the solenoid valve is completely closed,
– if there is no movement, or if the valve is seized and cannot be repaired, replace the EGR solenoid valve.
AFTER REPAIRDeal with any faults.
Carry out a road test, then check with the diagnostic tool.
EDC16_V48_DF621/EDC16_V4C_DF621