SC036 RENAULT SCENIC 2011 J95 / 3.G Engine And Peripherals EDC16 Workshop Manual
[x] Cancel search | Manufacturer: RENAULT, Model Year: 2011, Model line: SCENIC, Model: RENAULT SCENIC 2011 J95 / 3.GPages: 365, PDF Size: 2.11 MB
Page 17 of 365
13B-17
MR-372-J84-13B200$108.mif
V13
DIESEL INJECTION
Fault finding – System operation
EDC16
Program No: C1
Vdiag No: 18, 1C, 20,
50, 58, 5C
13B
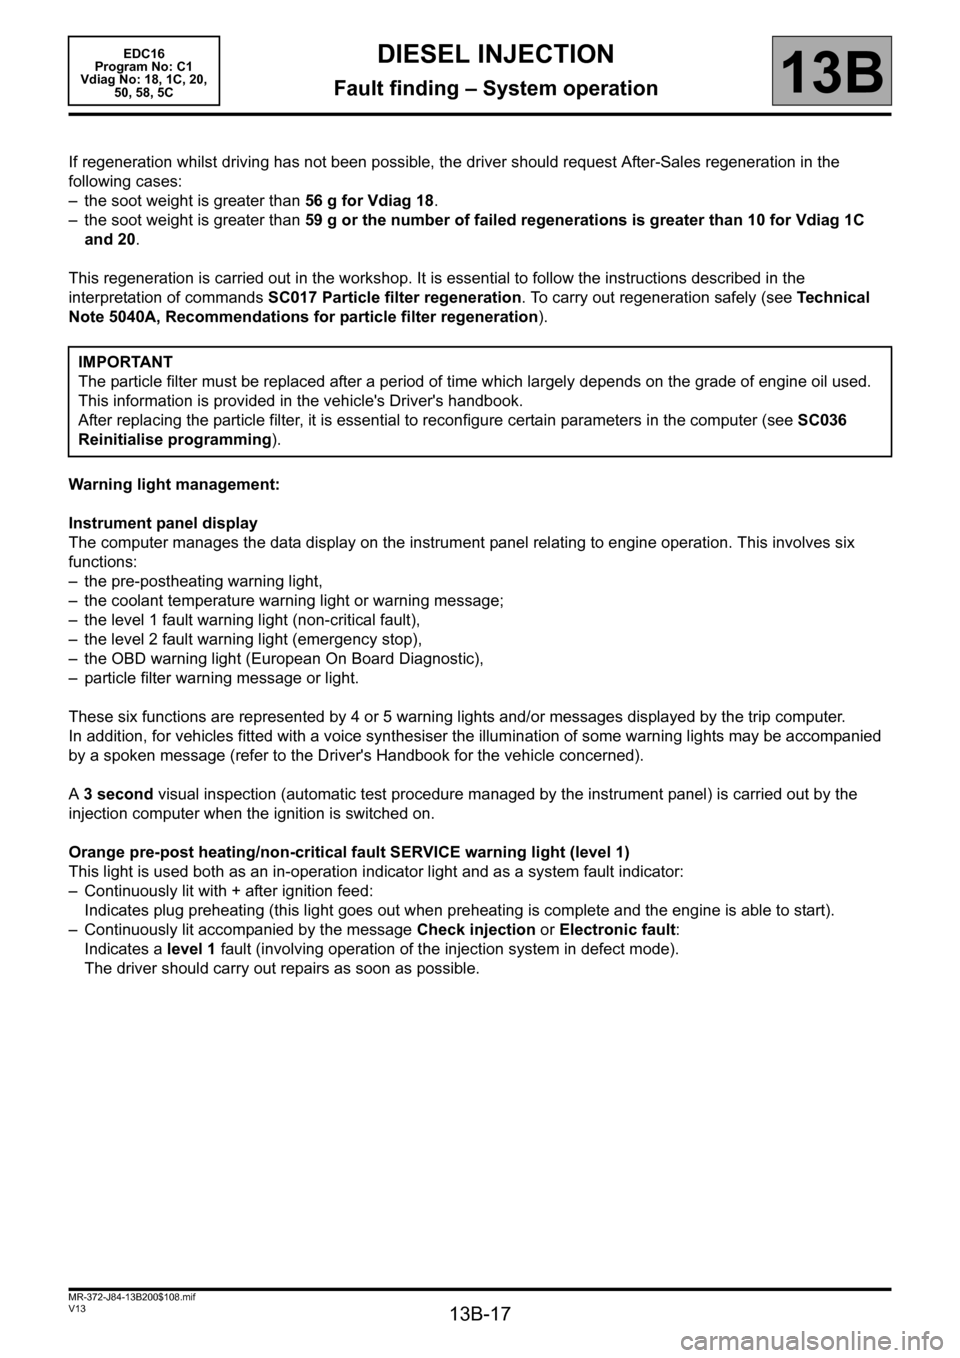
If regeneration whilst driving has not been possible, the driver should request After-Sales regeneration in the
following cases:
– the soot weight is greater than 56 g for Vdiag 18.
– the soot weight is greater than 59 g or the number of failed regenerations is greater than 10 for Vdiag 1C
and 20.
This regeneration is carried out in the workshop. It is essential to follow the instructions described in the
interpretation of commands SC017 Particle filter regeneration. To carry out regeneration safely (see Te c h n i c a l
Note 5040A, Recommendations for particle filter regeneration).
Warning light management:
Instrument panel display
The computer manages the data display on the instrument panel relating to engine operation. This involves six
functions:
– the pre-postheating warning light,
– the coolant temperature warning light or warning message;
– the level 1 fault warning light (non-critical fault),
– the level 2 fault warning light (emergency stop),
– the OBD warning light (European On Board Diagnostic),
– particle filter warning message or light.
These six functions are represented by 4 or 5 warning lights and/or messages displayed by the trip computer.
In addition, for vehicles fitted with a voice synthesiser the illumination of some warning lights may be accompanied
by a spoken message (refer to the Driver's Handbook for the vehicle concerned).
A 3 second visual inspection (automatic test procedure managed by the instrument panel) is carried out by the
injection computer when the ignition is switched on.
Orange pre-post heating/non-critical fault SERVICE warning light (level 1)
This light is used both as an in-operation indicator light and as a system fault indicator:
– Continuously lit with + after ignition feed:
Indicates plug preheating (this light goes out when preheating is complete and the engine is able to start).
– Continuously lit accompanied by the message Check injection or Electronic fault:
Indicates a level 1 fault (involving operation of the injection system in defect mode).
The driver should carry out repairs as soon as possible. IMPORTANT
The particle filter must be replaced after a period of time which largely depends on the grade of engine oil used.
This information is provided in the vehicle's Driver's handbook.
After replacing the particle filter, it is essential to reconfigure certain parameters in the computer (see SC036
Reinitialise programming).
Page 21 of 365
13B-21
MR-372-J84-13B200$144.mif
V13
13B
DIESEL INJECTION
Fault finding – Replacement of components
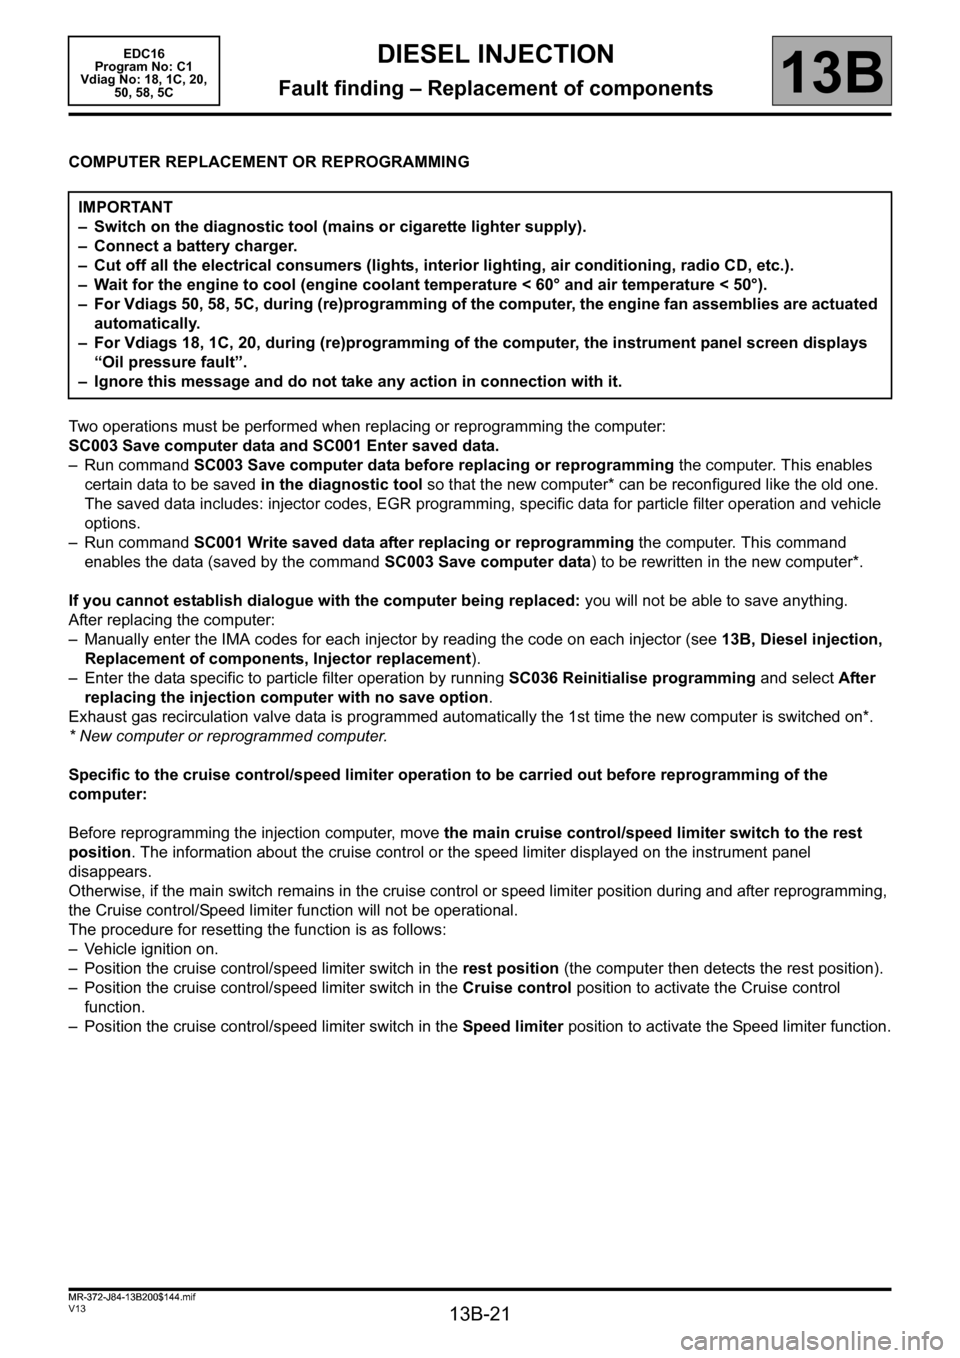
COMPUTER REPLACEMENT OR REPROGRAMMING
Two operations must be performed when replacing or reprogramming the computer:
SC003 Save computer data and SC001 Enter saved data.
– Run command SC003 Save computer data before replacing or reprogramming the computer. This enables
certain data to be saved in the diagnostic tool so that the new computer* can be reconfigured like the old one.
The saved data includes: injector codes, EGR programming, specific data for particle filter operation and vehicle
options.
– Run command SC001 Write saved data after replacing or reprogramming the computer. This command
enables the data (saved by the command SC003 Save computer data) to be rewritten in the new computer*.
If you cannot establish dialogue with the computer being replaced: you will not be able to save anything.
After replacing the computer:
– Manually enter the IMA codes for each injector by reading the code on each injector (see 13B, Diesel injection,
Replacement of components, Injector replacement).
– Enter the data specific to particle filter operation by running SC036 Reinitialise programming and select After
replacing the injection computer with no save option.
Exhaust gas recirculation valve data is programmed automatically the 1st time the new computer is switched on*.
* New computer or reprogrammed computer.
Specific to the cruise control/speed limiter operation to be carried out before reprogramming of the
computer:
Before reprogramming the injection computer, move the main cruise control/speed limiter switch to the rest
position. The information about the cruise control or the speed limiter displayed on the instrument panel
disappears.
Otherwise, if the main switch remains in the cruise control or speed limiter position during and after reprogramming,
the Cruise control/Speed limiter function will not be operational.
The procedure for resetting the function is as follows:
– Vehicle ignition on.
– Position the cruise control/speed limiter switch in the rest position (the computer then detects the rest position).
– Position the cruise control/speed limiter switch in the Cruise control position to activate the Cruise control
function.
– Position the cruise control/speed limiter switch in the Speed limiter position to activate the Speed limiter function. IMPORTANT
– Switch on the diagnostic tool (mains or cigarette lighter supply).
– Connect a battery charger.
– Cut off all the electrical consumers (lights, interior lighting, air conditioning, radio CD, etc.).
– Wait for the engine to cool (engine coolant temperature < 60° and air temperature < 50°).
– For Vdiags 50, 58, 5C, during (re)programming of the computer, the engine fan assemblies are actuated
automatically.
– For Vdiags 18, 1C, 20, during (re)programming of the computer, the instrument panel screen displays
“Oil pressure fault”.
– Ignore this message and do not take any action in connection with it.
EDC16
Program No: C1
Vdiag No: 18, 1C, 20,
50, 58, 5C
MR-372-J84-13B200$144.mif
Page 24 of 365
13B-24
MR-372-J84-13B200$144.mif
V13
DIESEL INJECTION
Fault finding – Replacement of components
EDC16
Program No: C1
Vdiag No: 18, 1C, 20,
50, 58, 5C
13B
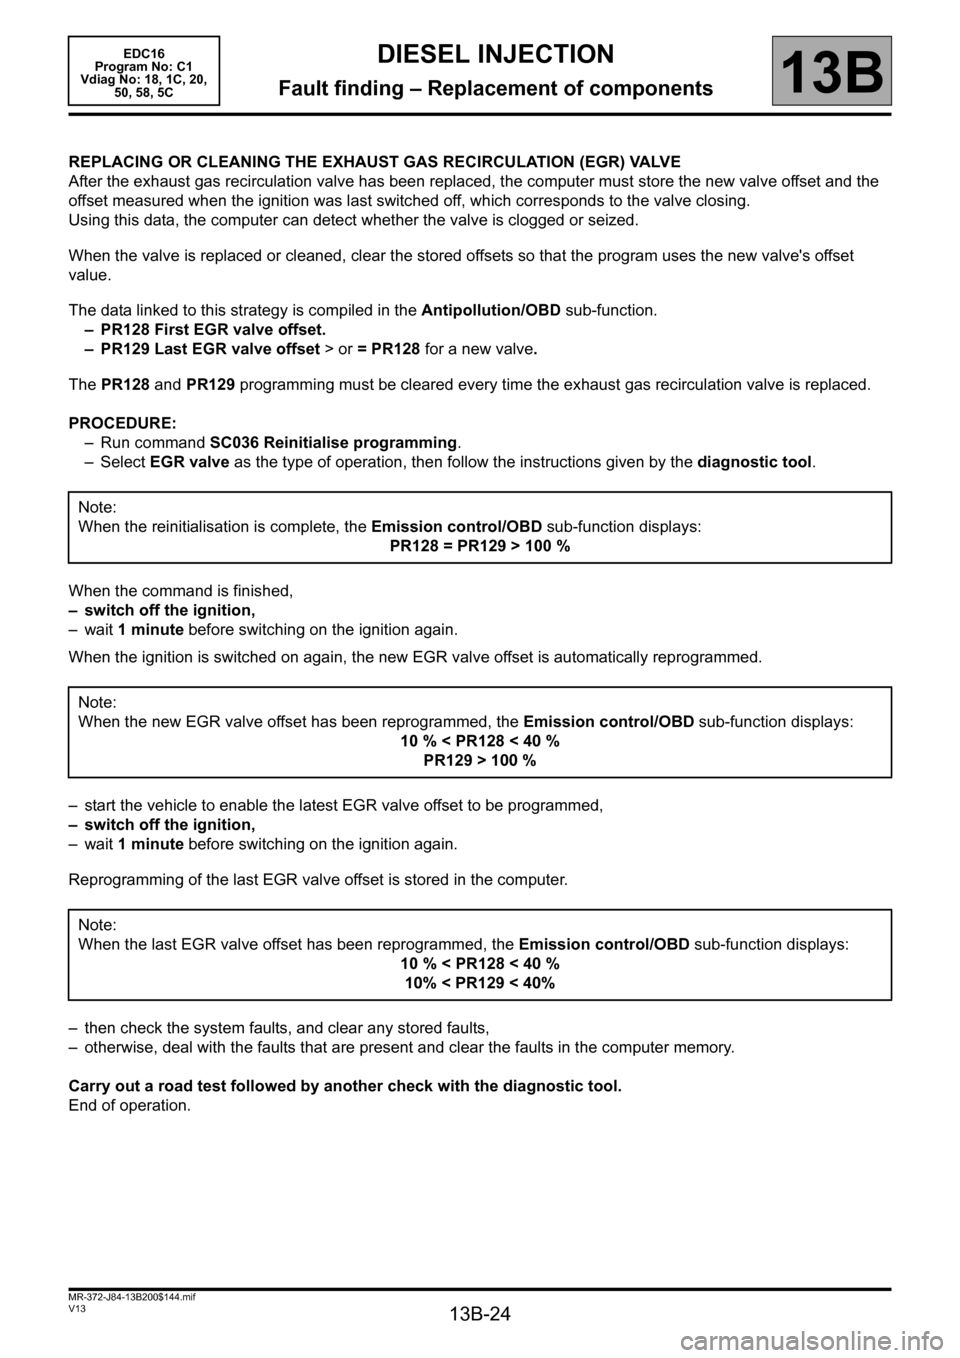
REPLACING OR CLEANING THE EXHAUST GAS RECIRCULATION (EGR) VALVE
After the exhaust gas recirculation valve has been replaced, the computer must store the new valve offset and the
offset measured when the ignition was last switched off, which corresponds to the valve closing.
Using this data, the computer can detect whether the valve is clogged or seized.
When the valve is replaced or cleaned, clear the stored offsets so that the program uses the new valve's offset
value.
The data linked to this strategy is compiled in the Antipollution/OBD sub-function.
– PR128 First EGR valve offset.
– PR129 Last EGR valve offset > or = PR128 for a new valve.
The PR128 and PR129 programming must be cleared every time the exhaust gas recirculation valve is replaced.
PROCEDURE:
– Run command SC036 Reinitialise programming.
–Select EGR valve as the type of operation, then follow the instructions given by the diagnostic tool.
When the command is finished,
– switch off the ignition,
–wait 1 minute before switching on the ignition again.
When the ignition is switched on again, the new EGR valve offset is automatically reprogrammed.
– start the vehicle to enable the latest EGR valve offset to be programmed,
– switch off the ignition,
–wait 1 minute before switching on the ignition again.
Reprogramming of the last EGR valve offset is stored in the computer.
– then check the system faults, and clear any stored faults,
– otherwise, deal with the faults that are present and clear the faults in the computer memory.
Carry out a road test followed by another check with the diagnostic tool.
End of operation.Note:
When the reinitialisation is complete, the Emission control/OBD sub-function displays:
PR128 = PR129 > 100 %
Note:
When the new EGR valve offset has been reprogrammed, the Emission control/OBD sub-function displays:
10 % < PR128 < 40 %
PR129 > 100 %
Note:
When the last EGR valve offset has been reprogrammed, the Emission control/OBD sub-function displays:
10 % < PR128 < 40 %
10% < PR129 < 40%
Page 25 of 365
13B-25
MR-372-J84-13B200$144.mif
V13
DIESEL INJECTION
Fault finding – Replacement of components
EDC16
Program No: C1
Vdiag No: 18, 1C, 20,
50, 58, 5C
13B
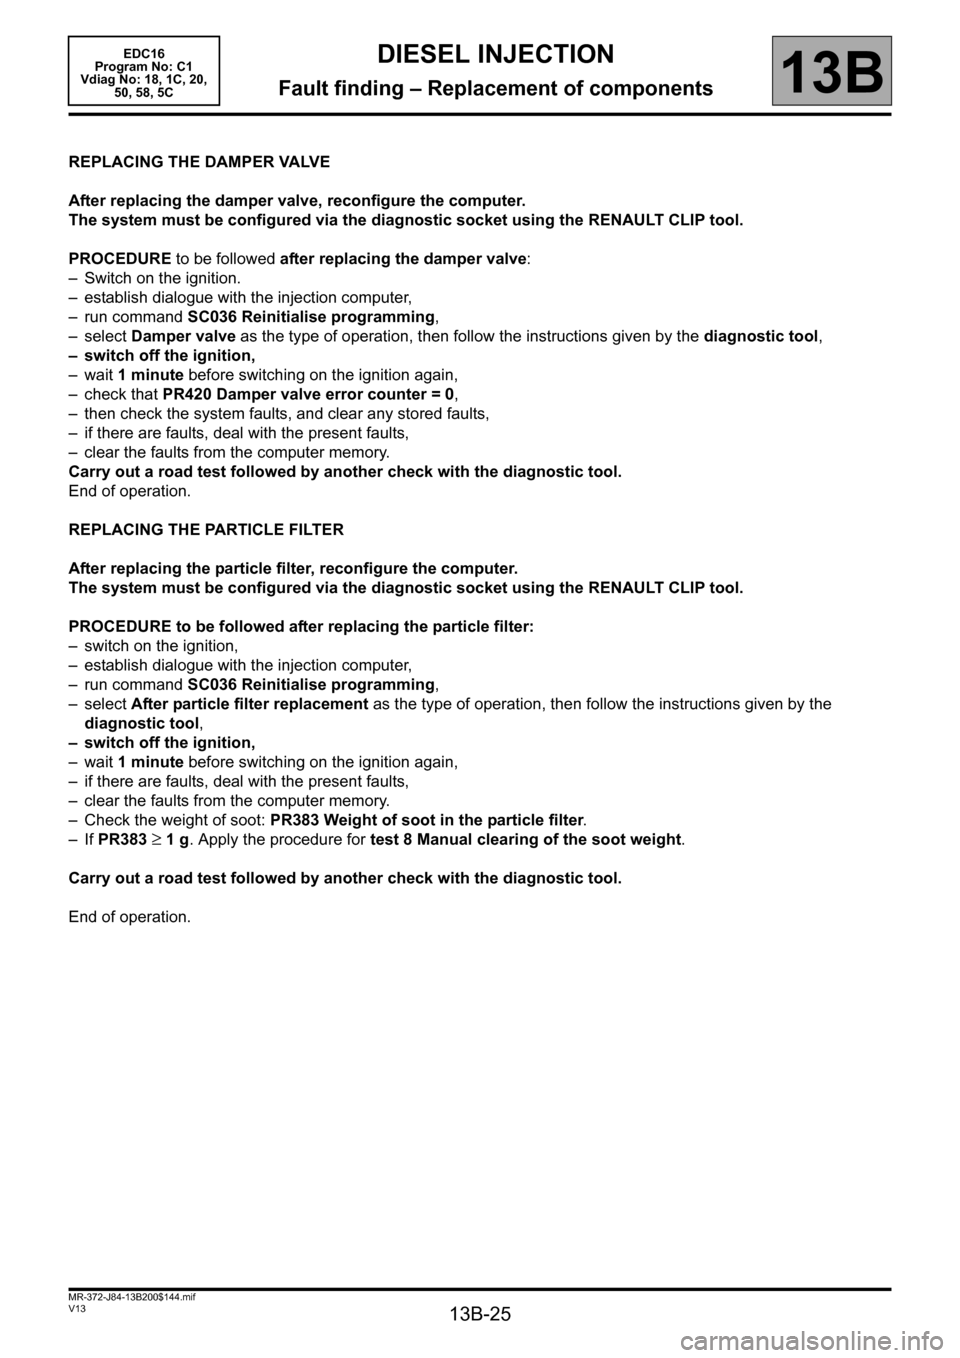
REPLACING THE DAMPER VALVE
After replacing the damper valve, reconfigure the computer.
The system must be configured via the diagnostic socket using the RENAULT CLIP tool.
PROCEDURE to be followed after replacing the damper valve:
– Switch on the ignition.
– establish dialogue with the injection computer,
– run command SC036 Reinitialise programming,
–select Damper valve as the type of operation, then follow the instructions given by the diagnostic tool,
– switch off the ignition,
–wait 1 minute before switching on the ignition again,
– check that PR420 Damper valve error counter = 0,
– then check the system faults, and clear any stored faults,
– if there are faults, deal with the present faults,
– clear the faults from the computer memory.
Carry out a road test followed by another check with the diagnostic tool.
End of operation.
REPLACING THE PARTICLE FILTER
After replacing the particle filter, reconfigure the computer.
The system must be configured via the diagnostic socket using the RENAULT CLIP tool.
PROCEDURE to be followed after replacing the particle filter:
– switch on the ignition,
– establish dialogue with the injection computer,
– run command SC036 Reinitialise programming,
–select After particle filter replacement as the type of operation, then follow the instructions given by the
diagnostic tool,
– switch off the ignition,
–wait 1 minute before switching on the ignition again,
– if there are faults, deal with the present faults,
– clear the faults from the computer memory.
– Check the weight of soot: PR383 Weight of soot in the particle filter.
– If PR383
≥ 1 g. Apply the procedure for test 8 Manual clearing of the soot weight.
Carry out a road test followed by another check with the diagnostic tool.
End of operation.
Page 64 of 365
13B-64
MR-372-J84-13B200$288.mif
V13
EDC16
Program No.: C1
Vdiag no.: 18, 1C, 20,
50, 58, 5CDIESEL INJECTION
Fault finding – Interpretation of faults13B
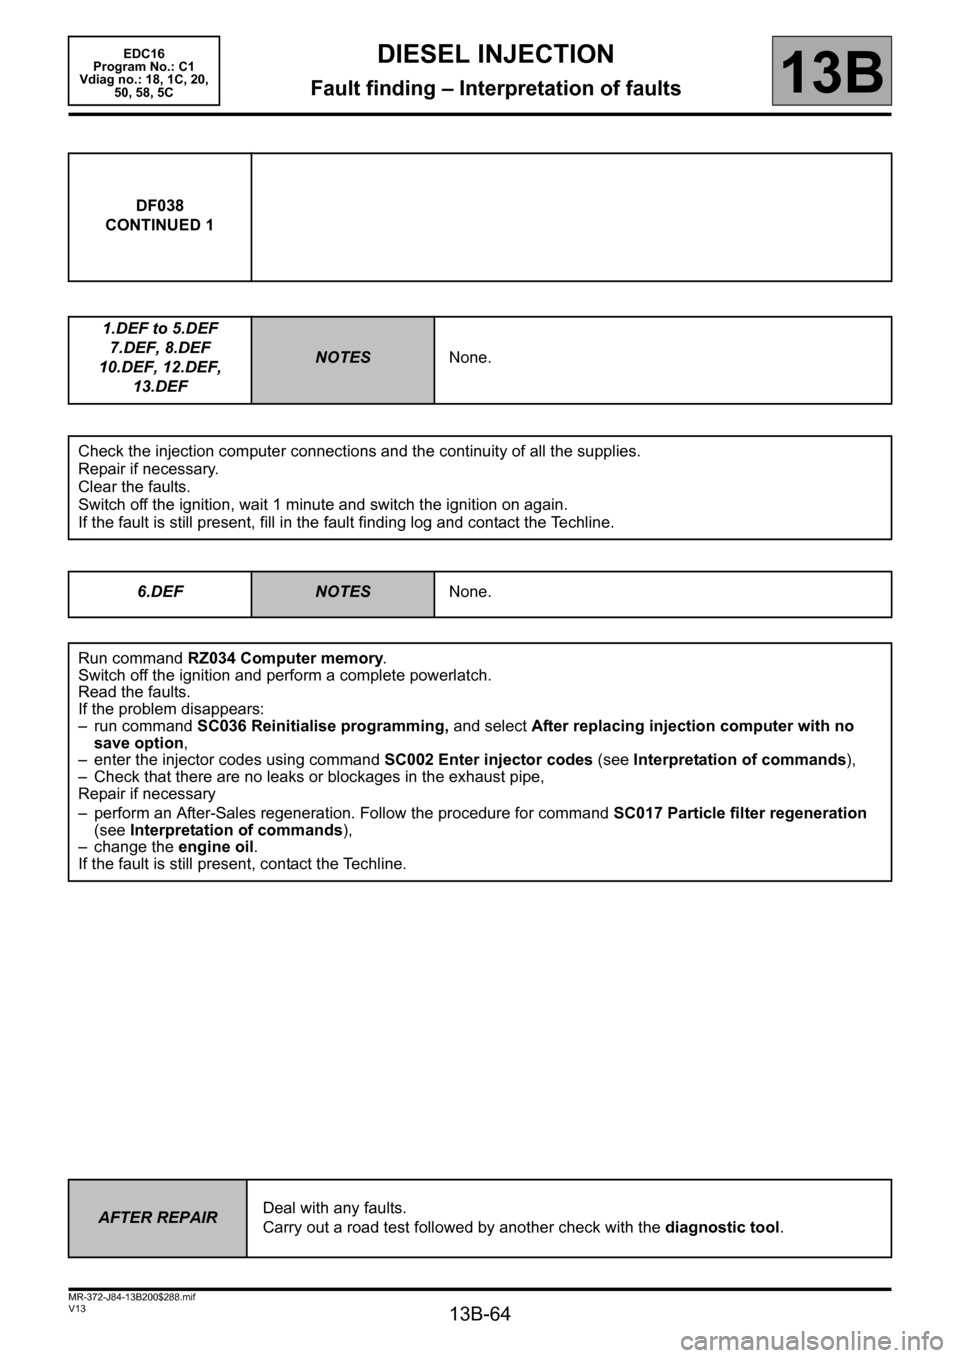
DF038
CONTINUED 1
1.DEF to 5.DEF
7.DEF, 8.DEF
10.DEF, 12.DEF,
13.DEF
NOTESNone.
Check the injection computer connections and the continuity of all the supplies.
Repair if necessary.
Clear the faults.
Switch off the ignition, wait 1 minute and switch the ignition on again.
If the fault is still present, fill in the fault finding log and contact the Techline.
6.DEF
NOTESNone.
Run command RZ034 Computer memory.
Switch off the ignition and perform a complete powerlatch.
Read the faults.
If the problem disappears:
– run command SC036 Reinitialise programming, and select After replacing injection computer with no
save option,
– enter the injector codes using command SC002 Enter injector codes (see Interpretation of commands),
– Check that there are no leaks or blockages in the exhaust pipe,
Repair if necessary
– perform an After-Sales regeneration. Follow the procedure for command SC017 Particle filter regeneration
(see Interpretation of commands),
– change the engine oil.
If the fault is still present, contact the Techline.
AFTER REPAIRDeal with any faults.
Carry out a road test followed by another check with the diagnostic tool.
Page 107 of 365
13B-107
MR-372-J84-13B200$324.mif
V13
DIESEL INJECTION
Fault finding – Interpretation of faults
EDC16
Program No.: C1
Vdiag no.: 18, 1C, 20,
50, 58, 5C
13B
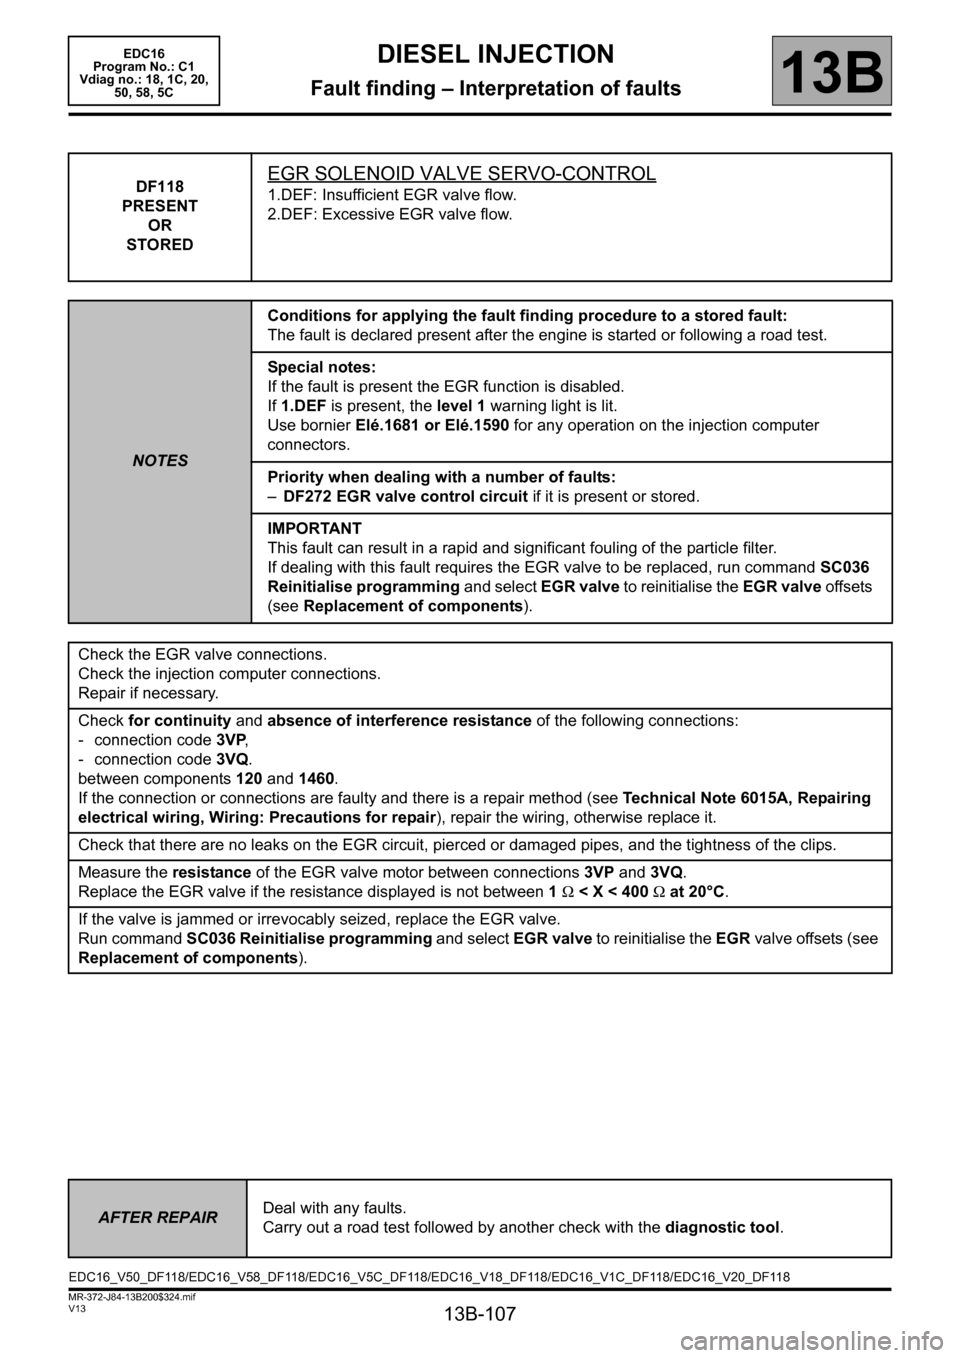
DF118
PRESENT
OR
STOREDEGR SOLENOID VALVE SERVO-CONTROL
1.DEF: Insufficient EGR valve flow.
2.DEF: Excessive EGR valve flow.
NOTESConditions for applying the fault finding procedure to a stored fault:
The fault is declared present after the engine is started or following a road test.
Special notes:
If the fault is present the EGR function is disabled.
If 1.DEF is present, the level 1 warning light is lit.
Use bornier Elé.1681 or Elé.1590 for any operation on the injection computer
connectors.
Priority when dealing with a number of faults:
–DF272 EGR valve control circuit if it is present or stored.
IMPORTANT
This fault can result in a rapid and significant fouling of the particle filter.
If dealing with this fault requires the EGR valve to be replaced, run command SC036
Reinitialise programming and select EGR valve to reinitialise the EGR valve offsets
(see Replacement of components).
Check the EGR valve connections.
Check the injection computer connections.
Repair if necessary.
Check for continuity and absence of interference resistance of the following connections:
- connection code 3VP,
- connection code 3VQ.
between components 120 and 1460.
If the connection or connections are faulty and there is a repair method (see Technical Note 6015A, Repairing
electrical wiring, Wiring: Precautions for repair), repair the wiring, otherwise replace it.
Check that there are no leaks on the EGR circuit, pierced or damaged pipes, and the tightness of the clips.
Measure the resistance of the EGR valve motor between connections 3VP and 3VQ.
Replace the EGR valve if the resistance displayed is not between 1 Ω < X < 400 Ω at 20°C.
If the valve is jammed or irrevocably seized, replace the EGR valve.
Run command SC036 Reinitialise programming and select EGR valve to reinitialise the EGR valve offsets (see
Replacement of components).
AFTER REPAIRDeal with any faults.
Carry out a road test followed by another check with the diagnostic tool.
EDC16_V50_DF118/EDC16_V58_DF118/EDC16_V5C_DF118/EDC16_V18_DF118/EDC16_V1C_DF118/EDC16_V20_DF118
Page 115 of 365

13B-115
MR-372-J84-13B200$324.mif
V13
DIESEL INJECTION
Fault finding – Interpretation of faults
EDC16
Program No.: C1
Vdiag no.: 18, 1C, 20,
50, 58, 5C
13B
DF209
PRESENT
OR
STOREDEGR POSITION SENSOR CIRCUIT
CO.0: Open circuit or short circuit to earth
CC.1: Short circuit to + 12 V
1.DEF: Micro-breaks
NOTESConditions for applying the fault finding procedure to stored faults:
The fault is declared present after the engine is started or following a road test.
Special notes:
If the fault is present:
– there is smoke coming from the exhaust,
– the EGR offset fault finding function is disabled,
– the OBD warning light illuminates after three consecutive driving cycles (starting
+ 5 seconds + switch off the ignition and wait 1 minute).
Use bornier Elé.1681 or Elé.1590 for any operation on the injection computer
connectors.
Priorities when dealing with a number of faults:
–DF012 Sensor supply voltage no. 2 if it is present or stored.
IMPORTANT
This fault can result in a rapid and significant fouling of the particle filter.
If dealing with this fault requires the EGR valve to be replaced, run command SC036
Reinitialise programming and select EGR valve to reinitialise the EGR valve offsets
(see Replacement of components).
WARNING
This fault may appear if the wiring harness has been damaged.
Follow the procedure described in the Wiring Check in the Introduction.
This check enables the condition and the conformity of the engine wiring harness to be checked.
CO.0
NOTESNone
Check the EGR valve connections.
Check the injection computer connections.
Repair if necessary.
Check the continuity and insulation to earth of the following connections:
– connection code 3EL,
– connection code 3GC.
between components 120 and 1460.
If the connection or connections are faulty and there is a repair method (see Technical Note 6015A, Repairing
electrical wiring, Wiring: Precautions for repair), repair the wiring, otherwise replace it.
AFTER REPAIRDeal with any faults.
Carry out a road test followed by another check with the diagnostic tool.
EDC16_V50_DF209/EDC16_V58_DF209/EDC16_V5C_DF209/EDC16_V18_DF209/EDC16_V1C_DF209/EDC16_V20_DF209
Page 116 of 365
13B-116
MR-372-J84-13B200$324.mif
V13
DIESEL INJECTION
Fault finding – Interpretation of faults
EDC16
Program No.: C1
Vdiag no.: 18, 1C, 20,
50, 58, 5C
13B
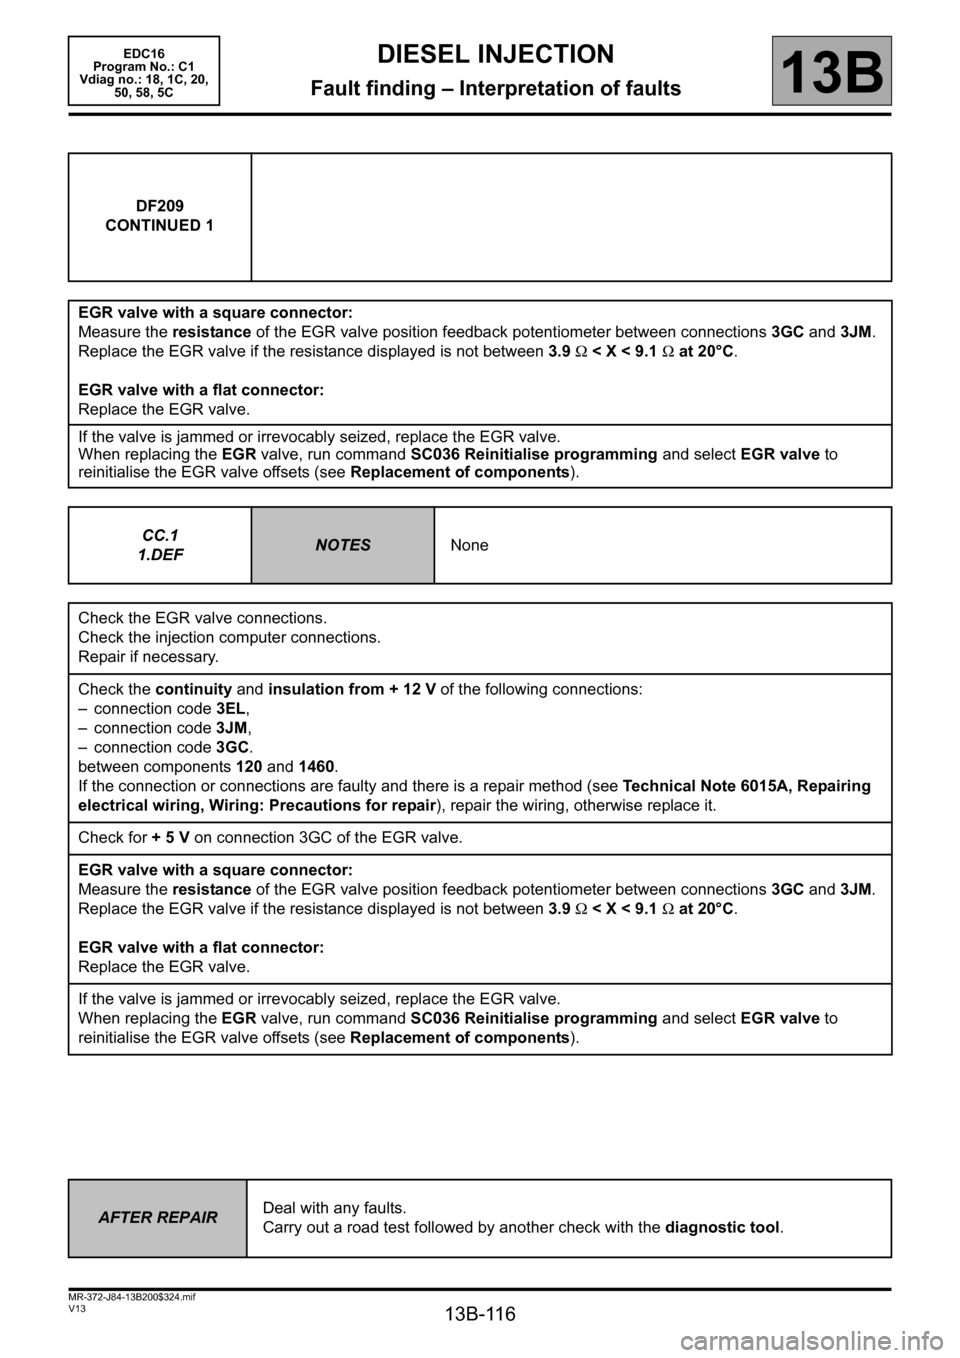
DF209
CONTINUED 1
EGR valve with a square connector:
Measure the resistance of the EGR valve position feedback potentiometer between connections 3GC and 3JM.
Replace the EGR valve if the resistance displayed is not between 3.9 Ω < X < 9.1 Ω at 20°C.
EGR valve with a flat connector:
Replace the EGR valve.
If the valve is jammed or irrevocably seized, replace the EGR valve.
When replacing the EGR valve, run command SC036 Reinitialise programming and select EGR valve to
reinitialise the EGR valve offsets (see Replacement of components).
CC.1
1.DEF
NOTESNone
Check the EGR valve connections.
Check the injection computer connections.
Repair if necessary.
Check the continuity and insulation from + 12 V of the following connections:
– connection code 3EL,
– connection code 3JM,
– connection code 3GC.
between components 120 and 1460.
If the connection or connections are faulty and there is a repair method (see Technical Note 6015A, Repairing
electrical wiring, Wiring: Precautions for repair), repair the wiring, otherwise replace it.
Check for + 5 V on connection 3GC of the EGR valve.
EGR valve with a square connector:
Measure the resistance of the EGR valve position feedback potentiometer between connections 3GC and 3JM.
Replace the EGR valve if the resistance displayed is not between 3.9 Ω < X < 9.1 Ω at 20°C.
EGR valve with a flat connector:
Replace the EGR valve.
If the valve is jammed or irrevocably seized, replace the EGR valve.
When replacing the EGR valve, run command SC036 Reinitialise programming and select EGR valve to
reinitialise the EGR valve offsets (see Replacement of components).
AFTER REPAIRDeal with any faults.
Carry out a road test followed by another check with the diagnostic tool.
Page 117 of 365

13B-117
MR-372-J84-13B200$324.mif
V13
DIESEL INJECTION
Fault finding – Interpretation of faults
EDC16
Program No.: C1
Vdiag no.: 18, 1C, 20,
50, 58, 5C
13B
DF209
CONTINUED 2
Check for + 5 V on connection 3GC of the EGR valve.
EGR valve with a square connector:
Measure the resistance of the EGR valve position feedback potentiometer between connections 3GC and 3JM.
Replace the EGR valve if the resistance displayed is not between 3.9 Ω < X < 9.1 Ω at 20°C.
EGR valve with a flat connector:
Replace the EGR valve.
If the valve is jammed or irrevocably seized, replace the EGR valve.
When replacing the EGR valve, run command SC036 Reinitialise programming and select EGR valve to
reinitialise the EGR valve offsets (see Replacement of components).
AFTER REPAIRDeal with any faults.
Carry out a road test followed by another check with the diagnostic tool.
Page 118 of 365
13B-118
MR-372-J84-13B200$324.mif
V13
DIESEL INJECTION
Fault finding – Interpretation of faults
EDC16
Program No.: C1
Vdiag no.: 18, 1C, 20,
50, 58, 5C
13B
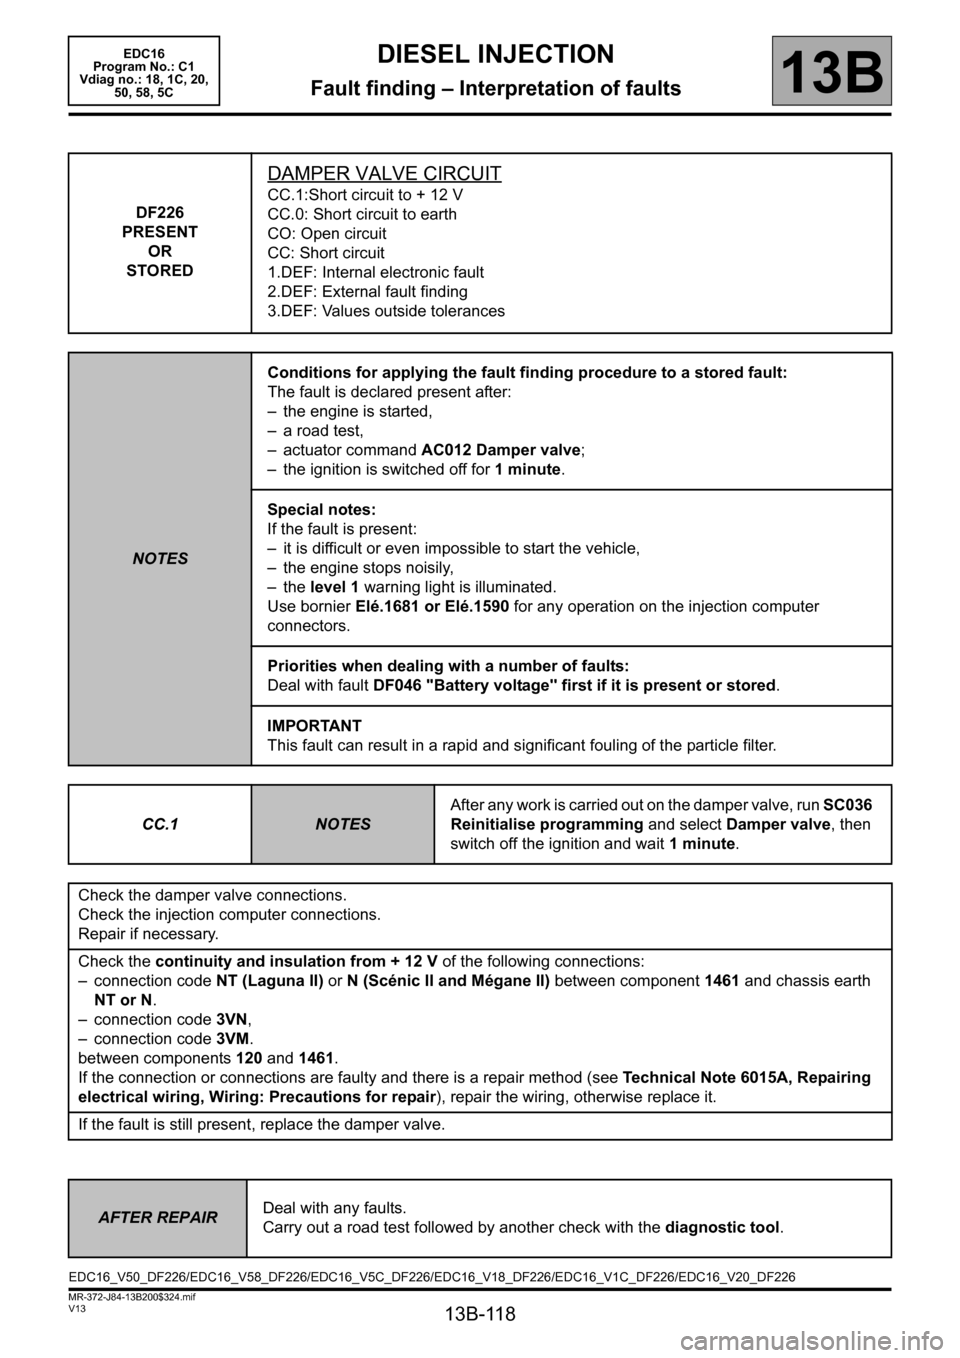
DF226
PRESENT
OR
STORED
DAMPER VALVE CIRCUIT
CC.1:Short circuit to + 12 V
CC.0: Short circuit to earth
CO: Open circuit
CC: Short circuit
1.DEF: Internal electronic fault
2.DEF: External fault finding
3.DEF: Values outside tolerances
NOTESConditions for applying the fault finding procedure to a stored fault:
The fault is declared present after:
– the engine is started,
– a road test,
– actuator command AC012 Damper valve;
– the ignition is switched off for 1 minute.
Special notes:
If the fault is present:
– it is difficult or even impossible to start the vehicle,
– the engine stops noisily,
– the level 1 warning light is illuminated.
Use bornier Elé.1681 or Elé.1590 for any operation on the injection computer
connectors.
Priorities when dealing with a number of faults:
Deal with fault DF046 "Battery voltage" first if it is present or stored.
IMPORTANT
This fault can result in a rapid and significant fouling of the particle filter.
CC.1
NOTESAfter any work is carried out on the damper valve, run SC036
Reinitialise programming and select Damper valve, then
switch off the ignition and wait 1 minute.
Check the damper valve connections.
Check the injection computer connections.
Repair if necessary.
Check the continuity and insulation from + 12 V of the following connections:
– connection code NT (Laguna II) or N (Scénic II and Mégane II) between component 1461 and chassis earth
NT or N.
– connection code 3VN,
– connection code 3VM.
between components 120 and 1461.
If the connection or connections are faulty and there is a repair method (see Technical Note 6015A, Repairing
electrical wiring, Wiring: Precautions for repair), repair the wiring, otherwise replace it.
If the fault is still present, replace the damper valve.
AFTER REPAIRDeal with any faults.
Carry out a road test followed by another check with the diagnostic tool.
EDC16_V50_DF226/EDC16_V58_DF226/EDC16_V5C_DF226/EDC16_V18_DF226/EDC16_V1C_DF226/EDC16_V20_DF226