display RENAULT SCENIC 2011 J95 / 3.G Engine And Peripherals EDC16C36 Owner's Guide
[x] Cancel search | Manufacturer: RENAULT, Model Year: 2011, Model line: SCENIC, Model: RENAULT SCENIC 2011 J95 / 3.GPages: 431, PDF Size: 2.03 MB
Page 383 of 431

13B-383
AFTER REPAIRCarry out a road test followed by a complete check with the diagnostic tool.
V9 MR-372-J84-13B450$190.mif
DIESEL INJECTION
Fault finding – Fault Finding Chart13B
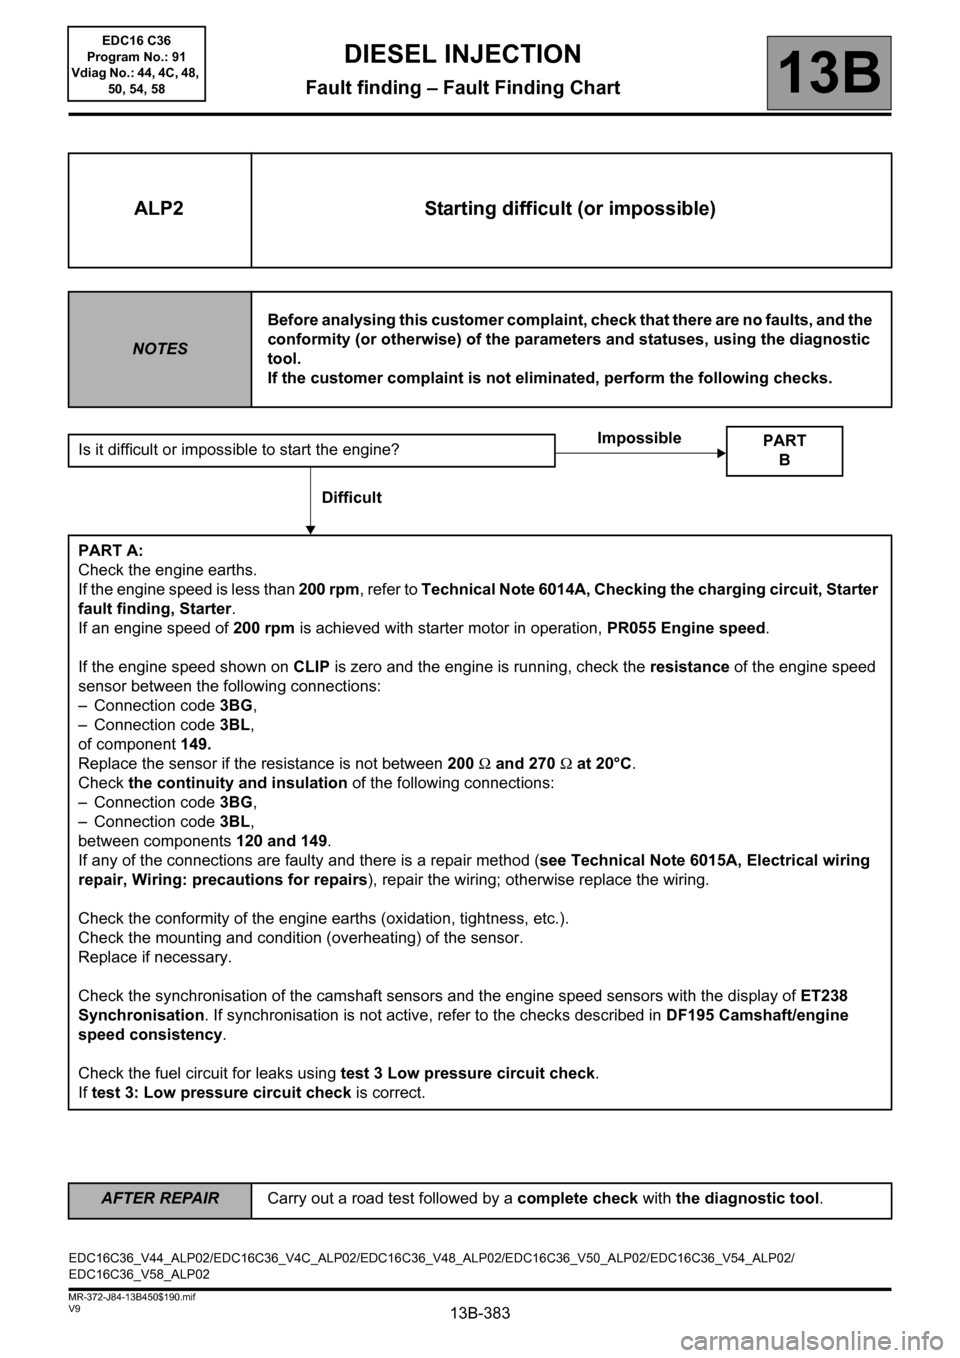
ALP2 Starting difficult (or impossible)
NOTESBefore analysing this customer complaint, check that there are no faults, and the
conformity (or otherwise) of the parameters and statuses, using the diagnostic
tool.
If the customer complaint is not eliminated, perform the following checks.
Is it difficult or impossible to start the engine?
PART A:
Check the engine earths.
If the engine speed is less than 200 rpm, refer to Technical Note 6014A, Checking the charging circuit, Starter
fault finding, Starter.
If an engine speed of 200 rpm is achieved with starter motor in operation, PR055 Engine speed.
If the engine speed shown on CLIP is zero and the engine is running, check the resistance of the engine speed
sensor between the following connections:
– Connection code 3BG,
– Connection code 3BL,
of component 149.
Replace the sensor if the resistance is not between 200 Ω and 270 Ω at 20°C.
Check the continuity and insulation of the following connections:
– Connection code 3BG,
– Connection code 3BL,
between components 120 and 149.
If any of the connections are faulty and there is a repair method (see Technical Note 6015A, Electrical wiring
repair, Wiring: precautions for repairs), repair the wiring; otherwise replace the wiring.
Check the conformity of the engine earths (oxidation, tightness, etc.).
Check the mounting and condition (overheating) of the sensor.
Replace if necessary.
Check the synchronisation of the camshaft sensors and the engine speed sensors with the display of ET238
Synchronisation. If synchronisation is not active, refer to the checks described in DF195 Camshaft/engine
speed consistency.
Check the fuel circuit for leaks using test 3 Low pressure circuit check.
If test 3: Low pressure circuit check is correct.
PART
B
Impossible
Difficult
EDC16C36_V44_ALP02/EDC16C36_V4C_ALP02/EDC16C36_V48_ALP02/EDC16C36_V50_ALP02/EDC16C36_V54_ALP02/
EDC16C36_V58_ALP02EDC16 C36
Program No.: 91
Vdiag No.: 44, 4C, 48,
50, 54, 58
Page 423 of 431

13B-423V9 MR-372-J84-13B450$200.mif
DIESEL INJECTION
Fault finding – Tests13B
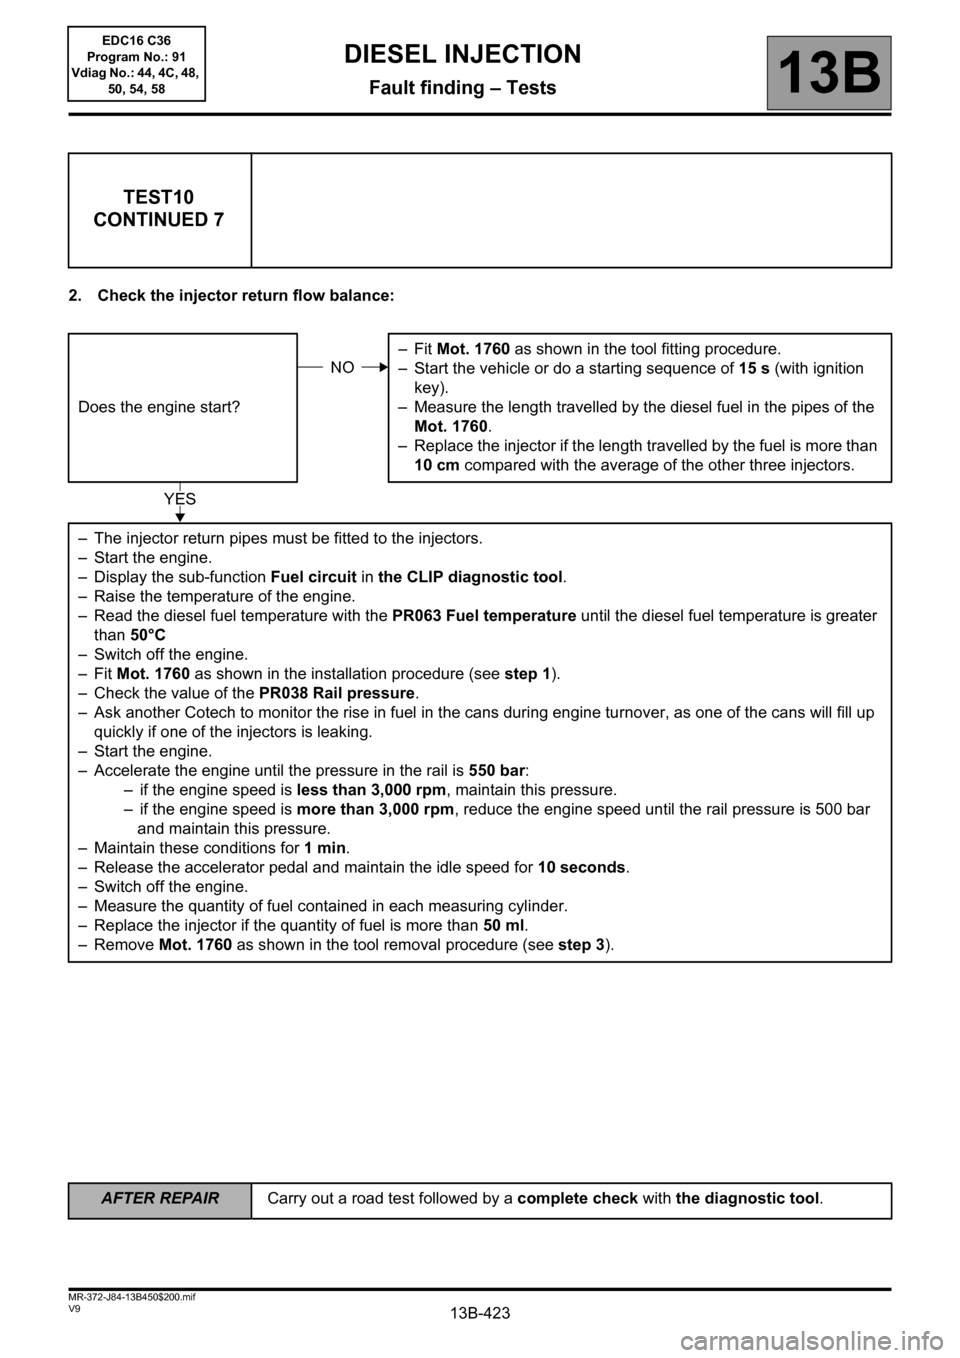
2. Check the injector return flow balance:
TEST10
CONTINUED 7
Does the engine start?–Fit Mot. 1760 as shown in the tool fitting procedure.
– Start the vehicle or do a starting sequence of 15 s (with ignition
key).
– Measure the length travelled by the diesel fuel in the pipes of the
Mot. 1760.
– Replace the injector if the length travelled by the fuel is more than
10 cm compared with the average of the other three injectors.
– The injector return pipes must be fitted to the injectors.
– Start the engine.
– Display the sub-function Fuel circuit in the CLIP diagnostic tool.
– Raise the temperature of the engine.
– Read the diesel fuel temperature with the PR063 Fuel temperature until the diesel fuel temperature is greater
than 50°C
– Switch off the engine.
–Fit Mot. 1760 as shown in the installation procedure (see step 1).
– Check the value of the PR038 Rail pressure.
– Ask another Cotech to monitor the rise in fuel in the cans during engine turnover, as one of the cans will fill up
quickly if one of the injectors is leaking.
– Start the engine.
– Accelerate the engine until the pressure in the rail is 550 bar:
– if the engine speed is less than 3,000 rpm, maintain this pressure.
– if the engine speed is more than 3,000 rpm, reduce the engine speed until the rail pressure is 500 bar
and maintain this pressure.
– Maintain these conditions for 1min.
– Release the accelerator pedal and maintain the idle speed for 10 seconds.
– Switch off the engine.
– Measure the quantity of fuel contained in each measuring cylinder.
– Replace the injector if the quantity of fuel is more than 50 ml.
– Remove Mot. 1760 as shown in the tool removal procedure (see step 3).
NO
YES
AFTER REPAIRCarry out a road test followed by a complete check with the diagnostic tool.
EDC16 C36
Program No.: 91
Vdiag No.: 44, 4C, 48,
50, 54, 58