tow RENAULT TWINGO 2009 2.G Chasiss Repair Manual
[x] Cancel search | Manufacturer: RENAULT, Model Year: 2009, Model line: TWINGO, Model: RENAULT TWINGO 2009 2.GPages: 281
Page 242 of 281

37A-63
MECHANICAL COMPONENT CONTROLS
Clutch circuit: Removal - Refitting
JH3
37A
REMOVAL
I - REMOVAL PREPARATION OPERATION
aPosition the vehicle on a two-post lift (see Vehicle:
Towing and lifting) (MR 411, 02A, Lifting equip-
ment).
aRemove:
-the front wheel on the driver's side (see 35A,
Wheels and tyres, Wheel: Removal - Refitting,
page 35A-1) ,
-the front wheel arch liner on the driver's side (see
Front wheel arch liner: Removal - Refitting) (MR
412, 55A, Exterior protection),
-the battery (see Battery: Removal - Refitting)
(MR 411, 80A, Battery),
-the battery tray (see Battery tray: Removal - Re-
fitting) (MR 411, 80A, Battery).
aEmpty the brake fluid reservoir with a syringe.
II - OPERATION FOR REMOVAL OF PART
CONCERNED
aPress and hold the clip (1) .
aPull out the hydraulic clutch control pipe by one
notch.aPress and hold the clip (1) again.
aPull the hydraulic clutch control pipe out another
notch and collect the fluid in a container.
aDepress the clutch pedal to empty the hydraulic
clutch control circuit.
aDetach the pipe at (2) and (3) .
121354
WARNING
Prepare for the flow of fluid, and protect the sur-
rounding components.
121118
121114
Page 246 of 281
37A-67
MECHANICAL COMPONENT CONTROLS
Gear control unit: Removal - Refitting
JH3 or JR5
37A
REMOVAL
I - REMOVAL PREPARATION OPERATION
aPosition the vehicle on a two-post lift (see Vehicle:
Towing and lifting) (02A, Lifting equipment).
aRemove the centre console (see Centre console:
Removal - Refitting) (57A, Interior equipment).
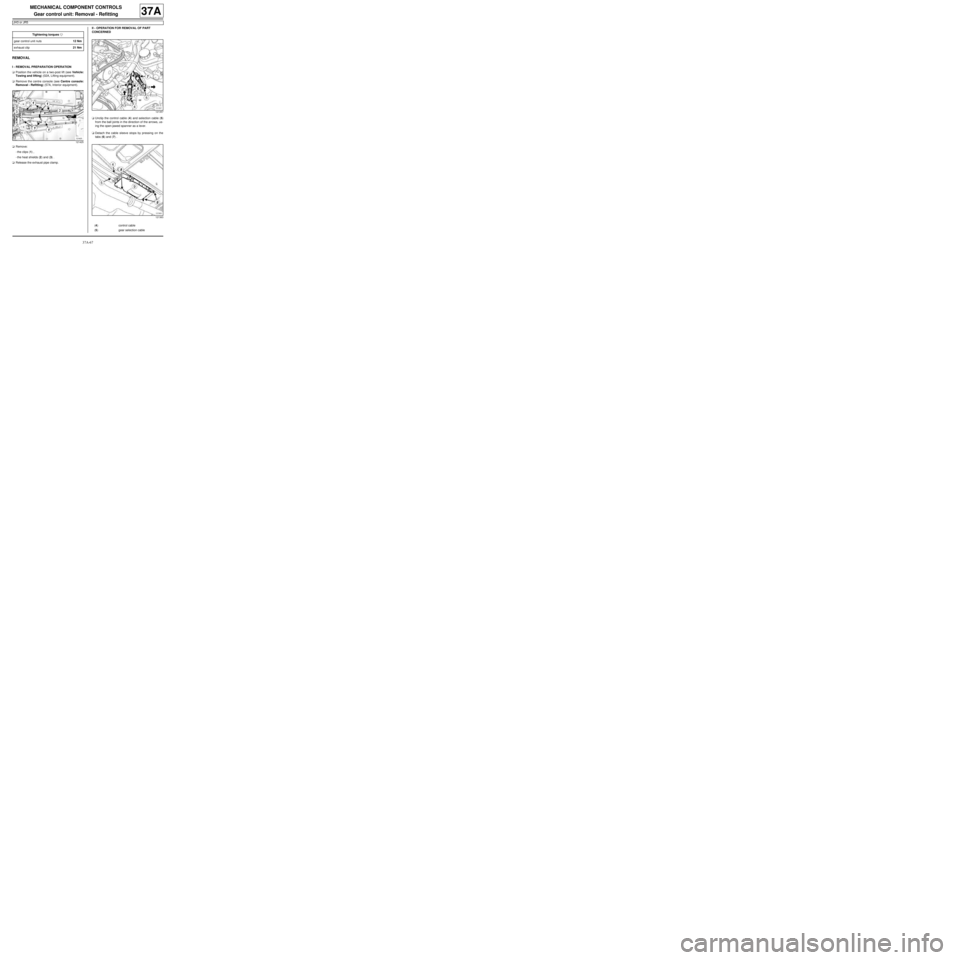
aRemove:
-the clips (1) ,
-the heat shields (2) and (3) .
aRelease the exhaust pipe clamp.II - OPERATION FOR REMOVAL OF PART
CONCERNED
aUnclip the control cable (4) and selection cable (5)
from the ball joints in the direction of the arrows, us-
ing the open-jawed spanner as a lever.
aDetach the cable sleeve stops by pressing on the
tabs (6) and (7) . Tightening torquesm
gear control unit nuts12 Nm
exhaust clip21 Nm
121425
121357
121363
(4) control cable
(5) gear selection cable
Page 248 of 281
37A-69
MECHANICAL COMPONENT CONTROLS
Gear control unit: Removal - Refitting
JB1
37A
REMOVAL
I - REMOVAL PREPARATION OPERATION
aPosition the vehicle on a two-post lift (see Vehicle:
Towing and lifting) (MR 411, 02A, Lifting equip-
ment).
aRemove:
-the centre console (see Centre console: Removal
- Refitting) (MR 412, 57A, Interior equipment),
-the catalytic converter (see Catalytic converter:
Removal - Refitting) (MR 411, 19B, Exhaust).
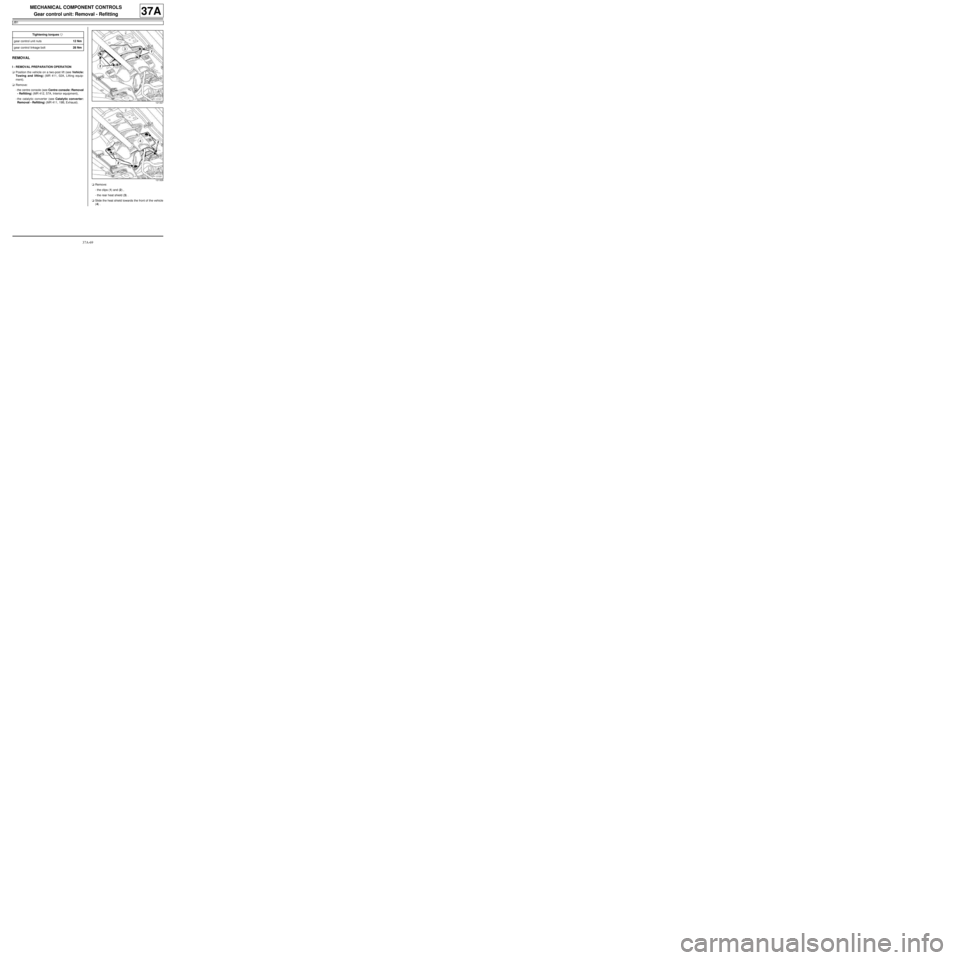
aRemove:
-the clips (1) and (2) ,
-the rear heat shield (3) .
aSlide the heat shield towards the front of the vehicle
(4) . Tightening torquesm
gear control unit nuts12 Nm
gear control linkage bolt28 Nm
121327
121328
Page 250 of 281
37A-71
MECHANICAL COMPONENT CONTROLS
Gear control unit: Adjustment
JB1
37A
ADJUSTMENT
I - ADJUSTMENT PREPARATION STAGE
aPosition the vehicle on a two-post lift (see Vehicle:
Towing and lifting) (MR 411, 02A, Lifting equip-
ment).
aEngage first gear.
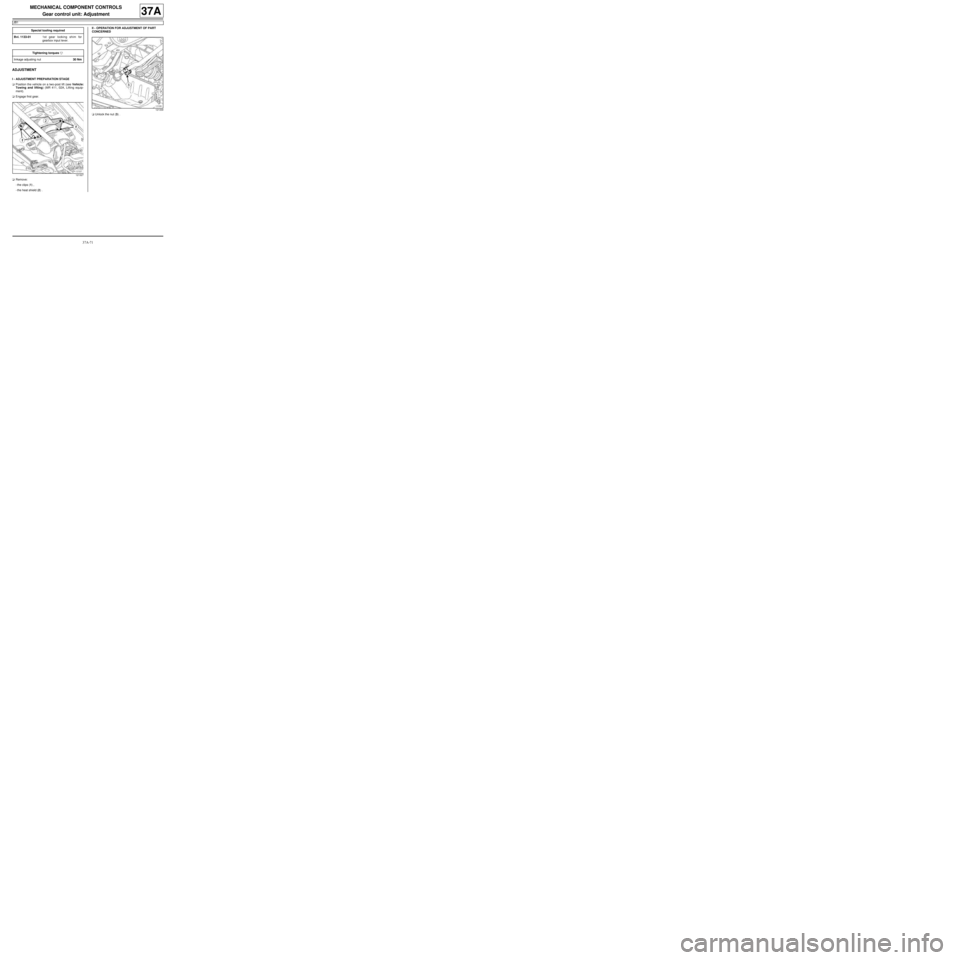
aRemove:
-the clips (1) ,
-the heat shield (2) .II - OPERATION FOR ADJUSTMENT OF PART
CONCERNED
aUnlock the nut (3) . Special tooling required
Bvi. 1133-011st gear locking shim for
gearbox input lever.
Tightening torquesm
linkage adjusting nut30 Nm
121327
121339
Page 253 of 281

37A-74
MECHANICAL COMPONENT CONTROLS
Parking brake cables: Removal - Refitting
EQ UIPMENT LEVEL EA0 or EQUIPMENT LEVEL EA1 or EQUIPMENT LEVEL EA3 or EQUIPMENT LEVEL EA5
or EQUIPMENT LEVEL EAG or EQUIPMENT LEVEL EZ2 or EQUIPMENT LEVEL EZ4
37A
REMOVAL
I - REMOVAL PREPARATION OPERATION
aFit:
-the vehicle on a two-post lift (see Vehicle: Towing
and lifting) (02A, Lifting equipment),
-the parking brake lever in the released position.
aRemove:
-the rear wheels (see 35A, Wheels and tyres,
Wheel: Removal - Refitting, page 35A-1) ,
-the rear brake drums (see 33A, Rear axle compo-
nents, Rear brake drum: Removal - Refitting,
page 33A-19) .
aRemoval:
-the clips (1) ,
-the heat shield (2) .II - OPERATION FOR REMOVAL OF PART
CONCERNED
aLoosen nut (3) .
aUnclip the left-hand (5) and right-hand (6) parking
brake cable sleeve stops.
121325
121334
121334
Page 255 of 281
37A-76
MECHANICAL COMPONENT CONTROLS
Parking brake cables: Removal - Refitting
EQ UIPMENT LEVEL SPORT
37A
REMOVAL
I - REMOVAL PREPARATION OPERATION
aFit:
-the vehicle on a two-post lift (see Vehicle: Towing
and lifting) (02A, Lifting equipment),
-the parking brake lever in the released position.
aRemove the rear wheels (see 35A, Wheels and ty-
res, Wheel: Removal - Refitting, page 35A-1) .
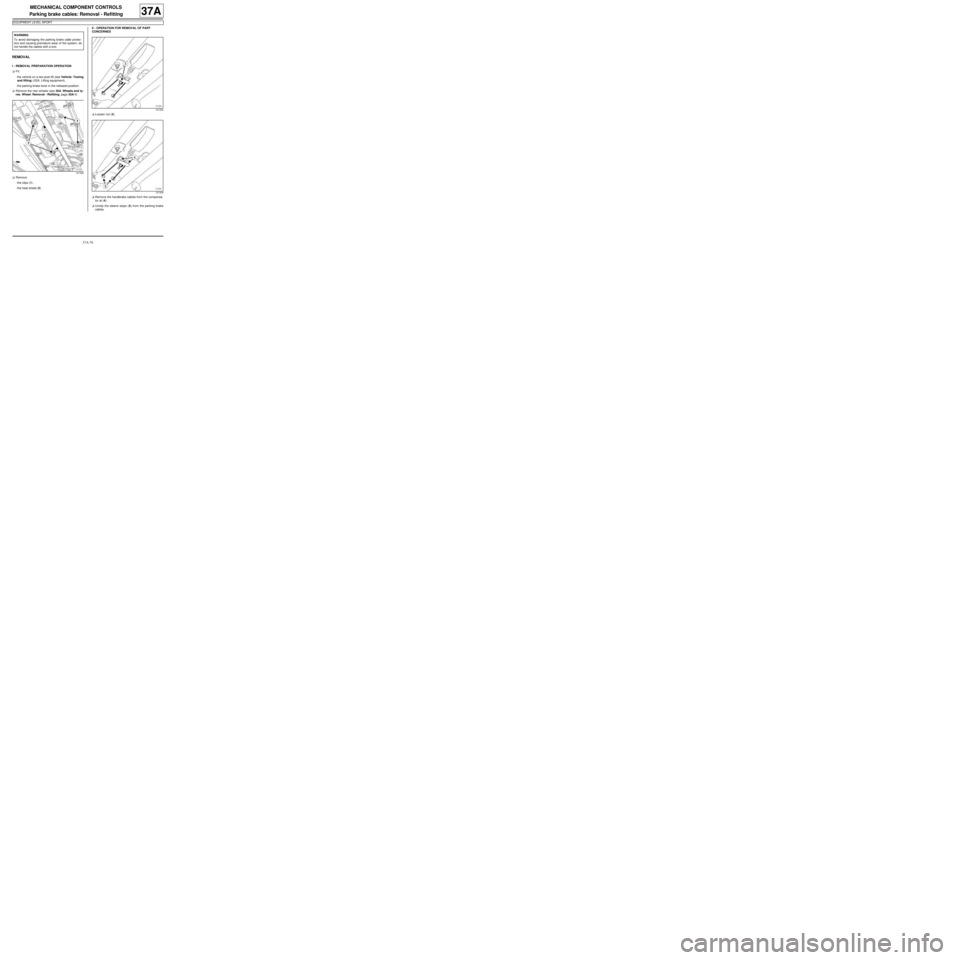
aRemove:
-the clips (1) ,
-the heat shield (2) .II - OPERATION FOR REMOVAL OF PART
CONCERNED
aLoosen nut (3) .
aRemove the handbrake cables from the compensa-
tor at (4) .
aUnclip the sleeve stops (5) from the parking brake
cables. WARNING
To avoid damaging the parking brake cable protec-
tors and causing premature wear of the system, do
not handle the cables with a tool.
121326
121334
121334
Page 257 of 281
37A-78
MECHANICAL COMPONENT CONTROLS
Brake servo: Check
RIGHT-HAND DRIVE
37A
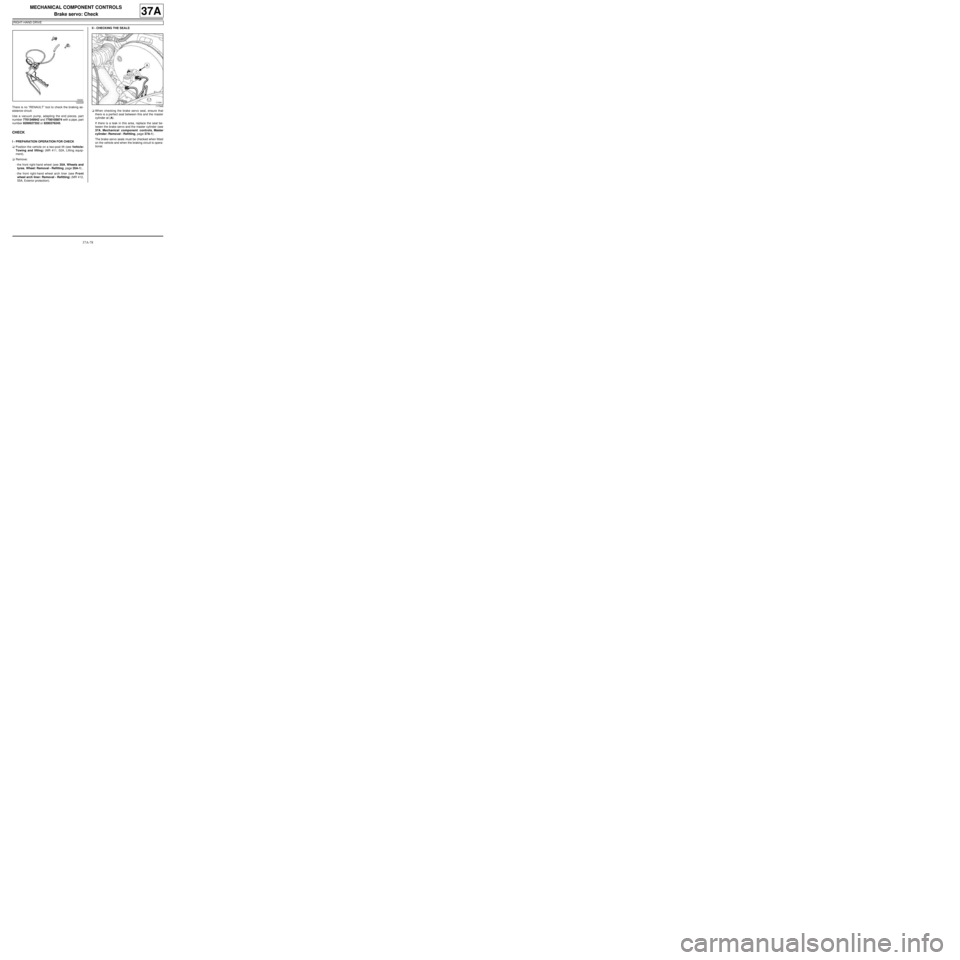
There is no “RENAULT” tool to check the braking as-
sistance circuit.
Use a vacuum pump, adapting the end pieces, part
number 7701349942 and 7700105874 with a pipe, part
number 8200027352 or 8200376245.
CHECK
I - PREPARATION OPERATION FOR CHECK
aPosition the vehicle on a two-post lift (see Vehicle:
Towing and lifting) (MR 411, 02A, Lifting equip-
ment).
aRemove:
-the front right-hand wheel (see 35A, Wheels and
tyres, Wheel: Removal - Refitting, page 35A-1) ,
-the front right-hand wheel arch liner (see Front
wheel arch liner: Removal - Refitting) (MR 412,
55A, Exterior protection).II - CHECKING THE SEALS
aWhen checking the brake servo seal, ensure that
there is a perfect seal between this and the master
cylinder at (A) .
If there is a leak in this area, replace the seal be-
tween the brake servo and the master cylinder (see
37A, Mechanical component controls, Master
cylinder: Removal - Refitting, page 37A-1) .
The brake servo seals must be checked when fitted
on the vehicle and when the braking circuit is opera-
tional.
122228
117948
Page 261 of 281
38C-2
ANTI-LOCK BRAKING SYSTEM
Hydraulic brake unit: Removal - Refitting
K9K, and LEFT-HAND DRIVE
38C
REMOVAL
I - REMOVAL PREPARATION OPERATION
aPosition the vehicle on a two-post lift (see Vehicle:
Towing and lifting) (MR 411, 02A, Lifting equip-
ment).
aDisconnect the battery (see Battery: Removal - Re-
fitting) (MR 411, 80A, Battery).
aPosition the pedal press on the brake pedal to limit
the outflow of brake fluid.
aRemove:
-the front wheel on the passenger side (see 35A,
Wheels and tyres, Wheel: Removal - Refitting,
page 35A-1) ,
-the front wheel arch liner, on the passenger side
(see Front wheel arch liner: Removal - Refitting)
(MR 412, 55A, Exterior protection),
-the scuttle panel grille (see Scuttle panel grille:
Removal - Refitting) (MR 412, 56A, Exterior
equipment),
-the scoop under the scuttle panel grille (see Scoop
under the scuttle panel grille: Removal - Refit-
ting) (MR 412, 56A, Exterior equipment),
-the air filter box (see Air filter unit: Removal - Re-
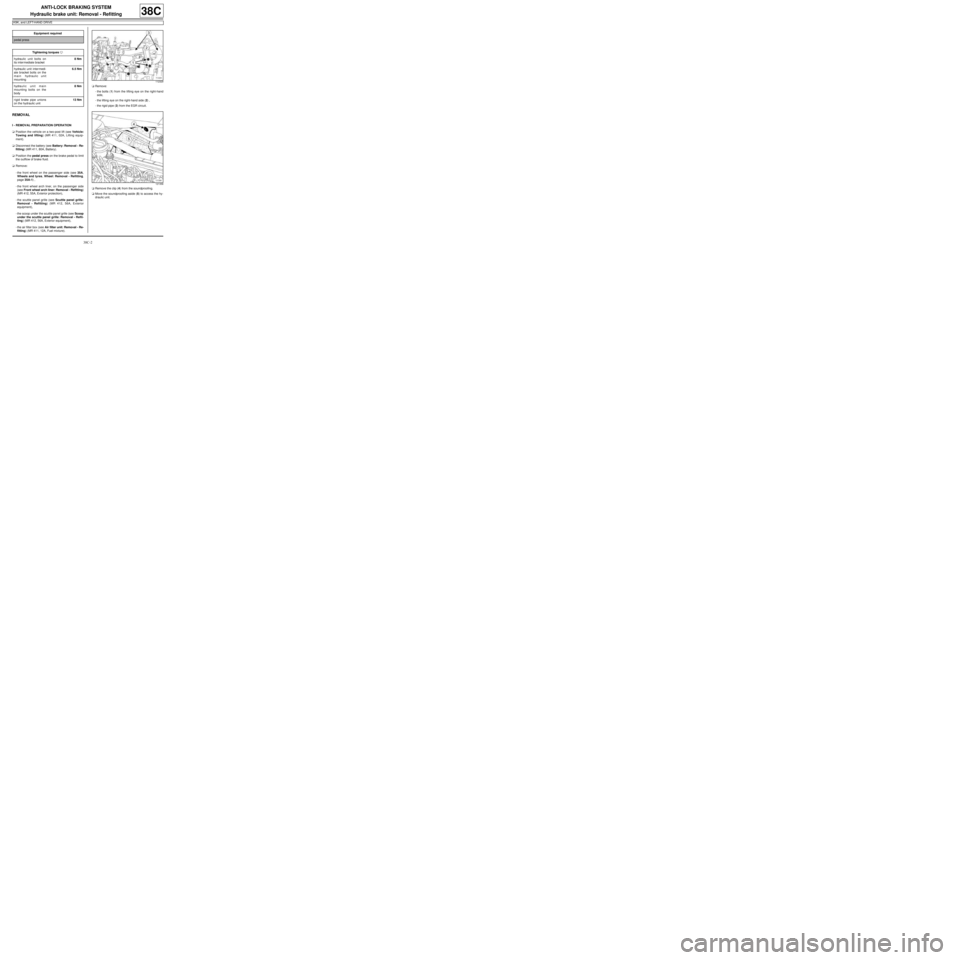
fitting) (MR 411, 12A, Fuel mixture).aRemove:
-the bolts (1) from the lifting eye on the right-hand
side,
-the lifting eye on the right-hand side (2) ,
-the rigid pipe (3) from the EGR circuit.
aRemove the clip (4) from the soundproofing.
aMove the soundproofing aside (5) to access the hy-
draulic unit. Equipment required
pedal press
Tightening torquesm
hydraulic unit bolts on
its inter mediate bracket8 Nm
hydraulic unit inter medi-
ate bracket bolts on the
main hydraulic unit
mounting6.5 Nm
hydraulic unit main
mounting bolts on the
body8 Nm
rigid brake pipe unions
on the hydraulic unit13 Nm
112329
121358
Page 264 of 281
38C-5
ANTI-LOCK BRAKING SYSTEM
Hydraulic brake unit: Removal - Refitting
D4F or D7F, and LEFT-HAND DRIVE
38C
REMOVAL
I - REMOVAL PREPARATION OPERATION
aPosition the vehicle on a two-post lift (see Vehicle:
Towing and lifting) (MR 411, 02A, Lifting equip-
ment).
aDisconnect the battery (see Battery: Removal - Re-
fitting) (MR 411, 80A, Battery).
aPosition the pedal press on the brake pedal to limit
the outflow of brake fluid.
aRemove:
-the front wheel on the passenger side (see 35A,
Wheels and tyres, Wheel: Removal - Refitting,
page 35A-1) ,
-the front wheel arch liner, on the passenger side
(see Front wheel arch liner: Removal - Refitting)
(MR 412, 55A, Exterior protection),
-the ignition coil (see Coils: Removal - Refitting)
(MR 411, 17A, Ignition),
-the fuel vapour recirculation circuit solenoid valve
(see Fuel vapour absorber: Removal - Refitting)
(MR 411, 14A, Emission control),
-the air filter box (see Air filter unit: Removal - Re-
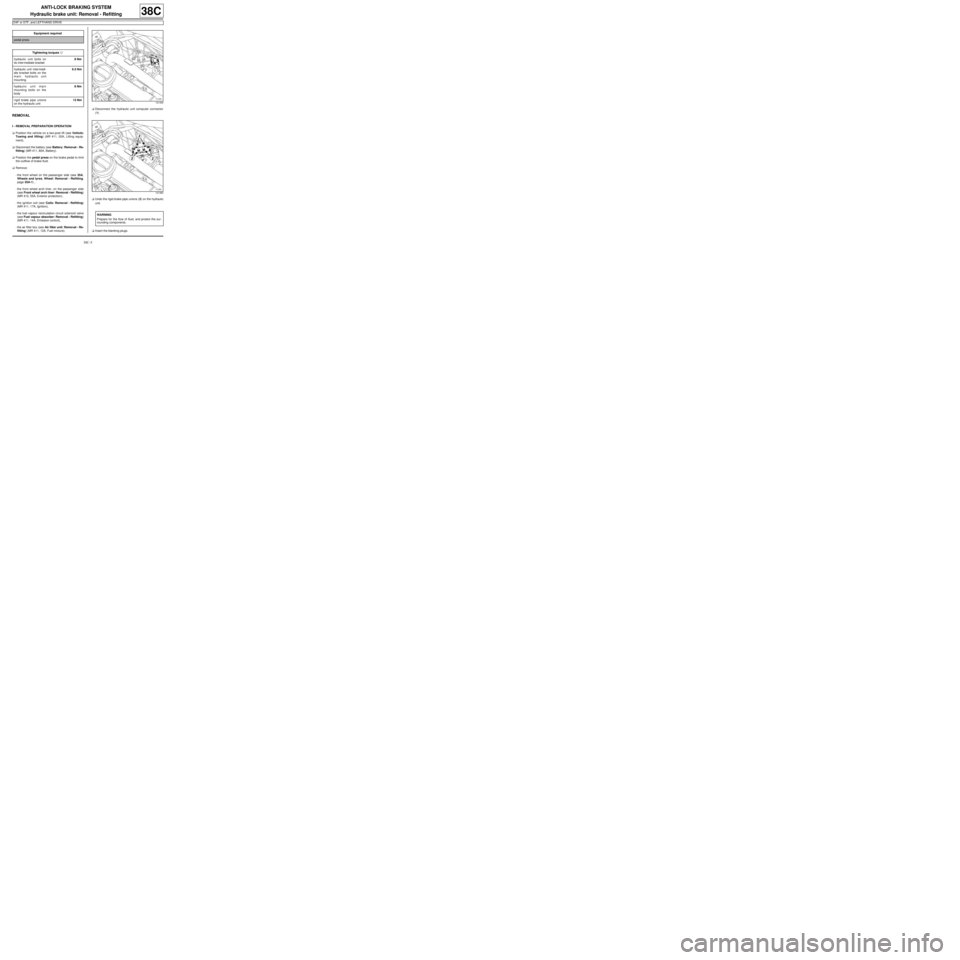
fitting) (MR 411, 12A, Fuel mixture).aDisconnect the hydraulic unit computer connector
(1) .
aUndo the rigid brake pipe unions (2) on the hydraulic
unit.
aInsert the blanking plugs. Equipment required
pedal press
Tightening torquesm
hydraulic unit bolts on
its inter mediate bracket8 Nm
hydraulic unit inter medi-
ate bracket bolts on the
main hydraulic unit
mounting6.5 Nm
hydraulic unit main
mounting bolts on the
body8 Nm
rigid brake pipe unions
on the hydraulic unit13 Nm
121359
121360
WARNING
Prepare for the flow of fluid, and protect the sur-
rounding components.
Page 267 of 281
38C-8
ANTI-LOCK BRAKING SYSTEM
Hydraulic brake unit: Removal - Refitting
D4F, and 780, and LEFT-HAND DRIVE – K4M, and LEFT-HAND DRIVE
38C
REMOVAL
I - REMOVAL PREPARATION OPERATION
aPosition the vehicle on a two-post lift (see Vehicle:
Towing and lifting) (02A, Lifting equipment).
aDisconnect the battery (see Battery: Removal - Re-
fitting) (80A, Battery).
aPosition the pedal press on the brake pedal to limit
the outflow of brake fluid.
aRemove:
-the passenger side front wheel (see 35A, Wheels
and tyres, Wheel: Removal - Refitting, page
35A-1) ,
-the front wheel arch liner (see Front wheel arch
liner: Removal - Refitting) (55A, Exterior protec-
tion).
aRemove the air filter housing (see Air filter unit: Re-
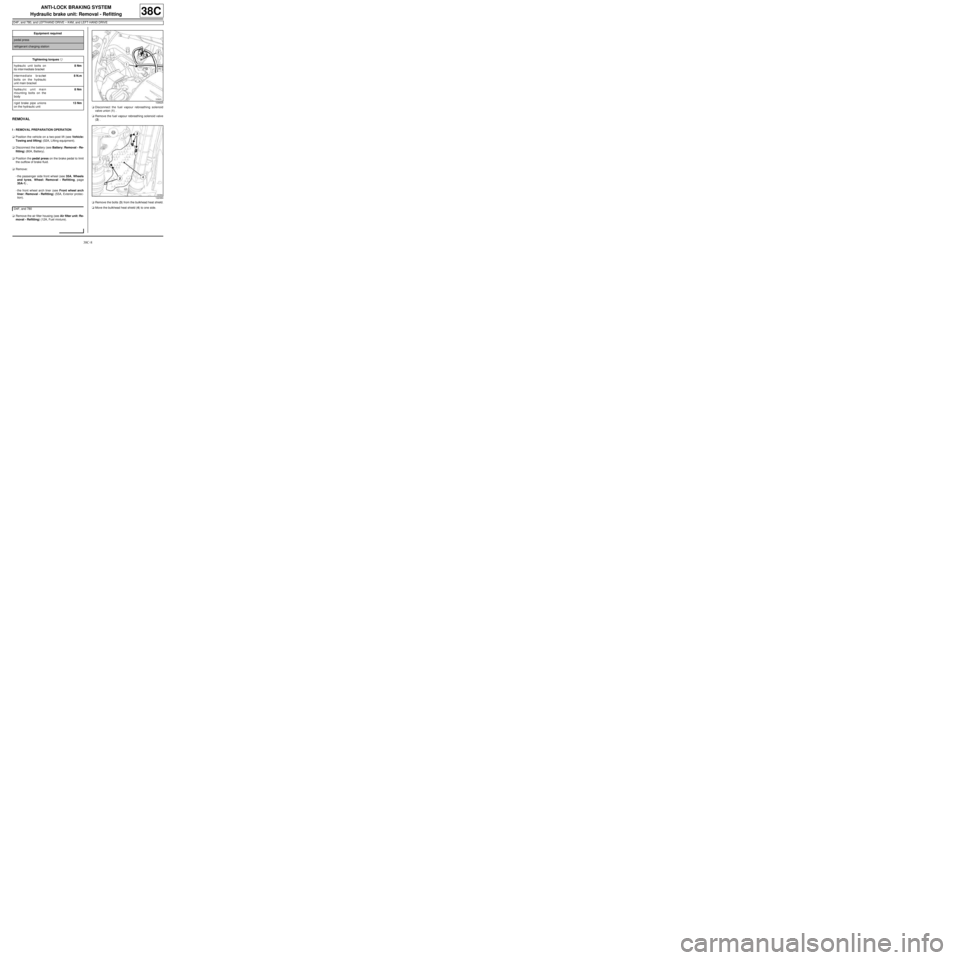
moval - Refitting) (12A, Fuel mixture).aDisconnect the fuel vapour rebreathing solenoid
valve union (1) .
aRemove the fuel vapour rebreathing solenoid valve
(2) .
aRemove the bolts (3) from the bulkhead heat shield.
aMove the bulkhead heat shield (4) to one side. Equipment required
pedal press
refrigerant charging station
Tightening torquesm
hydraulic unit bolts on
its inter mediate bracket8 Nm
intermediate bracket
bolts on the hydraulic
unit main bracket8 N.m
hydraulic unit main
mounting bolts on the
body8 Nm
rigid brake pipe unions
on the hydraulic unit13 Nm
D4F, and 780
109625
122384