engine RENAULT TWINGO RS 2009 2.G Electrical Equipment User Guide
[x] Cancel search | Manufacturer: RENAULT, Model Year: 2009, Model line: TWINGO RS, Model: RENAULT TWINGO RS 2009 2.GPages: 241
Page 42 of 241
82A-2
ENGINE IMMOBILISER
Immobiliser system: List and location of components82A
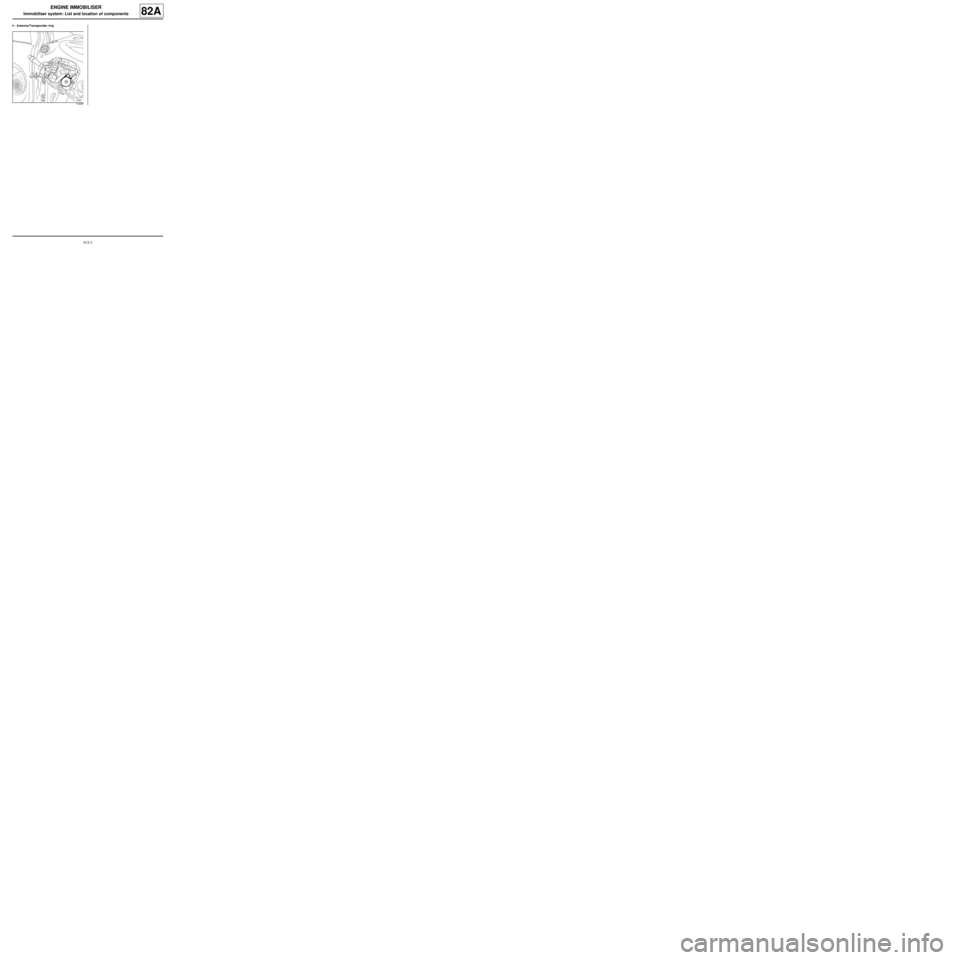
4 - Antenna/Transponder ring
119487
Page 43 of 241
82A-3
ENGINE IMMOBILISER
Ignition switch: Removal - Refitting
82A
REMOVAL
I - REMOVAL PREPARATION OPERATION
aSet the wheels straight ahead.
aLock the airbag computer using the Diagnostic tool
(see MR 413 Fault finding, 88C, Airbags and pre-
tensioners, Fault finding - Replacement of com-
ponents).
aDisconnect the battery (see 80A, Battery, Battery:
Removal - Refitting, page 80A-2) .
aRemove the rev counter (see 83A, Instrument pa-
nel, Rev counter: Removal - Refitting, page 83A-
3) .
aRemove:
-the driver's front airbag (see 88C, Air bag and Pre-
tensioners, Driver's frontal airbag: Removal -
Refitting, page 88C-6)
-the steering wheel ( (see Steering wheel: Remo-
val - Refitting) ),
-the steering column switch assembly (see 84A,
Control - Signals, Steering column switch as-
sembly: Removal - Refitting, page 84A-2) ,
-the antenna/transponder ring (see 82A, Engine
immobiliser, Transponder ring: Removal - Re-
fitting, page 82A-6) .II - OPERATION FOR REMOVAL OF PART
CONCERNED
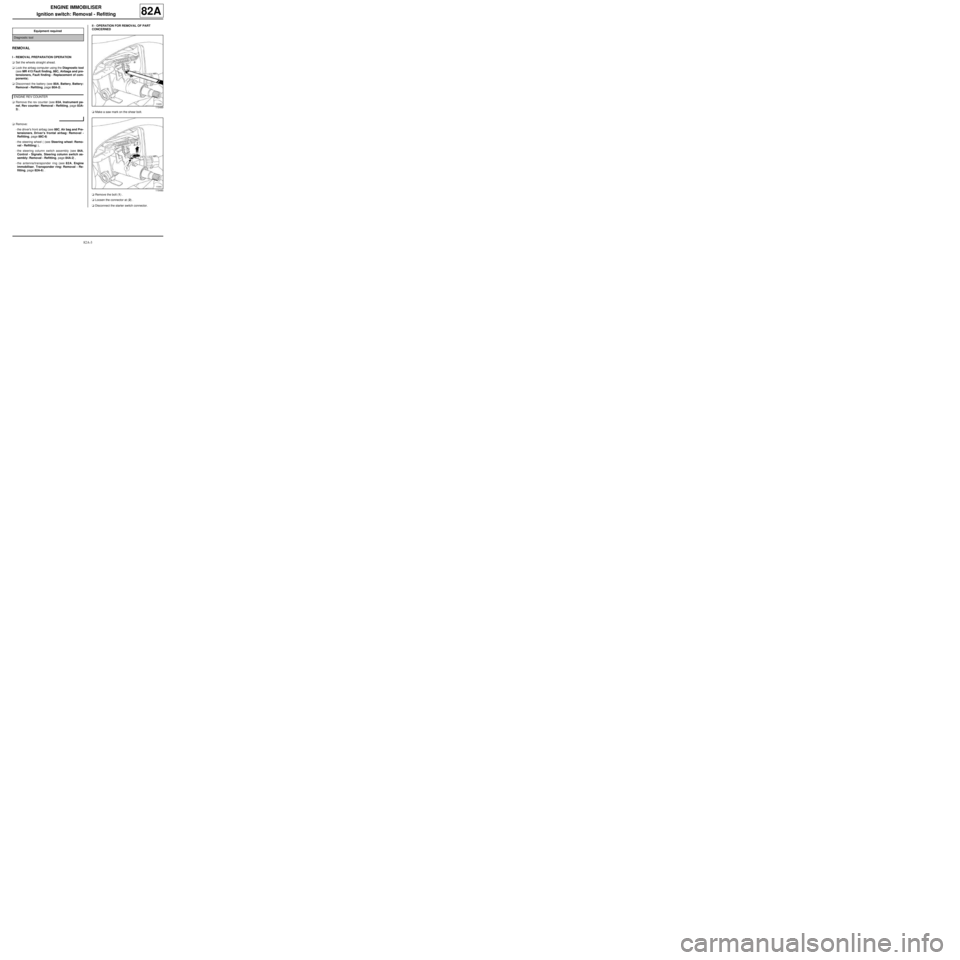
aMake a saw mark on the shear bolt.
aRemove the bolt (1) .
aLoosen the connector at (2) .
aDisconnect the starter switch connector. Equipment required
Diagnostic tool
ENGINE REV COUNTER
119489
119490
Page 44 of 241
82A-4
ENGINE IMMOBILISER
Ignition switch: Removal - Refitting
82A
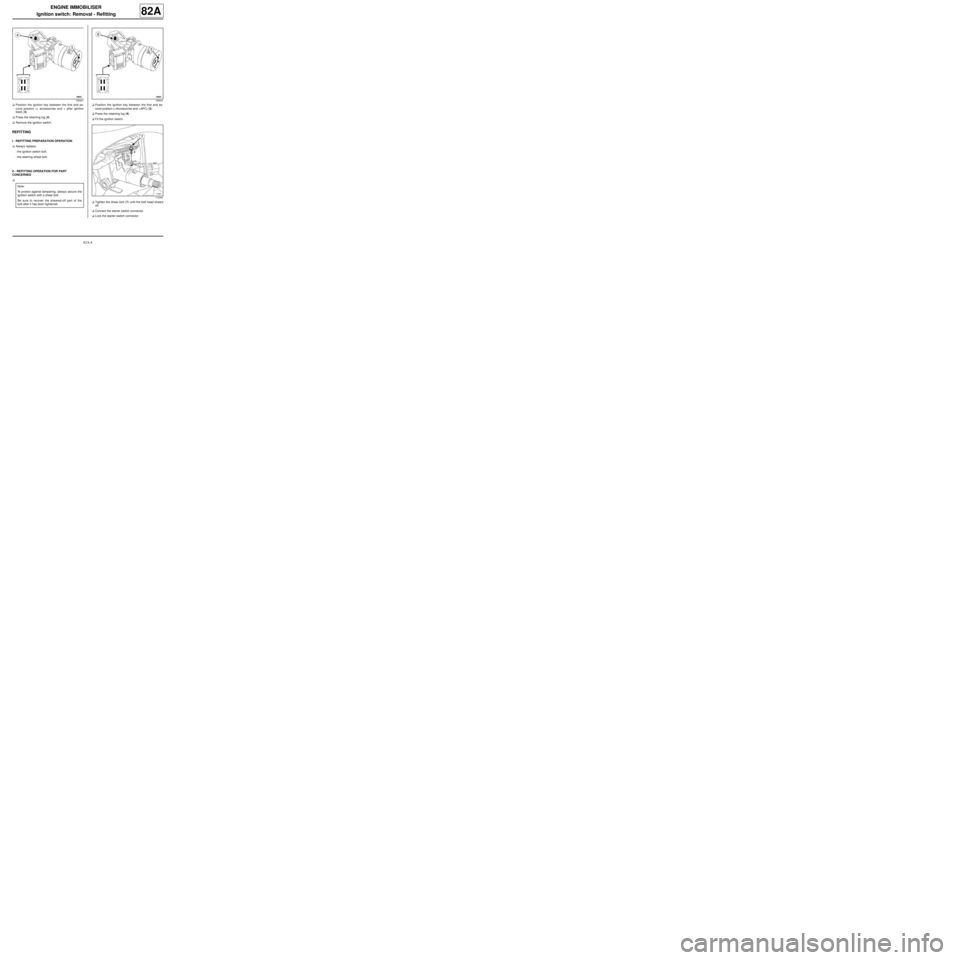
aPosition the ignition key between the first and se-
cond position (+ accessories and + after ignition
feed) (3) .
aPress the retaining lug (4) .
aRemove the ignition switch.
REFITTING
I - REFITTING PREPARATION OPERATION
aAlways replace:
-the ignition switch bolt,
-the steering wheel bolt.
II - REFITTING OPERATION FOR PART
CONCERNED
aaPosition the ignition key between the first and se-
cond position (+Accessories and +APC) (5) .
aPress the retaining lug (6) .
aFit the ignition switch.
aTighten the shear bolt (7) until the bolt head shears
off.
aConnect the starter switch connector.
aLock the starter switch connector.
108441
Note:
To protect against tampering, always secure the
ignition switch with a shear bolt.
Be sure to recover the sheared-off part of the
bolt after it has been tightened.
108441
119491
Page 45 of 241
82A-5
ENGINE IMMOBILISER
Ignition switch: Removal - Refitting
82A
III - FINAL OPERATION.
aRefit:
-the antenna/transponder ring (see 82A, Engine
immobiliser, Transponder ring: Removal - Re-
fitting, page 82A-6) ,
-the steering column switch assembly (see 84A,
Control - Signals, Steering column switch as-
sembly: Removal - Refitting, page 84A-2) ,
-the steering wheel ( (see Steering wheel: Remo-
val - Refitting) ),
-the driver's front airbag (see 88C, Air bag and Pre-
tensioners, Driver's frontal airbag: Removal -
Refitting, page 88C-6) .
aRefit the rev counter (see 83A, Instrument panel,
Rev counter: Removal - Refitting, page 83A-3) .
aConnect the battery (see 80A, Battery, Battery: Re-
moval - Refitting, page 80A-2) .
aUnlock the airbag computer using the Diagnostic
tool (see MR 413 Fault finding, 88C, Airbags and
pretensioners, Fault finding - Replacement of
components). ENGINE REV COUNTER
Page 46 of 241
82A-6
ENGINE IMMOBILISER
Transponder ring: Removal - Refitting
82A
REMOVAL
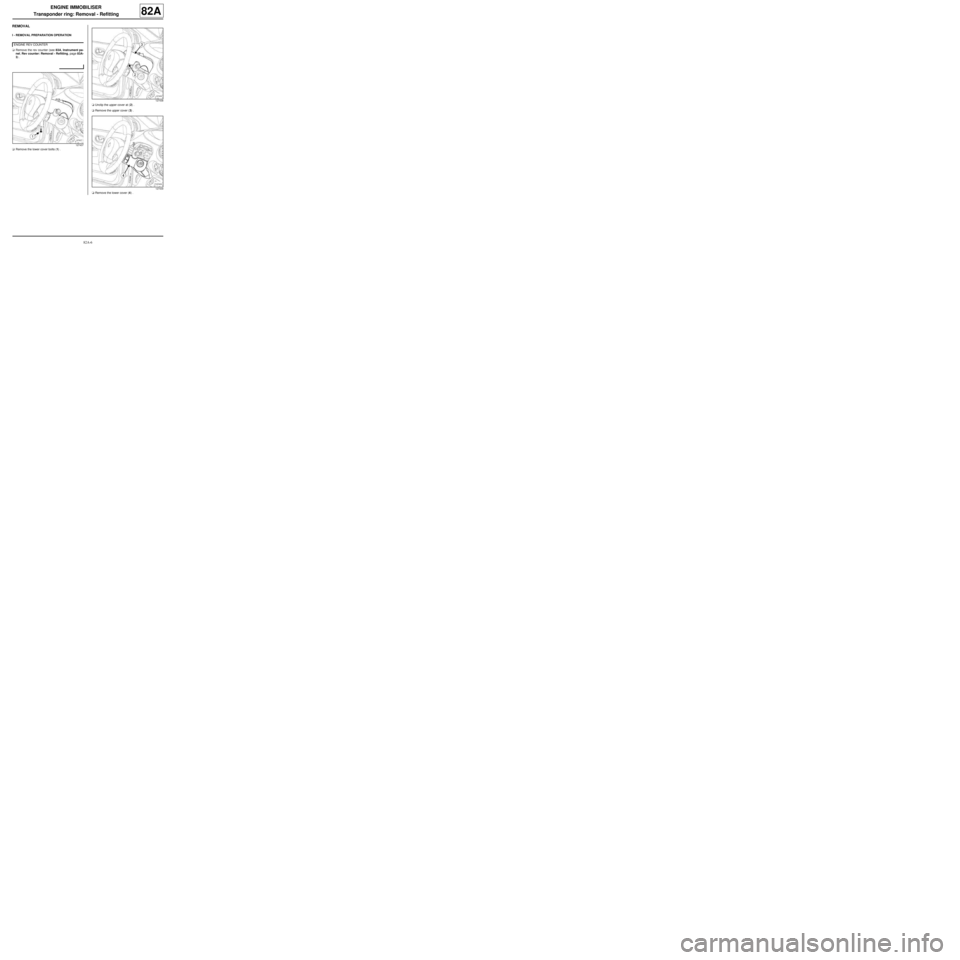
I - REMOVAL PREPARATION OPERATION
aRemove the rev counter (see 83A, Instrument pa-
nel, Rev counter: Removal - Refitting, page 83A-
3) .
aRemove the lower cover bolts (1) .aUnclip the upper cover at (2) .
aRemove the upper cover (3) .
aRemove the lower cover (4) . ENGINE REV COUNTER
127437
127438
127439
Page 47 of 241
82A-7
ENGINE IMMOBILISER
Transponder ring: Removal - Refitting
82A
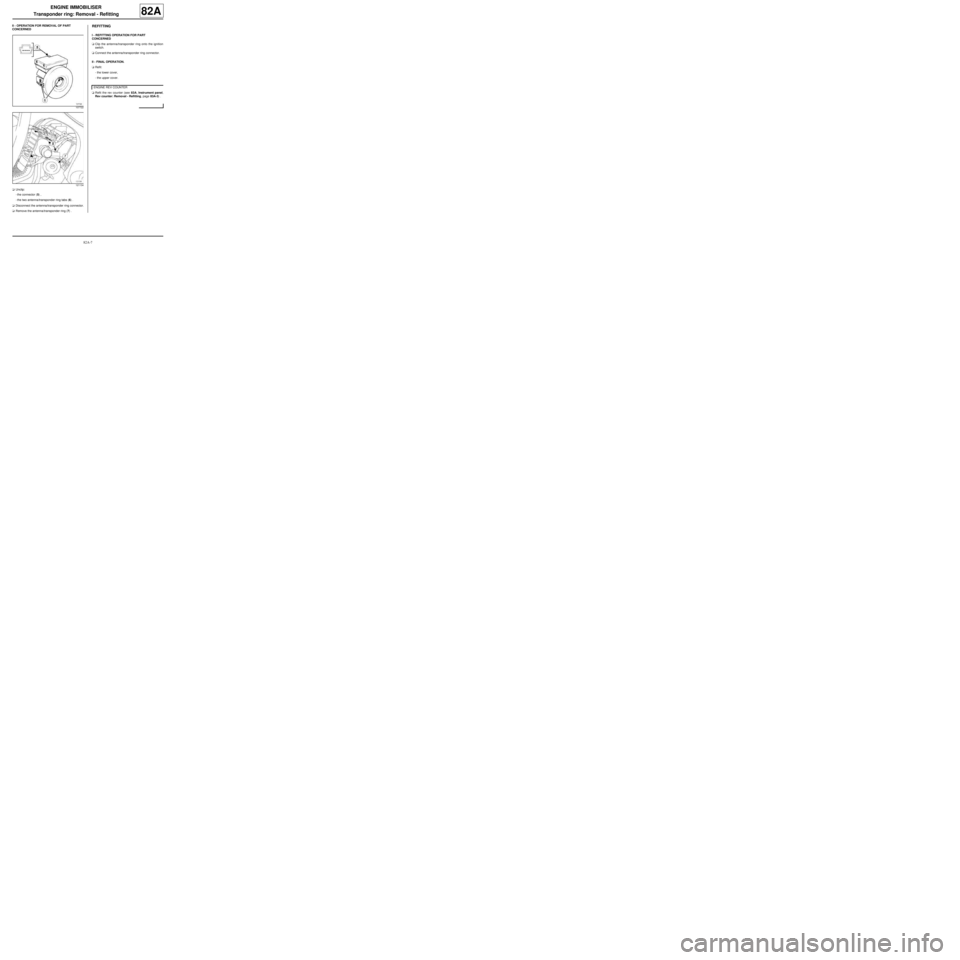
II - OPERATION FOR REMOVAL OF PART
CONCERNED
aUnclip:
-the connector (5) ,
-the two antenna/transponder ring tabs (6) .
aDisconnect the antenna/transponder ring connector.
aRemove the antenna/transponder ring (7) .REFITTING
I - REFITTING OPERATION FOR PART
CONCERNED
aClip the antenna/transponder ring onto the ignition
switch.
aConnect the antenna/transponder ring connector.
II - FINAL OPERATION.
aRefit:
-the lower cover,
-the upper cover.
aRefit the rev counter (see 83A, Instrument panel,
Rev counter: Removal - Refitting, page 83A-3) .
107722
121134
ENGINE REV COUNTER
Page 48 of 241
82A-8
ENGINE IMMOBILISER
Battery for remote door locking control: Removal - Refitting82A
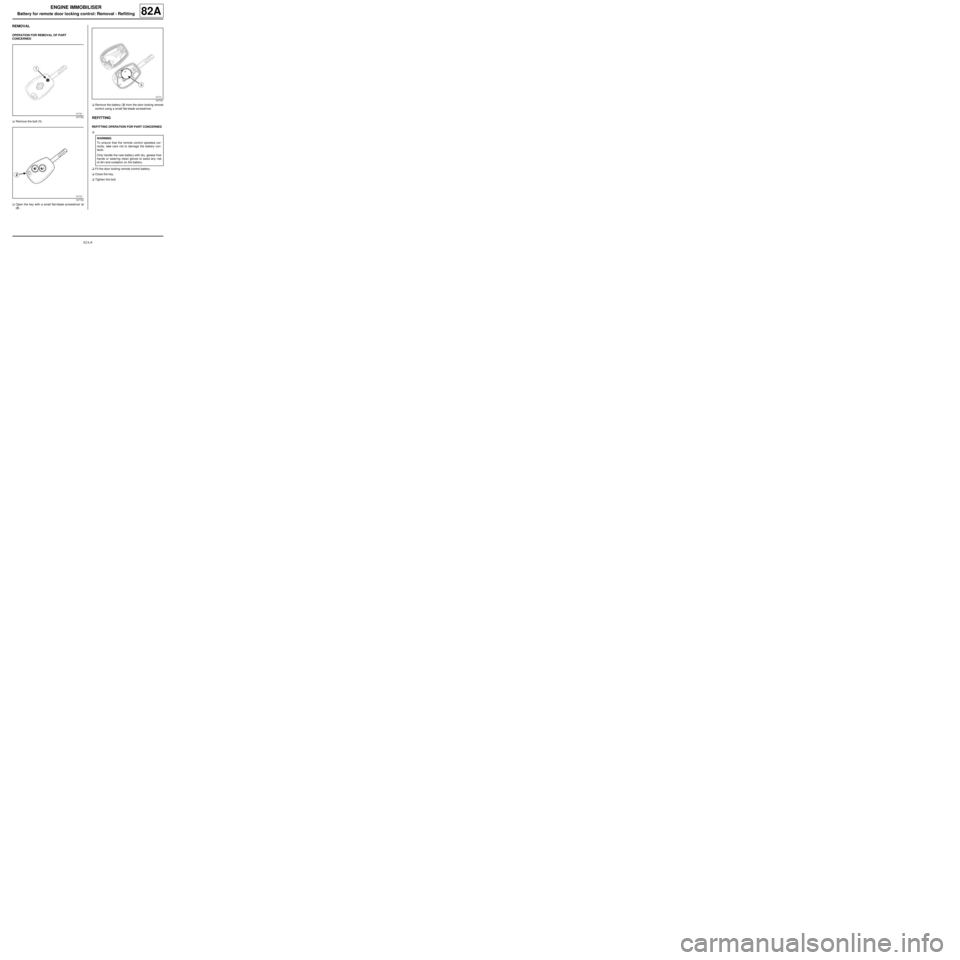
REMOVAL
OPERATION FOR REMOVAL OF PART
CONCERNED
aRemove the bolt (1) .
aOpen the key with a small flat-blade screwdriver at
(2) .aRemove the battery (3) from the door locking remote
control using a small flat-blade screwdriver.
REFITTING
REFITTING OPERATION FOR PART CONCERNED
a
aFit the door locking remote control battery.
aClose the key.
aTighten the bolt.
107732
107733
107731
WARNING
To ensure that the remote control operates cor-
rectly, take care not to damage the battery con-
tacts.
Only handle the new battery with dry, grease-free
hands or wearing clean gloves to avoid any risk
of dir t and oxidation on the battery.
Page 52 of 241
83A-3
INSTRUMENT PANEL
Rev counter: Removal - Refitting
ENGINE REV COUNTER
83A
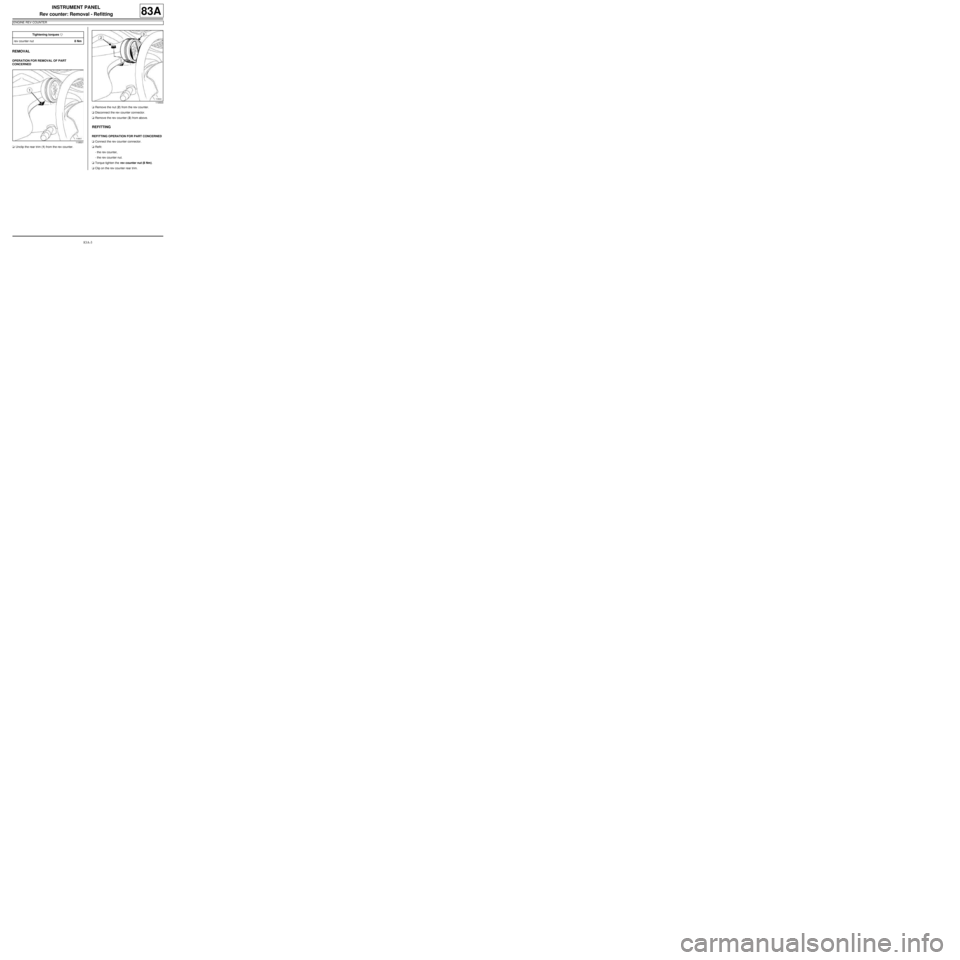
REMOVAL
OPERATION FOR REMOVAL OF PART
CONCERNED
aUnclip the rear trim (1) from the rev counter.aRemove the nut (2) from the rev counter.
aDisconnect the rev counter connector.
aRemove the rev counter (3) from above.
REFITTING
REFITTING OPERATION FOR PART CONCERNED
aConnect the rev counter connector.
aRefit:
-the rev counter,
-the rev counter nut.
aTorque tighten the rev counter nut (8 Nm).
aClip on the rev counter rear trim. Tightening torquesm
rev counter nut8 Nm
119501
119500
Page 57 of 241
84A-2
CONTROL - SIGNALS
Steering column switch assembly: Removal - Refitting84A
REMOVAL
I - REMOVAL PREPARATION OPERATION
a
Set the wheels straight ahead.
aLock the airbag computer using the Diagnostic tool
(see Fault finding - Replacement of components)
(88C, Airbags and pretensioners).
aDisconnect the battery (see 80A, Battery, Battery:
Removal - Refitting, page 80A-2) .
aRemove the rev counter (see 83A, Instrument pa-
nel, Rev counter: Removal - Refitting, page 83A-
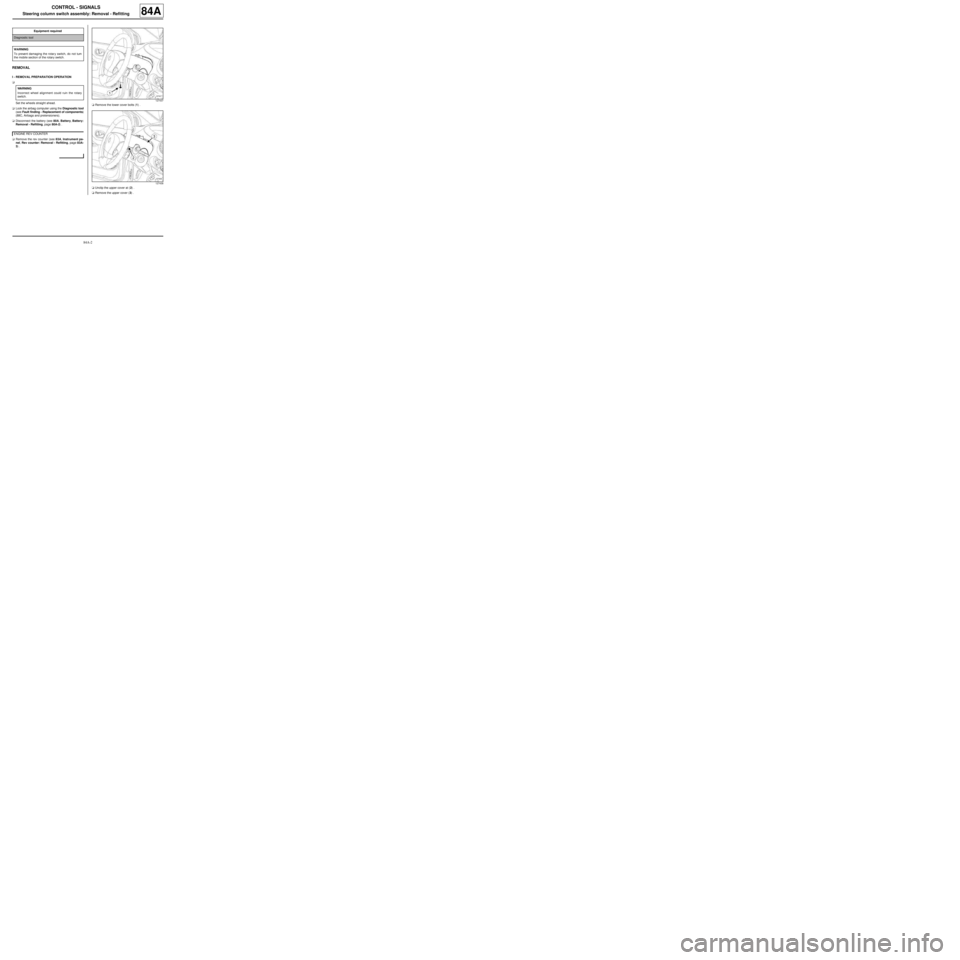
3) .aRemove the lower cover bolts (1) .
aUnclip the upper cover at (2) .
aRemove the upper cover (3) . Equipment required
Diagnostic tool
WARNING
To prevent damaging the rotar y switch, do not turn
the mobile section of the rotary switch.
WARNING
Incorrect wheel alignment could ruin the rotary
switch.
ENGINE REV COUNTER
127437
127438
Page 60 of 241
84A-5
CONTROL - SIGNALS
Steering column switch assembly: Removal - Refitting84A
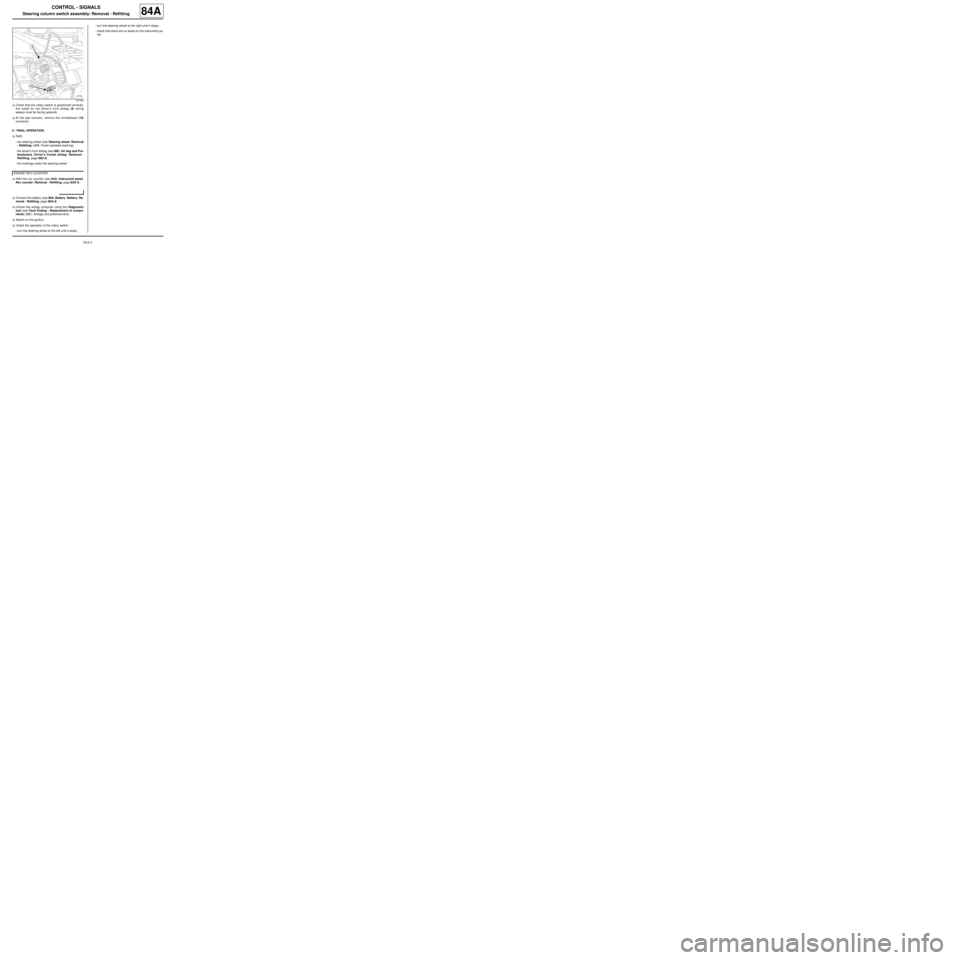
aCheck that the rotary switch is positioned correctly:
the outlet for the driver's front airbag (9) wiring
always must be facing upwards.
aAt the last moment, remove the immobilised (10)
connector.
II - FINAL OPERATION.
aRefit:
-the steering wheel (see Steering wheel: Removal
- Refitting) (36B, Power-assisted steering),
-the driver's front airbag (see 88C, Air bag and Pre-
tensioners, Driver's frontal airbag: Removal -
Refitting, page 88C-6) .
-the cowlings under the steering wheel.
aRefit the rev counter (see 83A, Instrument panel,
Rev counter: Removal - Refitting, page 83A-3) .
aConnect the battery (see 80A, Battery, Battery: Re-
moval - Refitting, page 80A-2) .
aUnlock the airbag computer using the Diagnostic
tool (see Fault finding - Replacement of compo-
nents) (88C, Airbags and pretensioners).
aSwitch on the ignition.
aCheck the operation of the rotary switch:
-turn the steering wheel to the left until it stops,-turn the steering wheel to the right until it stops,
-check that there are no faults on the instrument pa-
nel.
127766
ENGINE REV COUNTER