RENAULT TWINGO RS 2009 2.G Electrical Equipment Manual Online
Manufacturer: RENAULT, Model Year: 2009, Model line: TWINGO RS, Model: RENAULT TWINGO RS 2009 2.GPages: 241
Page 81 of 241
85A-11
WIPING - WASHING
Windscreen wiper mechanism: Removal - Refitting
RIGHT-HAND DRIVE
85A
REMOVAL
I - REMOVAL PREPARATION OPERATION
a
aSwitch on the ignition.
aMove the wiper stalk from (0) to (1), then from (1) to
(0).
aSwitch off the ignition.
aDisconnect the battery (see 80A, Battery, Battery:
Removal - Refitting, page 80A-2) .
aRemove:
-the windscreen wiper arms (see 85A, Wiping -
Washing, Windscreen wiper arm: Removal - Re-
fitting, page 85A-6) ,
-the scuttle panel grille (see Scuttle panel grille:
Removal - Refitting) (MR 412, 56A, Exterior equi-
pment).
II - REMOVAL OPERATION FOR PART
CONCERNED
aRemove:
-the front windscreen wiper mechanism bolts (1) ,
-the windscreen wiper mechanism.aDisconnect the windscreen wiper motor connector
(2) .
REFITTING
I - REFITTING OPERATION FOR PART
CONCERNED
aConnect the windscreen wiper motor connector.
aRefit:
-the windscreen wiper mechanism,
-the windscreen wiper mechanism bolts.
II - FINAL OPERATION.
aRefit the scuttle panel grille (see Scuttle panel
grille: Removal - Refitting) (MR 412, 56A, Exterior
equipment).
aConnect the battery (see 80A, Battery, Battery: Re-
moval - Refitting, page 80A-2) .
aMove the wiper stalk from (0) to (1), then from (1) to
(0).
aRefit the windscreen wiper arms (see 85A, Wiping -
Washing, Windscreen wiper arm: Removal - Re-
fitting, page 85A-6) . WARNING
To ensure that the wiper arms can travel
smoothly, the wiper motor must be initialised.
125232
125231
WARNING
To ensure that the wiper arms can travel
smoothly, the wiper motor must be initialised.
Page 82 of 241
85A-12
WIPING - WASHING
Windscreen wiper motor: Removal - Refitting
LEFT-HAND DRIVE
85A
REMOVAL
I - REMOVAL PREPARATION OPERATION
a
aSwitch on the ignition.
aMove the wiper stalk from (0) to (1), then from (1) to
(0).
aSwitch off the ignition.
aDisconnect the battery (see 80A, Battery, Battery:
Removal - Refitting, page 80A-2) .
aRemove:
-the windscreen wiper arms (see 85A, Wiping -
Washing, Windscreen wiper arm: Removal - Re-
fitting, page 85A-6) ,
-the scuttle panel grille (see Scuttle panel grille:
Removal - Refitting) (MR 412, 56A, Exterior equi-
pment),
-the front windscreen wiper mechanism (see 85A,
Wiping - Washing, Windscreen wiper mecha-
nism: Removal - Refitting, page 85A-10) .
II - REMOVAL OPERATION FOR PART
CONCERNED
aRemove the windscreen wiper motor shaft nut (1) .
aExtract the mechanism drive linkage from the winds-
creen wiper motor shaft.aRemove:
-the bolts (2) from the windscreen wiper motor,
-the windscreen wiper motor (3) .
REFITTING
I - REFITTING PREPARATIONS OPERATION
aConnect:
-the windscreen wiper motor connector,
-the battery (see 80A, Battery, Battery: Removal -
Refitting, page 80A-2) .
aMove the wiper stalk from (0) to (1), then from (1) to
(0).
aDisconnect:
-the battery (see 80A, Battery, Battery: Removal -
Refitting, page 80A-2) ,
-the windscreen wiper motor connector.
II - REFITTING OPERATION FOR PART
CONCERNED
aRefit:
-the windscreen wiper motor,
-the windscreen wiper motor bolts. WARNING
To ensure that the wiper arms can travel
smoothly, the wiper motor must be initialised.
119390
119391
WARNING
To ensure that the wiper arms can travel
smoothly, the wiper motor must be initialised.
Page 83 of 241
85A-13
WIPING - WASHING
Windscreen wiper motor: Removal - Refitting
LEFT-HAND DRIVE
85A
aRefit:
-the mechanism drive linkage (4) , ensuring that it is
parallel to the axis connecting the two windscreen
wiper motor lower bolts (5) ,
-the windscreen wiper motor shaft nut.
III - FINAL OPERATION.
aRefit:
-the windscreen wiper mechanism (see 85A, Wi-
ping - Washing, Windscreen wiper mechanism:
Removal - Refitting, page 85A-10) ,
-the scuttle panel grille (see Scuttle panel grille:
Removal - Refitting) (MR 412, 56A, Exterior equi-
pment).
aConnect the battery (see 80A, Battery, Battery: Re-
moval - Refitting, page 80A-2) .
aMove the wiper stalk from (0) to (1), then from (1) to
(0).
aRefit the front wiper arms (see 85A, Wiping -
Washing, Windscreen wiper arm: Removal - Re-
fitting, page 85A-6) .
104932
WARNING
To ensure that the wiper arms can travel
smoothly, the wiper motor must be initialised.
Page 84 of 241
85A-14
WIPING - WASHING
Windscreen wiper motor: Removal - Refitting
RIGHT-HAND DRIVE
85A
REMOVAL
I - REMOVAL PREPARATION OPERATION
a
aSwitch on the ignition.
aMove the wiper stalk from (0) to (1), then from (1) to
(0).
aSwitch off the ignition.
aDisconnect the battery (see 80A, Battery, Battery:
Removal - Refitting, page 80A-2) .
aRemove:
-the windscreen wiper arms (see 85A, Wiping -
Washing, Windscreen wiper arm: Removal - Re-
fitting, page 85A-6) ,
-the scuttle panel grille (see Scuttle panel grille:
Removal - Refitting) (MR 412, 56A, Exterior equi-
pment),
-the front windscreen wiper mechanism (see 85A,
Wiping - Washing, Windscreen wiper mecha-
nism: Removal - Refitting, page 85A-10) .II - REMOVAL OPERATION FOR PART
CONCERNED
aRemove the windscreen wiper motor shaft nut (1) .
aExtract the mechanism drive linkage from the winds-
creen wiper motor shaft.
aRemove:
-the bolts (2) from the windscreen wiper motor,
-the windscreen wiper motor (3) .
REFITTING
I - REFITTING PREPARATIONS OPERATION
aConnect:
-the windscreen wiper motor connector,
-the battery (see 80A, Battery, Battery: Removal -
Refitting, page 80A-2) .
aMove the wiper stalk from (0) to (1), then from (1) to
(0).
aDisconnect:
-the battery (see 80A, Battery, Battery: Removal -
Refitting, page 80A-2) ,
-the windscreen wiper motor connector. WARNING
To ensure that the wiper arms can travel
smoothly, the wiper motor must be initialised.
125227
WARNING
To ensure that the wiper arms can travel
smoothly, the wiper motor must be initialised.
Page 85 of 241
85A-15
WIPING - WASHING
Windscreen wiper motor: Removal - Refitting
RIGHT-HAND DRIVE
85A
II - REFITTING OPERATION FOR PART
CONCERNED
aRefit:
-the windscreen wiper motor,
-the windscreen wiper motor bolts.
aRefit:
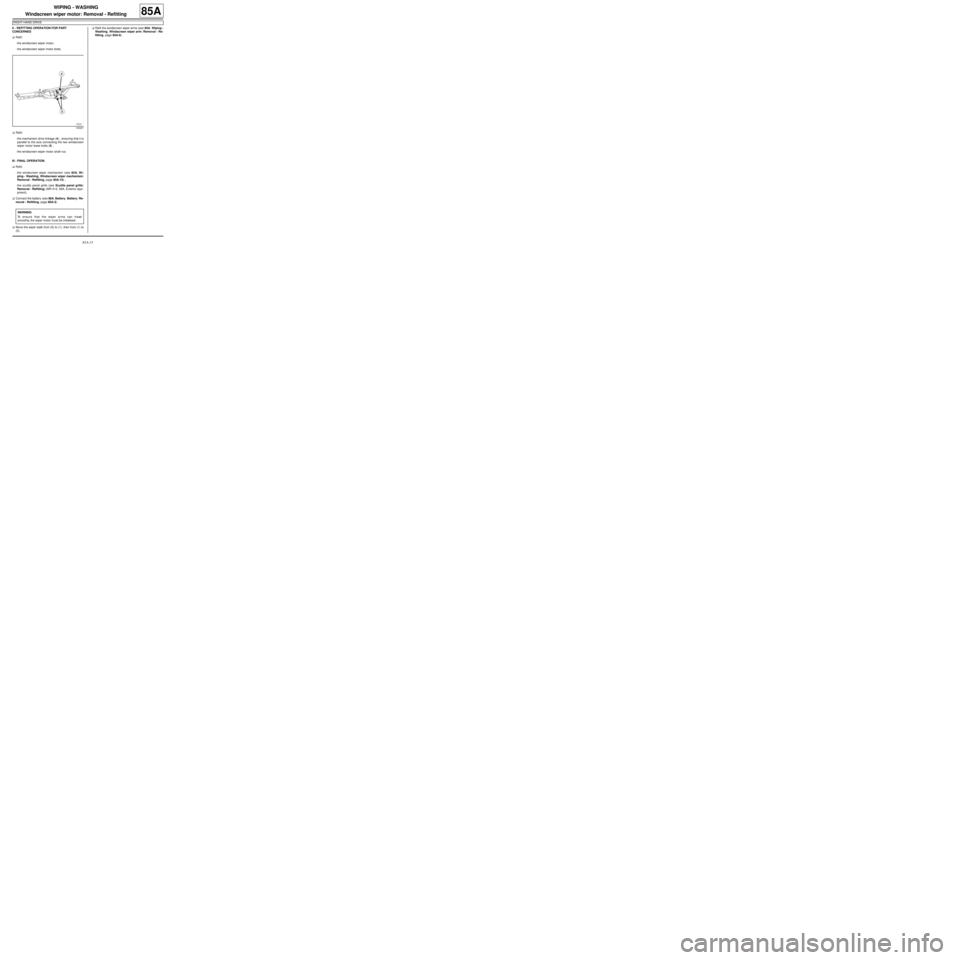
-the mechanism drive linkage (4) , ensuring that it is
parallel to the axis connecting the two windscreen
wiper motor lower bolts (5) ,
-the windscreen wiper motor shaft nut.
III - FINAL OPERATION.
aRefit:
-the windscreen wiper mechanism (see 85A, Wi-
ping - Washing, Windscreen wiper mechanism:
Removal - Refitting, page 85A-10) ,
-the scuttle panel grille (see Scuttle panel grille:
Removal - Refitting) (MR 412, 56A, Exterior equi-
pment).
aConnect the battery (see 80A, Battery, Battery: Re-
moval - Refitting, page 80A-2) .
aMove the wiper stalk from (0) to (1), then from (1) to
(0).aRefit the windscreen wiper arms (see 85A, Wiping -
Washing, Windscreen wiper arm: Removal - Re-
fitting, page 85A-6) .
125227
WARNING
To ensure that the wiper arms can travel
smoothly, the wiper motor must be initialised.
Page 86 of 241
85A-16
WIPING - WASHING
Rear screen wiper blade: Removal - Refitting
85A
REMOVAL
I - REMOVAL PREPARATION OPERATION
aSwitch off the ignition.
II - REMOVAL OPERATION FOR PART
CONCERNED
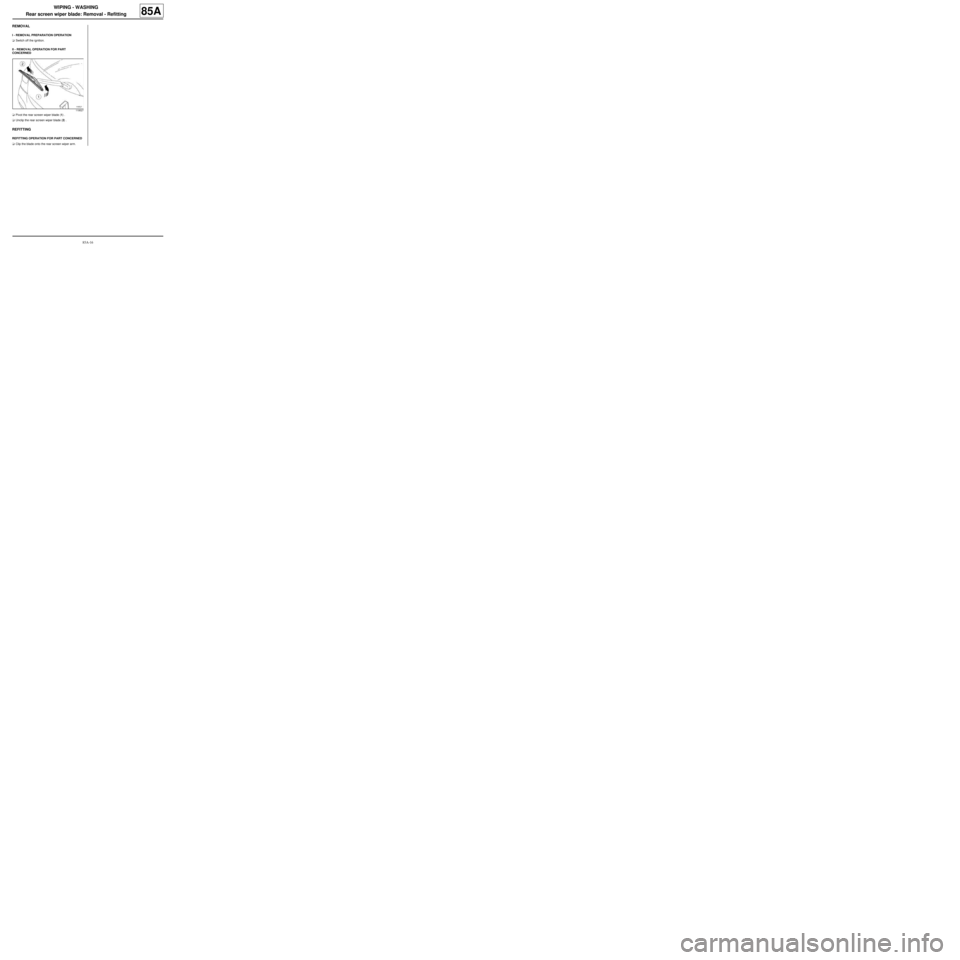
aPivot the rear screen wiper blade (1) .
aUnclip the rear screen wiper blade (2) .
REFITTING
REFITTING OPERATION FOR PART CONCERNED
aClip the blade onto the rear screen wiper arm.
119527
Page 87 of 241
85A-17
WIPING - WASHING
Rear screen wiper arm: Removal - Refitting
85A
REMOVAL
I - REMOVAL PREPARATION OPERATION
a
aSwitch on the ignition.
aMove the wiper stalk from (0) to (1), then from (1) to
(0).
aSwitch off the ignition.
aVisually mark the position of the rear screen wiper
arm for the refitting operation.II - REMOVAL OPERATION FOR PART
CONCERNED
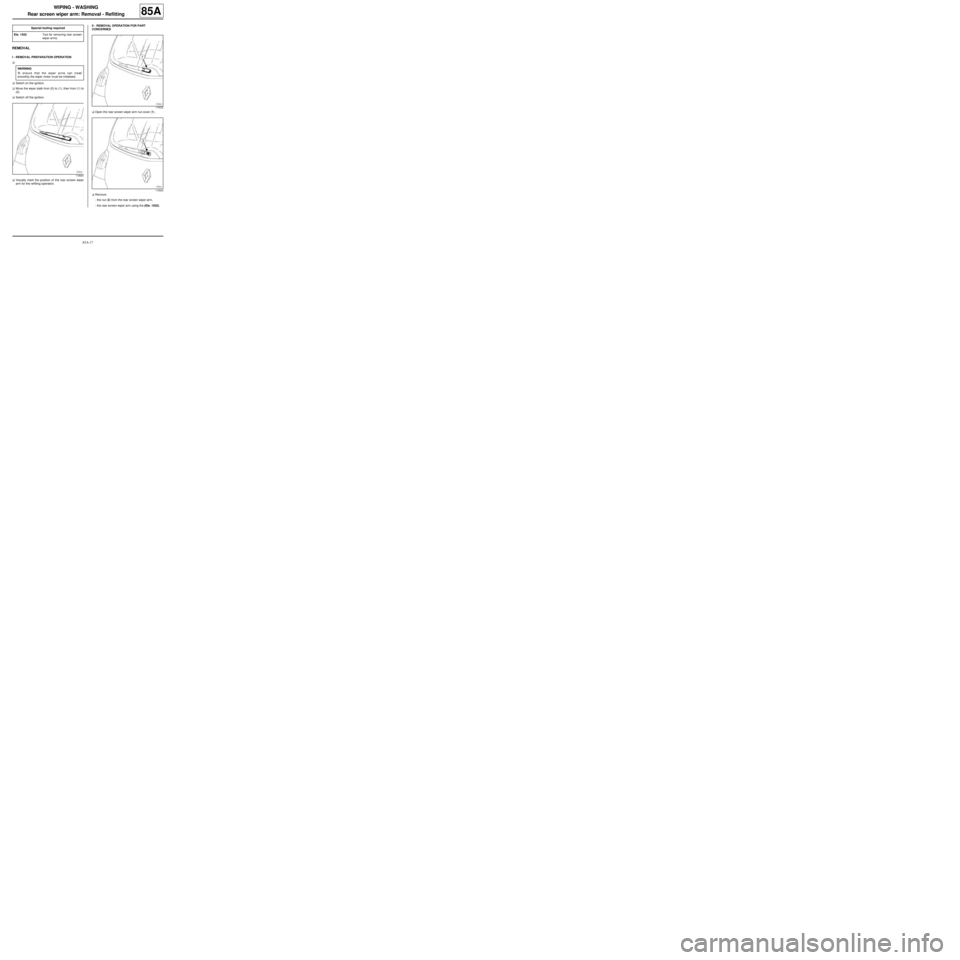
aOpen the rear screen wiper arm nut cover (1) .
aRemove:
-the nut (2) from the rear screen wiper arm,
-the rear screen wiper arm using the (Ele. 1552). Special tooling required
Ele. 1552Tool for removing rear screen
wiper arms.
WARNING
To ensure that the wiper arms can travel
smoothly, the wiper motor must be initialised.
119520
119522
119523
Page 88 of 241
85A-18
WIPING - WASHING
Rear screen wiper arm: Removal - Refitting
85A
REFITTING
REFITTING OPERATION FOR PART CONCERNED
aRefit:
-the rear screen wiper arm in the position marked
before the removal operation,
-the rear screen wiper arm nut.
aClose the rear screen wiper arm nut cover.
Page 89 of 241
85A-19
WIPING - WASHING
Rear screen wiper motor: Removal - Refitting
85A
REMOVAL
I - REMOVAL PREPARATION OPERATION
a
aMove the wiper stalk from (0) to (1), then from (1) to
(0).
aRemove:
-the rear screen wiper arm (see 85A, Wiping -
Washing, Rear screen wiper arm: Removal - Re-
fitting, page 85A-17) ,
-the tailgate trim (see Tailgate trim: Removal - Re-
fitting) (MR 412, 73A, Non-side opening elements
trim).
II - OPERATION FOR REMOVAL OF PART
CONCERNED
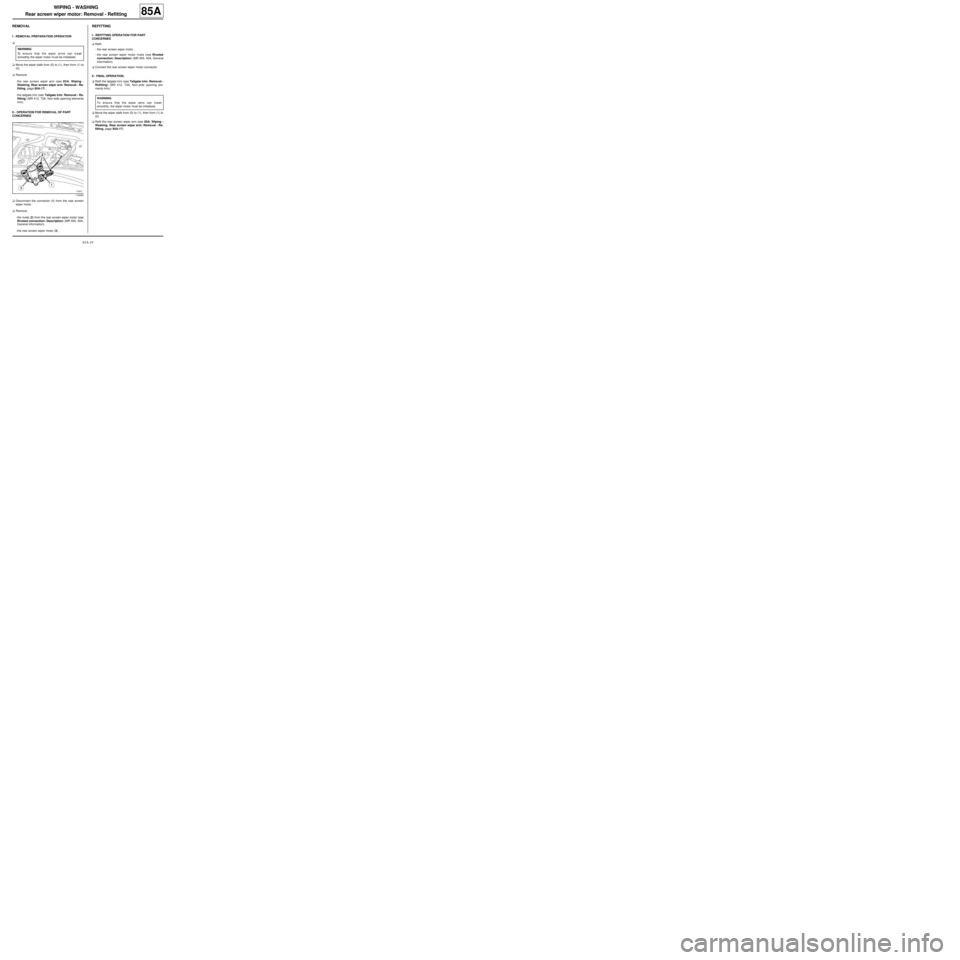
aDisconnect the connector (1) from the rear screen
wiper motor.
aRemove:
-the rivets (2) from the rear screen wiper motor (see
Riveted connection: Description) (MR 400, 40A,
General information),
-the rear screen wiper motor (3) .
REFITTING
I - REFITTING OPERATION FOR PART
CONCERNED
aRefit:
-the rear screen wiper motor ,
-the rear screen wiper motor rivets (see Riveted
connection: Description) (MR 400, 40A, General
information).
aConnect the rear screen wiper motor connector.
II - FINAL OPERATION.
aRefit the tailgate trim (see Tailgate trim: Removal -
Refitting) (MR 412, 73A, Non-side opening ele-
ments trim).
aMove the wiper stalk from (0) to (1), then from (1) to
(0).
aRefit the rear screen wiper arm (see 85A, Wiping -
Washing, Rear screen wiper arm: Removal - Re-
fitting, page 85A-17) . WARNING
To ensure that the wiper arms can travel
smoothly, the wiper motor must be initialised.
119425
WARNING
To ensure that the wiper arms can travel
smoothly, the wiper motor must be initialised.
Page 90 of 241
85A-20
WIPING - WASHING
Rain and light sensor: Removal - Refitting
LIGHTS + AUTOMATIC WINDSCREEN WIPER
85A
REMOVAL
I - REMOVAL PREPARATION OPERATION
aRemove the covers from the interior rear-view mirror
(see Interior rear-view mirror: Removal - Refit-
ting) (MR 412, 57A, Interior equipment).
II - REMOVAL OPERATION FOR PART
CONCERNED
1 - Replacing the rain sensor
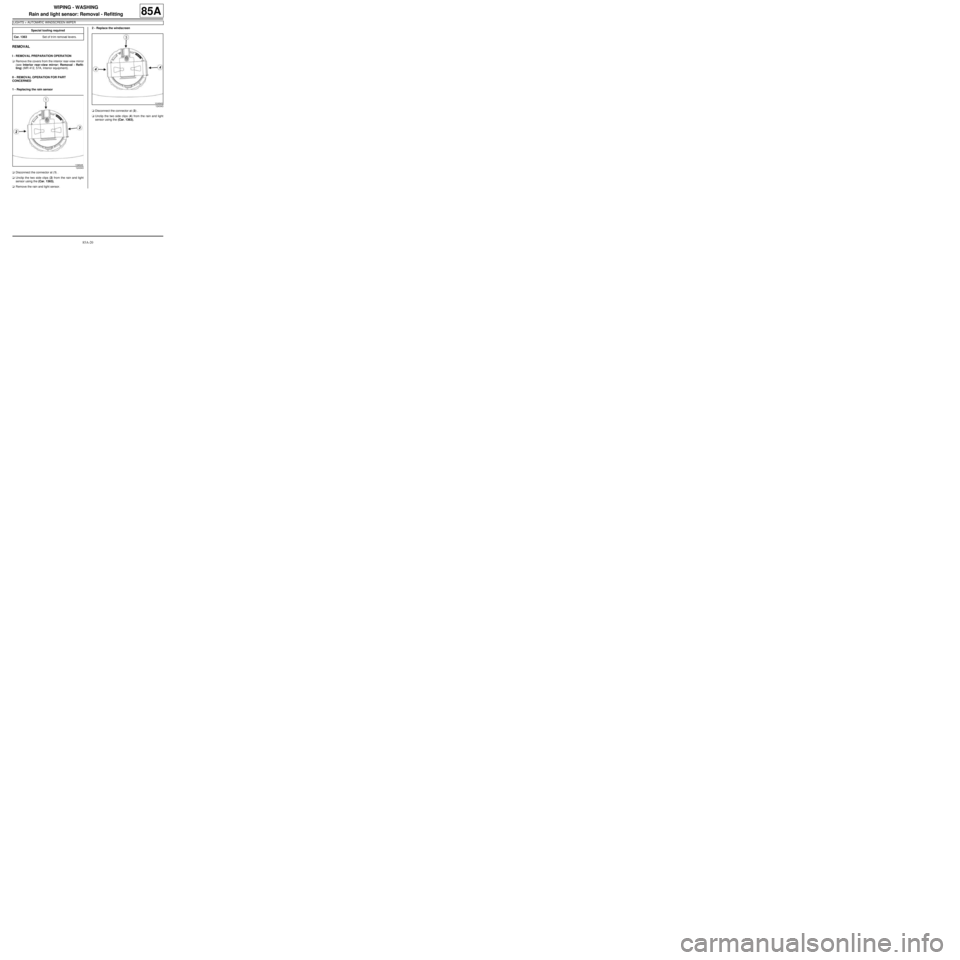
aDisconnect the connector at (1) .
aUnclip the two side clips (2) from the rain and light
sensor using the (Car. 1363),
aRemove the rain and light sensor.2 - Replace the windscreen
aDisconnect the connector at (3) .
aUnclip the two side clips (4) from the rain and light
sensor using the (Car. 1363), Special tooling required
Car. 1363Set of tr im removal levers.
124343
124343