battery RENAULT TWINGO RS 2009 2.G Engine And Peripherals Owners Manual
[x] Cancel search | Manufacturer: RENAULT, Model Year: 2009, Model line: TWINGO RS, Model: RENAULT TWINGO RS 2009 2.GPages: 652
Page 310 of 652
12A-45
FUEL MIXTURE
Injector holder shim: Removal - Refitting
K4M
12A
REMOVAL
I - REMOVAL PREPARATION OPERATION
aDisconnect the battery (see ) (80A, Battery).
aRemove:
-the windscreen wiper arms (see Windscreen wip-
er arm: Removal - Refitting) (85A, Wiping -
Washing),
-the scuttle panel grille (see Scuttle panel grille:
Removal - Refitting) (56A, Exterior equipment),
-the scoop under the scuttle panel grille (see Scoop
under the scuttle panel grille: Removal - Refit-
ting) (56A, Exterior equipment).aRemove:
-the dipstick,
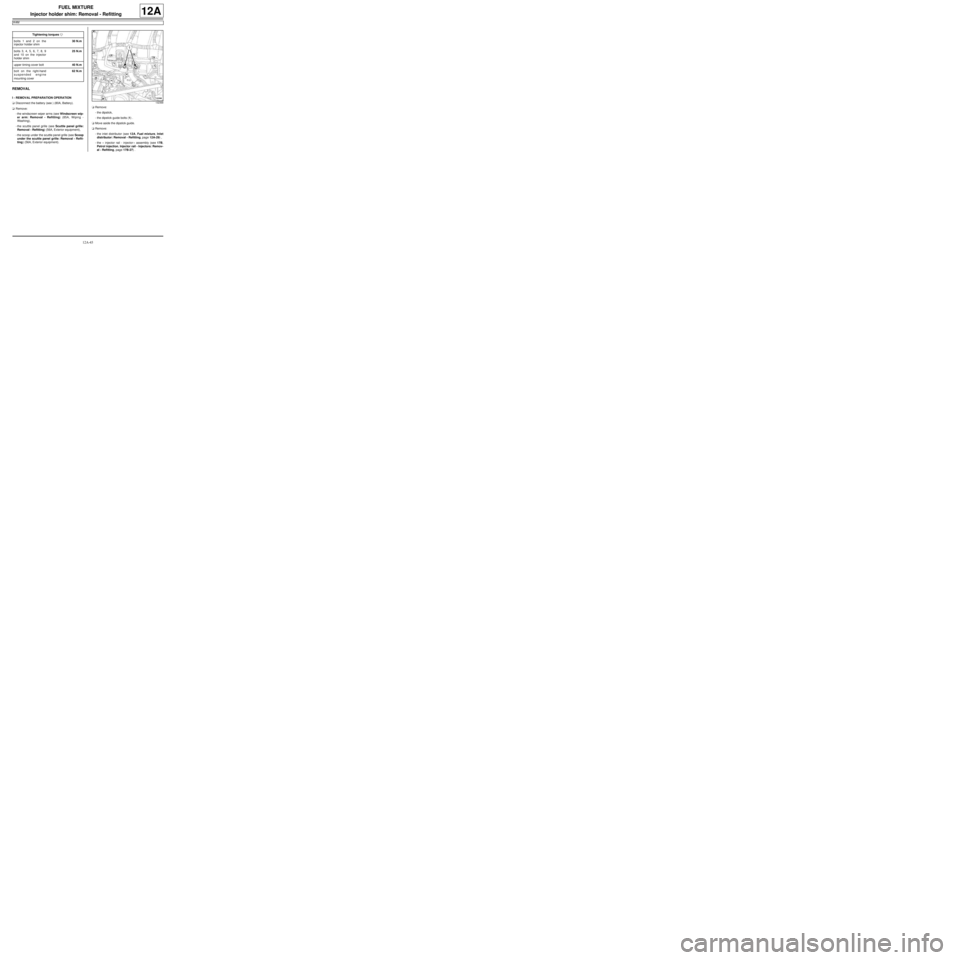
-the dipstick guide bolts (1) .
aMove aside the dipstick guide.
aRemove:
-the inlet distributor (see 12A, Fuel mixture, Inlet
distributor: Removal - Refitting, page 12A-29) ,
-the « injector rail - injector » assembly (see 17B,
Petrol injection, Injector rail - Injectors: Remov-
al - Refitting, page 17B-27) . Tightening torquesm
bolts 1 and 2 on the
injector holder shim30 N.m
bolts 3, 4, 5, 6, 7, 8, 9
and 10 on the injector
holder shim25 N.m
upper timing cover bolt40 N.m
bolt on the right-hand
suspended engine
mounting cover62 N.m
132368
Page 312 of 652
12A-47
FUEL MIXTURE
Injector holder shim: Removal - Refitting
K4M
12A
-bolts 3, 4, 5, 6, 7, 8, 9 and 10 on the injector
holder shim (25 N.m).
aTorque tighten:
-the upper timing cover bolt (40 N.m),
-the bolt on the right-hand suspended engine
mounting cover (62 N.m).
III - FINAL OPERATION
aRefit:
-the « injector rail - injector » assembly (see 17B,
Petrol injection, Injector rail - Injectors: Remov-
al - Refitting, page 17B-27) ,
-the inlet distributor (see 12A, Fuel mixture, Inlet
distributor: Removal - Refitting, page 12A-29) ,
-dipstick guide ,
-the dipstick,
-the scoop under the scuttle panel grille (see Scoop
under the scuttle panel grille: Removal - Refit-
ting) (56A, Exterior equipment),
-the scuttle panel grille (see Scuttle panel grille:
Removal - Refitting) (56A, Exterior equipment),
-the windscreen wiper arms (see Windscreen wip-
er arm: Removal - Refitting) (85A, Wiping -
Washing).
aConnect the battery (see ) (80A, Battery).
Page 315 of 652
12A-50
FUEL MIXTURE
Exhaust manifold: Removal - Refitting
K9K
12A
REMOVAL
I - REMOVAL PREPARATION OPERATION
aPosition the vehicle on a two-post lift (see Vehicle:
Towing and lifting) (02A, Lifting equipment).
aDisconnect the battery (see ) (80A, Battery).
aRemove:
-the engine cover,
-the windscreen wiper arms (see Windscreen wip-
er arm: Removal - Refitting) (85A, Wiping -
Washing),
-the scuttle panel grille (see Scuttle panel grille:
Removal - Refitting) (56A, Exterior equipment),
-the scoop under the scuttle panel grille (see Scoop
under the scuttle panel grille: Removal - Refit-
ting) (56A, Exterior equipment),
-the air filter unit (see 12A, Fuel mixture, Air filter
unit: Removal - Refitting, page 12A-13) ,
-the EGR solenoid valve (see 14A, Antipollution,
Exhaust gas recirculation solenoid valve: Re-
moval - Refitting, page 14A-10) ,
-the lower engine tie-bar (see 19D, Engine mount-
ing, Lower engine tie-bar: Removal - Refitting,
page 19D-18) ,
-the catalytic converter (see 19B, Exhaust, Cata-
lytic converter: Removal - Refitting, page 19B-
12) ,
-the turbocharger (see 12B, Turbocharging, Tur-
bocharger: Removal - Refitting, page 12B-4) .aRemove:
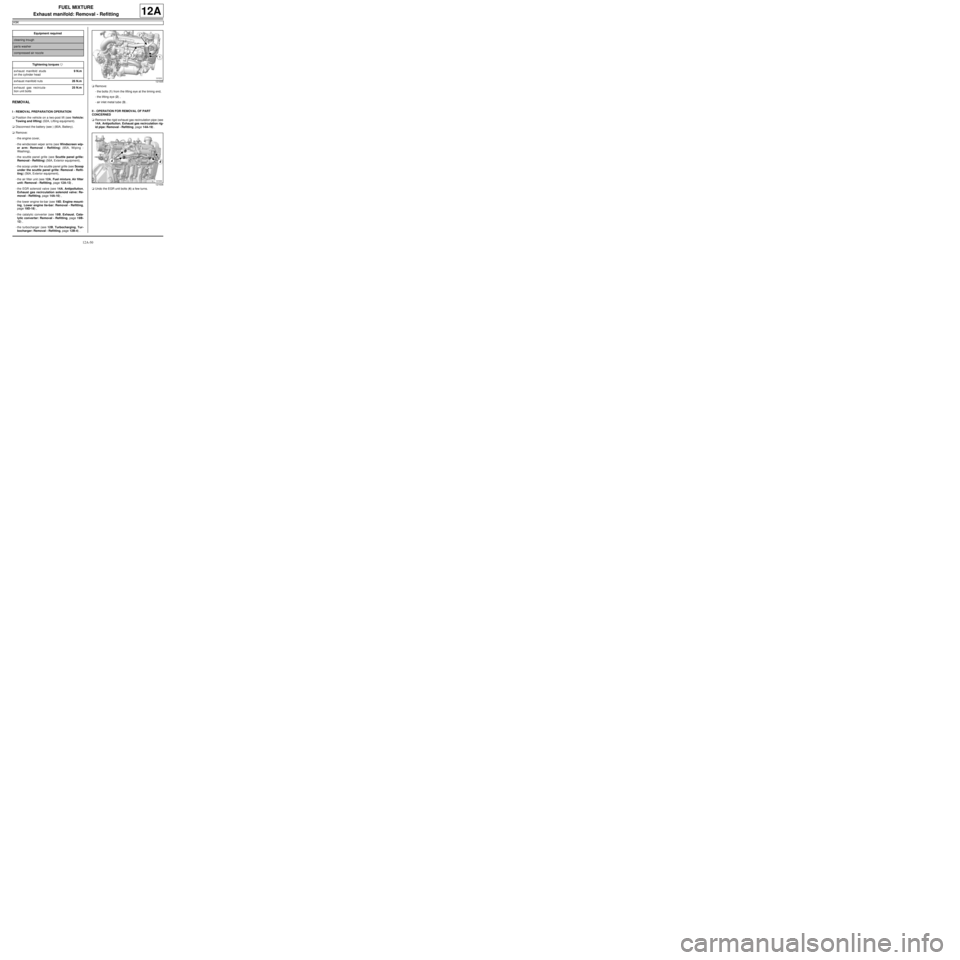
-the bolts (1) from the lifting eye at the timing end,
-the lifting eye (2) ,
-air inlet metal tube (3) .
II - OPERATION FOR REMOVAL OF PART
CONCERNED
aRemove the rigid exhaust gas recirculation pipe (see
14A, Antipollution, Exhaust gas recirculation rig-
id pipe: Removal - Refitting, page 14A-19) .
aUndo the EGR unit bolts (4) a few turns. Equipment required
cleaning trough
par ts washer
compressed air nozzle
Tightening torquesm
exhaust manifold studs
on the cylinder head9 N.m
exhaust manifold nuts26 N.m
exhaust gas recircula-
tion unit bolts25 N.m
121635
121636
Page 317 of 652

12A-52
FUEL MIXTURE
Exhaust manifold: Removal - Refitting
K9K
12A
-the EGR solenoid valve (see 14A, Antipollution,
Exhaust gas recirculation solenoid valve: Re-
moval - Refitting, page 14A-10) ,
-the air filter unit (see 12A, Fuel mixture, Air filter
unit: Removal - Refitting, page 12A-13) ,
-the scoop under the scuttle panel grille (see Scoop
under the scuttle panel grille: Removal - Refit-
ting) (56A, Exterior equipment),
-the scuttle panel grille (see Scuttle panel grille:
Removal - Refitting) (56A, Exterior equipment),
-the windscreen wiper arms (see Windscreen wip-
er arm: Removal - Refitting) (85A, Wiping -
Washing),
-the engine cover.
aConnect the battery (see ) (80A, Battery).
Page 318 of 652
12A-53
FUEL MIXTURE
Exhaust manifold: Removal - Refitting
D4F, and 780 or 782
12A
REMOVAL
I - REMOVAL PREPARATION OPERATION
aPosition the vehicle on a two-post lift (see Vehicle:
Towing and lifting) (02A, Lifting equipment).
aDisconnect the battery (see ) (80A, Battery).
aRemove:
-the engine undertray,
-the air filter unit (see 12A, Fuel mixture, Air filter
unit: Removal - Refitting, page 12A-13) ,
-the upstream oxygen sensor (see 17B, Petrol in-
jection, Oxygen sensors: Removal - Refitting,
page 17B-13) ,
-the lower engine tie-bar (see 19D, Engine mount-
ing, Lower engine tie-bar: Removal - Refitting,
page 19D-18) ,
-the catalytic converter (see 19B, Exhaust, Cata-
lytic converter: Removal - Refitting, page 19B-
12) ,
-the turbocharger (see 12B, Turbocharging, Tur-
bocharger: Removal - Refitting, page 12B-4) .II - OPERATION FOR REMOVAL OF PART
CONCERNED
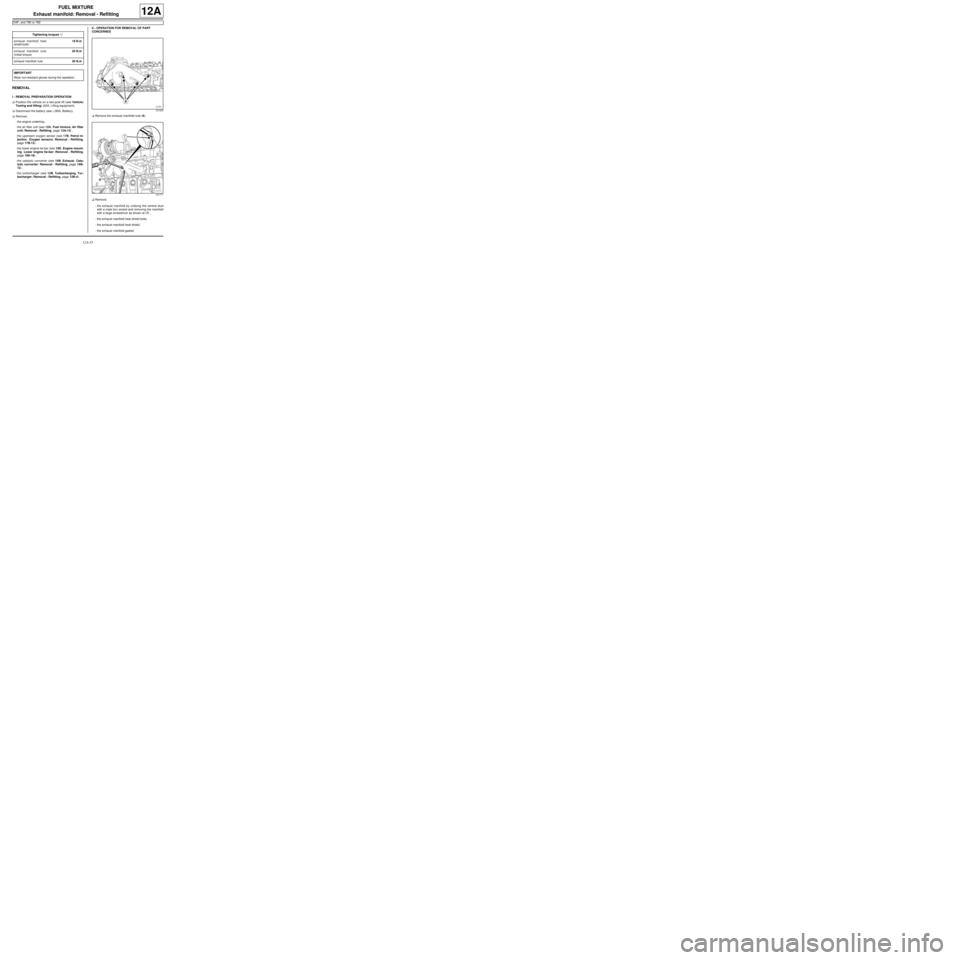
aRemove the exhaust manifold nuts (6) .
aRemove:
-the exhaust manifold by undoing the central stud
with a male torx socket and removing the manifold
with a large screwdriver as shown at (7) ,
-the exhaust manifold heat shield bolts,
-the exhaust manifold heat shield,
-the exhaust manifold gasket. Tightening torquesm
exhaust manifold heat
shield bolts18 N.m
exhaust manifold nuts
(initial torque)20 N.m
exhaust manifold nuts30 N.m
IMPORTANT
Wear cut-resistant gloves during the operation.
121200
121771
Page 319 of 652
12A-54
FUEL MIXTURE
Exhaust manifold: Removal - Refitting
D4F, and 780 or 782
12A
REFITTING
I - REFITTING PREPARATION OPERATION
aparts always to be replaced: exhaust manifold
seal.
II - REFITTING OPERATION FOR PART
CONCERNED
aRefit:
-the exhaust manifold heat shield,
-the exhaust manifold heat shield bolts.
aTorque tighten the exhaust manifold heat shield
bolts (18 N.m).
aRefit:
-a new exhaust manifold gasket,
-the exhaust manifold.
aRefit the exhaust manifold nuts.
aPretighten to torque the exhaust manifold nuts
(initial torque) (20 N.m).
aTorque tighten the exhaust manifold nuts (30
N.m).
III - FINAL OPERATION
aRefit:
-the turbocharger (see 12B, Turbocharging, Tur-
bocharger: Removal - Refitting, page 12B-4) ,
-the catalytic converter (see 19B, Exhaust, Cata-
lytic converter: Removal - Refitting, page 19B-
12) ,
-the lower engine tie-bar (see 19D, Engine mount-
ing, Lower engine tie-bar: Removal - Refitting,
page 19D-18) ,
-the upstream oxygen sensor (see 17B, Petrol in-
jection, Oxygen sensors: Removal - Refitting,
page 17B-13) ,
-the air filter unit (see 12A, Fuel mixture, Air filter
unit: Removal - Refitting, page 12A-13) ,
-the engine undertray.
aConnect the battery (see ) (80A, Battery).
Page 320 of 652
12A-55
FUEL MIXTURE
Exhaust manifold: Removal - Refitting
K4M
12A
REMOVAL
I - REMOVAL PREPARATION OPERATION
aPosition the vehicle on a two-post lift (see Vehicle:
Towing and lifting) (02A, Lifting equipment).
aDisconnect the battery (see Battery: Removal - Re-
fitting) (80A, Battery).
aRemove:
-the engine undertray,
-the front right-hand wheel (see Wheel: Removal -
Refitting) (35A, Wheels and tyres),
-the windscreen wiper arms (see Windscreen wip-
er arm: Removal - Refitting) (85A, Wiping -
Washing),
-the scuttle panel grille (see Scuttle panel grille:
Removal - Refitting) (56A, Exterior equipment),
-the scoop under the scuttle panel grille (see Scoop
under the scuttle panel grille: Removal - Refit-
ting) (56A, Exterior equipment).
aDrain the gearbox (see Manual gearbox oils:
Draining - Filling) (21A, Manual gearbox).aRemove:
-the front right-hand wheel driveshaft (see Front
right-hand driveshaft: Removal - Refitting)
(29A, Driveshafts),
-the lower engine tie-bar (see 19D, Engine mount-
ing, Lower engine tie-bar: Removal - Refitting,
page 19D-18) ,
-the upstream expansion chamber (see 19B, Ex-
haust, Expansion chamber: Removal - Refit-
ting, page 19B-23) .
aRemove:
-the bolts (1) from the driveshaft relay bearing,
-the driveshaft relay bearing. Tightening torquesm
exhaust manifold studs9 N.m
heat shield bolts12 N.m
upstream and down-
stream oxygen sensors44 N.m
strut mounting bolt on
the cylinder block75 N.m
upstream strut bolt (ini-
tial torque)14 N.m
exhaust manifold nuts26 N.m
upstream and down-
streamstrut bolts44
N.m
upstream strut bolts44 N.m
driveshaft relay bearing
bolts21 N.m
IMPORTANT
Wear cut-resistant gloves during the operation.
131770
Page 325 of 652
12A-60
FUEL MIXTURE
Exhaust manifold: Removal - Refitting
K4M
12A
-the driveshaft relay bearing.
aTorque tighten the driveshaft relay bearing bolts
(21 N.m).
aRefit:
-the upstream expansion chamber (see 19B, Ex-
haust, Expansion chamber: Removal - Refit-
ting, page 19B-23) ,
-the lower engine tie-bar (see 19D, Engine mount-
ing, Lower engine tie-bar: Removal - Refitting,
page 19D-18) ,
-the front right-hand wheel driveshaft (see Front
right-hand driveshaft: Removal - Refitting)
(29A, Driveshafts).
aFill the gearbox (see Manual gearbox oils: Drain-
ing - Filling) (21A, Manual gearbox).
aRefit:
-the scoop under the scuttle panel grille (see Scoop
under the scuttle panel grille: Removal - Refit-
ting) (56A, Exterior equipment),
-the scuttle panel grille (see Scuttle panel grille:
Removal - Refitting) (56A, Exterior equipment),
-the windscreen wiper arms (see Windscreen wip-
er arm: Removal - Refitting) (85A, Wiping -
Washing),
-the front right-hand wheel (see Wheel: Removal -
Refitting) (35A, Wheels and tyres),
-the engine undertray.
aConnect the battery (see Battery: Removal - Refit-
ting) (80A, Battery).
Page 329 of 652
12B-4
TURBOCHARGING
Turbocharger: Removal - Refitting
K9K
12B
REMOVAL
I - REMOVAL PREPARATION OPERATION
aPosition the vehicle on a two-post lift (see Vehicle:
Towing and lifting) (02A, Lifting equipment).
aDisconnect the battery (see ) (80A, Battery).
aRemove:
-the engine cover,
-the windscreen wiper arms (see Windscreen wip-
er arm: Removal - Refitting) (85A, Wiping -
Washing),
-the scuttle panel grille (see Scuttle panel grille:
Removal - Refitting) (56A, Exterior equipment),
-the scoop under the scuttle panel grille (see Scoop
under the scuttle panel grille: Removal - Refit-
ting) (56A, Exterior equipment),
-the air filter unit (see 12A, Fuel mixture, Air filter
unit: Removal - Refitting, page 12A-13) ,
-the EGR solenoid valve (see 14A, Antipollution,
Exhaust gas recirculation solenoid valve: Re-
moval - Refitting, page 14A-10) ,
-the lower engine tie-bar (see 19D, Engine mount-
ing, Lower engine tie-bar: Removal - Refitting,
page 19D-18) ,
-the catalytic converter (see 19B, Exhaust, Cata-
lytic converter: Removal - Refitting, page 19B-
12) .II - OPERATION FOR REMOVAL OF PART
CONCERNED
aLoosen the clip (1) of the air outlet pipe on the air fil-
ter unit.
aDisconnect the oil vapour rebreathing pipe (2) .
aRemove:
-the air outlet pipe of the air filter unit (3) ,
-the turbocharger oil pipes (see 12B, Turbocharg-
ing, Turbocharger oil pipe: Removal - Refitting,
page 12B-12) . Equipment required
cleaning trough
par ts washer
compressed air nozzle
Tightening torquesm
studs on the turbo-
charger9 N.m
turbocharger nuts28 N.m
121633
Page 332 of 652
12B-7
TURBOCHARGING
Turbocharger: Removal - Refitting
K9K
12B
III - FINAL OPERATION
aRefit:
-the catalytic converter (see 19B, Exhaust, Cata-
lytic converter: Removal - Refitting, page 19B-
12) ,
-the lower engine tie-bar (see 19D, Engine mount-
ing, Lower engine tie-bar: Removal - Refitting,
page 19D-18) ,
-the EGR solenoid valve (see 14A, Antipollution,
Exhaust gas recirculation solenoid valve: Re-
moval - Refitting, page 14A-10) ,
-the air filter unit (see 12A, Fuel mixture, Air filter
unit: Removal - Refitting, page 12A-13) ,
-the scoop under the scuttle panel grille (see Scoop
under the scuttle panel grille: Removal - Refit-
ting) (56A, Exterior equipment),
-the scuttle panel grille (see Scuttle panel grille:
Removal - Refitting) (56A, Exterior equipment),
-the windscreen wiper arms (see Windscreen wip-
er arm: Removal - Refitting) (85A, Wiping -
Washing),
-the engine cover.
aConnect the battery (see ) (80A, Battery).