exhaust RENAULT TWINGO RS 2009 2.G Engine And Peripherals Owner's Guide
[x] Cancel search | Manufacturer: RENAULT, Model Year: 2009, Model line: TWINGO RS, Model: RENAULT TWINGO RS 2009 2.GPages: 652
Page 259 of 652

11A-142
TOP AND FRONT OF ENGINE
Camshaft seal, timing end: Removal - Refitting
K4M
11A
Removing the seal on the exhaust side and inlet
side
aPosition the claws of the (Mot. 1577) on the cam-
shaft.
aPush the (Mot. 1577) until contact is made between
the ends of the claws and the camshaft seal.aSeparate the claws by turning the nut (3) clockwise
using an open-jawed spanner.
aRemove the camshaft seal by turning the bolt clock-
wise using a spanner (4) .
126608
126608
126609
126605
Page 260 of 652
11A-143
TOP AND FRONT OF ENGINE
Camshaft seal, timing end: Removal - Refitting
K4M
11A
REFITTING
I - REFITTING PREPARATION OPERATION
aUse SURFACE CLEANER (see Vehicle: Parts
and consumables for the repair) (04B, Consuma-
bles - Products) to clean and degrease:
-the seal mating face of each camshaft,
-the cylinder head seal housings.
aparts always to be replaced: Camshaft seal on
timing end.
II - REFITTING OPERATION
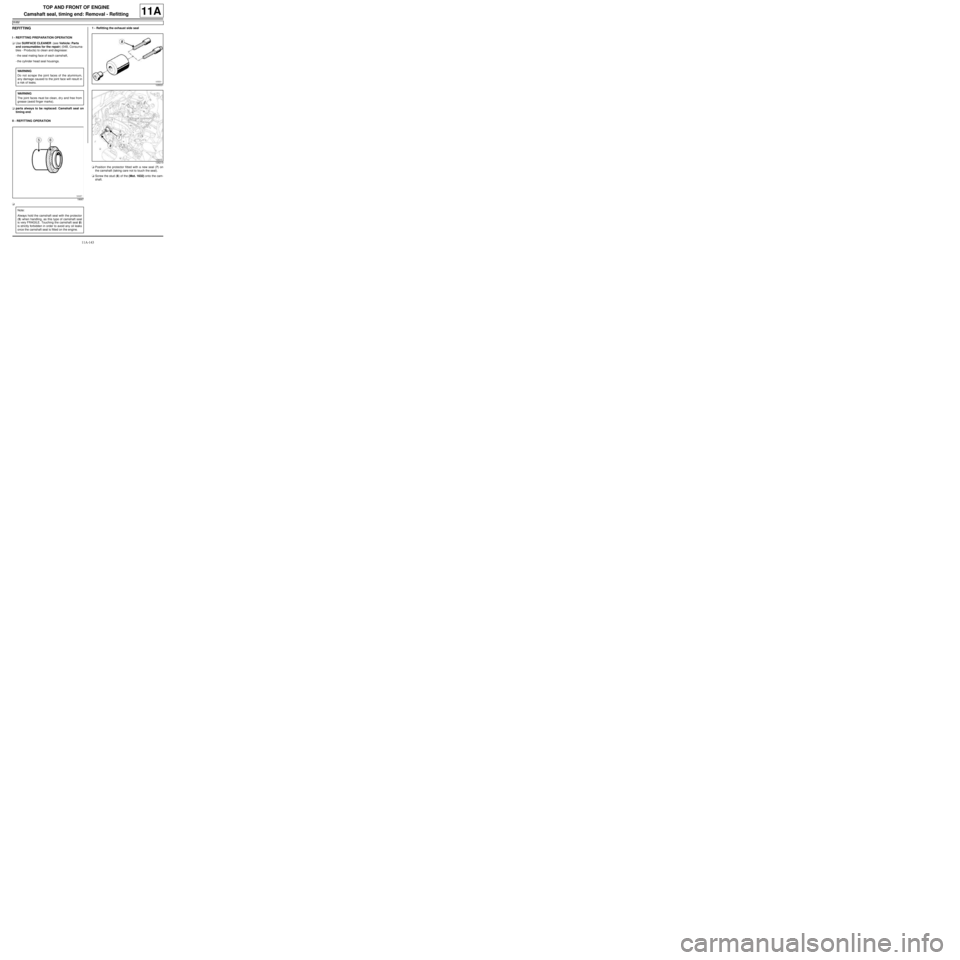
a1 - Refitting the exhaust side seal
aPosition the protector fitted with a new seal (7) on
the camshaft (taking care not to touch the seal).
aScrew the stud (8) of the (Mot. 1632) onto the cam-
shaft. WARNING
Do not scrape the joint faces of the aluminium,
any damage caused to the joint face will result in
a risk of leaks.
WARNING
The joint faces must be clean, dr y and free from
grease (avoid finger marks).
18687
Note:
Always hold the camshaft seal with the protector
(5) when handling, as this type of camshaft seal
is very FRAGILE. Touching the camshaft seal (6)
is strictly forbidden in order to avoid any oil leaks
once the camshaft seal is fitted on the engine.
105531
126219
Page 266 of 652
12A-1
FUEL MIXTURE
Air inlet: Description
C44, and K9K, and 740
12A
120044
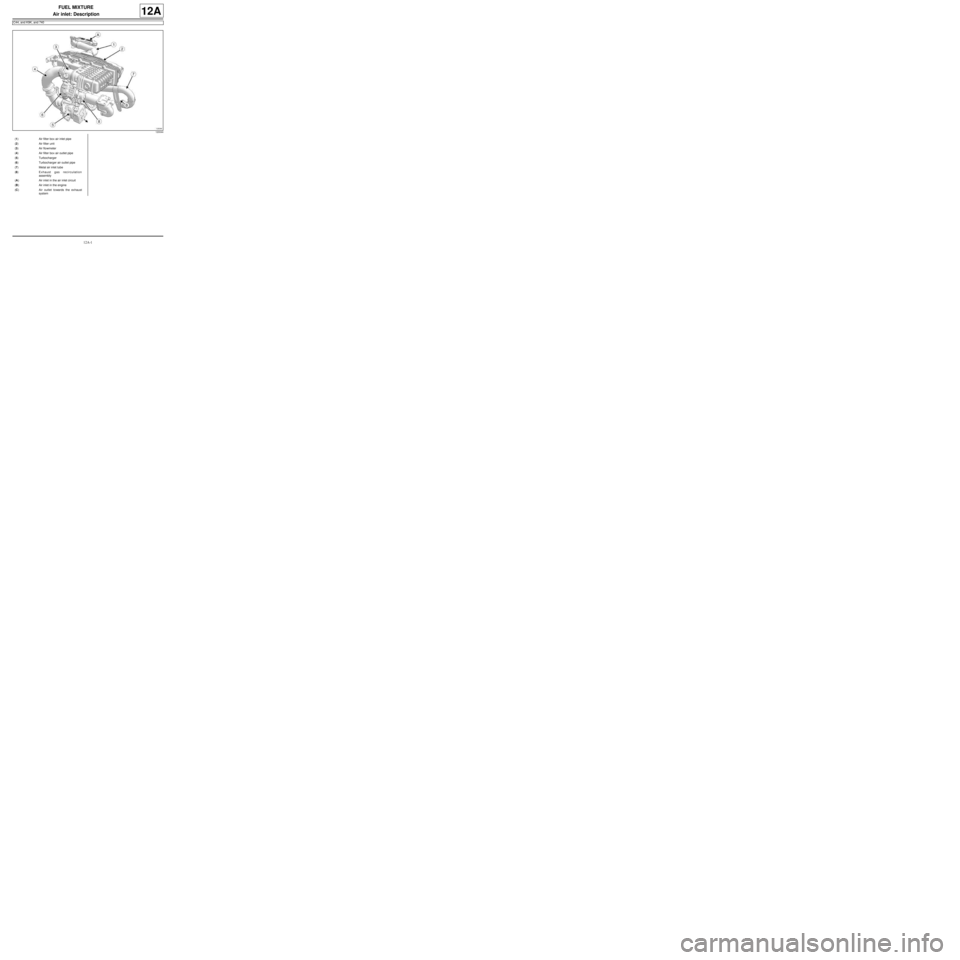
(1) Air filter box air inlet pipe
(2) Air filter unit
(3) Air flowmeter
(4) Air filter box air outlet pipe
(5) Turbocharger
(6) Turbocharger air outlet pipe
(7) Metal air inlet tube
(8) Exhaust gas recirculation
assembly
(A) Air inlet in the air inlet circuit
(B) Air inlet in the engine
(C) Air outlet towards the exhaust
system
Page 313 of 652

12A-48
FUEL MIXTURE
Exhaust manifold: Removal - Refitting
D4F, and 772 – D7F
12A
REMOVAL
I - REMOVAL PREPARATION OPERATION
aPosition the vehicle on a two-post lift (see Vehicle:
Towing and lifting) (02A, Lifting equipment).
aRemove the nuts (1) from the exhaust flange.aRemove:
-the bolts (2) from the heat shield,
-the heat shield. Tightening torquesm
exhaust manifold studs
on the cylinder head10 N.m
exhaust manifold nuts25 N.m
121731
D4F
120301
Page 314 of 652
12A-49
FUEL MIXTURE
Exhaust manifold: Removal - Refitting
D4F, and 772 – D7F
12A
II - OPERATION FOR REMOVAL OF PART
CONCERNED
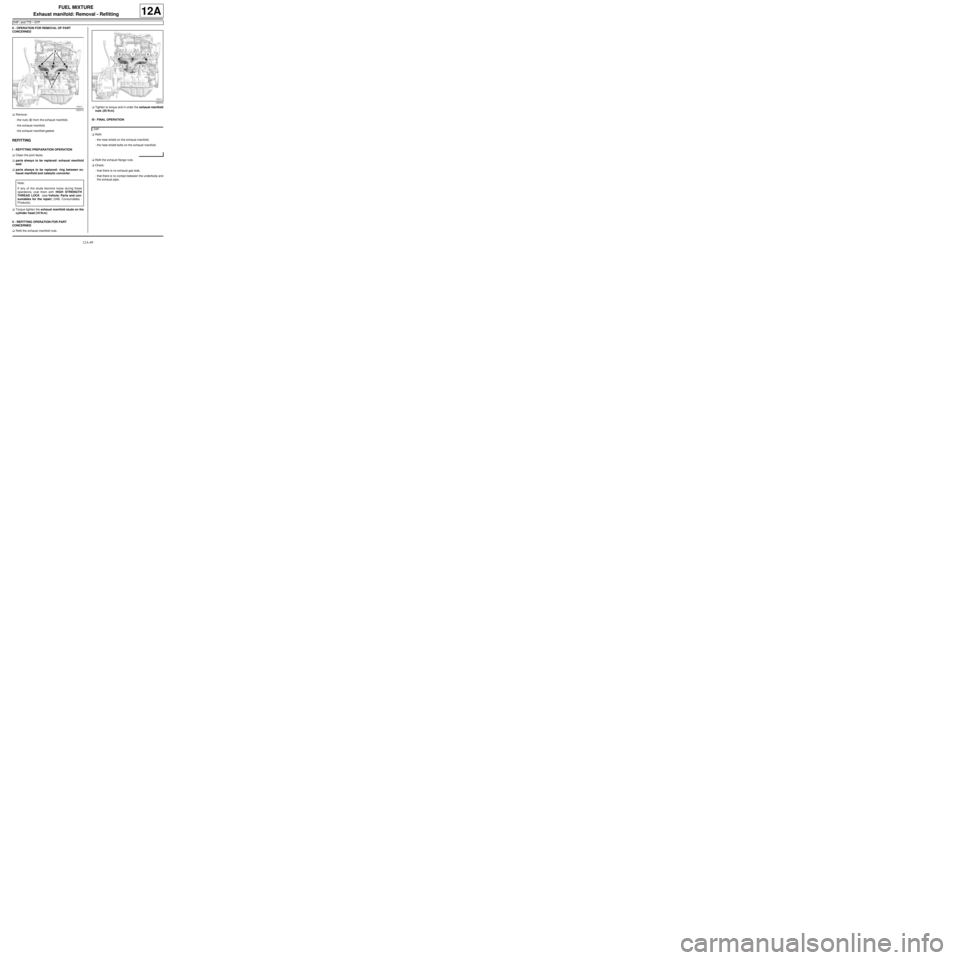
aRemove:
-the nuts (3) from the exhaust manifold,
-the exhaust manifold,
-the exhaust manifold gasket.
REFITTING
I - REFITTING PREPARATION OPERATION
aClean the joint faces.
aparts always to be replaced: exhaust manifold
seal.
aparts always to be replaced: ring between ex-
haust manifold and catalytic converter.
aTorque tighten the exhaust manifold studs on the
cylinder head (10 N.m).
II - REFITTING OPERATION FOR PART
CONCERNED
aRefit the exhaust manifold nuts.aTighten to torque and in order the exhaust manifold
nuts (25 N.m).
III - FINAL OPERATION
aRefit:
-the heat shield on the exhaust manifold,
-the heat shield bolts on the exhaust manifold.
aRefit the exhaust flange nuts.
aCheck:
-that there is no exhaust gas leak,
-that there is no contact between the underbody and
the exhaust pipe,
120312
Note:
If any of the studs become loose during these
operations, coat them with HIGH STRENGTH
THREAD LOCK (see Vehicle: Parts and con-
sumables for the repair) (04B, Consumables -
Products).
120312
D4F
Page 315 of 652
12A-50
FUEL MIXTURE
Exhaust manifold: Removal - Refitting
K9K
12A
REMOVAL
I - REMOVAL PREPARATION OPERATION
aPosition the vehicle on a two-post lift (see Vehicle:
Towing and lifting) (02A, Lifting equipment).
aDisconnect the battery (see ) (80A, Battery).
aRemove:
-the engine cover,
-the windscreen wiper arms (see Windscreen wip-
er arm: Removal - Refitting) (85A, Wiping -
Washing),
-the scuttle panel grille (see Scuttle panel grille:
Removal - Refitting) (56A, Exterior equipment),
-the scoop under the scuttle panel grille (see Scoop
under the scuttle panel grille: Removal - Refit-
ting) (56A, Exterior equipment),
-the air filter unit (see 12A, Fuel mixture, Air filter
unit: Removal - Refitting, page 12A-13) ,
-the EGR solenoid valve (see 14A, Antipollution,
Exhaust gas recirculation solenoid valve: Re-
moval - Refitting, page 14A-10) ,
-the lower engine tie-bar (see 19D, Engine mount-
ing, Lower engine tie-bar: Removal - Refitting,
page 19D-18) ,
-the catalytic converter (see 19B, Exhaust, Cata-
lytic converter: Removal - Refitting, page 19B-
12) ,
-the turbocharger (see 12B, Turbocharging, Tur-
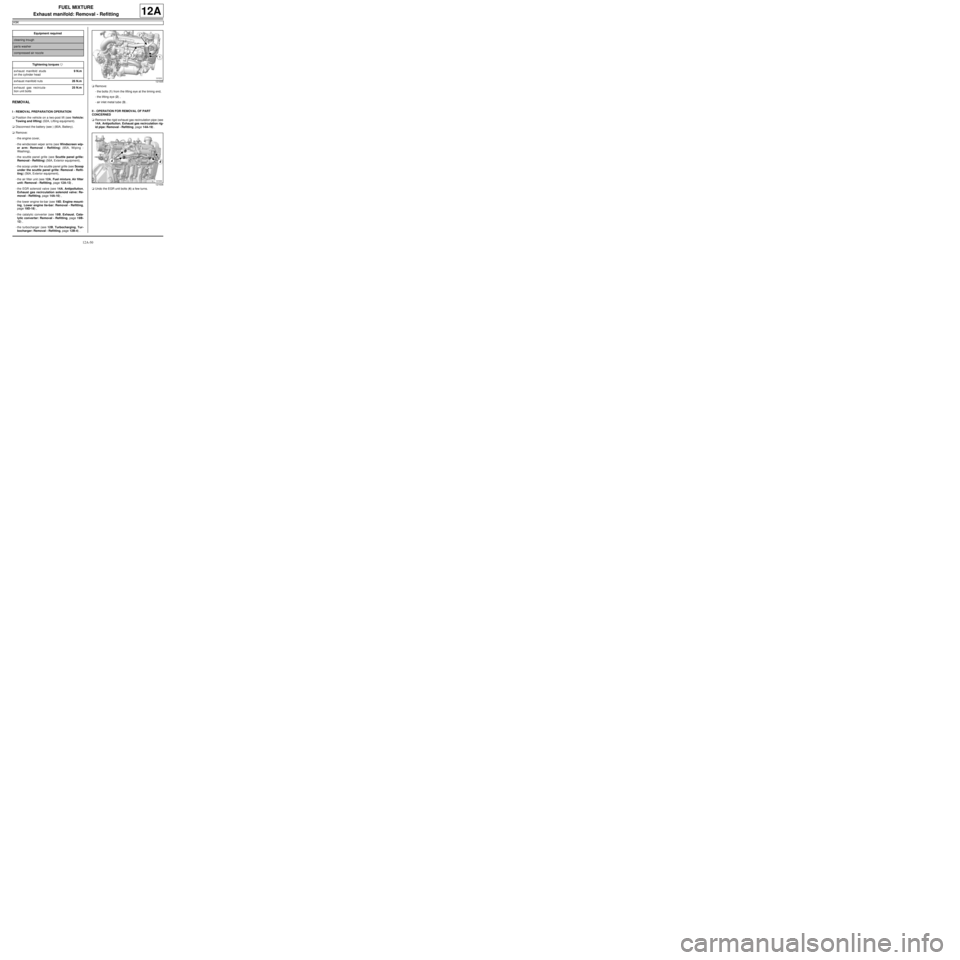
bocharger: Removal - Refitting, page 12B-4) .aRemove:
-the bolts (1) from the lifting eye at the timing end,
-the lifting eye (2) ,
-air inlet metal tube (3) .
II - OPERATION FOR REMOVAL OF PART
CONCERNED
aRemove the rigid exhaust gas recirculation pipe (see
14A, Antipollution, Exhaust gas recirculation rig-
id pipe: Removal - Refitting, page 14A-19) .
aUndo the EGR unit bolts (4) a few turns. Equipment required
cleaning trough
par ts washer
compressed air nozzle
Tightening torquesm
exhaust manifold studs
on the cylinder head9 N.m
exhaust manifold nuts26 N.m
exhaust gas recircula-
tion unit bolts25 N.m
121635
121636
Page 316 of 652
12A-51
FUEL MIXTURE
Exhaust manifold: Removal - Refitting
K9K
12A
aRemove:
-the nuts (5) from the exhaust manifold,
-the exhaust manifold,
-the exhaust manifold gasket.
REFITTING
I - REFITTING PREPARATION OPERATION
aparts always to be replaced: exhaust manifold
seal.
aAlways replace:
-the air inlet metal tube seals.
aIf the exhaust manifold is being reused, clean it us-
ing a cleaning trough or a parts washer then dry it
using a compressed air nozzle.
aClean the bearing faces using ABRASIVE PADS
on:
-of the cylinder head - exhaust manifold,
-of the exhaust manifold - EGR rigid pipe,
-of the exhaust manifold - turbocharger,
aUse SURFACE CLEANER (see Vehicle: Parts
and consumables for the repair) (04B, Consuma-
bles - Products) and CLEAN CLOTHS to degrease
the bearing faces:
-of the cylinder head - exhaust manifold,
-of the exhaust manifold - EGR rigid pipe,
-of the exhaust manifold - turbocharger,aIf replacing, torque tighten the exhaust manifold
studs on the cylinder head (9 N.m).
II - REFITTING OPERATION FOR PART
CONCERNED
aRefit:
-a new exhaust manifold seal,
-the exhaust manifold.
aTorque tighten in order the exhaust manifold nuts
(26 N.m).
aFit the exhaust gas recirculation unit bolts.
aTorque tighten the exhaust gas recirculation unit
bolts (25 N.m).
aRefit the rigid exhaust gas recirculation pipe (see
14A, Antipollution, Exhaust gas recirculation rig-
id pipe: Removal - Refitting, page 14A-19) .
III - FINAL OPERATION
aRefit:
-a new seal on the air inlet metal tube,
-the air inlet metal tube,
-the lifting eye on the timing end,
-the bolts from the lifting eye, timing end,
-the turbocharger (see 12B, Turbocharging, Tur-
bocharger: Removal - Refitting, page 12B-4) ,
-the catalytic converter (see 19B, Exhaust, Cata-
lytic converter: Removal - Refitting, page 19B-
12) ,
-the lower engine tie-bar (see 19D, Engine mount-
ing, Lower engine tie-bar: Removal - Refitting,
page 19D-18) ,
113561
WARNING
The joint faces must be clean, dr y and free from
grease (avoid finger marks).
113561
Page 317 of 652

12A-52
FUEL MIXTURE
Exhaust manifold: Removal - Refitting
K9K
12A
-the EGR solenoid valve (see 14A, Antipollution,
Exhaust gas recirculation solenoid valve: Re-
moval - Refitting, page 14A-10) ,
-the air filter unit (see 12A, Fuel mixture, Air filter
unit: Removal - Refitting, page 12A-13) ,
-the scoop under the scuttle panel grille (see Scoop
under the scuttle panel grille: Removal - Refit-
ting) (56A, Exterior equipment),
-the scuttle panel grille (see Scuttle panel grille:
Removal - Refitting) (56A, Exterior equipment),
-the windscreen wiper arms (see Windscreen wip-
er arm: Removal - Refitting) (85A, Wiping -
Washing),
-the engine cover.
aConnect the battery (see ) (80A, Battery).
Page 318 of 652
12A-53
FUEL MIXTURE
Exhaust manifold: Removal - Refitting
D4F, and 780 or 782
12A
REMOVAL
I - REMOVAL PREPARATION OPERATION
aPosition the vehicle on a two-post lift (see Vehicle:
Towing and lifting) (02A, Lifting equipment).
aDisconnect the battery (see ) (80A, Battery).
aRemove:
-the engine undertray,
-the air filter unit (see 12A, Fuel mixture, Air filter
unit: Removal - Refitting, page 12A-13) ,
-the upstream oxygen sensor (see 17B, Petrol in-
jection, Oxygen sensors: Removal - Refitting,
page 17B-13) ,
-the lower engine tie-bar (see 19D, Engine mount-
ing, Lower engine tie-bar: Removal - Refitting,
page 19D-18) ,
-the catalytic converter (see 19B, Exhaust, Cata-
lytic converter: Removal - Refitting, page 19B-
12) ,
-the turbocharger (see 12B, Turbocharging, Tur-
bocharger: Removal - Refitting, page 12B-4) .II - OPERATION FOR REMOVAL OF PART
CONCERNED
aRemove the exhaust manifold nuts (6) .
aRemove:
-the exhaust manifold by undoing the central stud
with a male torx socket and removing the manifold
with a large screwdriver as shown at (7) ,
-the exhaust manifold heat shield bolts,
-the exhaust manifold heat shield,
-the exhaust manifold gasket. Tightening torquesm
exhaust manifold heat
shield bolts18 N.m
exhaust manifold nuts
(initial torque)20 N.m
exhaust manifold nuts30 N.m
IMPORTANT
Wear cut-resistant gloves during the operation.
121200
121771
Page 319 of 652

12A-54
FUEL MIXTURE
Exhaust manifold: Removal - Refitting
D4F, and 780 or 782
12A
REFITTING
I - REFITTING PREPARATION OPERATION
aparts always to be replaced: exhaust manifold
seal.
II - REFITTING OPERATION FOR PART
CONCERNED
aRefit:
-the exhaust manifold heat shield,
-the exhaust manifold heat shield bolts.
aTorque tighten the exhaust manifold heat shield
bolts (18 N.m).
aRefit:
-a new exhaust manifold gasket,
-the exhaust manifold.
aRefit the exhaust manifold nuts.
aPretighten to torque the exhaust manifold nuts
(initial torque) (20 N.m).
aTorque tighten the exhaust manifold nuts (30
N.m).
III - FINAL OPERATION
aRefit:
-the turbocharger (see 12B, Turbocharging, Tur-
bocharger: Removal - Refitting, page 12B-4) ,
-the catalytic converter (see 19B, Exhaust, Cata-
lytic converter: Removal - Refitting, page 19B-
12) ,
-the lower engine tie-bar (see 19D, Engine mount-
ing, Lower engine tie-bar: Removal - Refitting,
page 19D-18) ,
-the upstream oxygen sensor (see 17B, Petrol in-
jection, Oxygen sensors: Removal - Refitting,
page 17B-13) ,
-the air filter unit (see 12A, Fuel mixture, Air filter
unit: Removal - Refitting, page 12A-13) ,
-the engine undertray.
aConnect the battery (see ) (80A, Battery).