wiring RENAULT TWINGO RS 2009 2.G Engine And Peripherals Repair Manual
[x] Cancel search | Manufacturer: RENAULT, Model Year: 2009, Model line: TWINGO RS, Model: RENAULT TWINGO RS 2009 2.GPages: 652
Page 415 of 652
13B-54
DIESEL INJECTION
Accelerometer: Removal - Refitting
K9K
13B
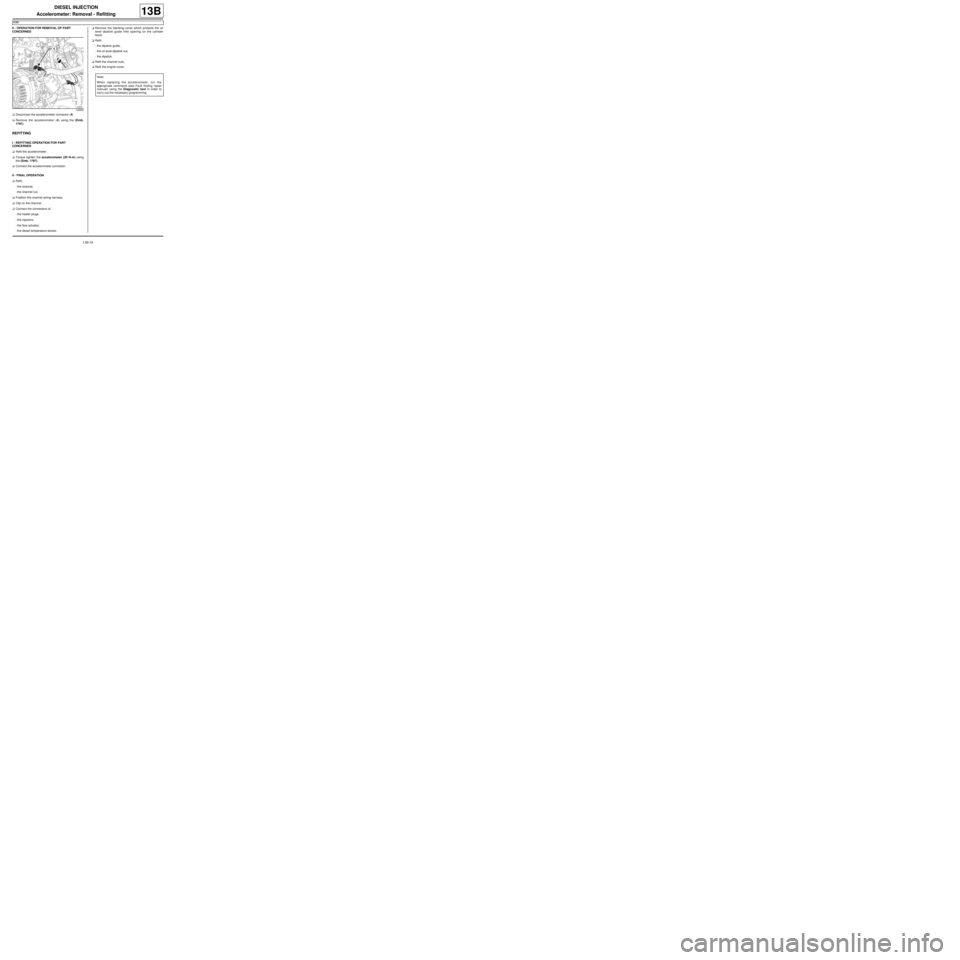
II - OPERATION FOR REMOVAL OF PART
CONCERNED
aDisconnect the accelerometer connector (4) .
aRemove the accelerometer (4) using the (Emb.
1797).
REFITTING
I - REFITTING OPERATION FOR PART
CONCERNED
aRefit the accelerometer.
aTorque tighten the accelerometer (20 N.m) using
the (Emb. 1797).
aConnect the accelerometer connector.
II - FINAL OPERATION
aRefit:
-the channel,
-the channel nut.
aPosition the channel wiring harness.
aClip on the channel.
aConnect the connectors of:
-the heater plugs,
-the injectors,
-the flow actuator,
-the diesel temperature sensor.aRemove the blanking cover which protects the oil
level dipstick guide inlet opening on the cylinder
block.
aRefit:
-the dipstick guide,
-the oil level dipstick nut,
-the dipstick.
aRefit the channel nuts.
aRefit the engine cover.
109939
Note:
When replacing the accelerometer, run the
appropriate command (see Fault finding repair
manual) using the Diagnostic tool in order to
carr y out the necessary programming.
Page 441 of 652
16A-2
STARTING - CHARGING
Alternator: Removal - Refitting
D4F or D7F, and STANDARD HEATING
16A
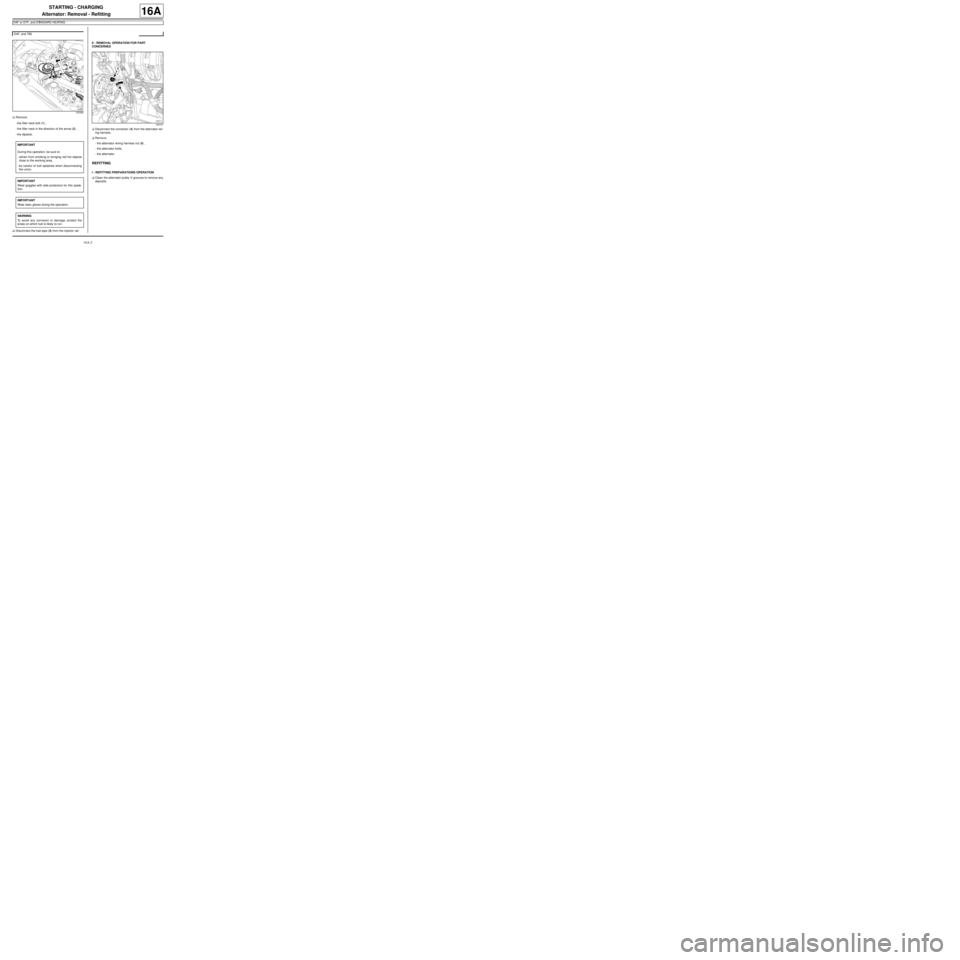
aRemove:
-the filler neck bolt (1) ,
-the filler neck in the direction of the arrow (2) ,
-the dipstick.
aDisconnect the fuel pipe (3) from the injector rail.II - REMOVAL OPERATION FOR PART
CONCERNED
aDisconnect the connector (4) from the alternator wir-
ing harness.
aRemove:
-the alternator wiring harness nut (5) ,
-the alternator bolts,
-the alternator.
REFITTING
I - REFITTING PREPARATIONS OPERATION
aClean the alternator pulley V-grooves to remove any
deposits. D4F, and 780
122392
IMPORTANT
During this operation, be sure to:
-refrain from smoking or bringing red hot objects
close to the working area,
-be careful of fuel splashes when disconnecting
the union.
IMPORTANT
Wear goggles with side protectors for this opera-
tion.
IMPORTANT
Wear latex gloves during the operation.
WARNING
To avoid any corrosion or damage, protect the
areas on which fuel is likely to run.
109727
Page 449 of 652
16A-10
STARTING - CHARGING
Starter: Removal - Refitting
D4F or D7F
16A
REMOVAL
I - REMOVAL PREPARATION OPERATION
aDisconnect the battery (see ) (80A, Battery).
aRemove the engine oil dipstick.
aRemove the air filter unit (see 12A, Fuel mixture,
Air filter unit: Removal - Refitting, page 12A-13) .
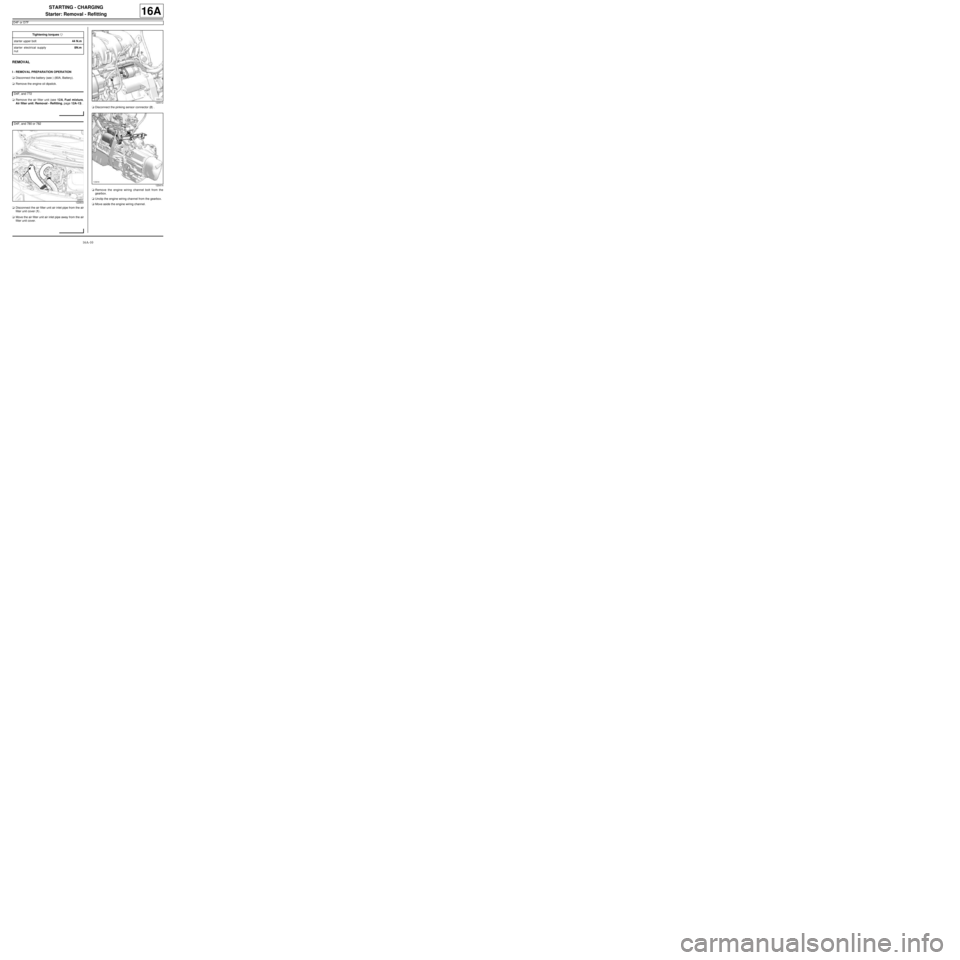
aDisconnect the air filter unit air inlet pipe from the air
filter unit cover (1) .
aMove the air filter unit air inlet pipe away from the air
filter unit cover.aDisconnect the pinking sensor connector (2) .
aRemove the engine wiring channel bolt from the
gearbox.
aUnclip the engine wiring channel from the gearbox.
aMove aside the engine wiring channel. Tightening torquesm
starter upper bolt44 N.m
starter electrical supply
nut8N.m
D4F, and 772
D4F, and 780 or 782
122833
120512
120414
Page 450 of 652
16A-11
STARTING - CHARGING
Starter: Removal - Refitting
D4F or D7F
16A
II - OPERATION FOR REMOVAL OF PART
CONCERNED
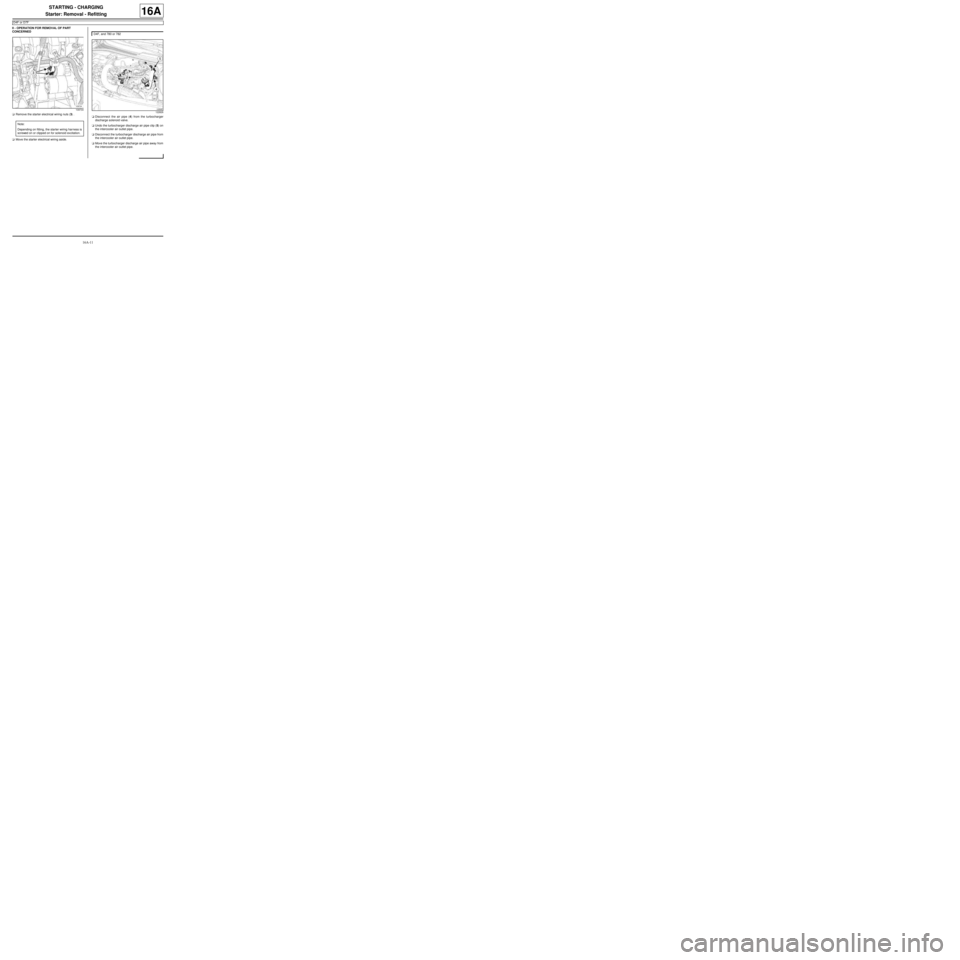
aRemove the starter electrical wiring nuts (3) .
aMove the starter electrical wiring aside.aDisconnect the air pipe (4) from the turbocharger
discharge solenoid valve.
aUndo the turbocharger discharge air pipe clip (5) on
the intercooler air outlet pipe.
aDisconnect the turbocharger discharge air pipe from
the intercooler air outlet pipe.
aMove the turbocharger discharge air pipe away from
the intercooler air outlet pipe.
109734
Note:
Depending on fitting, the starter wiring harness is
screwed on or clipped on for solenoid excitation.
D4F, and 780 or 782
122826
Page 451 of 652
16A-12
STARTING - CHARGING
Starter: Removal - Refitting
D4F or D7F
16A
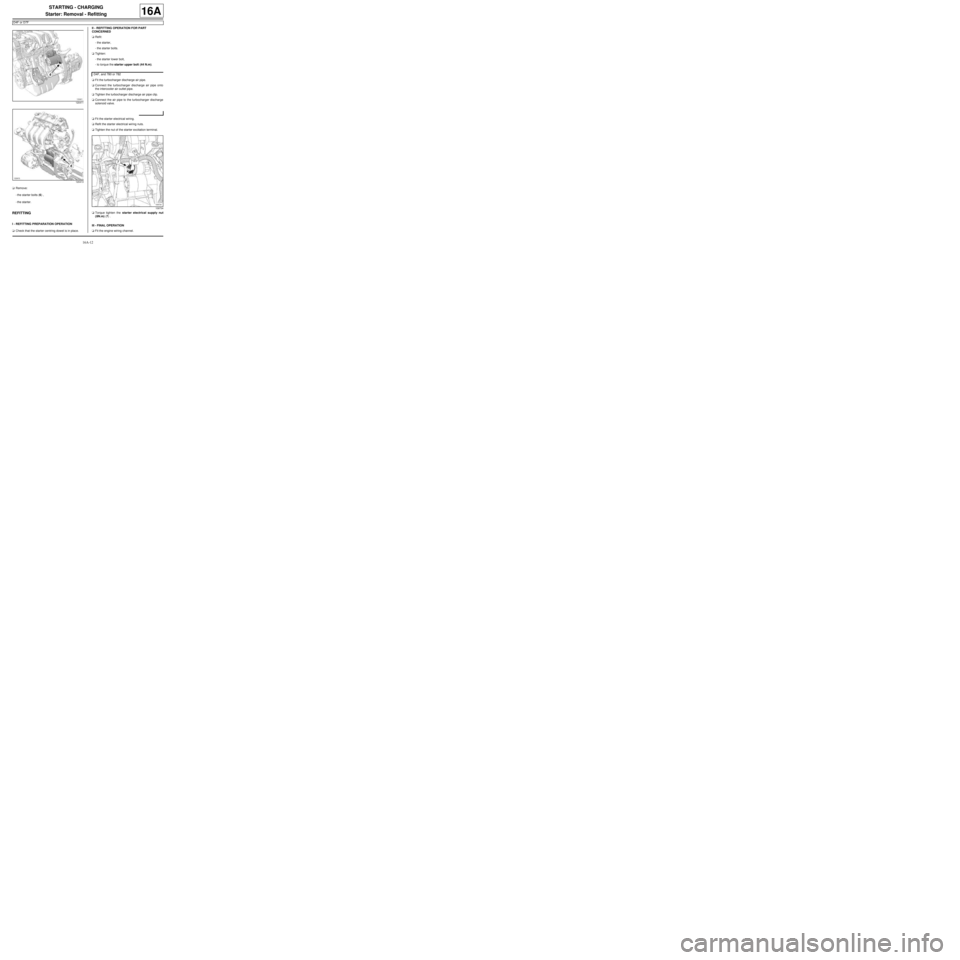
aRemove:
-the starter bolts (6) ,
-the starter.
REFITTING
I - REFITTING PREPARATION OPERATION
aCheck that the starter centring dowel is in place.II - REFITTING OPERATION FOR PART
CONCERNED
aRefit:
-the starter,
-the starter bolts.
aTighten:
-the starter lower bolt,
-to torque the starter upper bolt (44 N.m).
aFit the turbocharger discharge air pipe.
aConnect the turbocharger discharge air pipe onto
the intercooler air outlet pipe.
aTighten the turbocharger discharge air pipe clip.
aConnect the air pipe to the turbocharger discharge
solenoid valve.
aFit the starter electrical wiring.
aRefit the starter electrical wiring nuts.
aTighten the nut of the starter excitation terminal.
aTorque tighten the starter electrical supply nut
(8N.m) (7) .
III - FINAL OPERATION
aFit the engine wiring channel.
120411
120413
D4F, and 780 or 782
109734
Page 452 of 652
16A-13
STARTING - CHARGING
Starter: Removal - Refitting
D4F or D7F
16A
aClip the engine wiring channel onto the gearbox.
aRefit the engine wiring channel bolt to the gearbox.
aTighten the engine wiring channel bolt on the gear-
box.
aConnect the pinking sensor connector.
aFit the air filter unit air inlet pipe on the air filter unit
cover.
aConnect the air filter unit air inlet pipe on the air filter
unit cover.
aRefit the air filter unit (see 12A, Fuel mixture, Air fil-
ter unit: Removal - Refitting, page 12A-13) .
aRefit the engine oil dipstick.
aConnect the battery (see ) (80A, Battery). D4F, and 780 or 782
D4F, and 772
Page 453 of 652
16A-14
STARTING - CHARGING
Starter: Removal - Refitting
K9K
16A
REMOVAL
I - REMOVAL PREPARATION OPERATION
aDisconnect the battery (see ) (MR 411, 80A, Bat-
tery).
aRemove the front engine cover.
II - OPERATION FOR REMOVAL OF PART
CONCERNED
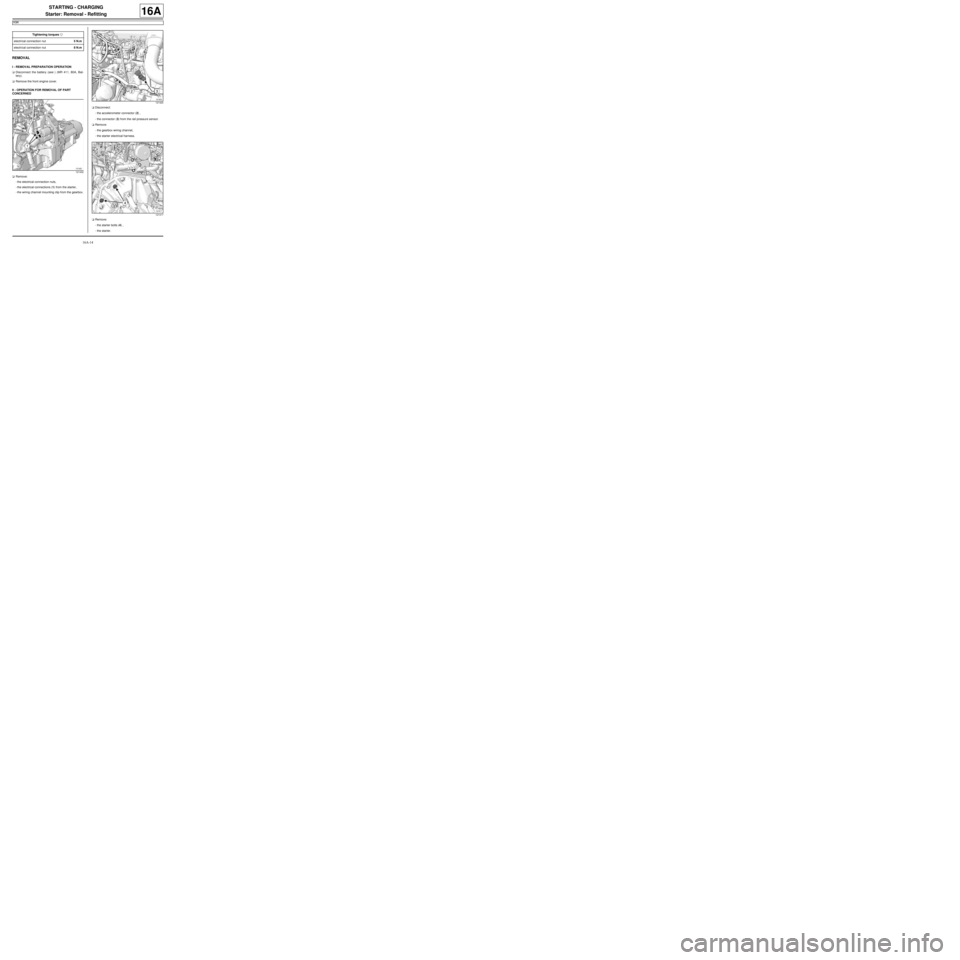
aRemove:
-the electrical connection nuts,
-the electrical connections (1) from the starter,
-the wiring channel mounting clip from the gearbox.aDisconnect:
-the accelerometer connector (2) ,
-the connector (3) from the rail pressure sensor.
aRemove:
-the gearbox wiring channel,
-the starter electrical harness.
aRemove:
-the starter bolts (4) ,
-the starter. Tightening torquesm
electr ical connection nut5 N.m
electr ical connection nut8 N.m
121432
121420
121417
Page 454 of 652
16A-15
STARTING - CHARGING
Starter: Removal - Refitting
K9K
16A
REFITTING
I - REFITTING OPERATION FOR PART
CONCERNED
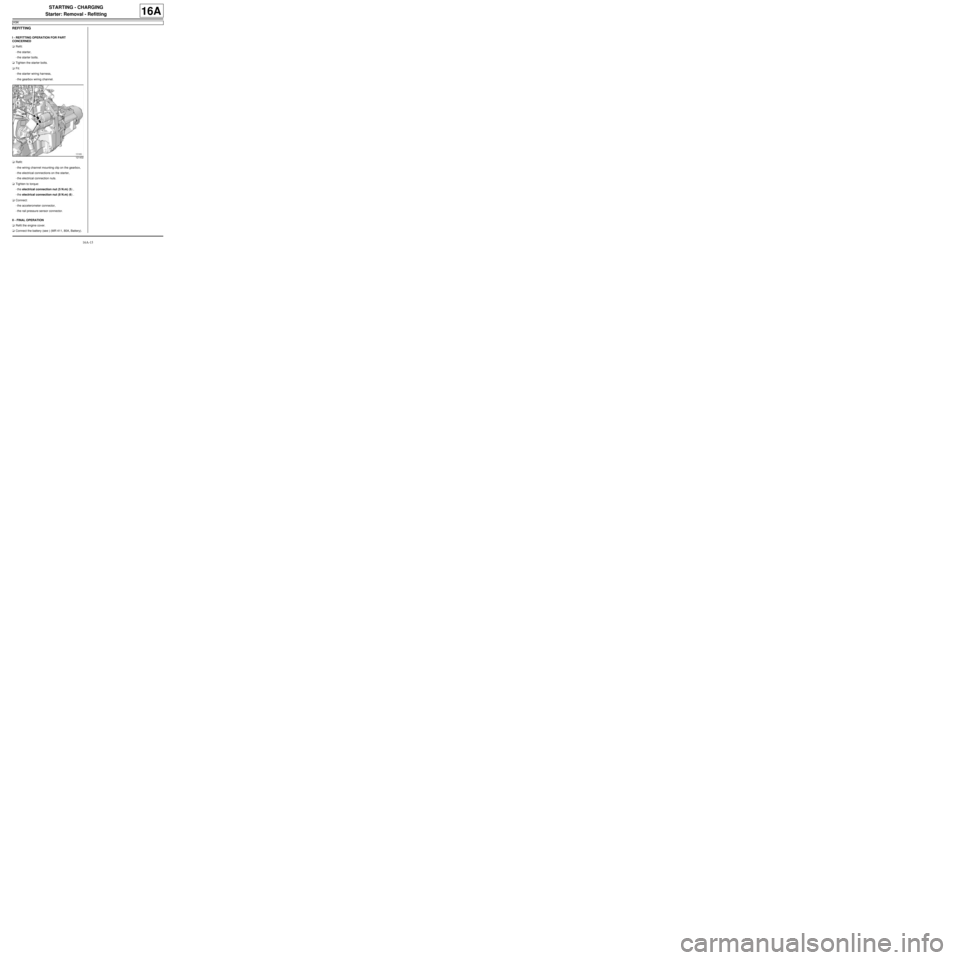
aRefit:
-the starter,
-the starter bolts.
aTighten the starter bolts.
aFit:
-the starter wiring harness,
-the gearbox wiring channel.
aRefit:
-the wiring channel mounting clip on the gearbox,
-the electrical connections on the starter,
-the electrical connection nuts.
aTighten to torque:
-the electrical connection nut (5 N.m) (5) ,
-the electrical connection nut (8 N.m) (6) .
aConnect:
-the accelerometer connector,
-the rail pressure sensor connector.
II - FINAL OPERATION
aRefit the engine cover.
aConnect the battery (see ) (MR 411, 80A, Battery).
121432
Page 455 of 652
16A-16
STARTING - CHARGING
Starter: Removal - Refitting
K4M
16A
REMOVAL
I - REMOVAL PREPARATION OPERATION
aDisconnect the battery (see Battery: Removal - Re-
fitting) (80A, Battery).
aRemove the air filter unit (see 12A, Fuel mixture,
Air filter unit: Removal - Refitting, page 12A-13) .
II - REMOVAL OPERATION
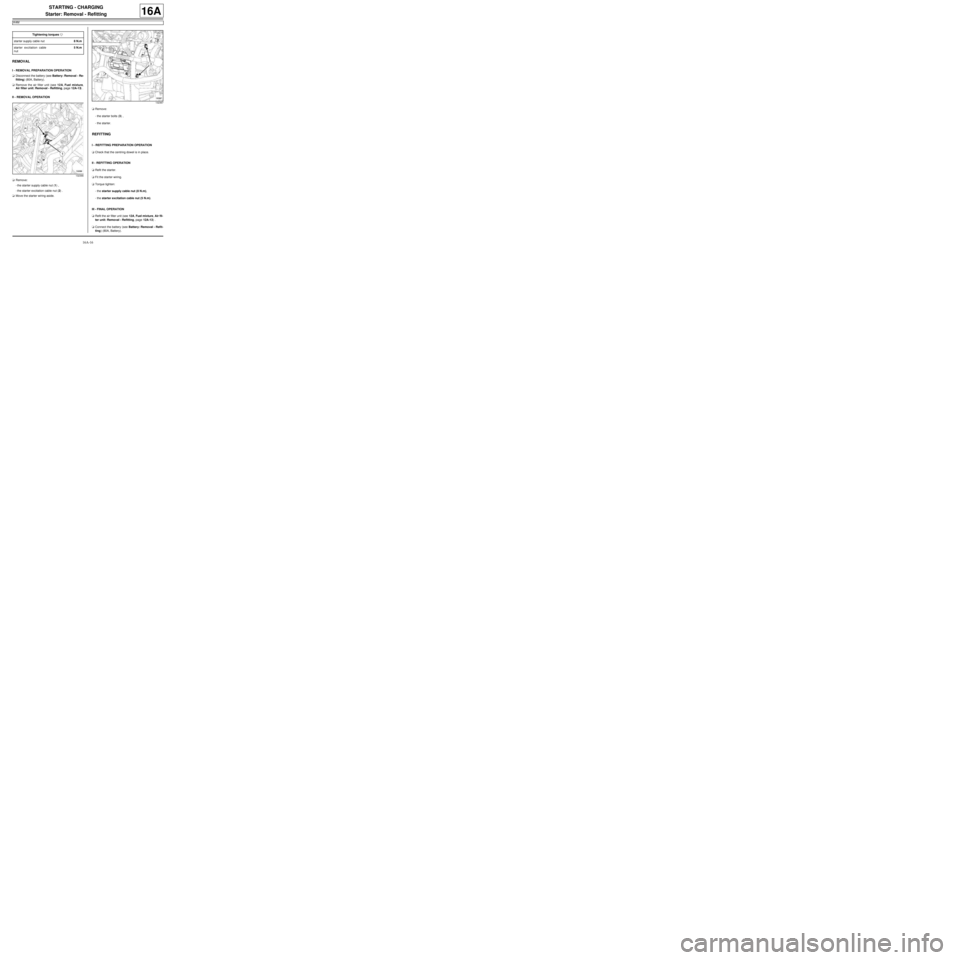
aRemove:
-the starter supply cable nut (1) ,
-the starter excitation cable nut (2) .
aMove the starter wiring aside.aRemove:
-the starter bolts (3) ,
-the starter.
REFITTING
I - REFITTING PREPARATION OPERATION
aCheck that the centring dowel is in place.
II - REFITTING OPERATION
aRefit the starter.
aFit the starter wiring.
aTorque tighten:
-the starter supply cable nut (8 N.m),
-the starter excitation cable nut (5 N.m).
III - FINAL OPERATION
aRefit the air filter unit (see 12A, Fuel mixture, Air fil-
ter unit: Removal - Refitting, page 12A-13) .
aConnect the battery (see Battery: Removal - Refit-
ting) (80A, Battery). Tightening torquesm
starter supply cable nut8 N.m
starter excitation cable
nut5 N.m
132366
132367
Page 457 of 652
17A-1
IGNITION
Coils: Removal - Refitting
D7F
17A
PARTS AND CONSUMABLES FOR THE
REPAIR WORK
aConsumable (see Vehicle: Parts and consuma-
bles for the repair) :
-Fluostar 2L.
REMOVAL
I - REMOVAL PREPARATION OPERATION
aDisconnect the battery ( (see Battery: Removal -
Refitting) ).
II - OPERATION FOR REMOVAL OF PART
CONCERNED
a
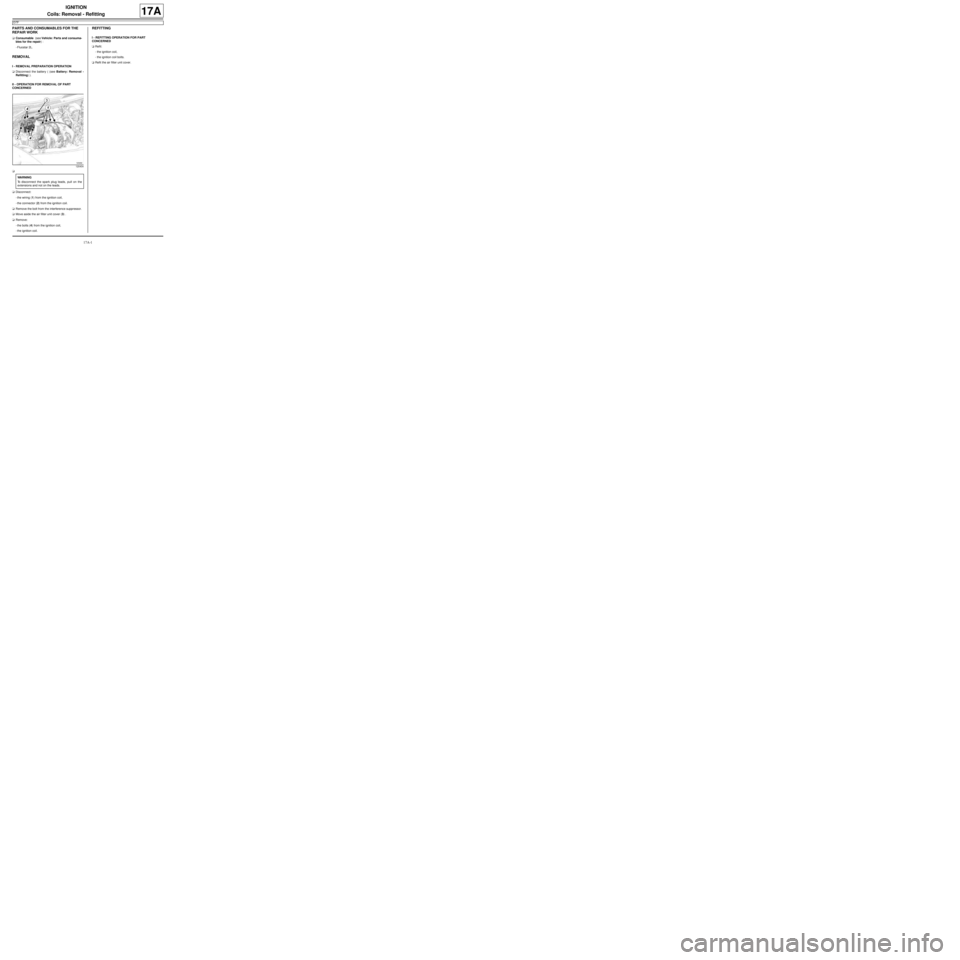
aDisconnect:
-the wiring (1) from the ignition coil,
-the connector (2) from the ignition coil.
aRemove the bolt from the interference suppressor.
aMove aside the air filter unit cover (3) .
aRemove:
-the bolts (4) from the ignition coil,
-the ignition coil.
REFITTING
I - REFITTING OPERATION FOR PART
CONCERNED
aRefit:
-the ignition coil,
-the ignition coil bolts.
aRefit the air filter unit cover.
120404
WARNING
To disconnect the spark plug leads, pull on the
extensions and not on the leads.