jump cable SKODA FABIA 2014 3.G / NJ Operating Instruction Manual
[x] Cancel search | Manufacturer: SKODA, Model Year: 2014, Model line: FABIA, Model: SKODA FABIA 2014 3.G / NJPages: 216, PDF Size: 30.9 MB
Page 160 of 216

Downloaded from www.Manualslib.com manuals search engine WARNINGThere is a risk of injuries, poisoning, chemical burns, explosions or fire
when carrying out any work on the battery and on the electrical system. It
is essential to comply with the generally applicable rules of safety as well
as the warning instructions outlined below.■
Keep the vehicle battery away from people who are not completely inde-
pendent, especially children.
■
Do not tilt the battery otherwise battery electrolyte may flow out of the
battery vent openings.
■
Protect your eyes by wearing safety glasses or a face shield – there is a
risk of being blinded.
■
Always wear protective gloves, eye and skin protection when handling
the vehicle battery.
■
The battery acid is strongly corrosive and must, therefore, be handled
with the greatest of care.
■
Corrosive fumes in the air irritate the air passages and lead to conjunctivi-
tis and inflammation of the air passages in the lungs.
■
Battery acid corrodes dental enamel and creates deep wounds on contact
with the skin which take a long time to heal.
■
If any battery electrolyte comes into contact with your eyes, rinse the
eyes immediately with clear water for several minutes - consult a doctor
immediately.
■
Splashes of acid on your skin or clothes should be neutralised as soon as
possible using soap suds and then rinsed with plenty of water.
■
Seek immediate medical assistance if you swallow battery acid.
WARNING■ The use of open flames and light should be avoided.■Smoking and radio triggering activities should be avoided.■
Never use a damaged vehicle battery – there is a risk of explosion.
■
Never charge a frozen or thawed vehicle battery – there is a risk of explo-
sion and caustic burns.
■
Replace a frozen vehicle battery.
■
Never jump-start vehicle batteries with an electrolyte level that is too low
– risk of explosion and caustic burns.
CAUTION
■ Improper handling of the vehicle battery may cause damage.■Ensure that battery acid does not come into contact with the bodywork –
there is a risk of damage to the paintwork.■ If the vehicle has not been driven for more than 3 to 4 weeks, the battery will
discharge. Prevent the battery from discharging by disconnecting the battery's
negative terminal
or continuously charging the battery with a very low
charging current.■
Do not place the battery in direct daylight in order to protect the vehicle bat-
tery housing from the effects of ultra-violet light.
■
If the vehicle is frequently used for making short trips, the vehicle battery
will not have time to charge up sufficiently and may discharge.
For the sake of the environment
A vehicle battery that has been removed is a special type of hazardous waste.
These must be disposed of in accordance with national legal regulations.
Note
■ We recommend having all work on the vehicle battery carried out by a spe-
cialist garage.■
You should replace batteries older than 5 years.
Open cover
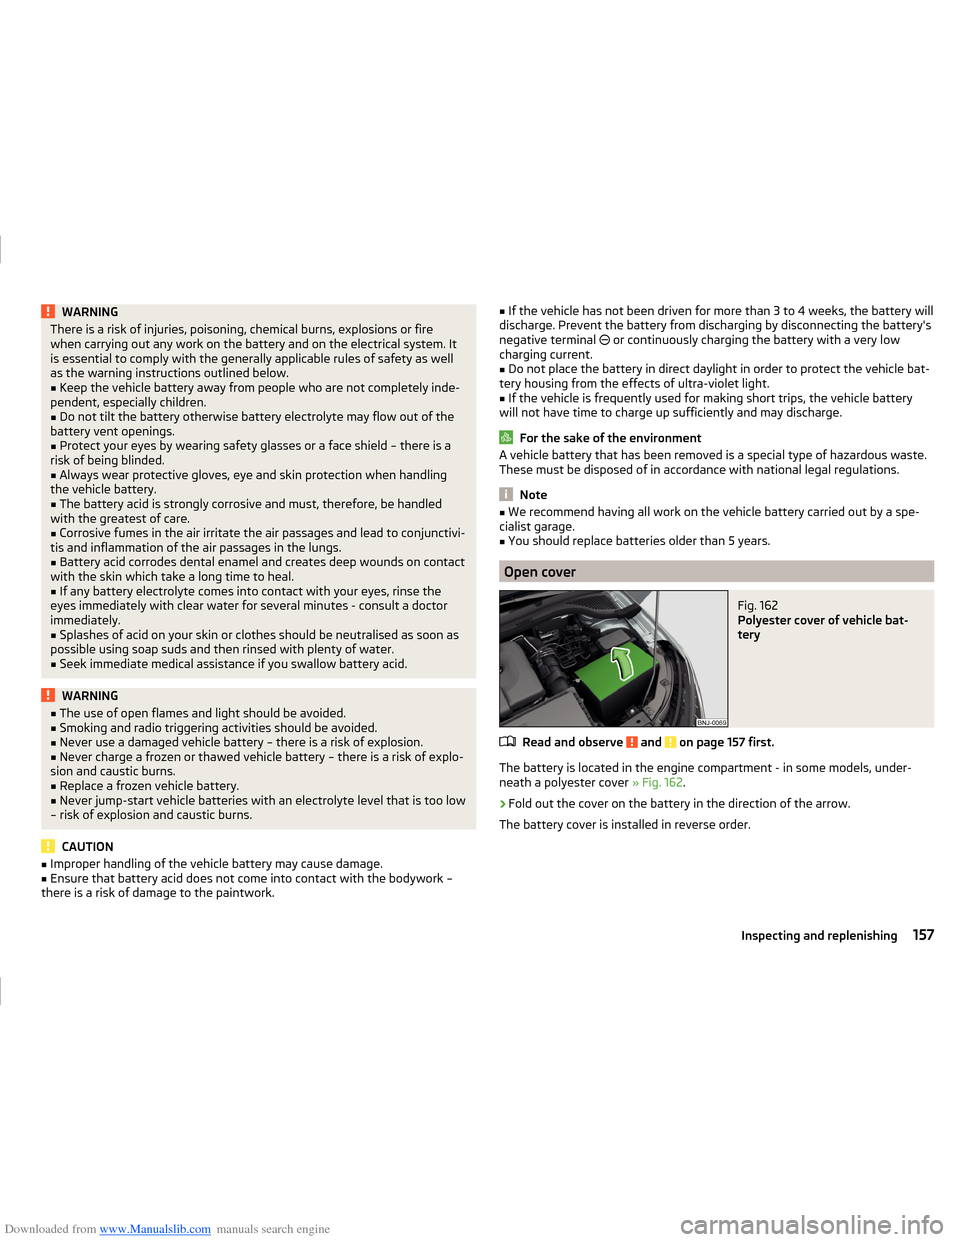
Fig. 162
Polyester cover of vehicle bat-
tery
Read and observe and on page 157 first.
The battery is located in the engine compartment - in some models, under-
neath a polyester cover » Fig. 162.
›
Fold out the cover on the battery in the direction of the arrow.
The battery cover is installed in reverse order.
157Inspecting and replenishing
Page 177 of 216

Downloaded from www.Manualslib.com manuals search engine ›Remove the tyre inflation hose 7 from the tyre valve.
Once a tyre pressure of 2.0 – 2.5 bar is reached, the journey may be continued
at a maximum speed of 80 km/h (50 mph).WARNING■ If you cannot inflate the tyre to at least 2.0 bar, this means the damage
sustained was too serious. The sealing agent cannot be used to seal the
tyre.
Do not continue to drive! Seek help from a specialist garage.■
The tyre inflation hose and air compressor may get hot while the tyre is
being inflated – there is a risk of injury.
CAUTION
Switch off the air compressor after running 8 minutes at the most – risk of
overheating. Allow the air compressor to cool a few minutes before switching
it on again.
Notes for driving with tyre repaired
Read and observe
on page 172 first.
The filling pressure of the repaired tyre is a 10-minute test drive.
If the tyre pressure is 1.3 bar or less
›
Do not continue to drive! You cannot properly seal with tyre with the
breakdown kit.
If the tyre pressure is 1.3 bar or more
›
Correct the tyre pressure back to the correct value.
›
Continue driving carefully to the nearest specialist garage at a maximum speed of 80 km/h (50 mph).
WARNING■ A tyre filled with sealant has the same driving characteristics as a stand-
ard tyre.■
Do not drive faster than 80 km/h (50 mph).
■
Avoid accelerating at full throttle, sharp braking and fast cornering.
Jump-starting
Introduction
This chapter contains information on the following subjects:
Jump-starting using the battery from another vehicle
174
The battery of another vehicle can be used to jump-start your vehicle if the en-
gine will not start because the battery is flat.
WARNING■ Pay attention to the warning instructions relating to working in the en-
gine compartment » page 149.■
A discharged vehicle battery can freeze at temperatures just below 0 °C.
If the battery is frozen, do not jump start with the battery of another vehi-
cle – risk of explosion.
■
Keep any sources of ignition (naked flame, smouldering cigarettes, etc.)
away from the battery – risk of explosion!
■
Never jump-start vehicle batteries with an electrolyte level that is too low
– risk of explosion and caustic burns.
■
The vent screws of the battery cells must be tightened firmly.
Note
We recommend you buy jump-start cables from a car battery specialist.
Jump-starting using the battery from another vehicle
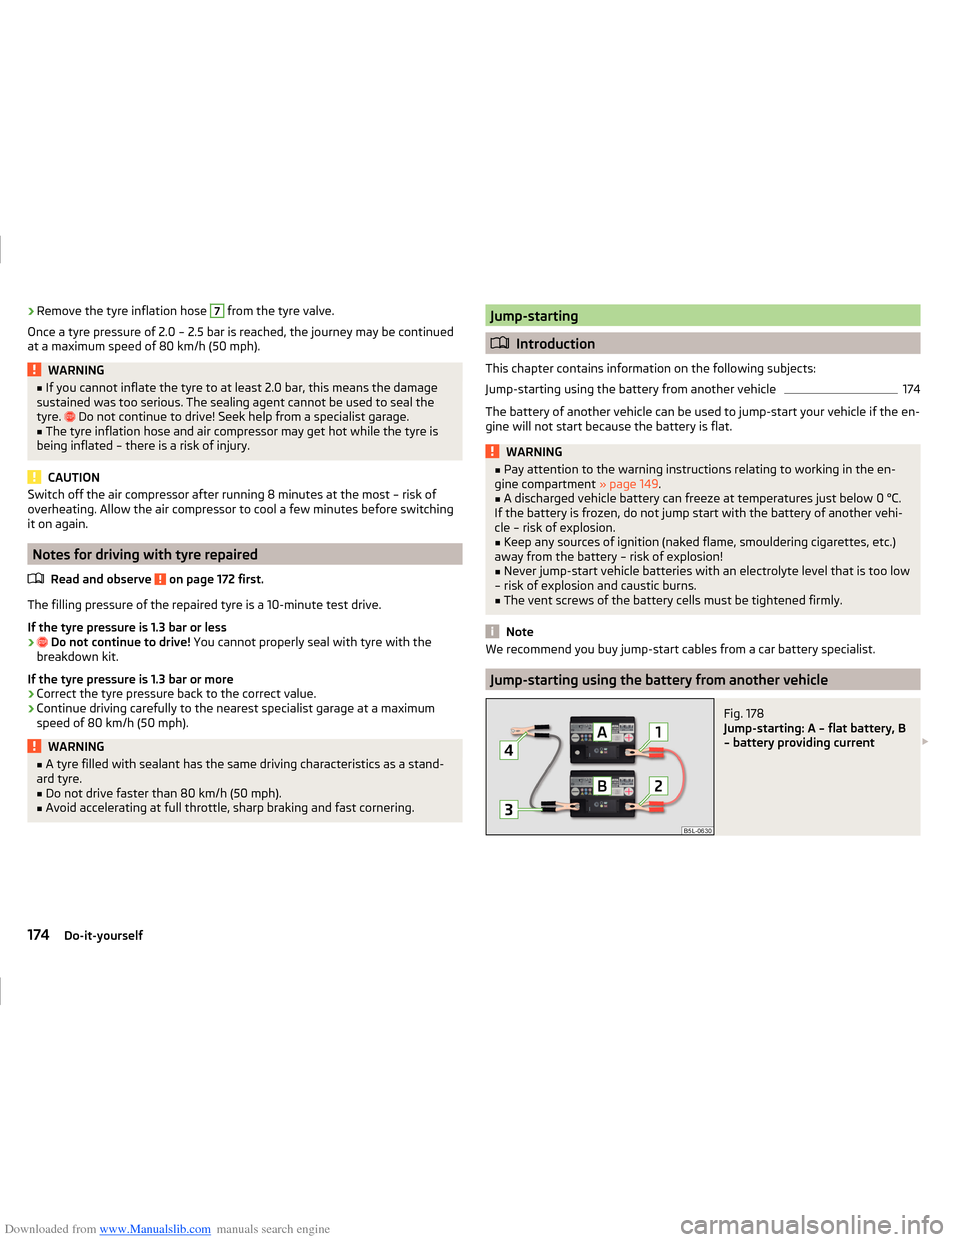
Fig. 178
Jump-starting: A – flat battery, B
– battery providing current
174Do-it-yourself
Page 178 of 216

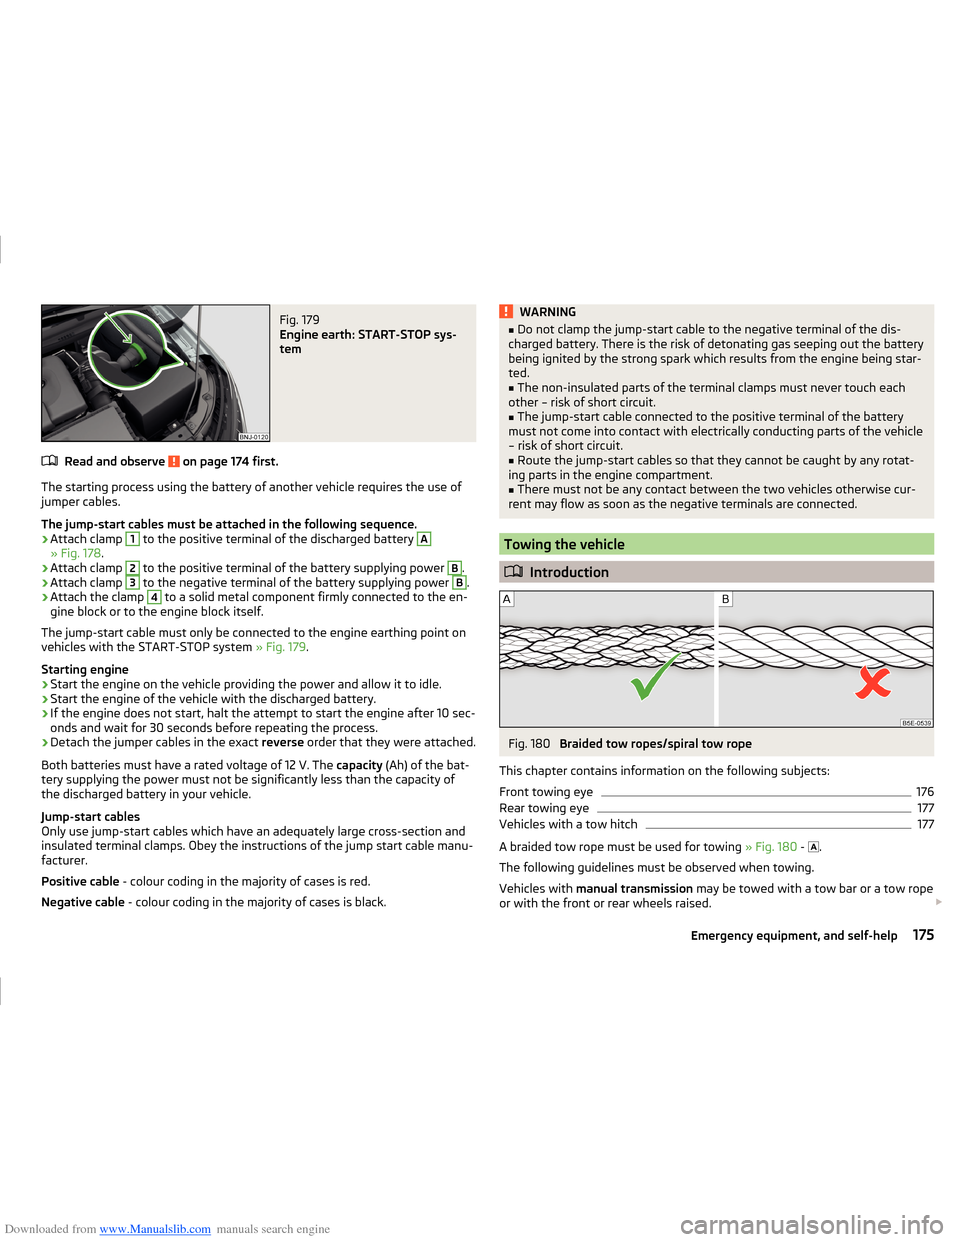
Downloaded from www.Manualslib.com manuals search engine Fig. 179
Engine earth: START-STOP sys-
tem
Read and observe on page 174 first.
The starting process using the battery of another vehicle requires the use of
jumper cables.
The jump-start cables must be attached in the following sequence.
›
Attach clamp
1
to the positive terminal of the discharged battery
A
» Fig. 178 .
›
Attach clamp
2
to the positive terminal of the battery supplying power
B
.
›
Attach clamp
3
to the negative terminal of the battery supplying power
B
.
›
Attach the clamp
4
to a solid metal component firmly connected to the en-
gine block or to the engine block itself.
The jump-start cable must only be connected to the engine earthing point on
vehicles with the START-STOP system » Fig. 179.
Starting engine
›
Start the engine on the vehicle providing the power and allow it to idle.
›
Start the engine of the vehicle with the discharged battery.
›
If the engine does not start, halt the attempt to start the engine after 10 sec-
onds and wait for 30 seconds before repeating the process.
›
Detach the jumper cables in the exact reverse order that they were attached.
Both batteries must have a rated voltage of 12 V. The capacity (Ah) of the bat-
tery supplying the power must not be significantly less than the capacity of
the discharged battery in your vehicle.
Jump-start cables
Only use jump-start cables which have an adequately large cross-section and
insulated terminal clamps. Obey the instructions of the jump start cable manu-
facturer.
Positive cable - colour coding in the majority of cases is red.
Negative cable - colour coding in the majority of cases is black.
WARNING■
Do not clamp the jump-start cable to the negative terminal of the dis-
charged battery. There is the risk of detonating gas seeping out the battery
being ignited by the strong spark which results from the engine being star-
ted.■
The non-insulated parts of the terminal clamps must never touch each
other – risk of short circuit.
■
The jump-start cable connected to the positive terminal of the battery
must not come into contact with electrically conducting parts of the vehicle
– risk of short circuit.
■
Route the jump-start cables so that they cannot be caught by any rotat-
ing parts in the engine compartment.
■
There must not be any contact between the two vehicles otherwise cur-
rent may flow as soon as the negative terminals are connected.
Towing the vehicle
Introduction
Fig. 180
Braided tow ropes/spiral tow rope
This chapter contains information on the following subjects:
Front towing eye
176
Rear towing eye
177
Vehicles with a tow hitch
177
A braided tow rope must be used for towing » Fig. 180 -
.
The following guidelines must be observed when towing.
Vehicles with manual transmission may be towed with a tow bar or a tow rope
or with the front or rear wheels raised.
175Emergency equipment, and self-help