TOYOTA AURIS HYBRID 2017 Owners Manual
Manufacturer: TOYOTA, Model Year: 2017, Model line: AURIS HYBRID, Model: TOYOTA AURIS HYBRID 2017Pages: 664, PDF Size: 27.42 MB
Page 381 of 664
381
AURIS Touring Sports_EE (12L13E)
5
Audio system
5-7. “SET UP” menu
*: Bluetooth is a registered trademark of Bluetooth SIG, Inc.
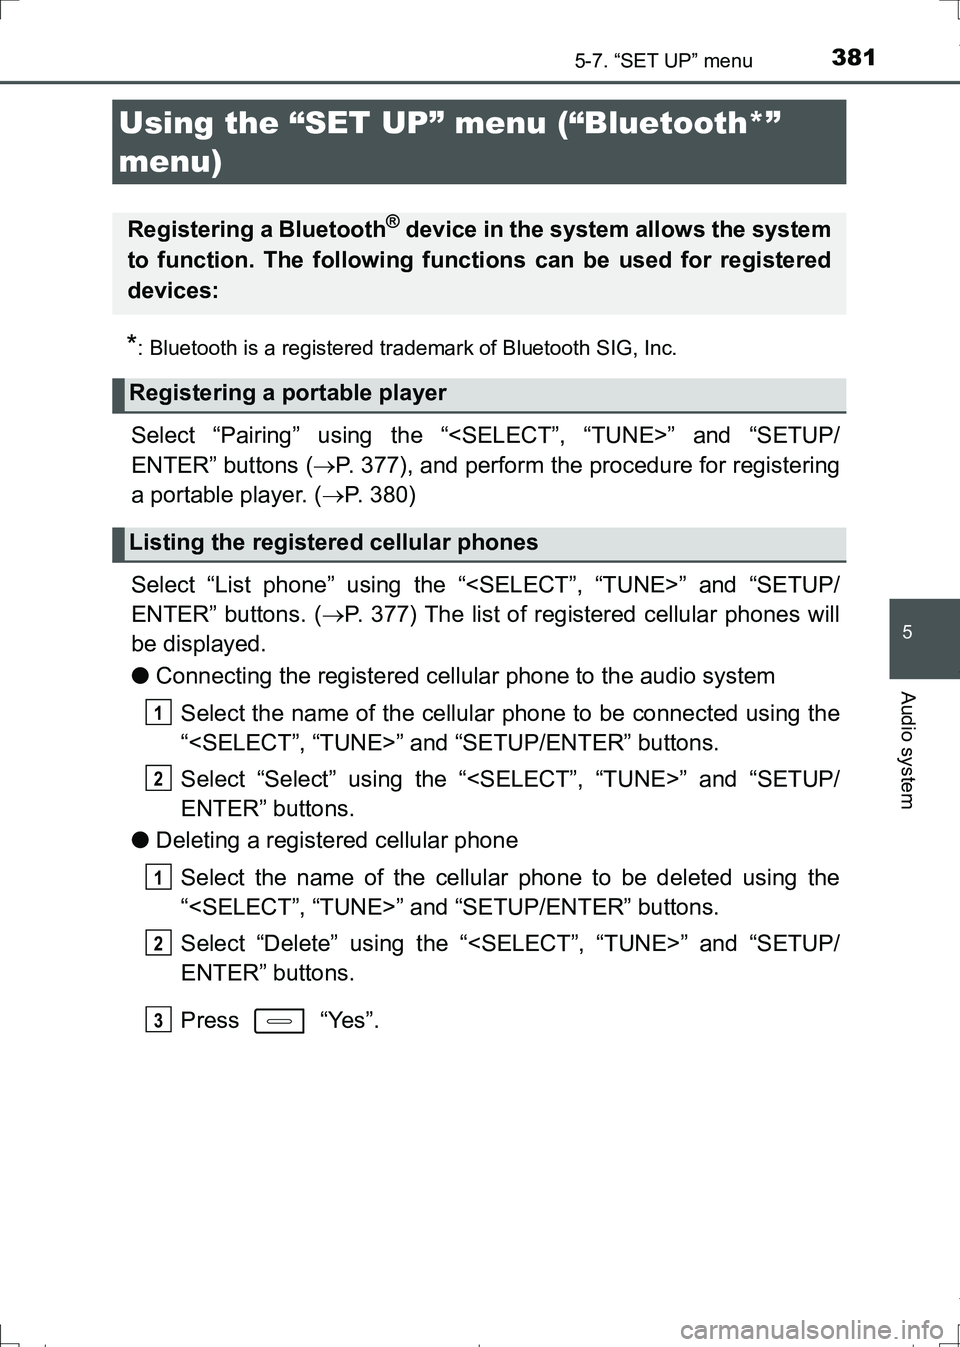
Select “Pairing” using the “
ENTER” buttons (P. 377), and perform the procedure for registering
a portable player. (P. 380)
Select “List phone” using the “
ENTER” buttons. (P. 377) The list of registered cellular phones will
be displayed.
●Connecting the registered cellular phone to the audio system
Select the name of the cellular phone to be connected using the
“
Select “Select” using the “
ENTER” buttons.
●Deleting a registered cellular phone
Select the name of the cellular phone to be deleted using the
“
Select “Delete” using the “
ENTER” buttons.
Press “Yes”.
Using the “SET UP” menu (“Bluetooth*”
menu)
Registering a Bluetooth® device in the system allows the system
to function. The following functions can be used for registered
devices:
Registering a portable player
Listing the registered cellular phones
1
2
1
2
3
AURIS Touring Sports_OM_Europe_OM12L13E.book 381 ページ 2016年6月27日 月曜日 午後5時21分
Page 382 of 664
3825-7. “SET UP” menu
AURIS Touring Sports_EE (12L13E)
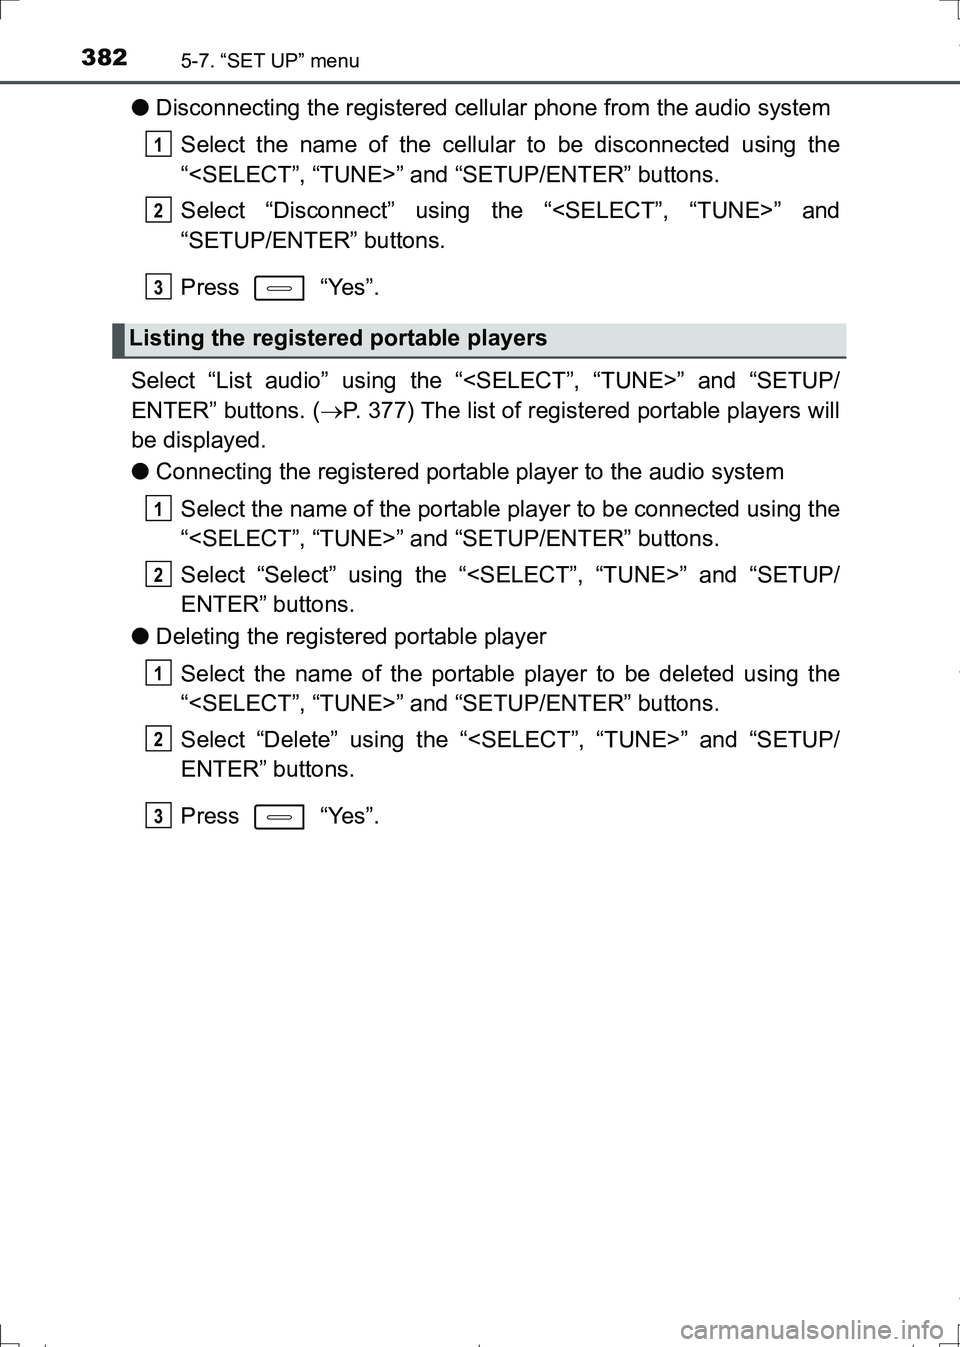
●Disconnecting the registered cellular phone from the audio system
Select the name of the cellular to be disconnected using the
“
Select “Disconnect” using the “
“SETUP/ENTER” buttons.
Press “Yes”.
Select “List audio” using the “
ENTER” buttons. (P. 377) The list of registered portable players will
be displayed.
●Connecting the registered portable player to the audio system
Select the name of the portable player to be connected using the
“
Select “Select” using the “
ENTER” buttons.
●Deleting the registered portable player
Select the name of the portable player to be deleted using the
“
Select “Delete” using the “
ENTER” buttons.
Press “Yes”.
Listing the registered portable players
1
2
3
1
2
1
2
3
AURIS Touring Sports_OM_Europe_OM12L13E.book 382 ページ 2016年6月27日 月曜日 午後5時21分
Page 383 of 664
3835-7. “SET UP” menu
AURIS Touring Sports_EE (12L13E)
5
Audio system
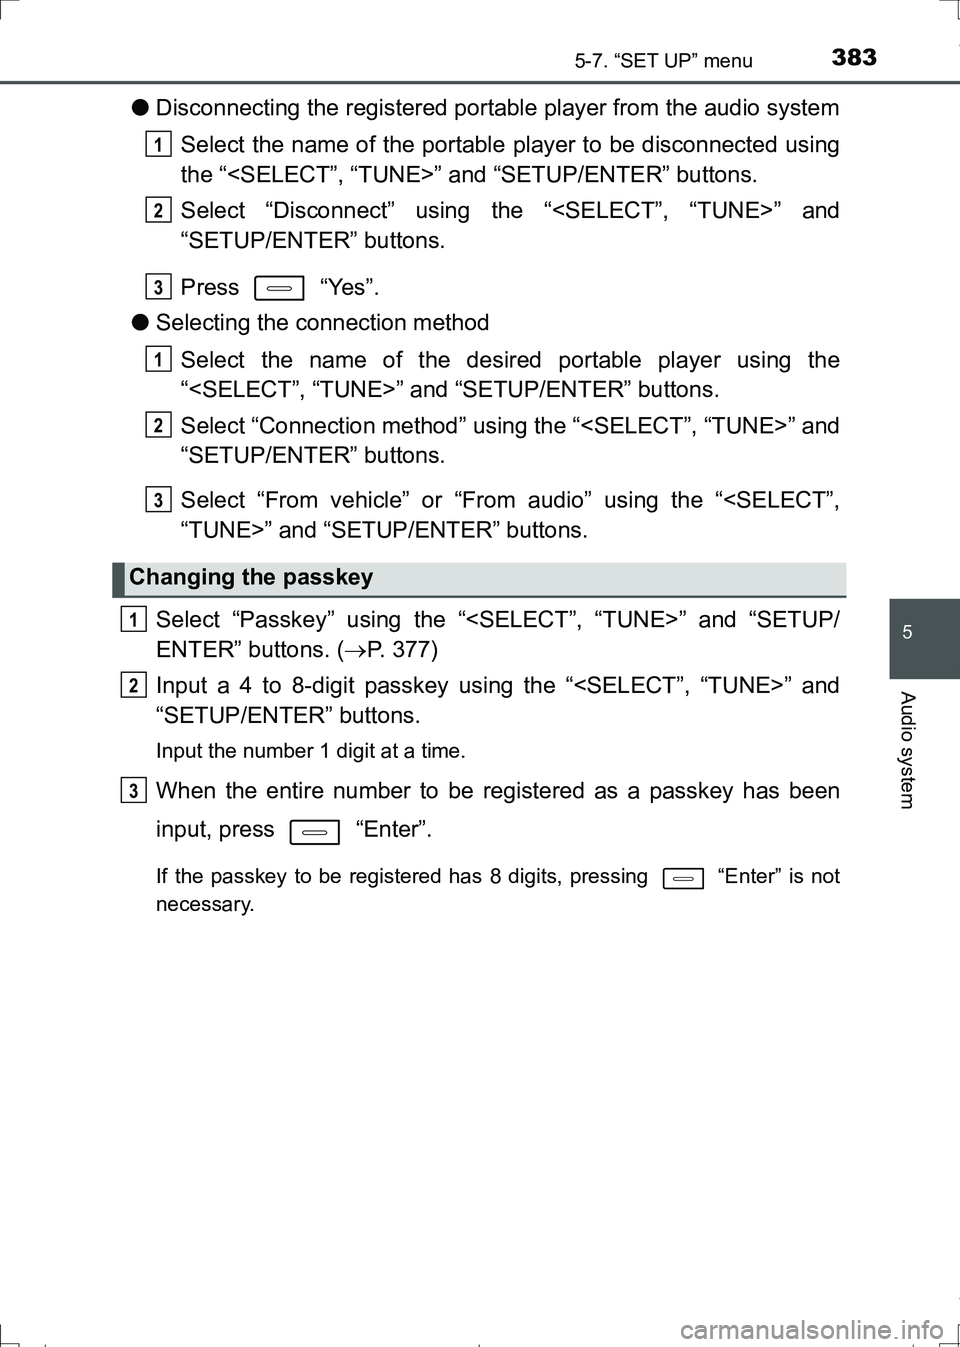
●Disconnecting the registered portable player from the audio system
Select the name of the portable player to be disconnected using
the “
Select “Disconnect” using the “
“SETUP/ENTER” buttons.
Press “Yes”.
●Selecting the connection method
Select the name of the desired portable player using the
“
Select “Connection method” using the “
“SETUP/ENTER” buttons.
Select “From vehicle” or “From audio” using the “
Select “Passkey” using the “
ENTER” buttons. (P. 377)
Input a 4 to 8-digit passkey using the “
“SETUP/ENTER” buttons.
Input the number 1 digit at a time.
When the entire number to be registered as a passkey has been
input, press “Enter”.
If the passkey to be registered has 8 digits, pressing “Enter” is not
necessary.
Changing the passkey
1
2
3
1
2
3
1
2
3
AURIS Touring Sports_OM_Europe_OM12L13E.book 383 ページ 2016年6月27日 月曜日 午後5時21分
Page 384 of 664
3845-7. “SET UP” menu
AURIS Touring Sports_EE (12L13E)
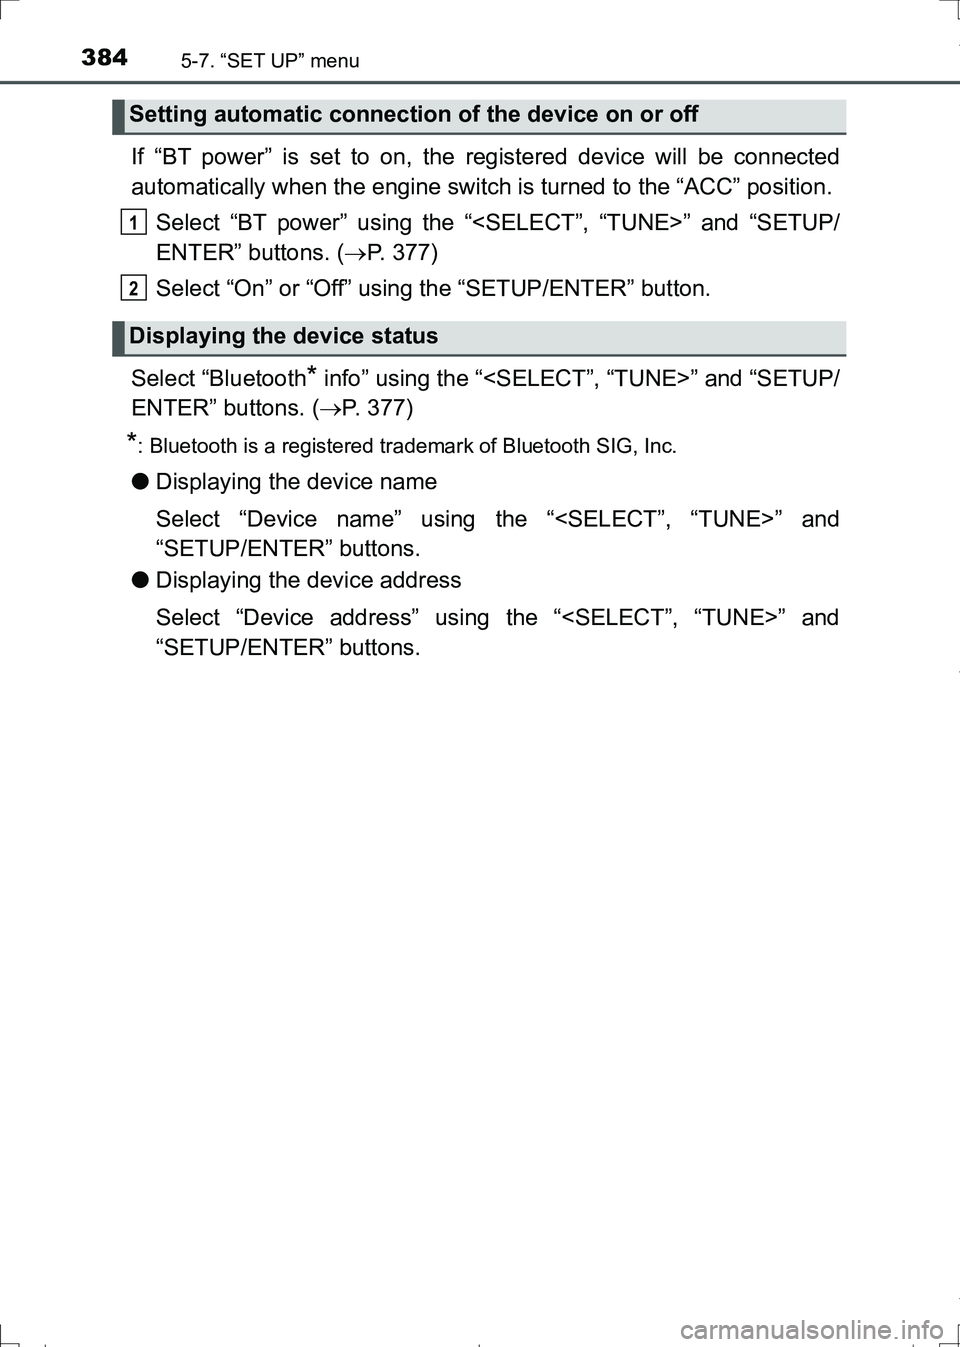
If “BT power” is set to on, the registered device will be connected
automatically when the engine switch is turned to the “ACC” position.
Select “BT power” using the “
ENTER” buttons. (P. 377)
Select “On” or “Off” using the “SETUP/ENTER” button.
Select “Bluetooth
* info” using the “
ENTER” buttons. (P. 377)
*: Bluetooth is a registered trademark of Bluetooth SIG, Inc.
●Displaying the device name
Select “Device name” using the “
“SETUP/ENTER” buttons.
●Displaying the device address
Select “Device address” using the “
“SETUP/ENTER” buttons.
Setting automatic connection of the device on or off
Displaying the device status
1
2
AURIS Touring Sports_OM_Europe_OM12L13E.book 384 ページ 2016年6月27日 月曜日 午後5時21分
Page 385 of 664
3855-7. “SET UP” menu
AURIS Touring Sports_EE (12L13E)
5
Audio system
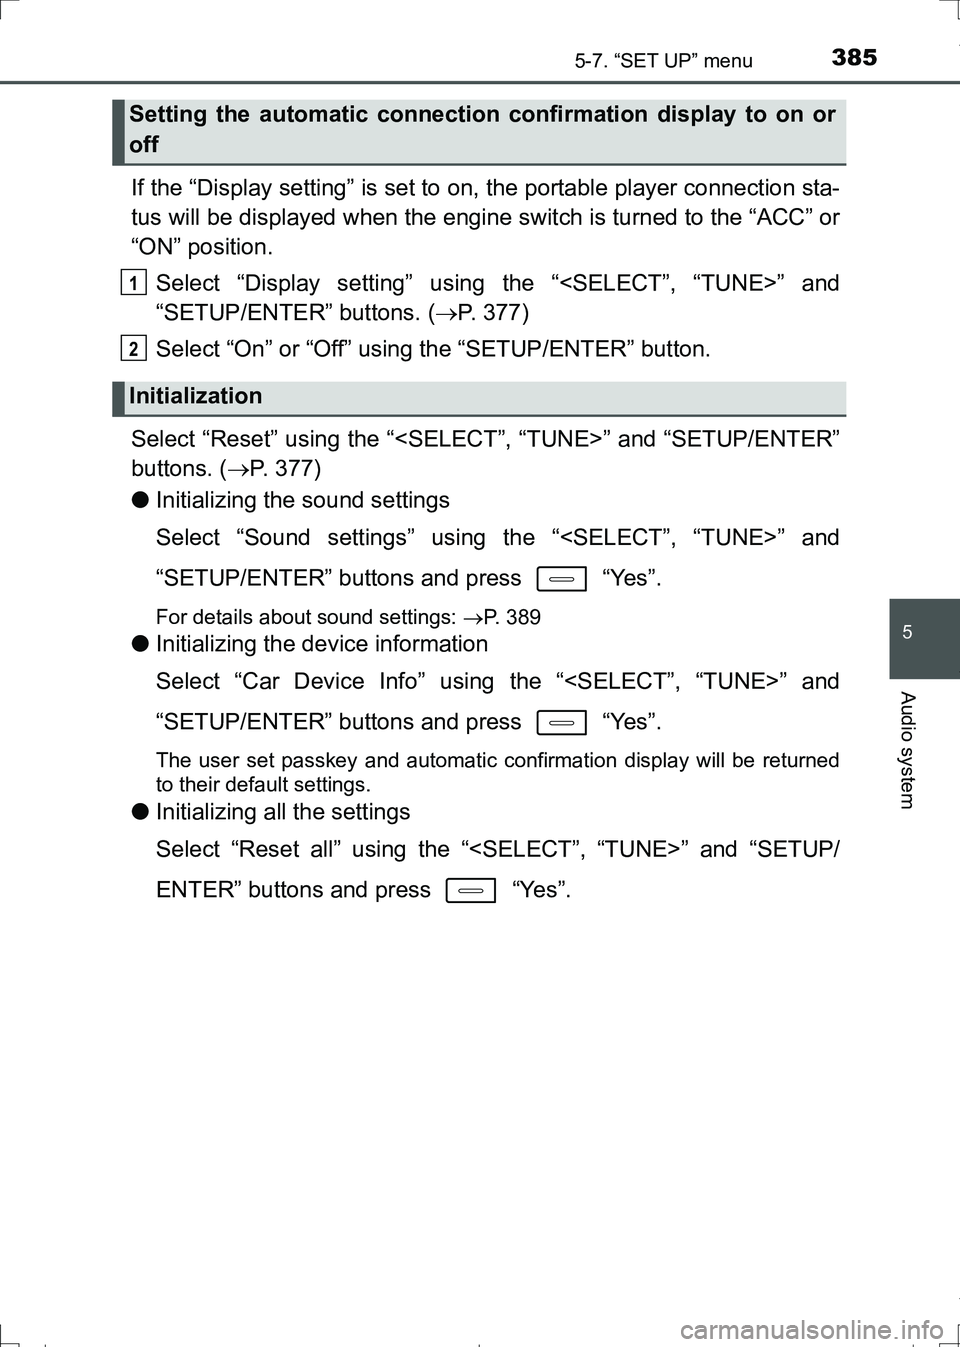
If the “Display setting” is set to on, the portable player connection sta-
tus will be displayed when the engine switch is turned to the “ACC” or
“ON” position.
Select “Display setting” using the “
“SETUP/ENTER” buttons. (P. 377)
Select “On” or “Off” using the “SETUP/ENTER” button.
Select “Reset” using the “
buttons. (P. 377)
●Initializing the sound settings
Select “Sound settings” using the “
“SETUP/ENTER” buttons and press “Yes”.
For details about sound settings: P. 389
●Initializing the device information
Select “Car Device Info” using the “
“SETUP/ENTER” buttons and press “Yes”.
The user set passkey and automatic confirmation display will be returned
to their default settings.
●Initializing all the settings
Select “Reset all” using the “
ENTER” buttons and press “Yes”.
Setting the automatic connection confirmation display to on or
off
Initialization
1
2
AURIS Touring Sports_OM_Europe_OM12L13E.book 385 ページ 2016年6月27日 月曜日 午後5時21分
Page 386 of 664
3865-7. “SET UP” menu
AURIS Touring Sports_EE (12L13E)
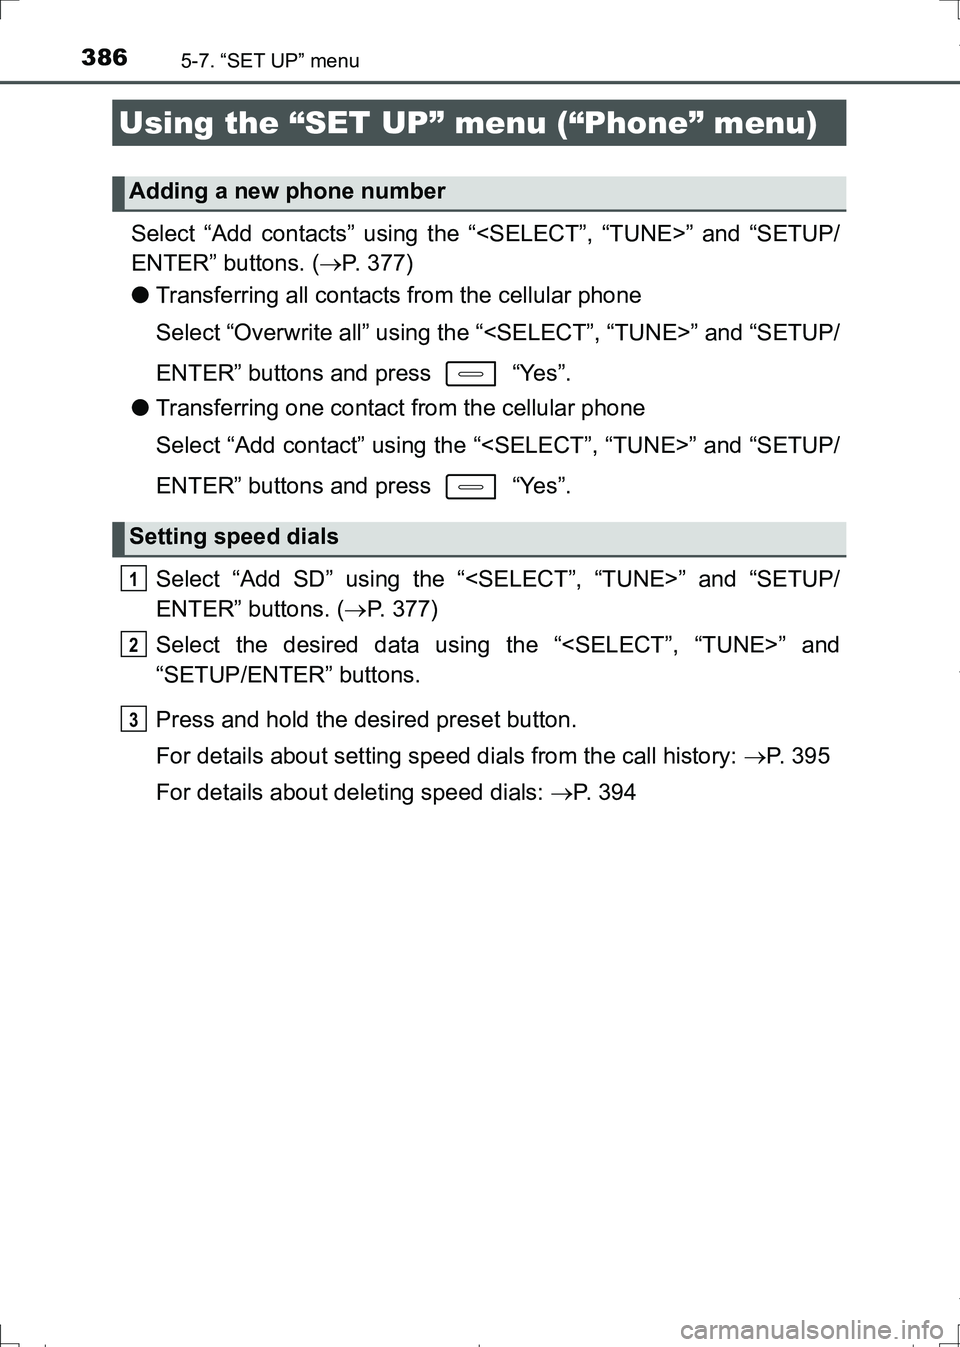
Select “Add contacts” using the “
ENTER” buttons. (P. 377)
●Transferring all contacts from the cellular phone
Select “Overwrite all” using the “
ENTER” buttons and press “Yes”.
●Transferring one contact from the cellular phone
Select “Add contact” using the “
ENTER” buttons and press “Yes”.
Select “Add SD” using the “
ENTER” buttons. (P. 377)
Select the desired data using the “
“SETUP/ENTER” buttons.
Press and hold the desired preset button.
For details about setting speed dials from the call history: P. 3 9 5
For details about deleting speed dials: P. 394
Using the “SET UP” menu (“Phone” menu)
Adding a new phone number
Setting speed dials
1
2
3
AURIS Touring Sports_OM_Europe_OM12L13E.book 386 ページ 2016年6月27日 月曜日 午後5時21分
Page 387 of 664
3875-7. “SET UP” menu
AURIS Touring Sports_EE (12L13E)
5
Audio system
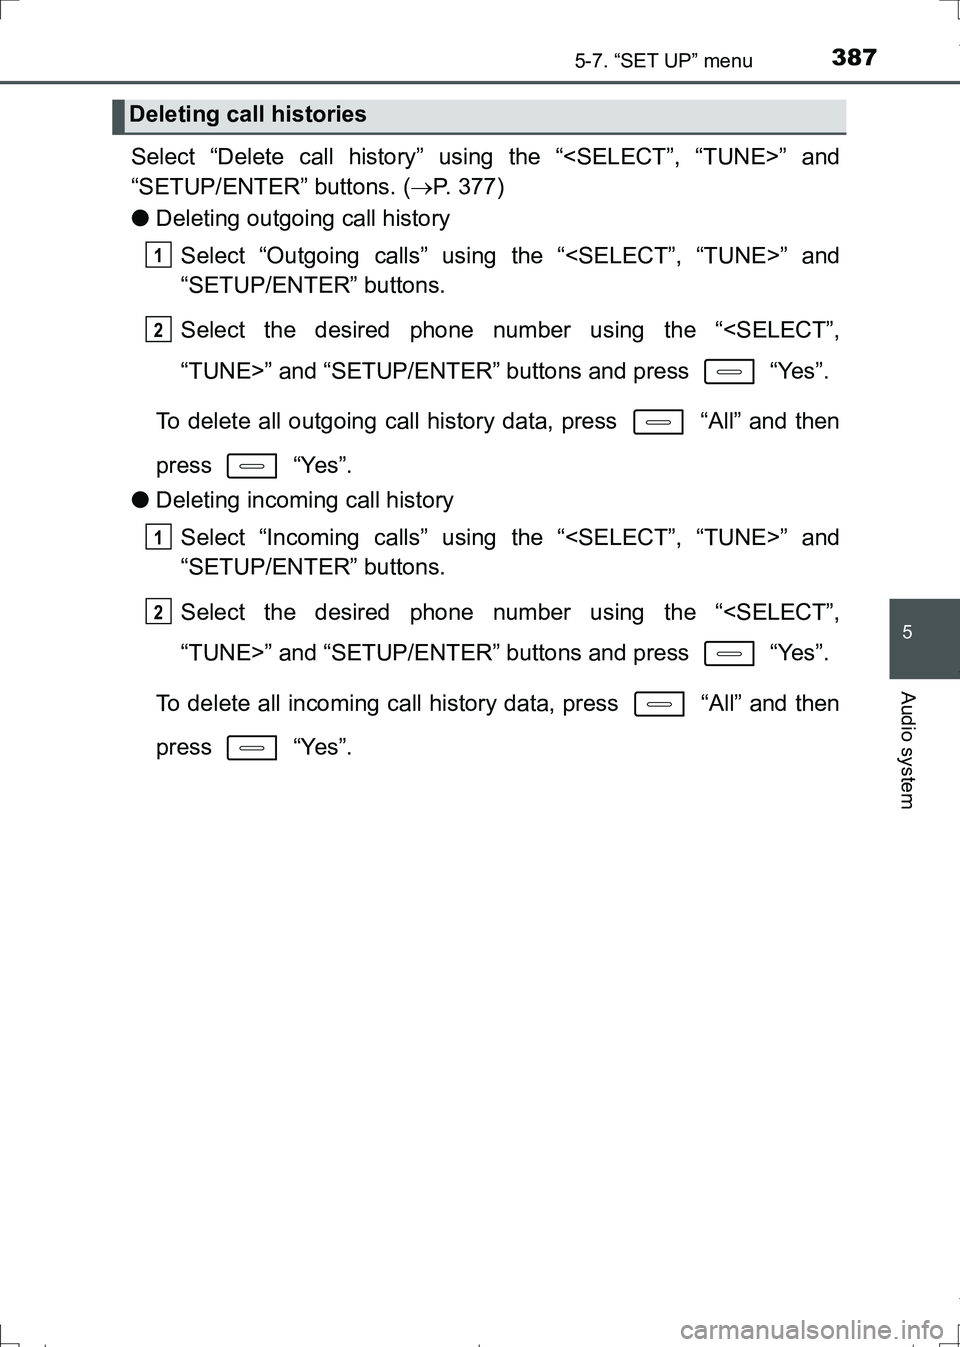
Select “Delete call history” using the “
“SETUP/ENTER” buttons. (P. 377)
●Deleting outgoing call history
Select “Outgoing calls” using the “
“SETUP/ENTER” buttons.
Select the desired phone number using the “
To delete all outgoing call history data, press “All” and then
press “Yes”.
●Deleting incoming call history
Select “Incoming calls” using the “
“SETUP/ENTER” buttons.
Select the desired phone number using the “
To delete all incoming call history data, press “All” and then
press “Yes”.
Deleting call histories
1
2
1
2
AURIS Touring Sports_OM_Europe_OM12L13E.book 387 ページ 2016年6月27日 月曜日 午後5時21分
Page 388 of 664
3885-7. “SET UP” menu
AURIS Touring Sports_EE (12L13E)
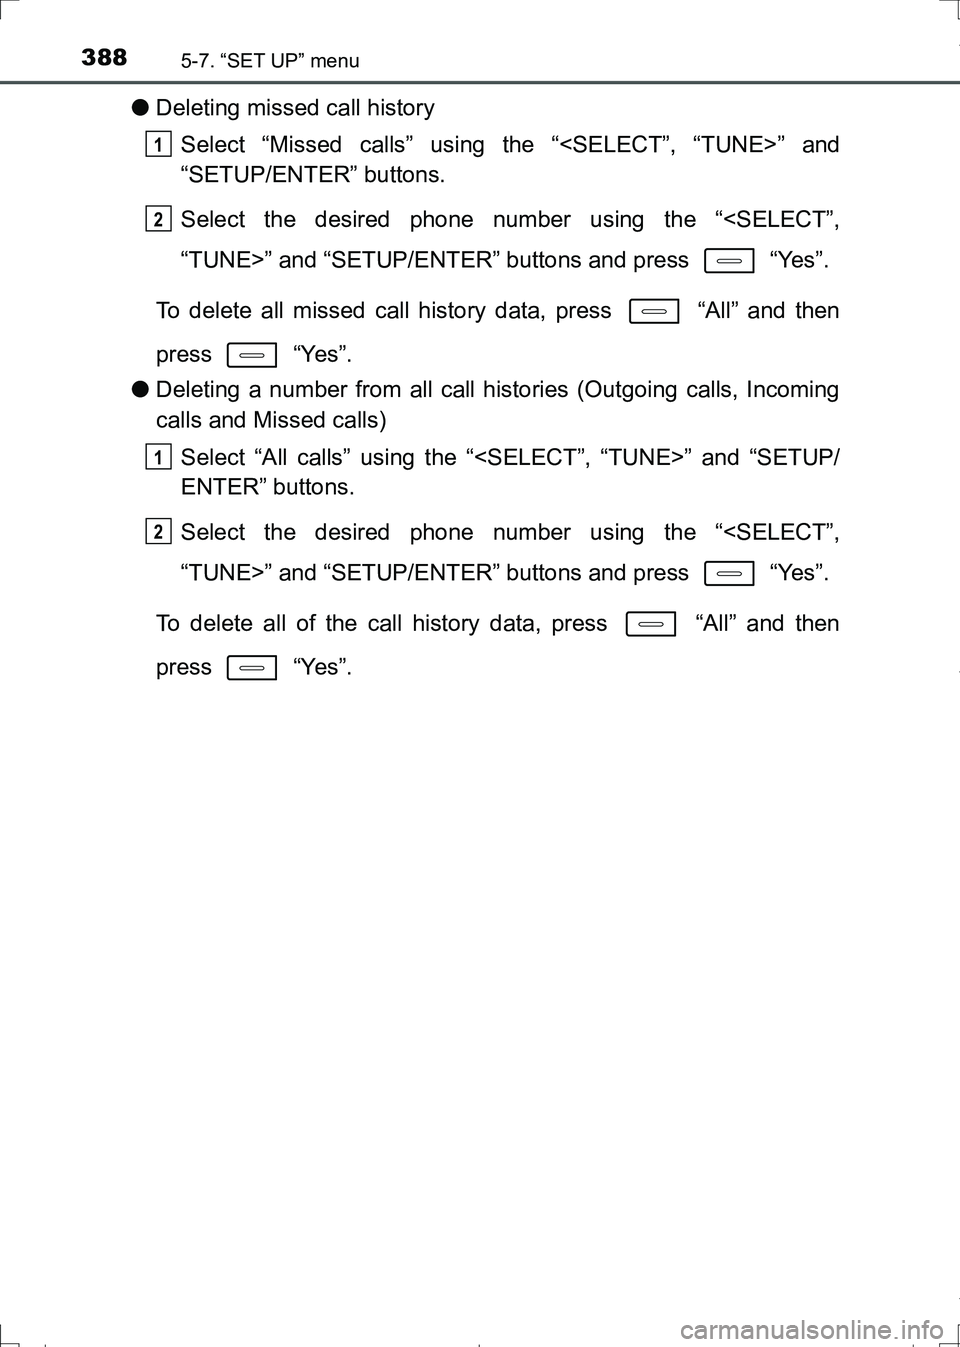
●Deleting missed call history
Select “Missed calls” using the “
“SETUP/ENTER” buttons.
Select the desired phone number using the “
To delete all missed call history data, press “All” and then
press “Yes”.
●Deleting a number from all call histories (Outgoing calls, Incoming
calls and Missed calls)
Select “All calls” using the “
ENTER” buttons.
Select the desired phone number using the “
To delete all of the call history data, press “All” and then
press “Yes”.
1
2
1
2
AURIS Touring Sports_OM_Europe_OM12L13E.book 388 ページ 2016年6月27日 月曜日 午後5時21分
Page 389 of 664
3895-7. “SET UP” menu
AURIS Touring Sports_EE (12L13E)
5
Audio system
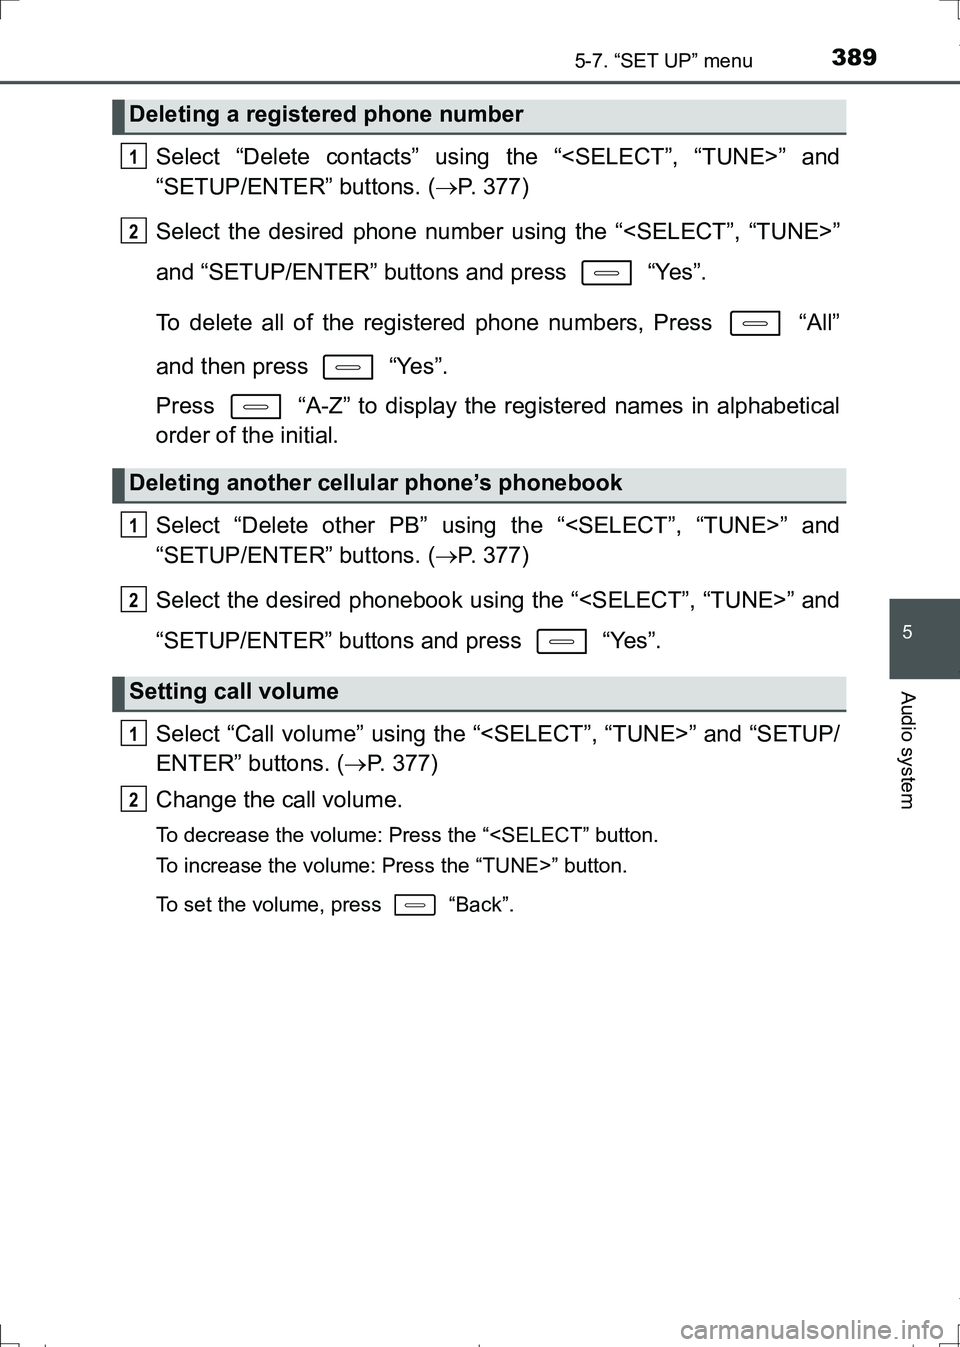
Select “Delete contacts” using the “
“SETUP/ENTER” buttons. (P. 377)
Select the desired phone number using the “
and “SETUP/ENTER” buttons and press “Yes”.
To delete all of the registered phone numbers, Press “All”
and then press “Yes”.
Press “A-Z” to display the registered names in alphabetical
order of the initial.
Select “Delete other PB” using the “
“SETUP/ENTER” buttons. (P. 377)
Select the desired phonebook using the “
“SETUP/ENTER” buttons and press “Yes”.
Select “Call volume” using the “
ENTER” buttons. (P. 377)
Change the call volume.
To decrease the volume: Press the “
To set the volume, press “Back”.
Deleting a registered phone number
Deleting another cellular phone’s phonebook
Setting call volume
1
2
1
2
1
2
AURIS Touring Sports_OM_Europe_OM12L13E.book 389 ページ 2016年6月27日 月曜日 午後5時21分
Page 390 of 664
3905-7. “SET UP” menu
AURIS Touring Sports_EE (12L13E)
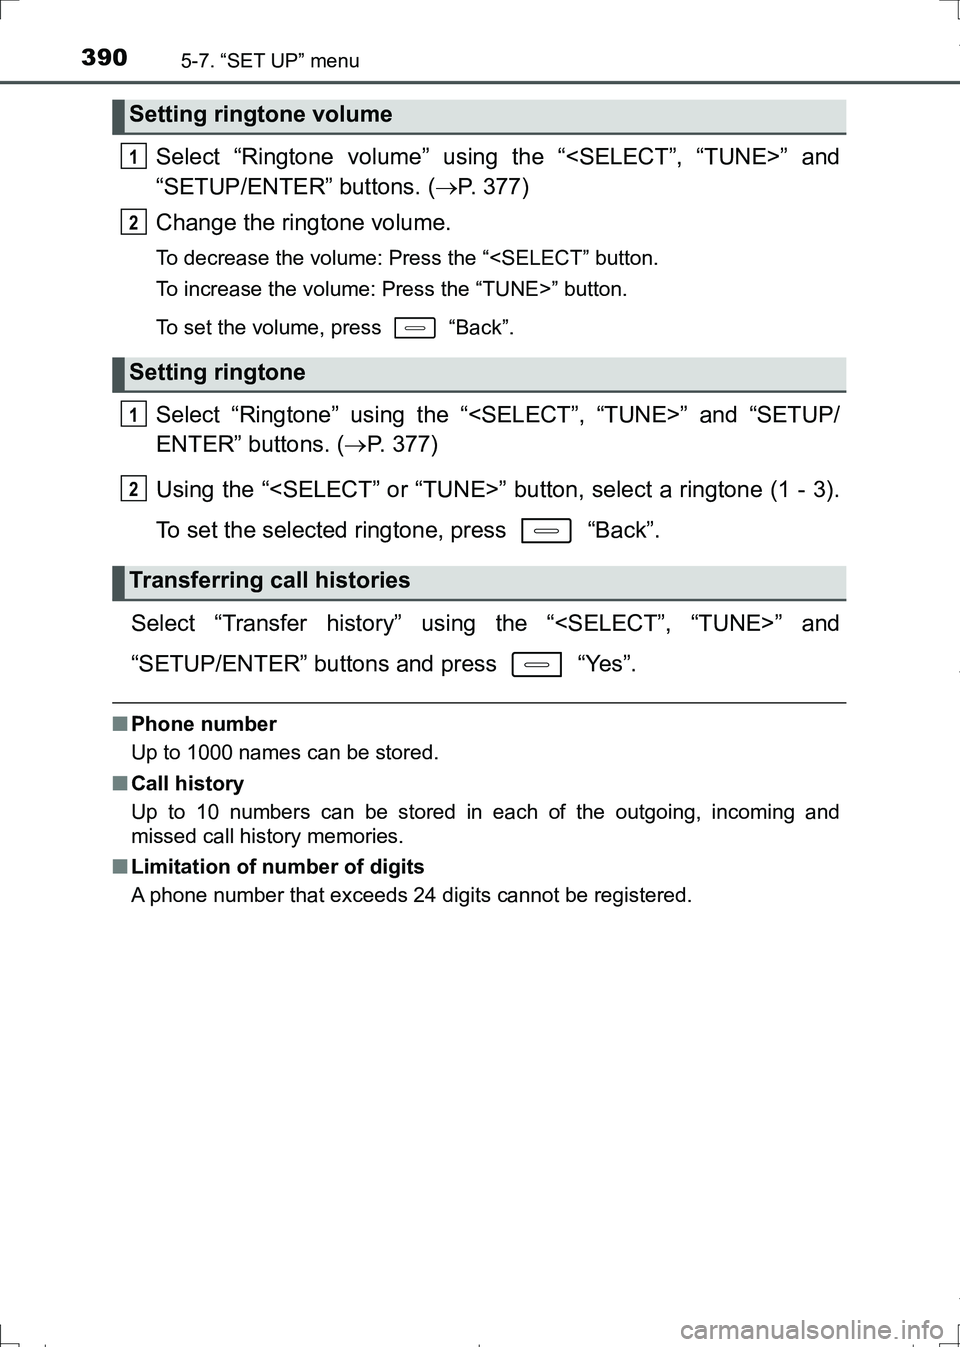
Select “Ringtone volume” using the “
“SETUP/ENTER” buttons. (P. 377)
Change the ringtone volume.
To decrease the volume: Press the “
To set the volume, press “Back”.
Select “Ringtone” using the “
ENTER” buttons. (P. 377)
Using the “
To set the selected ringtone, press “Back”.
Select “Transfer history” using the “
“SETUP/ENTER” buttons and press “Yes”.
■Phone number
Up to 1000 names can be stored.
■Call history
Up to 10 numbers can be stored in each of the outgoing, incoming and
missed call history memories.
■Limitation of number of digits
A phone number that exceeds 24 digits cannot be registered.
Setting ringtone volume
Setting ringtone
Transferring call histories
1
2
1
2
AURIS Touring Sports_OM_Europe_OM12L13E.book 390 ページ 2016年6月27日 月曜日 午後5時21分