check engine TOYOTA C-HR 2019 Accessories, Audio & Navigation (in English)
[x] Cancel search | Manufacturer: TOYOTA, Model Year: 2019, Model line: C-HR, Model: TOYOTA C-HR 2019Pages: 292, PDF Size: 5.26 MB
Page 30 of 292

30
C-HR_Navi_USA_OM10581U_17CY
1. BASIC INFORMATION BEFORE OPERATION
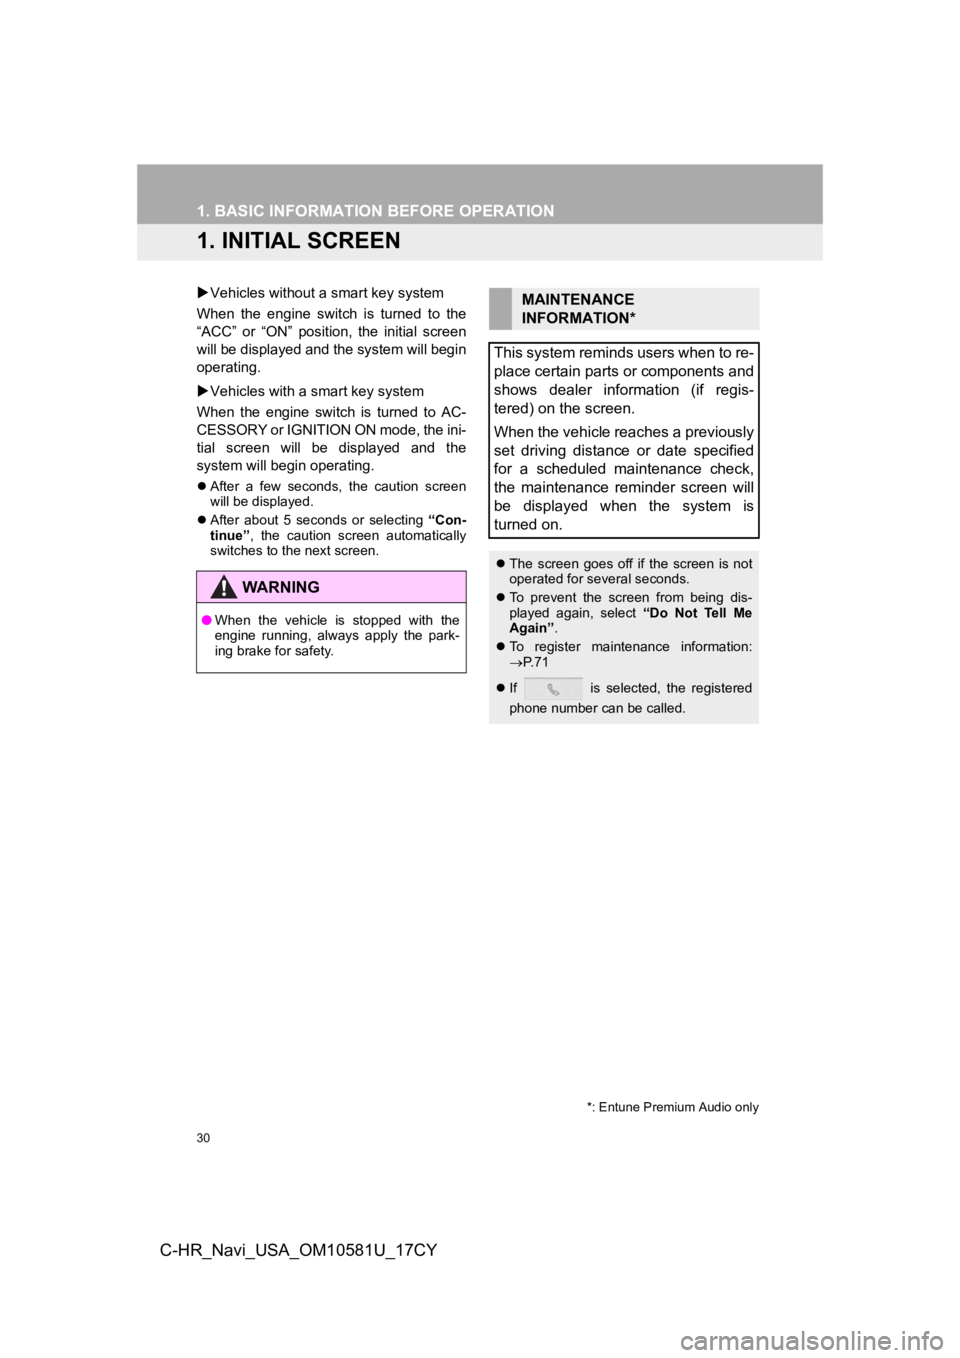
1. INITIAL SCREEN
Vehicles without a smart key system
When the engine switch is turned to the
“ACC” or “ON” position, the initial screen
will be displayed and the system will begin
operating.
Vehicles with a smart key system
When the engine switch is turned to AC-
CESSORY or IGNITION ON mode, the ini-
tial screen will be displayed and the
system will begin operating.
After a few seconds, the caution screen
will be displayed.
After about 5 seconds or selecting “Con-
tinue” , the caution screen automatically
switches to the next screen.
WA R N I N G
● When the vehicle is stopped with the
engine running, always apply the park-
ing brake for safety.
MAINTENANCE
INFORMATION*
This system reminds users when to re-
place certain parts or components and
shows dealer information (if regis-
tered) on the screen.
When the vehicle reaches a previously
set driving distance or date specified
for a scheduled maintenance check,
the maintenance reminder screen will
be displayed when the system is
turned on.
The screen goes off if the screen is not
operated for several seconds.
To prevent the screen from being dis-
played again, select “Do Not Tell Me
Again” .
To register maintenance information:
P. 7 1
If is selected, the registered
phone number can be called.
*: Entune Premium Audio only
Page 181 of 292

181
2. SETUP
PHONE
7
C-HR_Navi_USA_OM10581U_17CY
4Transfer the contact data to the system
using a Bluetooth
® phone.
This operation may be unnecessary
depending on the type of cellular phone.
To cancel this function, select “Cancel”.
5Check that a confirmation screen is
displayed when the operation is com-
plete.
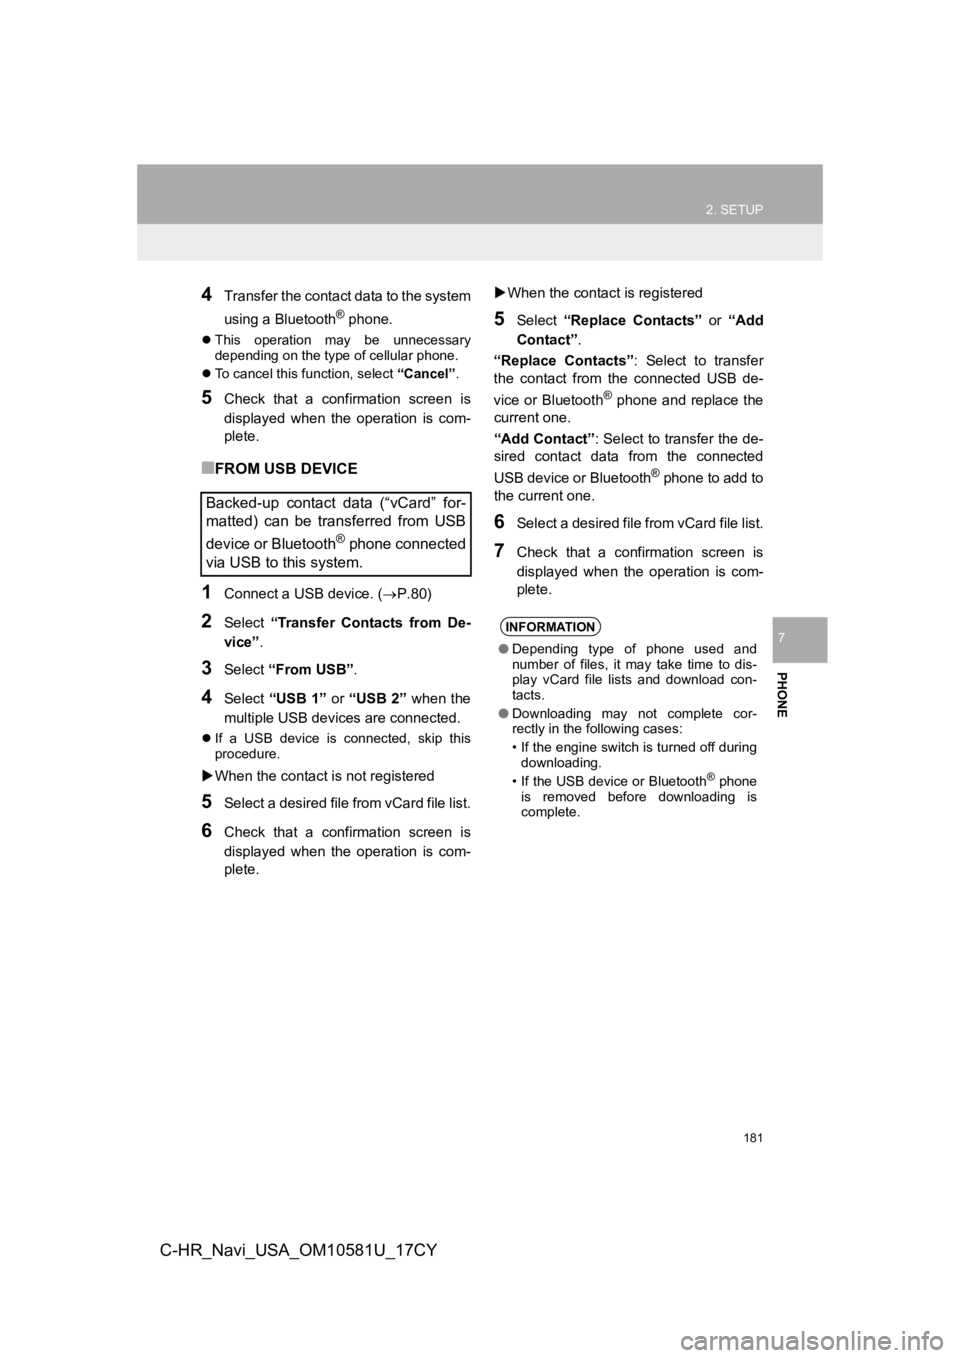
■FROM USB DEVICE
1Connect a USB device. ( P.80)
2Select “Transfer Contacts from De-
vice” .
3Select “From USB” .
4Select “USB 1” or “USB 2” when the
multiple USB devices are connected.
If a USB device is connected, skip this
procedure.
When the contact is not registered
5Select a desired file from vCard file list.
6Check that a confirmation screen is
displayed when the operation is com-
plete.
When the contact is registered
5Select “Replace Contacts” or “Add
Contact” .
“Replace Contacts”: Select to transfer
the contact from the connected USB de-
vice or Bluetooth
® phone and replace the
current one.
“Add Contact” : Select to transfer the de-
sired contact data from the connected
USB device or Bluetooth
® phone to add to
the current one.
6Select a desired file from vCard file list.
7Check that a confirmation screen is
displayed when the operation is com-
plete.
Backed-up contact data (“vCard” for-
matted) can be transferred from USB
device or Bluetooth
® phone connected
via USB to this system.
INFORMATION
● Depending type of phone used and
number of files, it may take time to dis-
play vCard file lists and download con-
tacts.
● Downloading may not complete cor-
rectly in the following cases:
• If the engine switch is turned off during
downloading.
• If the USB device or Bluetooth
® phone
is removed before downloading is
complete.