TOYOTA COROLLA 2016 11.G Owners Manual
COROLLA 2016 11.G
TOYOTA
TOYOTA
https://www.carmanualsonline.info/img/14/6344/w960_6344-0.png
TOYOTA COROLLA 2016 11.G Owners Manual
Trending: low beam, instrument cluster, octane, clock, washer fluid, fuel cap, language
Page 271 of 620
2715-7. “SET UP” menu
5
Audio system
COROLLA_TMMMS_TMMC_U (OM12J84U)
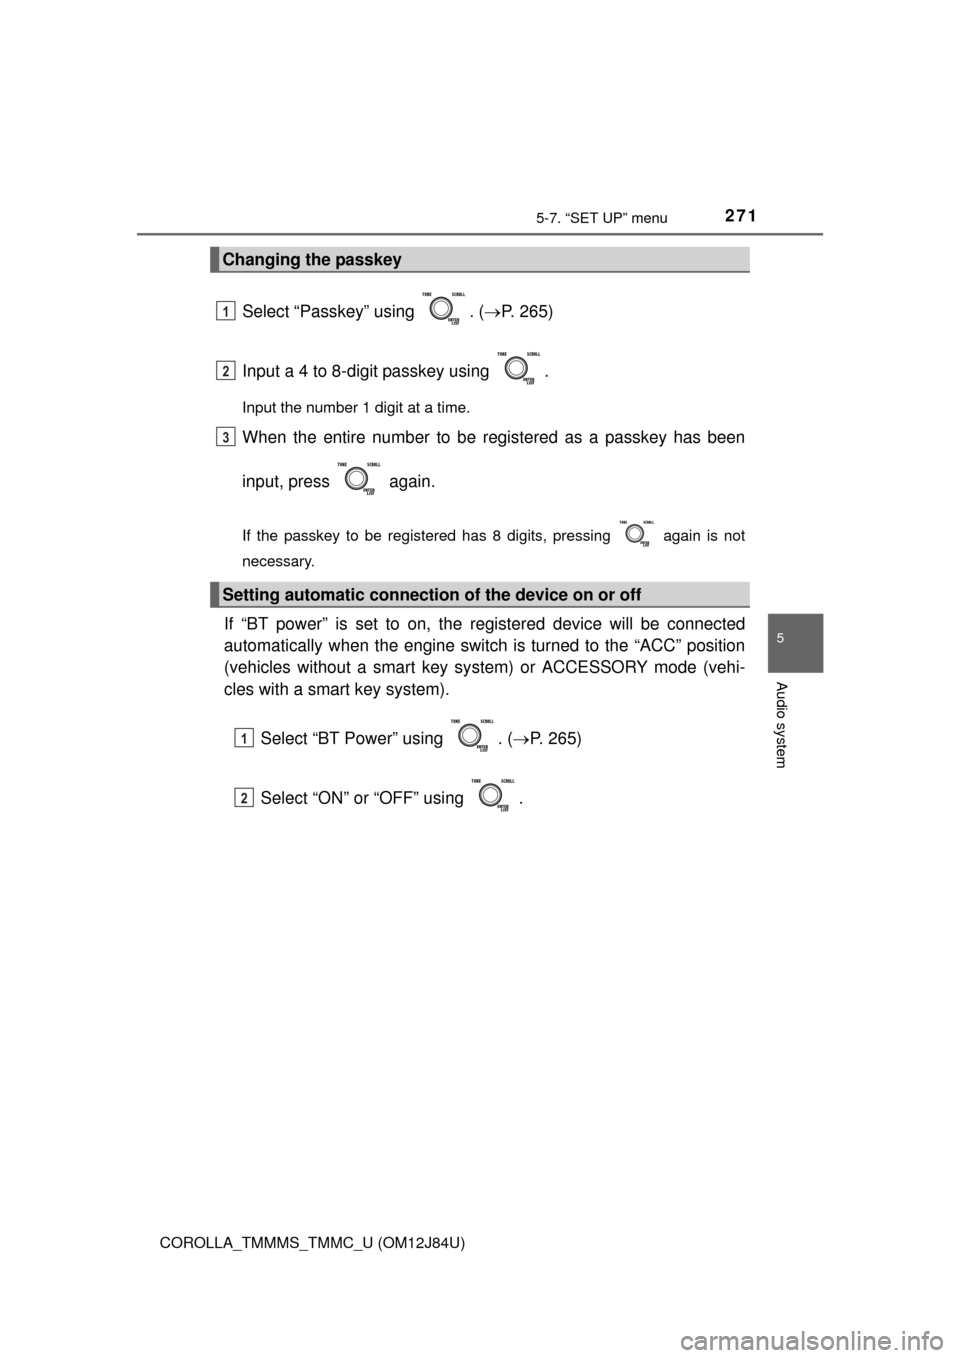
Select “Passkey” using . (P. 265)
Input a 4 to 8-digit passkey using .
Input the number 1 digit at a time.
When the entire number to be registered as a passkey has been
input, press again.
If the passkey to be registered has 8 digits, pressing again is not
necessary.
If “BT power” is set to on, the registered device will be connected
automatically when the engine switch is turned to the “ACC” position
(vehicles without a smart key sy stem) or ACCESSORY mode (vehi-
cles with a smart key system).
Select “BT Power” using . ( P. 265)
Select “ON” or “OFF” using .
Changing the passkey
Setting automatic connection of the device on or off
1
2
3
1
2
Page 272 of 620
2725-7. “SET UP” menu
COROLLA_TMMMS_TMMC_U (OM12J84U)
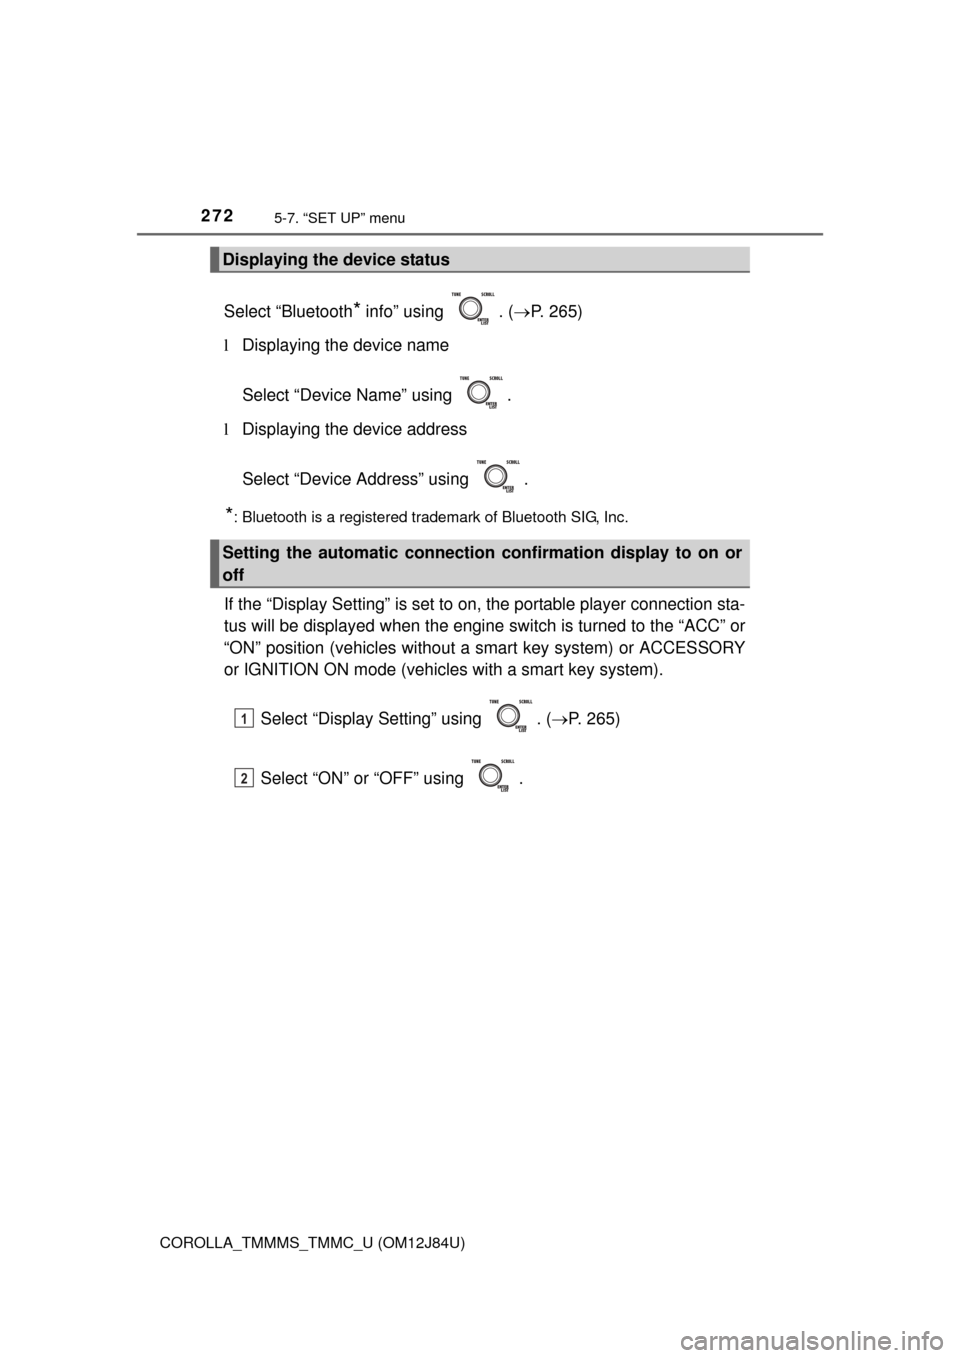
Select “Bluetooth* info” using . (P. 265)
l Displaying the device name
Select “Device Name” using .
l Displaying the device address
Select “Device Address” using .
*: Bluetooth is a registered trademark of Bluetooth SIG, Inc.
If the “Display Setting” is set to on, the portable player connection sta-
tus will be displayed when the engine sw itch is turned to the “ACC” or
“ON” position (vehicles without a smart key system) or ACCESSORY
or IGNITION ON mode (vehicl es with a smart key system).
Select “Display Setting” using . ( P. 265)
Select “ON” or “OFF” using .
Displaying the device status
Setting the automatic connection confirmation display to on or
off
1
2
Page 273 of 620
2735-7. “SET UP” menu
5
Audio system
COROLLA_TMMMS_TMMC_U (OM12J84U)
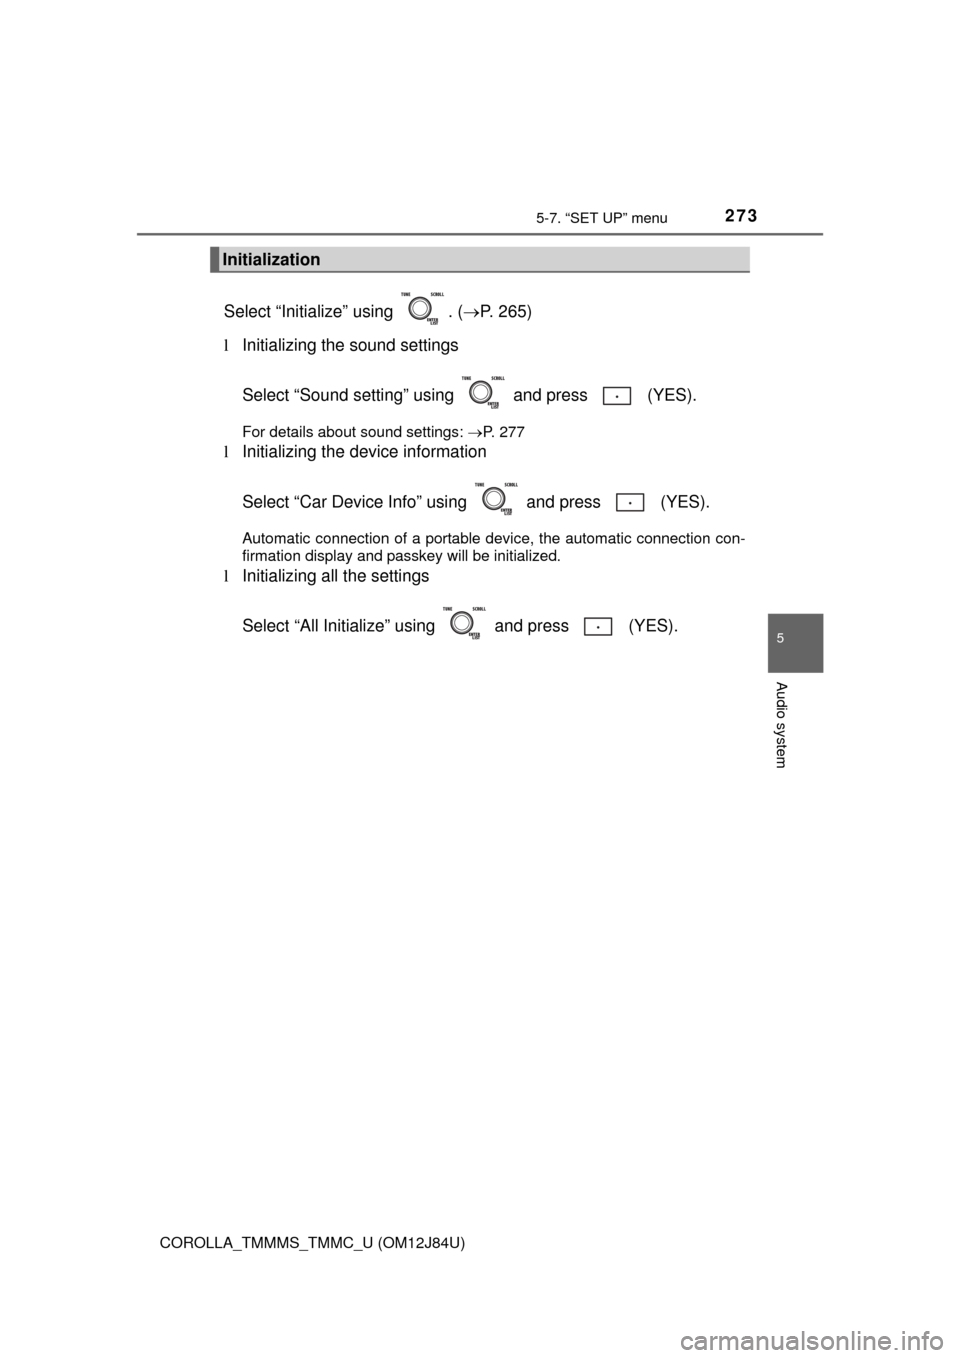
Select “Initialize” using . (P. 265)
l Initializing the sound settings
Select “Sound setting” using and press (YES).
For details about sound settings: P. 277
lInitializing the device information
Select “Car Device Info” using and press (YES).
Automatic connection of a portable device, the automatic connection con-
firmation display and passkey will be initialized.
lInitializing all the settings
Select “All Initialize” us ing and press (YES).
Initialization
Page 274 of 620
2745-7. “SET UP” menu
COROLLA_TMMMS_TMMC_U (OM12J84U)
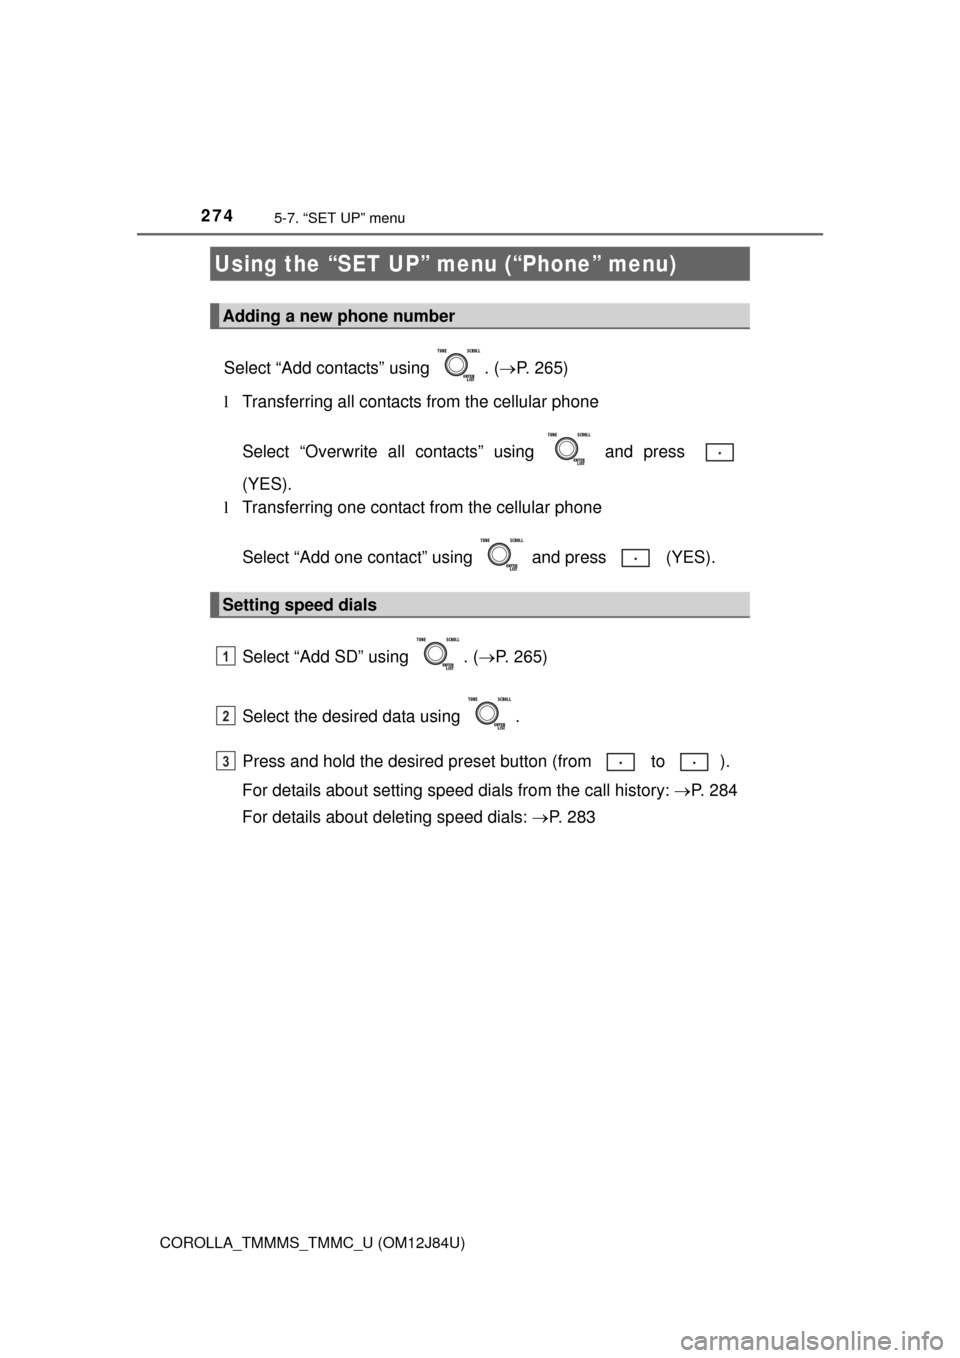
Select “Add contacts” using . (P. 265)
l Transferring all contacts from the cellular phone
Select “Overwrite all contacts” using and press
(YES).
l Transferring one contact from the cellular phone
Select “Add one contact” using and press (YES).
Select “Add SD” using . ( P. 265)
Select the desired data using .
Press and hold the desired pr eset button (from to ).
For details about setting speed dials from the call history: P. 284
For details about deleting speed dials: P. 2 8 3
Using the “SET UP” menu (“Phone” menu)
Adding a new phone number
Setting speed dials
1
2
3
Page 275 of 620
2755-7. “SET UP” menu
5
Audio system
COROLLA_TMMMS_TMMC_U (OM12J84U)
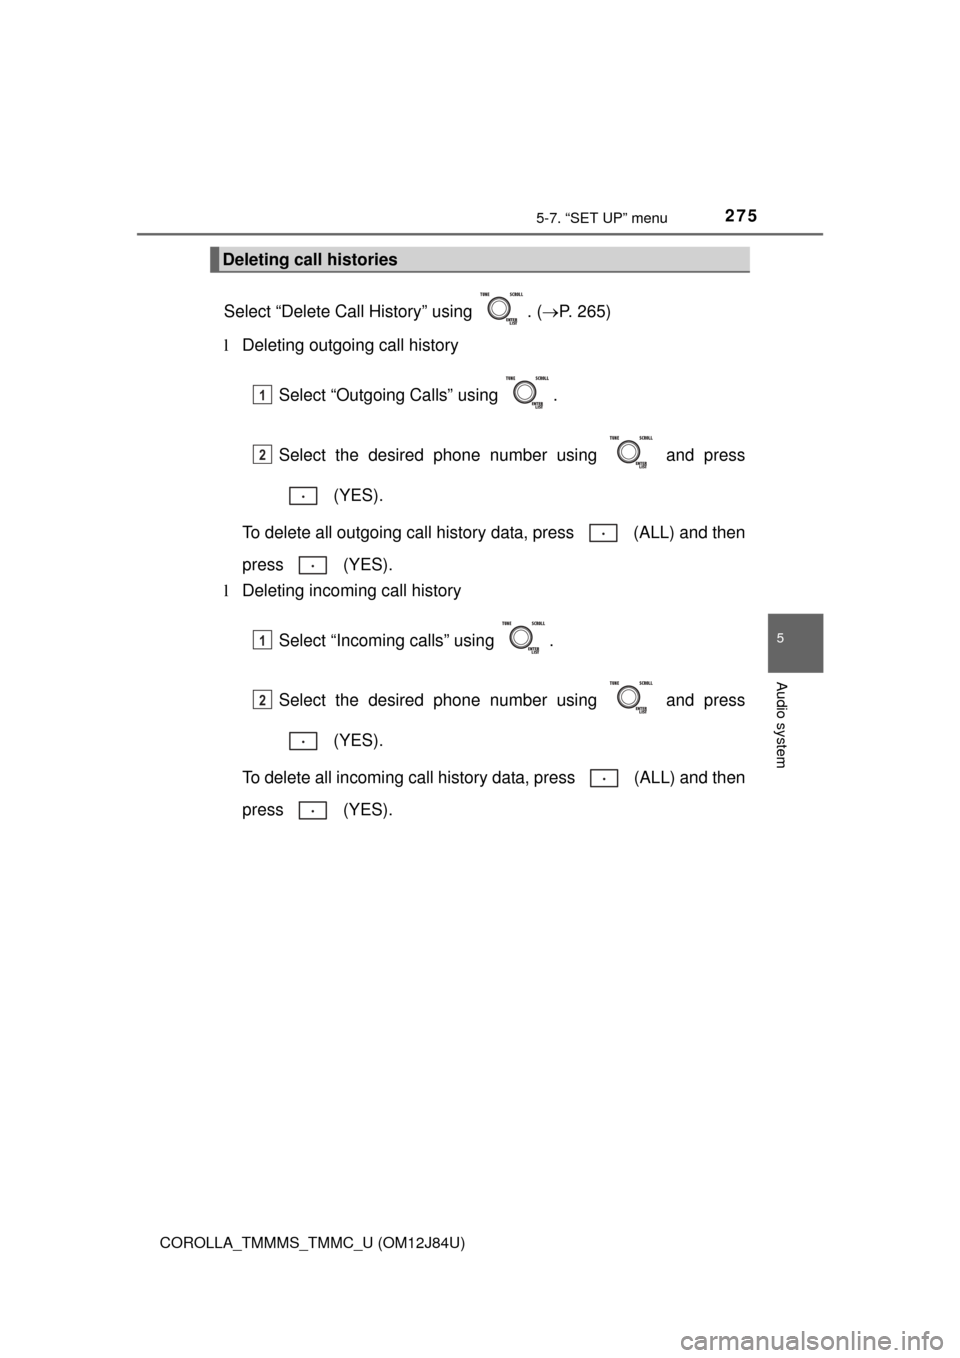
Select “Delete Call History” using . (P. 265)
l Deleting outgoing call history
Select “Outgoing Calls” using .
Select the desired phone number using and press (YES).
To delete all outgoing call history data, press (ALL) and then
press (YES).
l Deleting incoming call history
Select “Incoming calls” using .
Select the desired phone number using and press (YES).
To delete all incoming call history data, press (ALL) and then
press (YES).
Deleting call histories
1
2
1
2
Page 276 of 620
2765-7. “SET UP” menu
COROLLA_TMMMS_TMMC_U (OM12J84U)
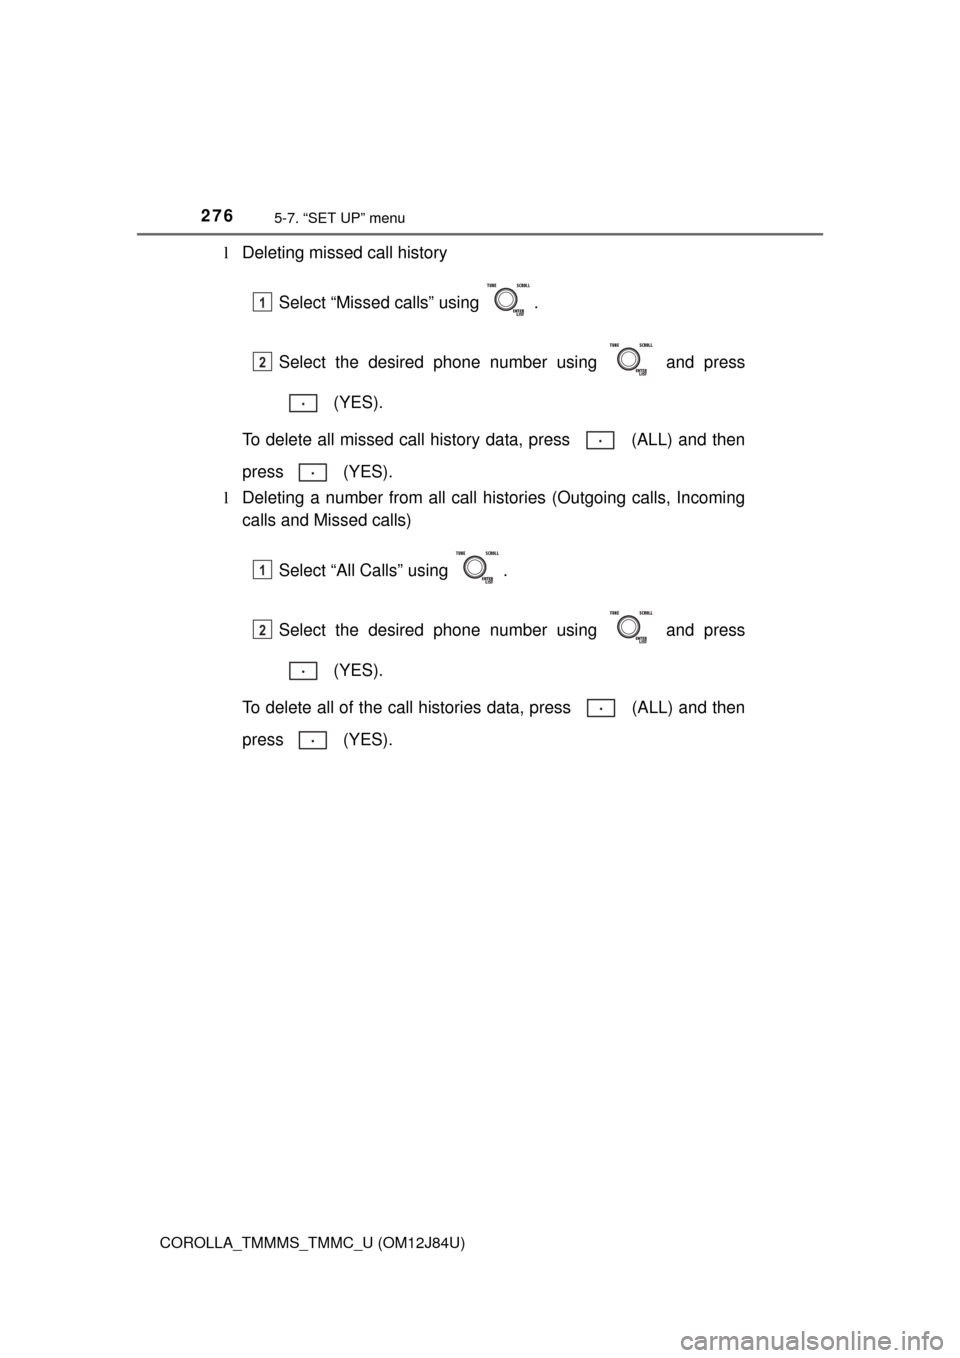
lDeleting missed call history
Select “Missed calls” using .
Select the desired phone number using and press (YES).
To delete all missed call history data, press (ALL) and then
press (YES).
l Deleting a number from all call histories (Outgoing calls, Incoming
calls and Missed calls)
Select “All Calls” using .
Select the desired phone number using and press (YES).
To delete all of the call histories data, press (ALL) and then
press (YES).
1
2
1
2
Page 277 of 620
2775-7. “SET UP” menu
5
Audio system
COROLLA_TMMMS_TMMC_U (OM12J84U)
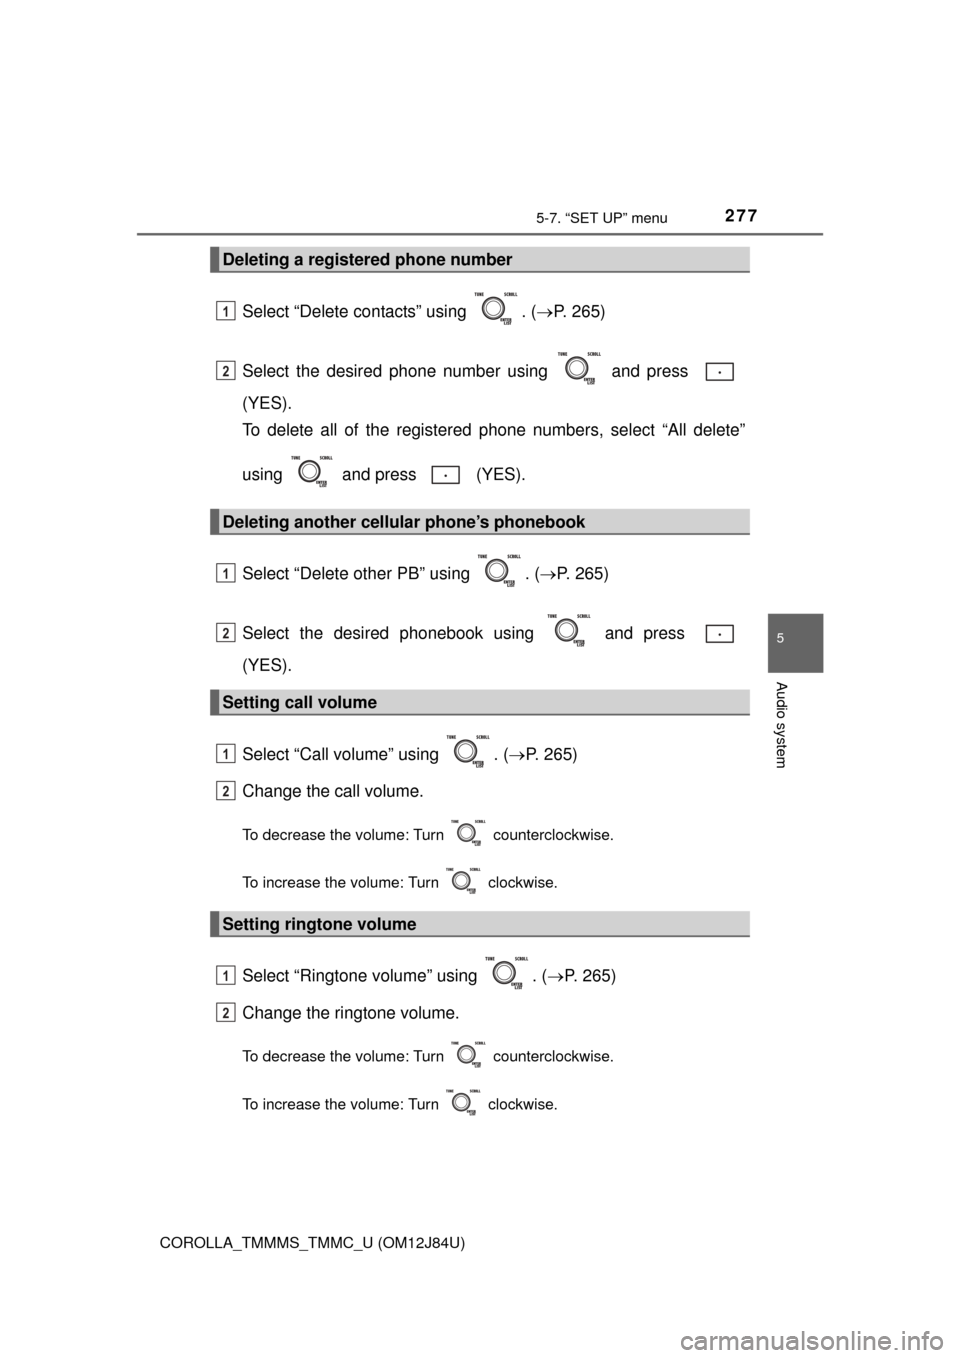
Select “Delete contacts” using . (P. 265)
Select the desired phone number using and press
(YES).
To delete all of the registered phone numbers, select “All delete”
using and press (YES).
Select “Delete other PB” using . ( P. 265)
Select the desired phonebook using and press
(YES).
Select “Call volume” using . ( P. 265)
Change the call volume.
To decrease the volume: Turn counterclockwise.
To increase the volume: Turn clockwise.
Select “Ringtone volume” using . ( P. 265)
Change the ringtone volume.
To decrease the volume: Turn counterclockwise.
To increase the volume: Turn clockwise.
Deleting a registered phone number
Deleting another cellular phone’s phonebook
Setting call volume
Setting ringtone volume
1
2
1
2
1
2
1
2
Page 278 of 620
2785-7. “SET UP” menu
COROLLA_TMMMS_TMMC_U (OM12J84U)
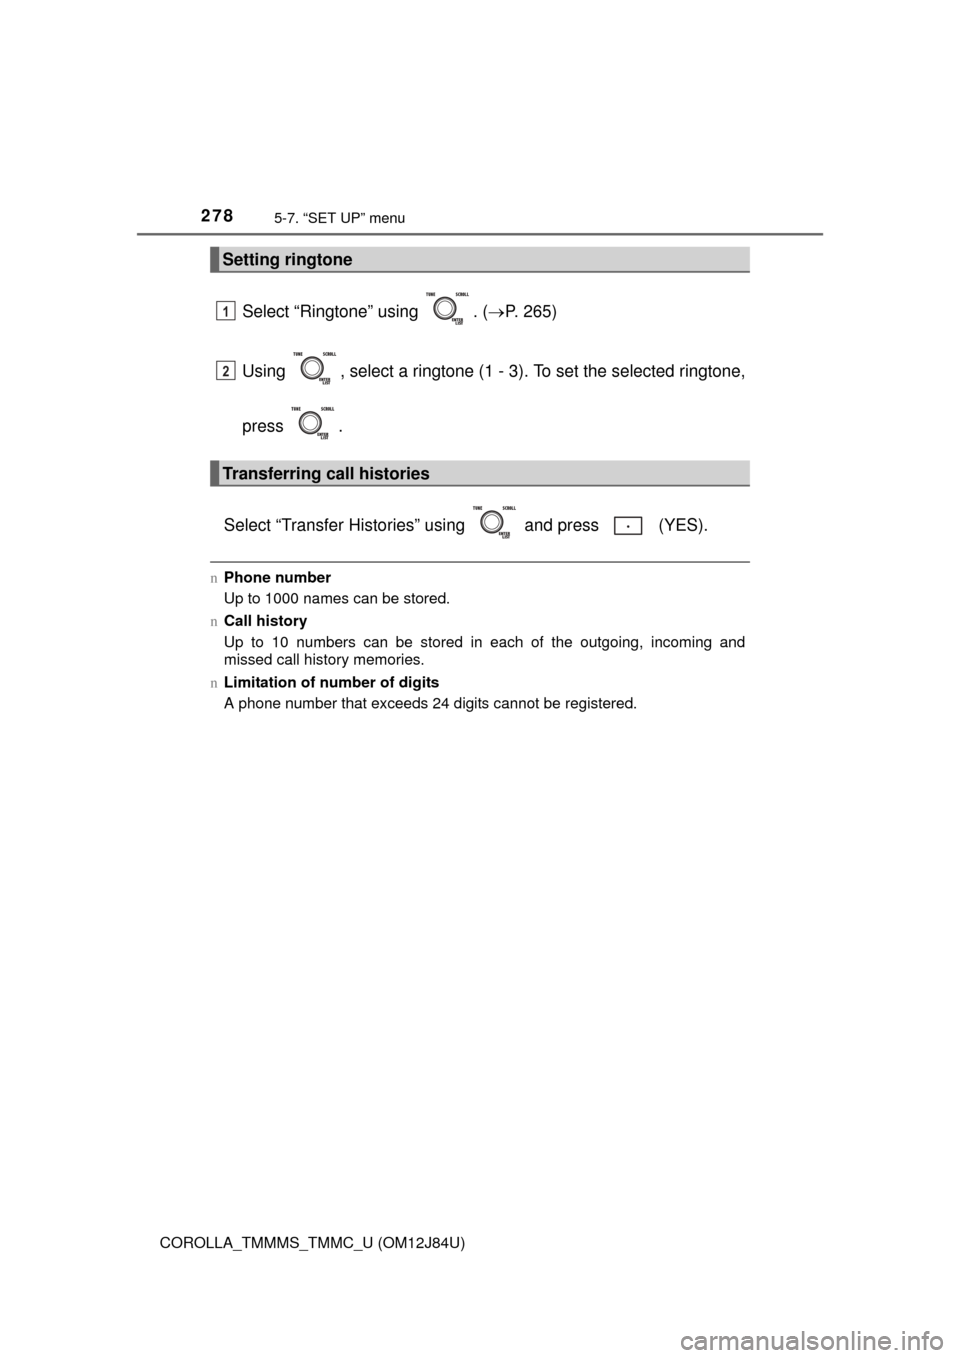
Select “Ringtone” using . (P. 265)
Using , select a ringtone (1 - 3). To set the selected ringtone,
press .
Select “Transfer Histories” using and press (YES).
n Phone number
Up to 1000 names can be stored.
n Call history
Up to 10 numbers can be stored in each of the outgoing, incoming and
missed call history memories.
n Limitation of number of digits
A phone number that exceeds 24 digits cannot be registered.
Setting ringtone
Transferring call histories
1
2
Page 279 of 620
279
5
Audio system
COROLLA_TMMMS_TMMC_U (OM12J84U)
5-8. Bluetooth® Audio
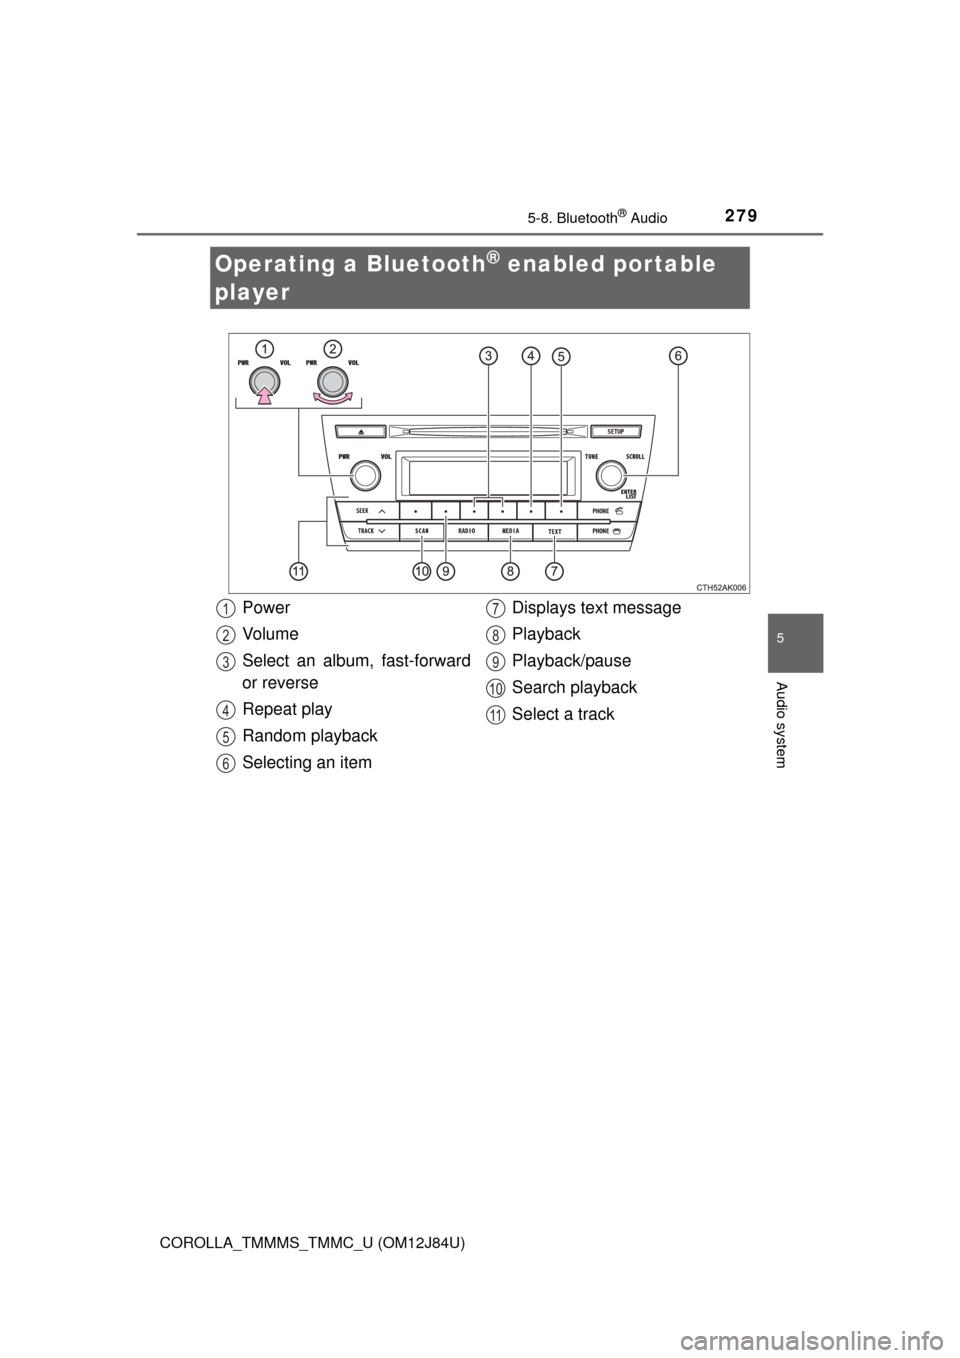
Operating a Bluetooth® enabled portable
player
Power
Vo l u m e
Select an album, fast-forward
or reverse
Repeat play
Random playback
Selecting an item Displays text message
Playback
Playback/pause
Search playback
Select a track1
2
3
4
5
6
7
8
9
10
11
Page 280 of 620
2805-8. Bluetooth® Audio
COROLLA_TMMMS_TMMC_U (OM12J84U)
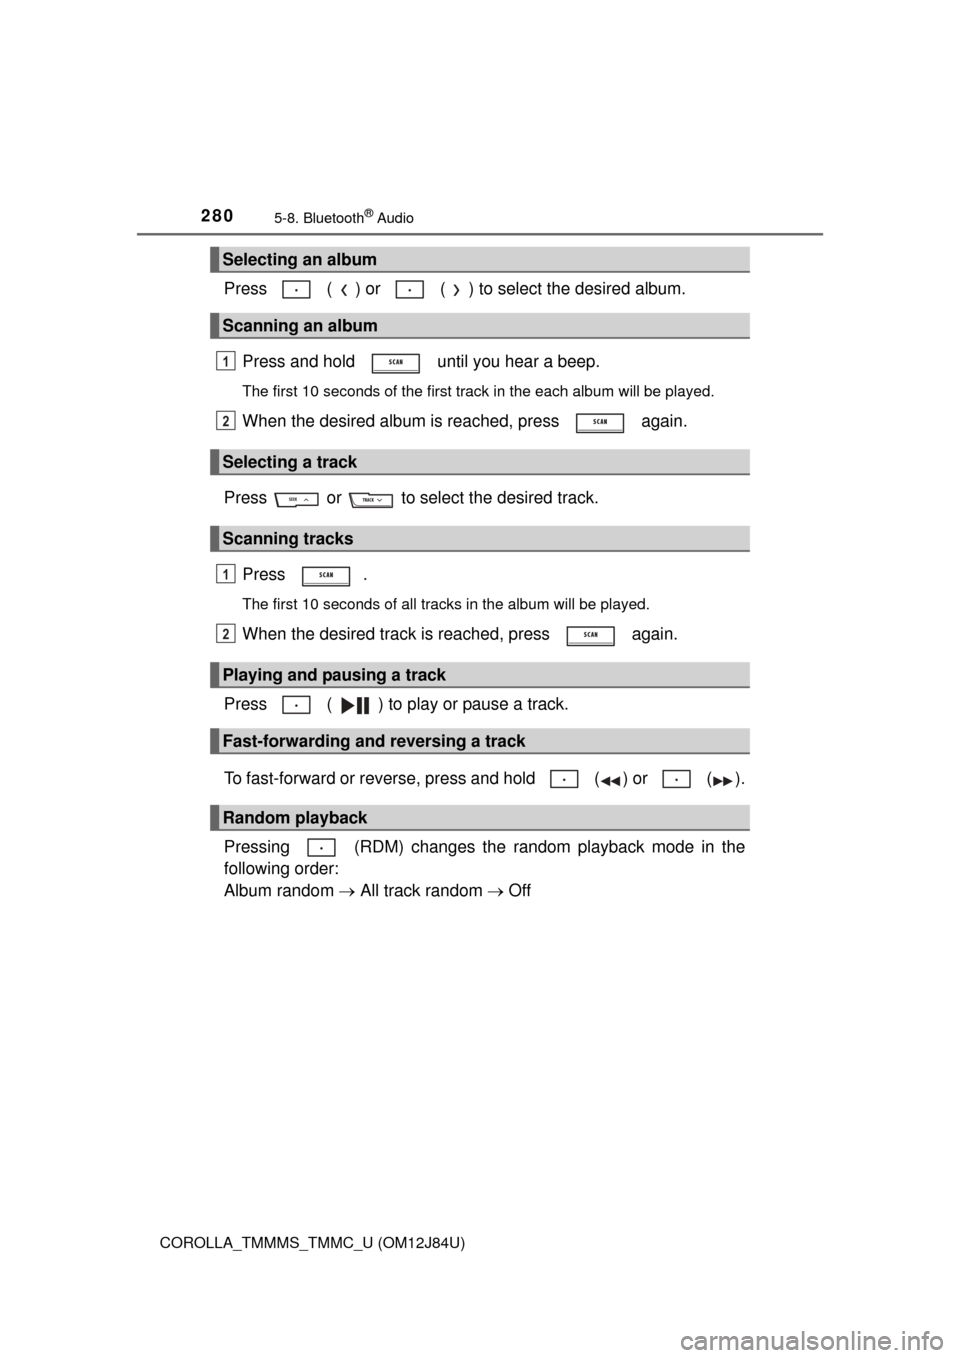
Press ( ) or ( ) to select the desired album.Press and hold until you hear a beep.
The first 10 seconds of the first track in the each album will be played.
When the desired album is reached, press again.
Press or to select the desired track. Press .
The first 10 seconds of all tracks in the album will be played.
When the desired track is reached, press again.
Press ( ) to play or pause a track.
To fast-forward or reverse, press and hold ( ) or ( ).
Pressing (RDM) changes the random playback mode in the
following order:
Album random All track random Off
Selecting an album
Scanning an album
Selecting a track
Scanning tracks
Playing and pausing a track
Fast-forwarding and reversing a track
Random playback
1
2
1
2
Trending: engine coolant, Manual trans, towing capacity, rear engine mount, boot, CD changer, torque specification
