TOYOTA LAND CRUISER 2012 Owners Manual
LAND CRUISER 2012
TOYOTA
TOYOTA
https://www.carmanualsonline.info/img/14/60105/w960_60105-0.png
TOYOTA LAND CRUISER 2012 Owners Manual
Trending: roof, deactivate airbag, horn, tow bar, alternator, air condition, steering
Page 441 of 692
441 3-4. Using the hands-free system (for cellular phone)
3
Interior features
L/C200_EE (OM60G38E)
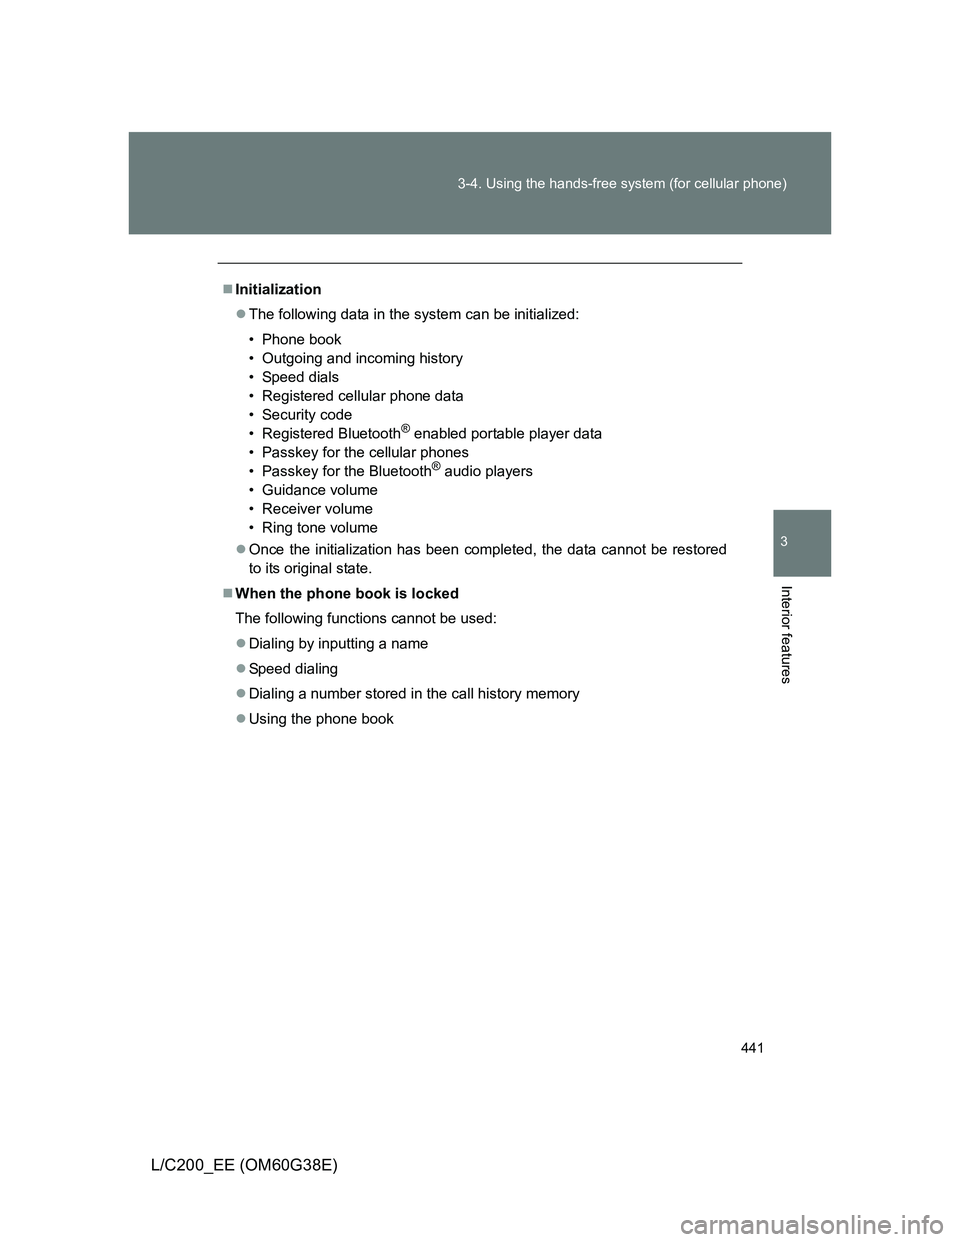
Initialization
The following data in the system can be initialized:
• Phone book
• Outgoing and incoming history
• Speed dials
• Registered cellular phone data
• Security code
• Registered Bluetooth
® enabled portable player data
• Passkey for the cellular phones
• Passkey for the Bluetooth
® audio players
• Guidance volume
• Receiver volume
• Ring tone volume
Once the initialization has been completed, the data cannot be restored
to its original state.
When the phone book is locked
The following functions cannot be used:
Dialing by inputting a name
Speed dialing
Dialing a number stored in the call history memory
Using the phone book
Page 442 of 692
442
3-4. Using the hands-free system (for cellular phone)
L/C200_EE (OM60G38E)
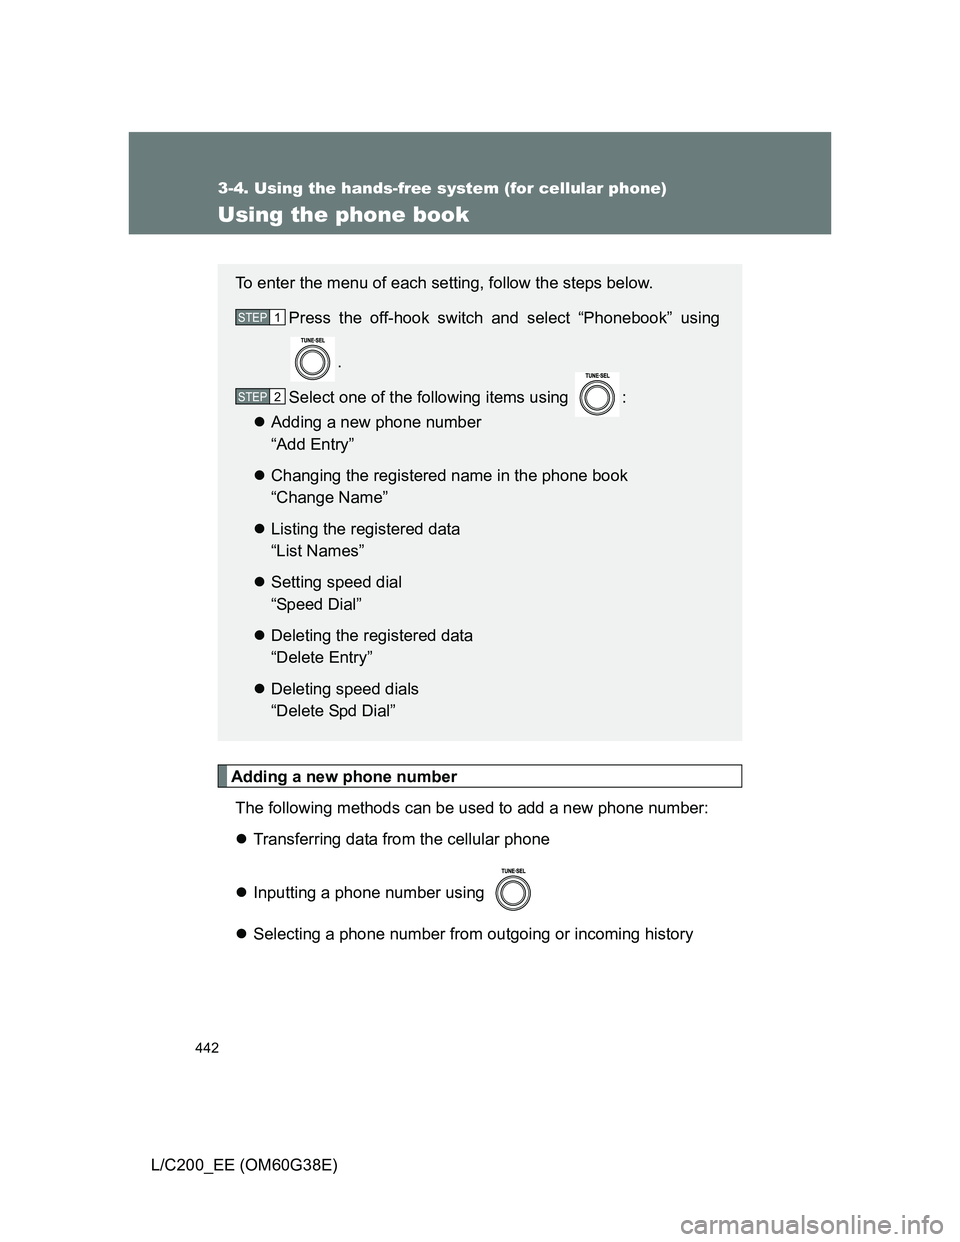
Using the phone book
Adding a new phone number
The following methods can be used to add a new phone number:
Transferring data from the cellular phone
Inputting a phone number using
Selecting a phone number from outgoing or incoming history
To enter the menu of each setting, follow the steps below.
Press the off-hook switch and select “Phonebook” using
.
Select one of the following items using :
Adding a new phone number
“Add Entry”
Changing the registered name in the phone book
“Change Name”
Listing the registered data
“List Names”
Setting speed dial
“Speed Dial”
Deleting the registered data
“Delete Entry”
Deleting speed dials
“Delete Spd Dial”
STEP1
STEP2
Page 443 of 692
443 3-4. Using the hands-free system (for cellular phone)
3
Interior features
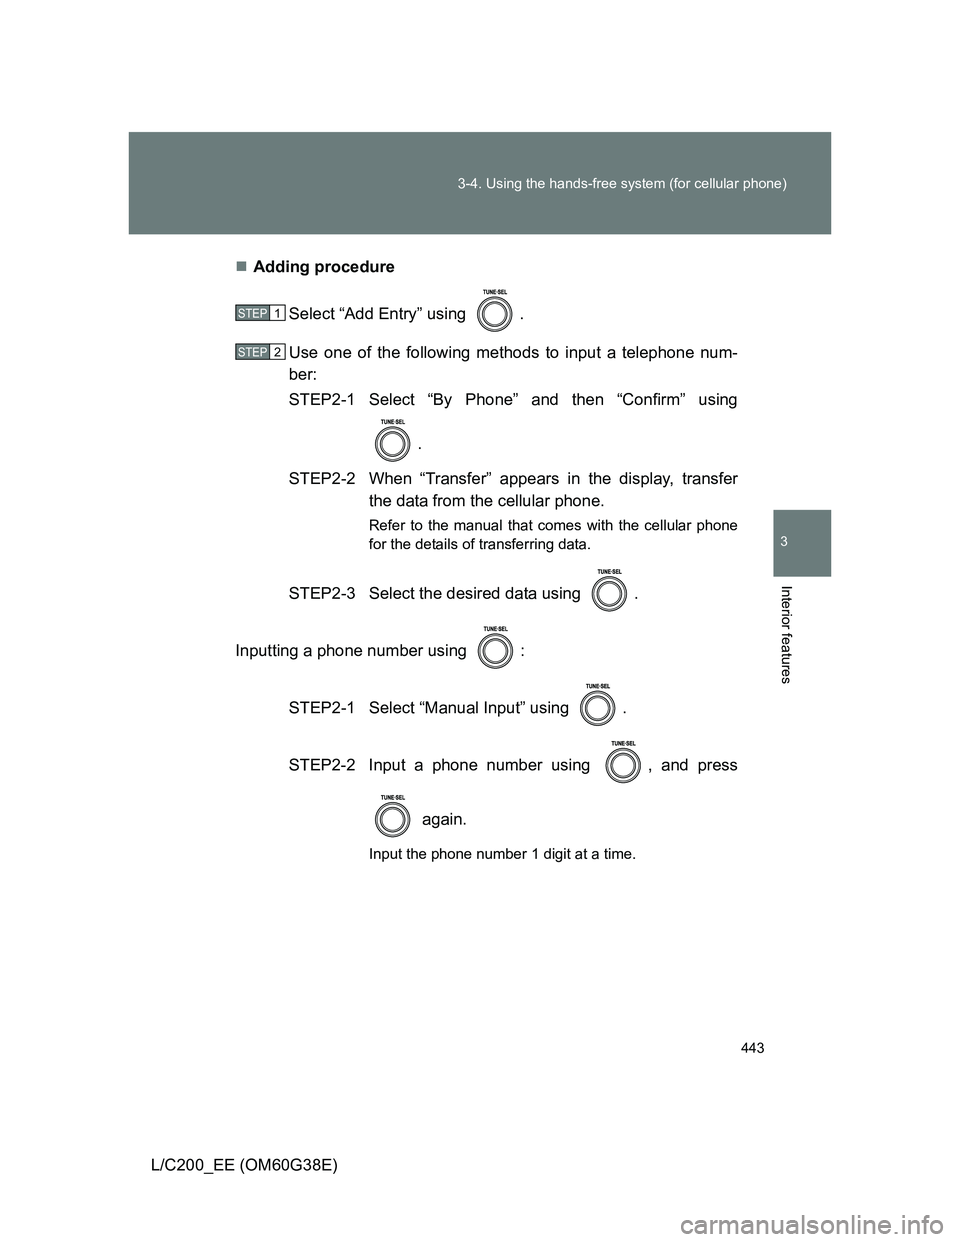
L/C200_EE (OM60G38E)Adding procedure
Select “Add Entry” using .
Use one of the following methods to input a telephone num-
ber:
STEP2-1 Select “By Phone” and then “Confirm” using
.
STEP2-2 When “Transfer” appears in the display, transfer
the data from the cellular phone.
Refer to the manual that comes with the cellular phone
for the details of transferring data.
STEP2-3 Select the desired data using .
Inputting a phone number using :
STEP2-1 Select “Manual Input” using .
STEP2-2 Input a phone number using , and press
again.
Input the phone number 1 digit at a time.
STEP1
STEP2
Page 444 of 692
444 3-4. Using the hands-free system (for cellular phone)
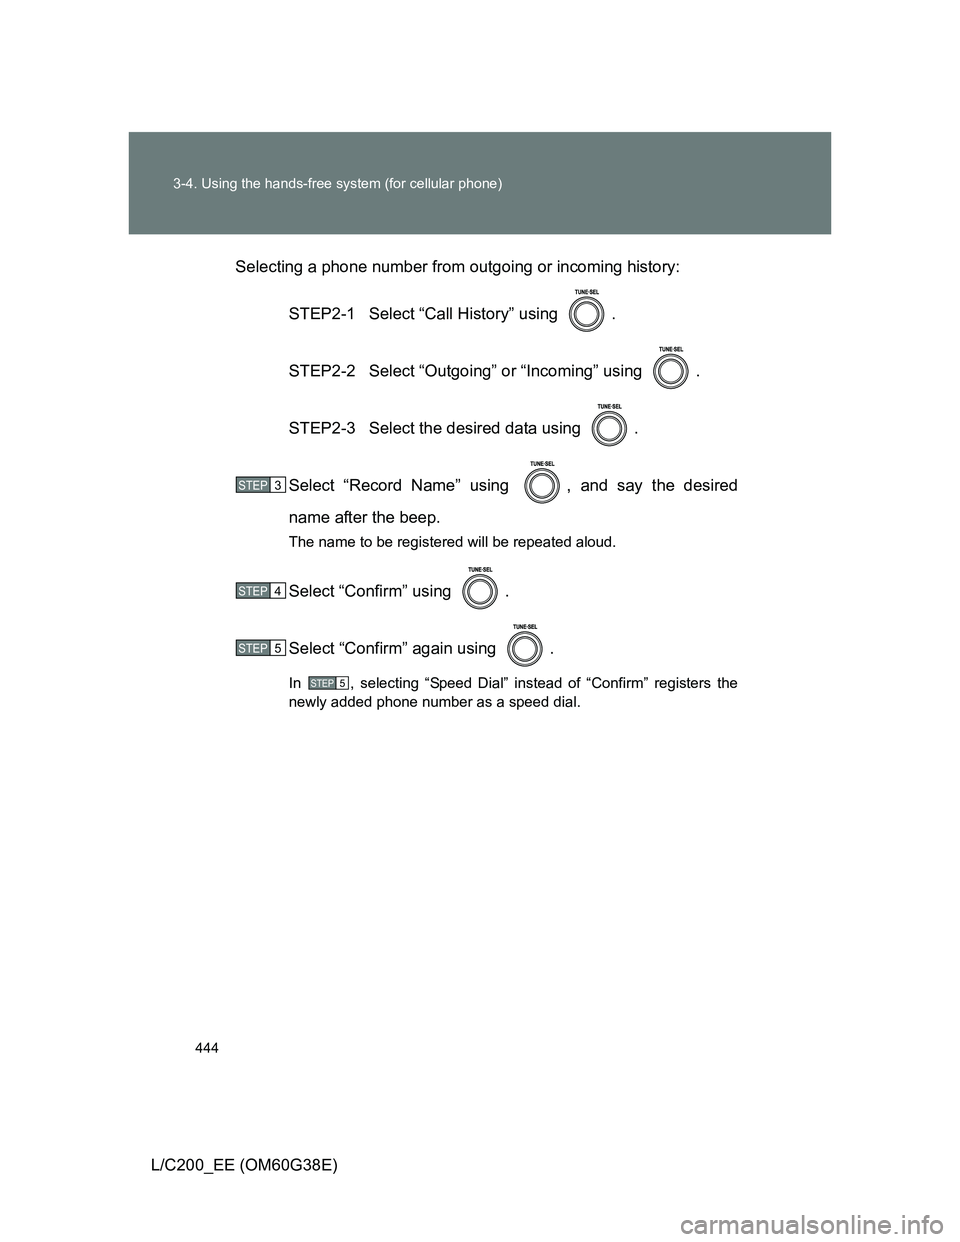
L/C200_EE (OM60G38E)Selecting a phone number from outgoing or incoming history:
STEP2-1 Select “Call History” using .
STEP2-2 Select “Outgoing” or “Incoming” using .
STEP2-3 Select the desired data using .
Select “Record Name” using , and say the desired
name after the beep.
The name to be registered will be repeated aloud.
Select “Confirm” using .
Select “Confirm” again using .
In , selecting “Speed Dial” instead of “Confirm” registers the
newly added phone number as a speed dial.
STEP3
STEP4
STEP5
STEP5
Page 445 of 692
445 3-4. Using the hands-free system (for cellular phone)
3
Interior features
L/C200_EE (OM60G38E)
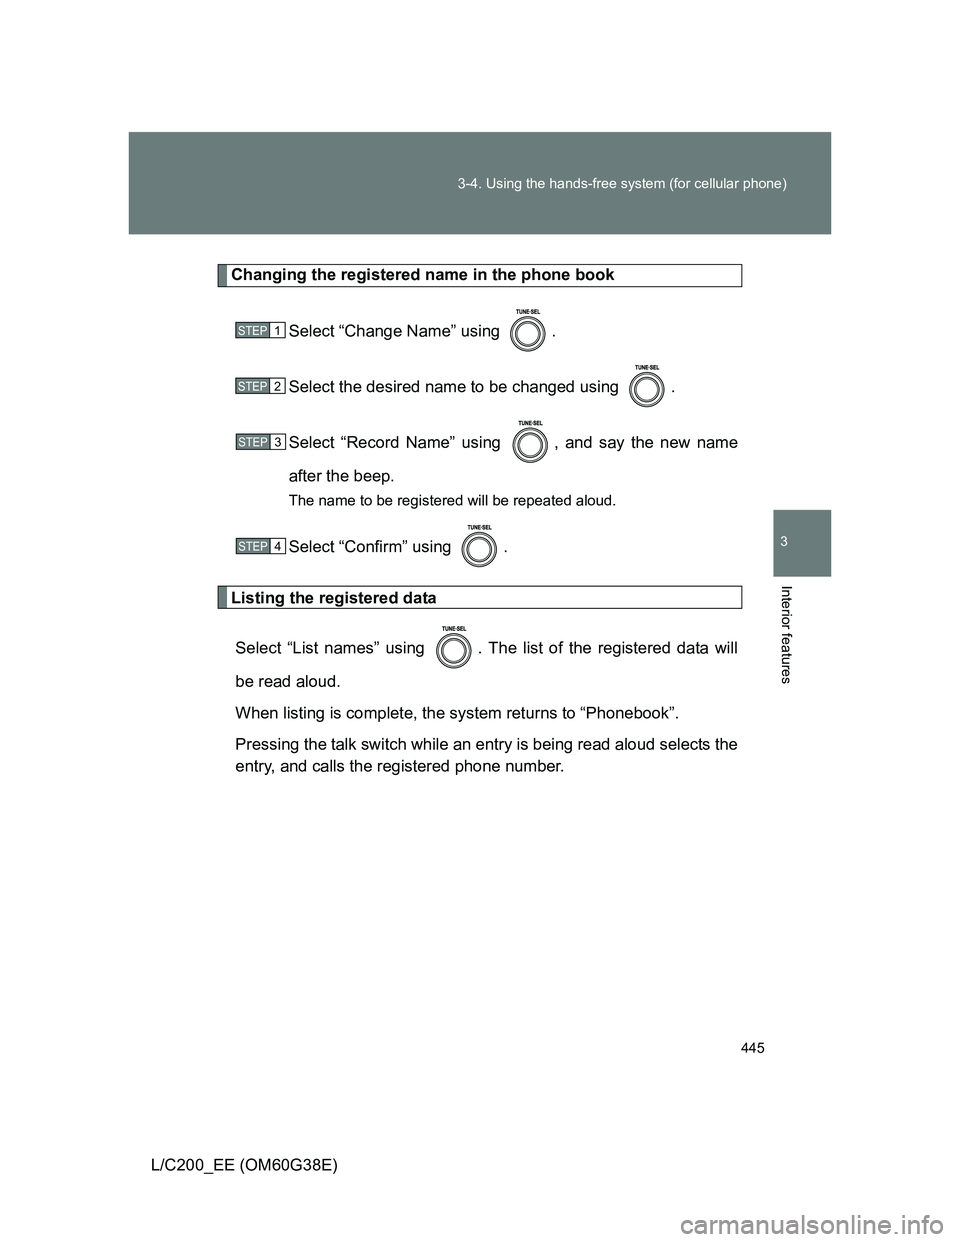
Changing the registered name in the phone book
Select “Change Name” using .
Select the desired name to be changed using .
Select “Record Name” using , and say the new name
after the beep.
The name to be registered will be repeated aloud.
Select “Confirm” using .
Listing the registered data
Select “List names” using . The list of the registered data will
be read aloud.
When listing is complete, the system returns to “Phonebook”.
Pressing the talk switch while an entry is being read aloud selects the
entry, and calls the registered phone number.
STEP1
STEP2
STEP3
STEP4
Page 446 of 692
446 3-4. Using the hands-free system (for cellular phone)
L/C200_EE (OM60G38E)
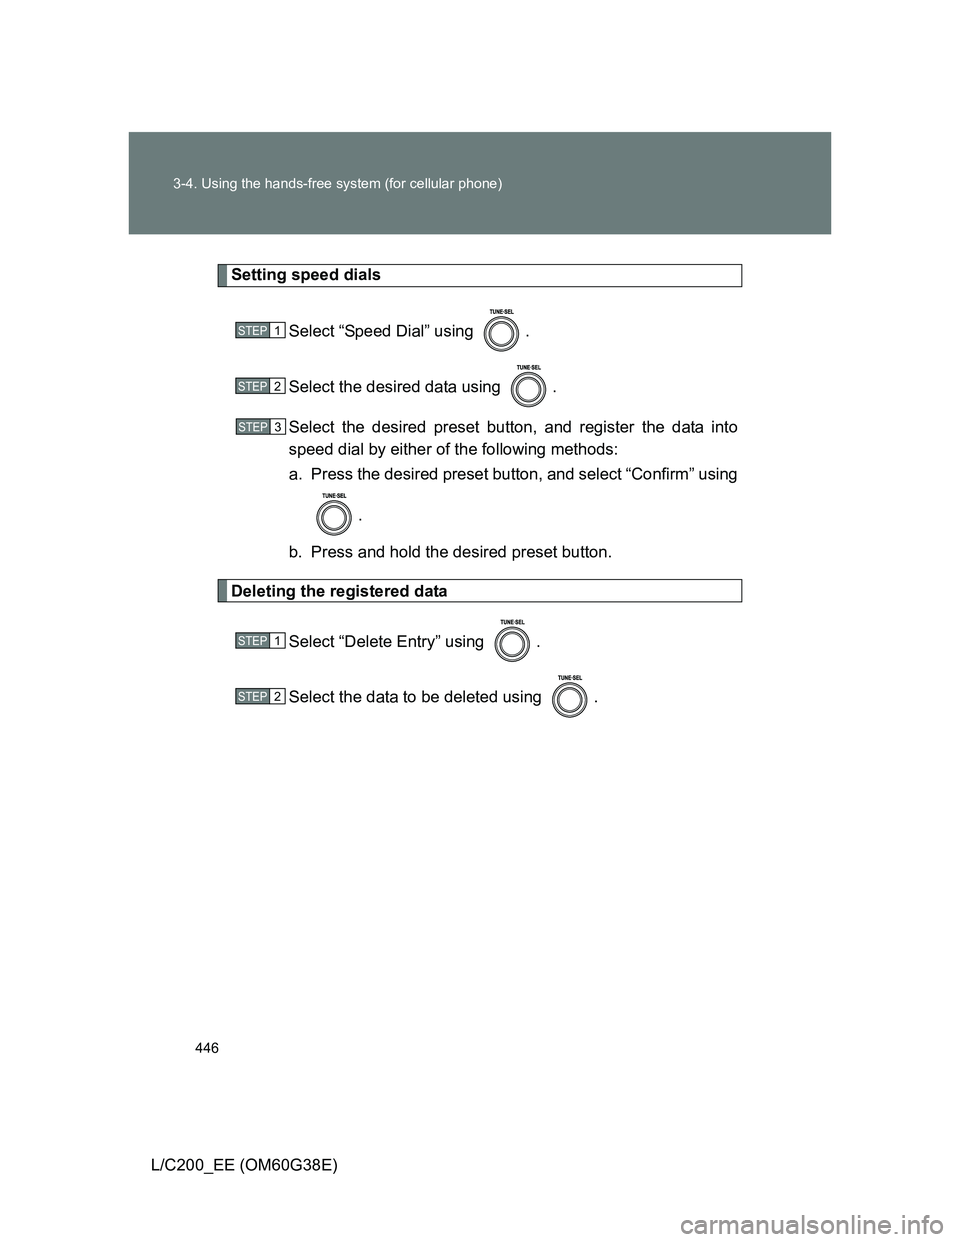
Setting speed dials
Select “Speed Dial” using .
Select the desired data using .
Select the desired preset button, and register the data into
speed dial by either of the following methods:
a. Press the desired preset button, and select “Confirm” using
.
b. Press and hold the desired preset button.
Deleting the registered data
Select “Delete Entry” using .
Select the data to be deleted using .
STEP1
STEP2
STEP3
STEP1
STEP2
Page 447 of 692
447 3-4. Using the hands-free system (for cellular phone)
3
Interior features
L/C200_EE (OM60G38E)
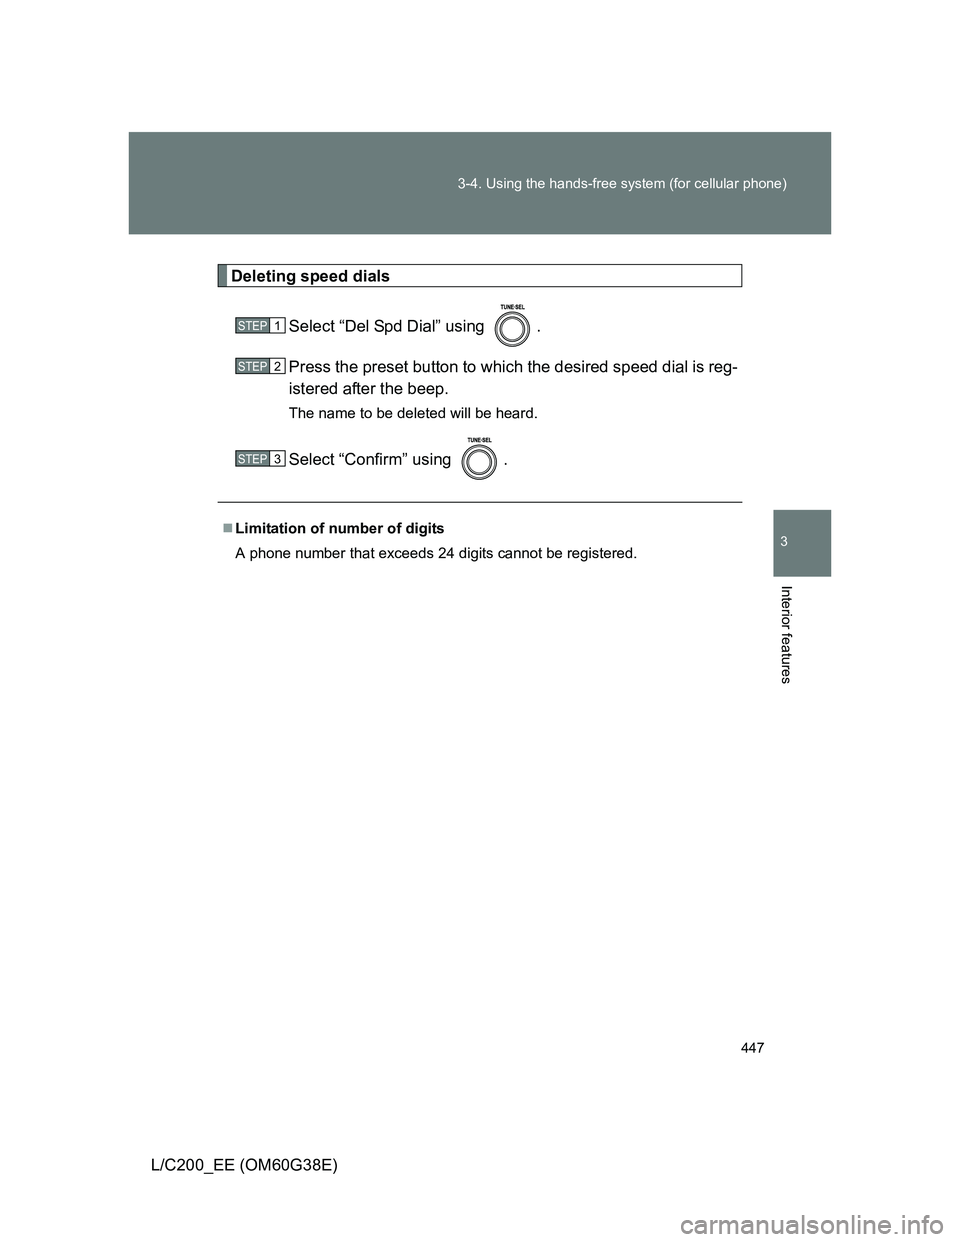
Deleting speed dials
Select “Del Spd Dial” using .
Press the preset button to which the desired speed dial is reg-
istered after the beep.
The name to be deleted will be heard.
Select “Confirm” using .
Limitation of number of digits
A phone number that exceeds 24 digits cannot be registered.
STEP1
STEP2
STEP3
Page 448 of 692
448
L/C200_EE (OM60G38E)
3-5. Using the interior lights
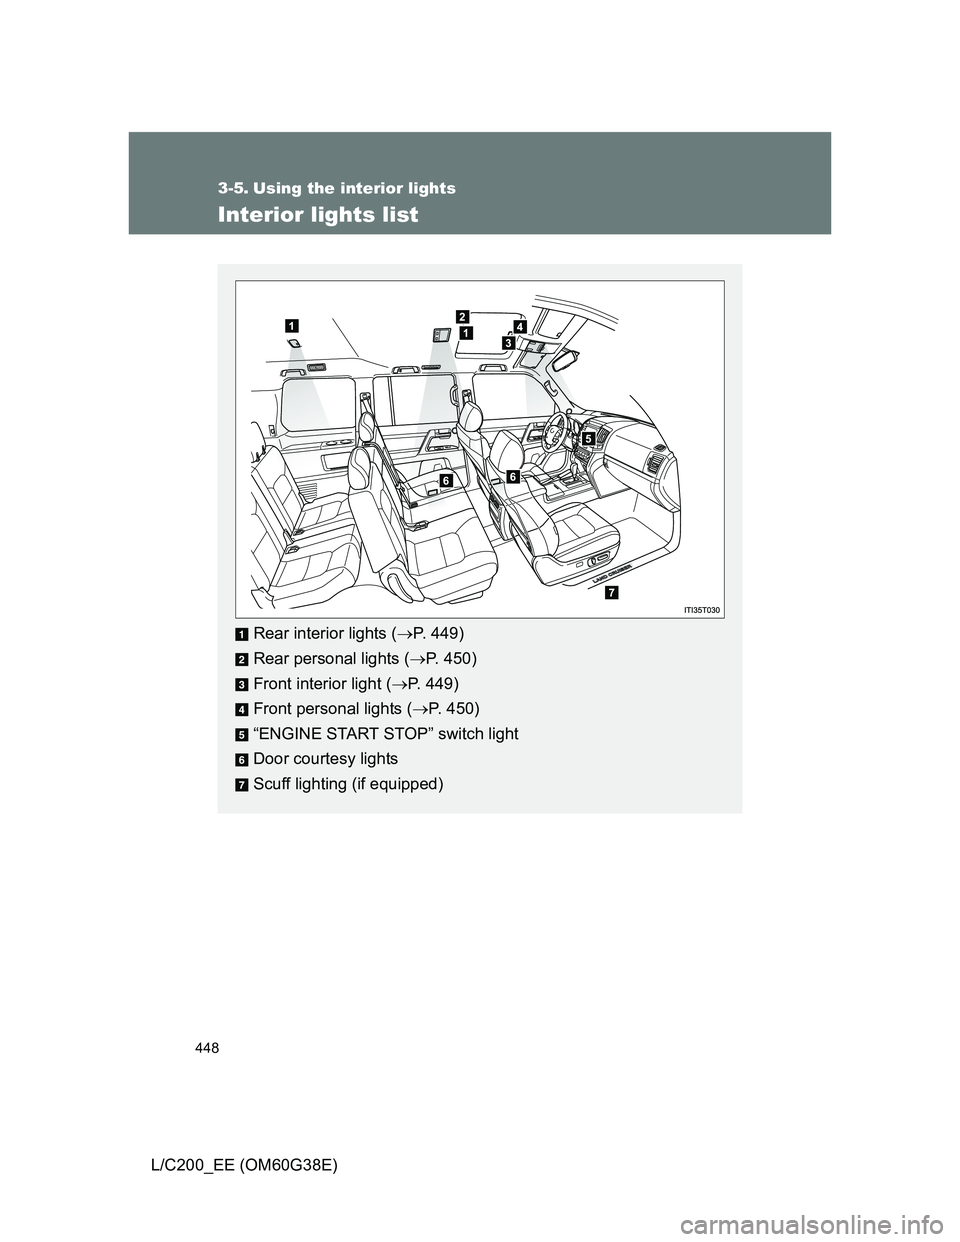
Interior lights list
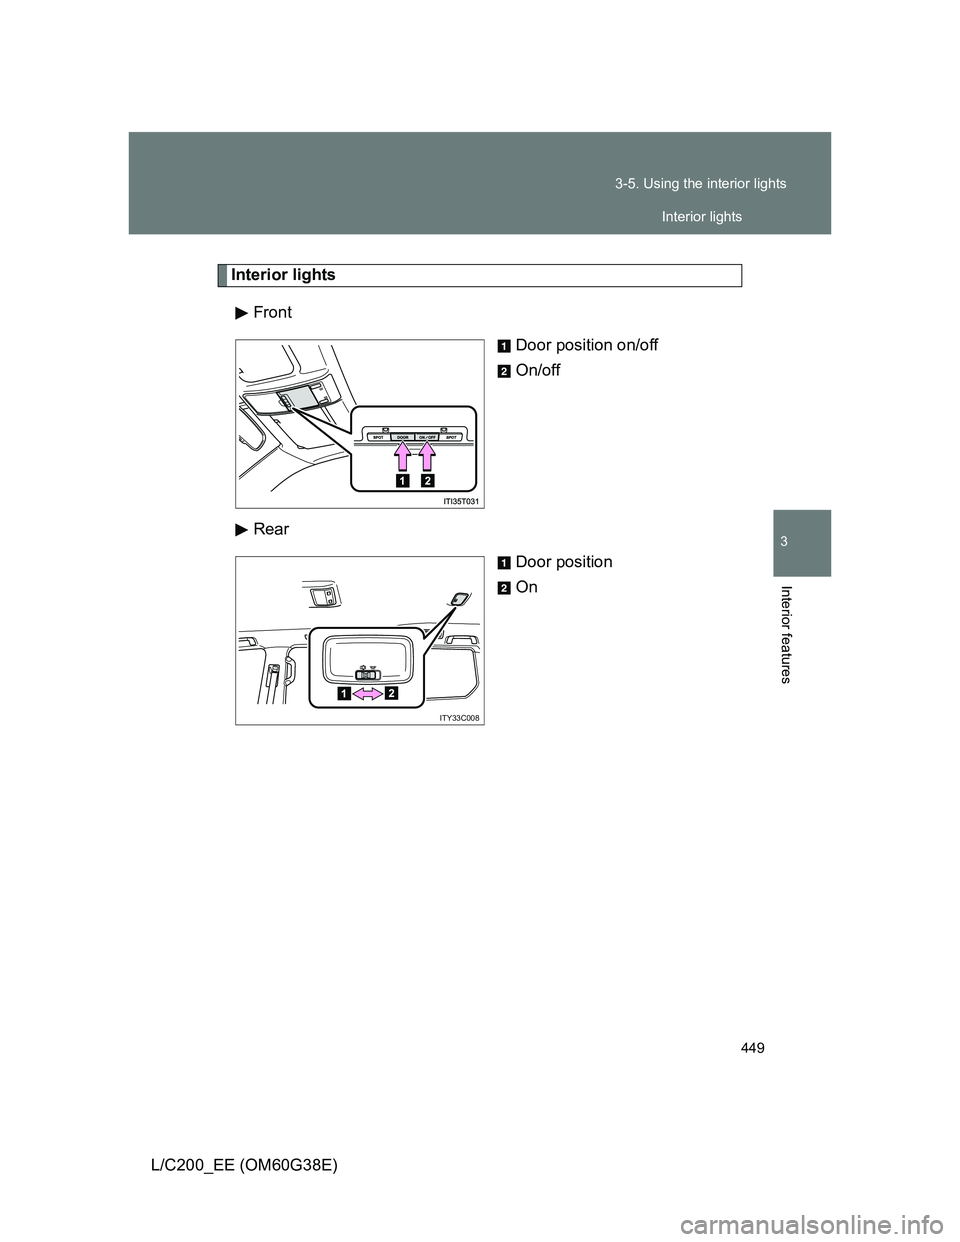
Rear interior lights (P. 449)
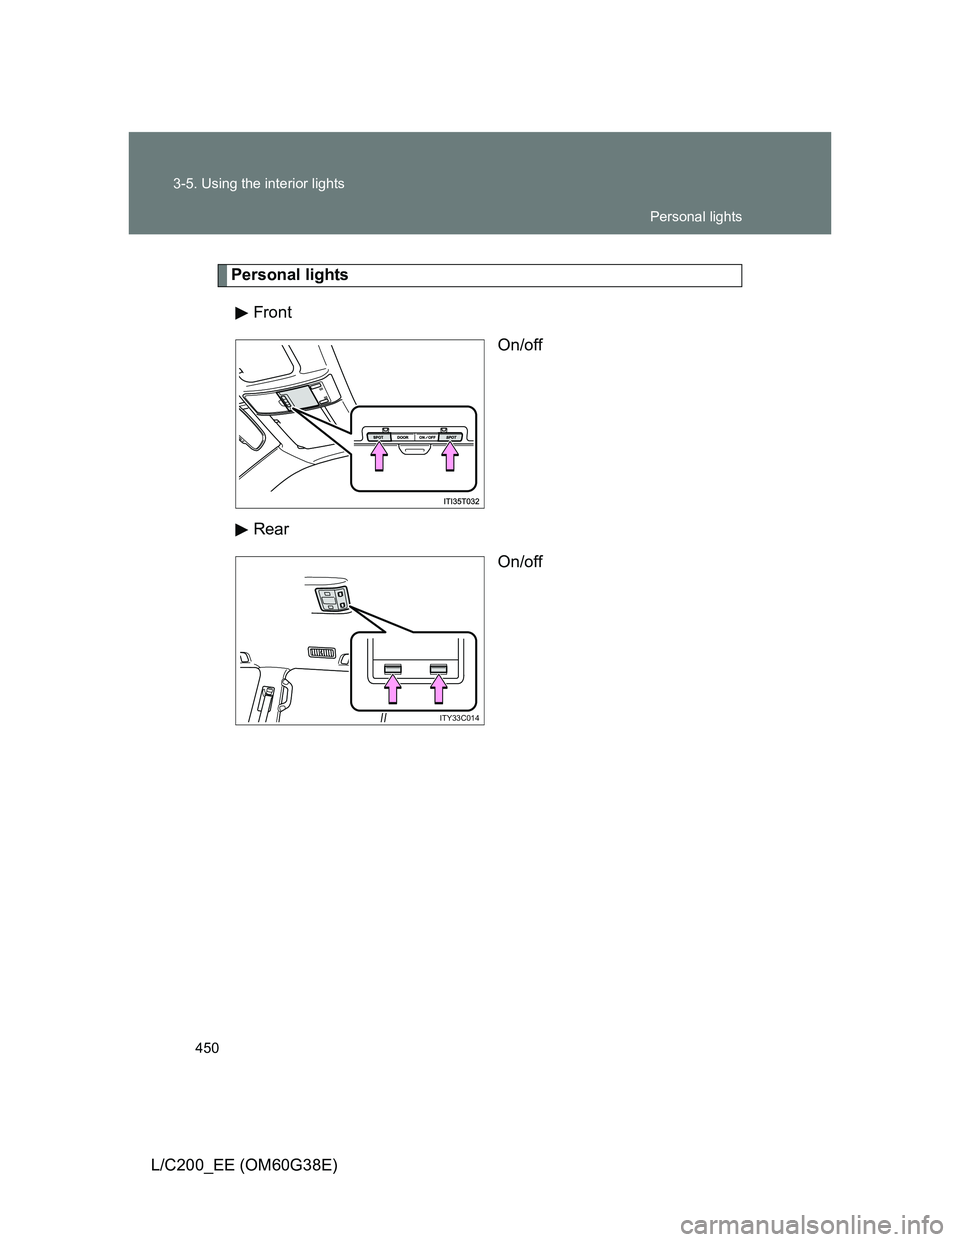
Rear personal lights (P. 450)
Front interior light (P. 449)
Front personal lights (P. 450)
“ENGINE START STOP” switch light
Door courtesy lights
Scuff lighting (if equipped)
Page 449 of 692
449 3-5. Using the interior lights
3
Interior features
L/C200_EE (OM60G38E)
Interior lights
Front
Door position on/off
On/off
Rear
Door position
On
ITY33C008
Interior lights
Page 450 of 692
450 3-5. Using the interior lights
L/C200_EE (OM60G38E)
Personal lights
Front
On/off
Rear
On/off
ITY33C014
Personal lights
Trending: lights, headlight bulb, coolant level, coolant capacity, change time, key, seats
