headlights TOYOTA RAV4 2020 Owners Manual (in English)
[x] Cancel search | Manufacturer: TOYOTA, Model Year: 2020, Model line: RAV4, Model: TOYOTA RAV4 2020Pages: 736, PDF Size: 30.79 MB
Page 15 of 736
15Pictorial index
Precautions against winter season ...................................... P.367
To prevent freezing (windshield wiper de-icer)
*.................... P.520
Precautions against car wash
(Rain-sensing windshield wipers)
*....................................... P.559
Replacing the wiper insert ..................................... ............... P.601
Fuel filler door ............................................... ..................... P.220
Refueling method ............................................... .................. P.220
Fuel type/fuel tan k capacity ................................... .............. P.666
Tires.......................................................... ........................... P.581
Tire size/inflation pressure ................................... ................ P.671
Winter tires/tire chain ........................................ ................... P.367
Checking/rotation/tire pressure warning system
*................. P.581
Coping with flat tires......................................... .................... P.642
Hood ........................................................... ......................... P.571
Opening ............................................................................... P.571
Engine oil ..................................................... ........................ P.666
Coping with overheat ........................................... ................ P.659
Warning messages ............................................... ............... P.639
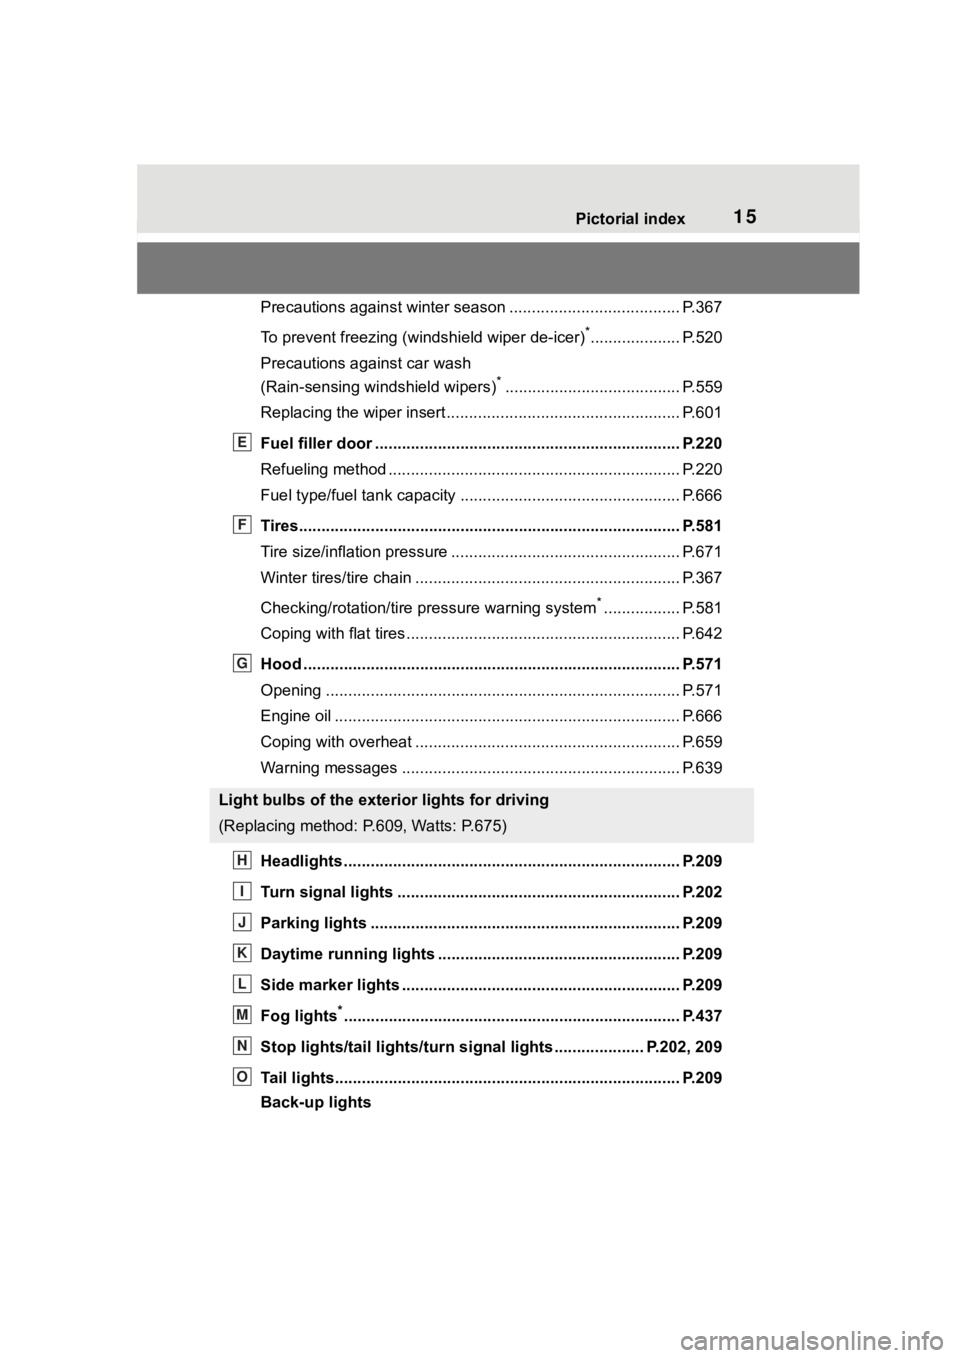
Headlights..................................................... ...................... P.209
Turn signal lights ............................................. .................. P.202
Parking lights ................................................. .................... P.209
Daytime running lights .. .................................................... P.209
Side marker lights ............................................. ................. P.209
Fog lights
*............................................................... ............ P.437
Stop lights/tail lights/turn s ignal lights .................... P.202, 209
Tail lights.................................................... ......................... P.209
Back-up lights
Light bulbs of the exterior lights for driving
(Replacing method: P.609, Watts: P.675)
E
F
G
H
I
J
K
L
M
N
O
Page 18 of 736
18Pictorial index
When the warning messages are displayed ........................P. 6 3 9
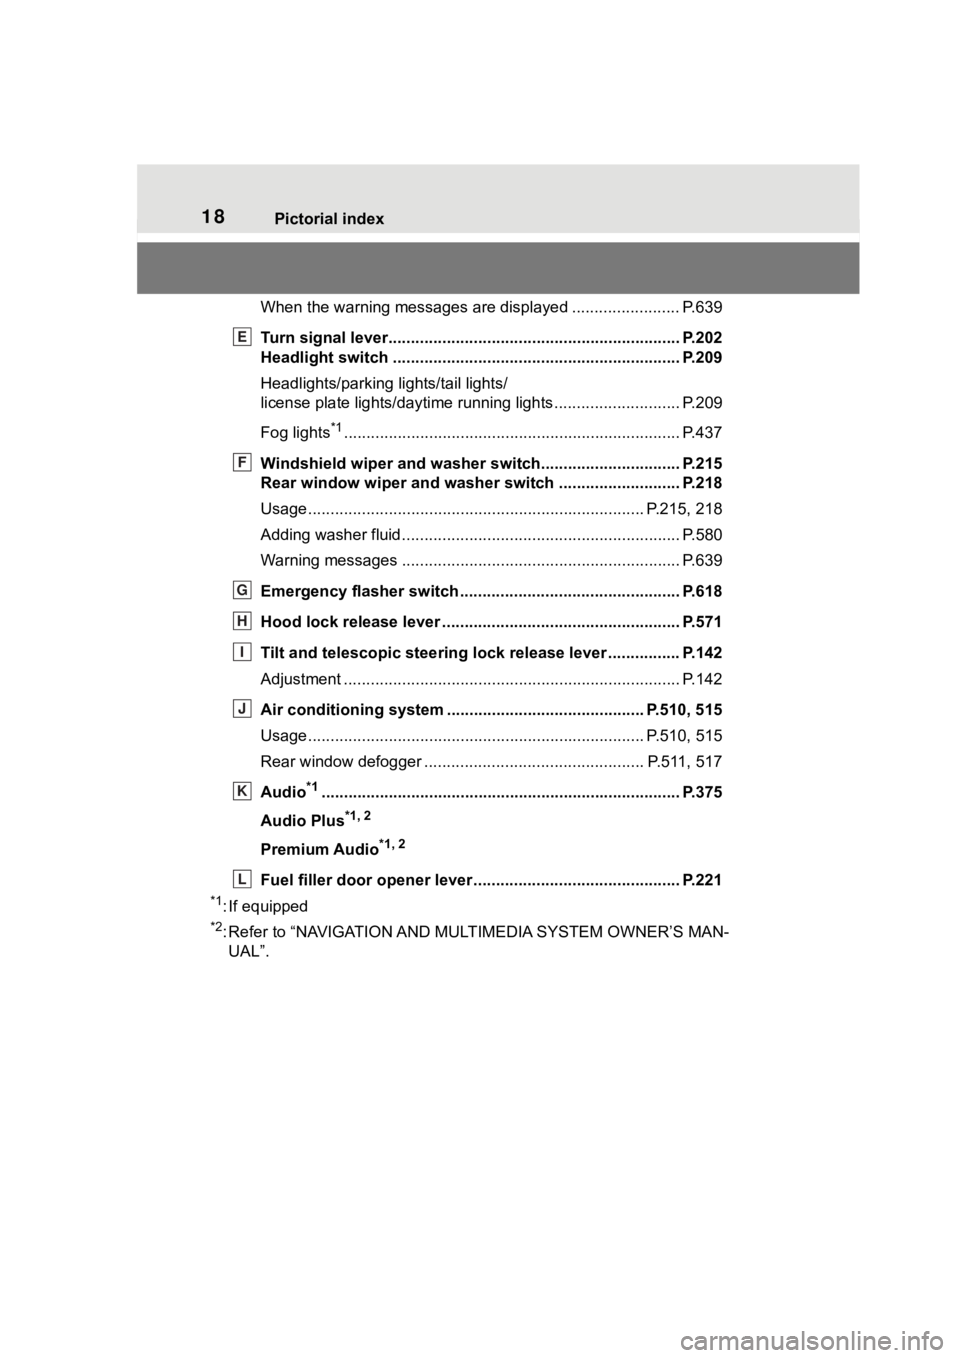
Turn signal lever.............................................. ................... P.202
Headlight switch ............................................... ................. P.209
Headlights/parking lights/tail lights/
license plate lights/daytime running lights .................... ........ P.209
Fog lights
*1............................................................... ............ P.437
Windshield wiper and washer switch............................... P.215
Rear window wiper and washer switch ........................... P.218
Usage.......................................................... ................. P.215, 218
Adding washer fluid .............................................................. P.580
Warning messages ............................................... ............... P.639
Emergency flasher switch ....................................... .......... P.618
Hood lock release lever ........................................ ............. P.571
Tilt and telescopic steering lock release lever ................P. 1 4 2
Adjustment ..................................................... ...................... P.142
Air conditioning system ............................. ............... P.510, 515
Usage.......................................................... ................. P.510, 515
Rear window defogger ........................................... ...... P.511, 517
Audio
*1............................................................... ................. P.375
Audio Plus
*1, 2
Premium Audio*1, 2
Fuel filler door opener lever .................................. ............ P.221
*1: If equipped
*2: Refer to “NAVIGATION AND MULTIMEDIA SYSTEM OWNER’S MAN-
UAL”.
E
F
G
H
I
J
K
L
Page 98 of 736
982-1. Instrument cluster
Select to display warning mes-
sages and measures to be
taken if a malfunction is
detected. (P.639)
Displays suggestions to the
driver in the following situations.
To select a response to a dis-
played suggestion, use the
meter control switches.
■Suggestion to turn on the
headlights
If the headlight switch is in other
than or , and the vehicle
speed is 3 mph (5 km/h) or
higher for a certain amount of
time when the surroundings are dark, a suggestion message will
be displayed.
■Suggestion to turn off the
headlights
If the headlights are left on for a
certain amount of time after the
engine switch has been turned
off, a suggestion message will
be displayed.
When the headlight switch is in
the AUTO position: The mes-
sage asking if you wish to turn
the headlights off is displayed.
To turn the headlights off, select
“Yes”.
If the driver’s door is opened after
the engine switch is turned off, this
suggestion message will not be dis-
played.
■Customization
The suggestion fu nction can be
turned on/off. (Customizable fea-
tures: P.689)
WA R N I N G
■Cautions during setting up
the display
As the engine needs to be run-
ning during setting up the display,
ensure that the vehicle is parked
in a place with adequate ventila-
tion. In a closed area such as a
garage, exhaust gases including
harmful carbon monoxide (CO)
may collect and enter the vehicle.
This may lead to d eath or a seri-
ous health hazard.
NOTICE
■During setting up the display
To prevent battery discharge,
ensure that the engine is running
while setting up the display fea-
tures.
Warning message display
Suggestion function
Page 143 of 736
1433-4. Adjusting the steering wheel and mirrors
3
Before driving
*: If equipped
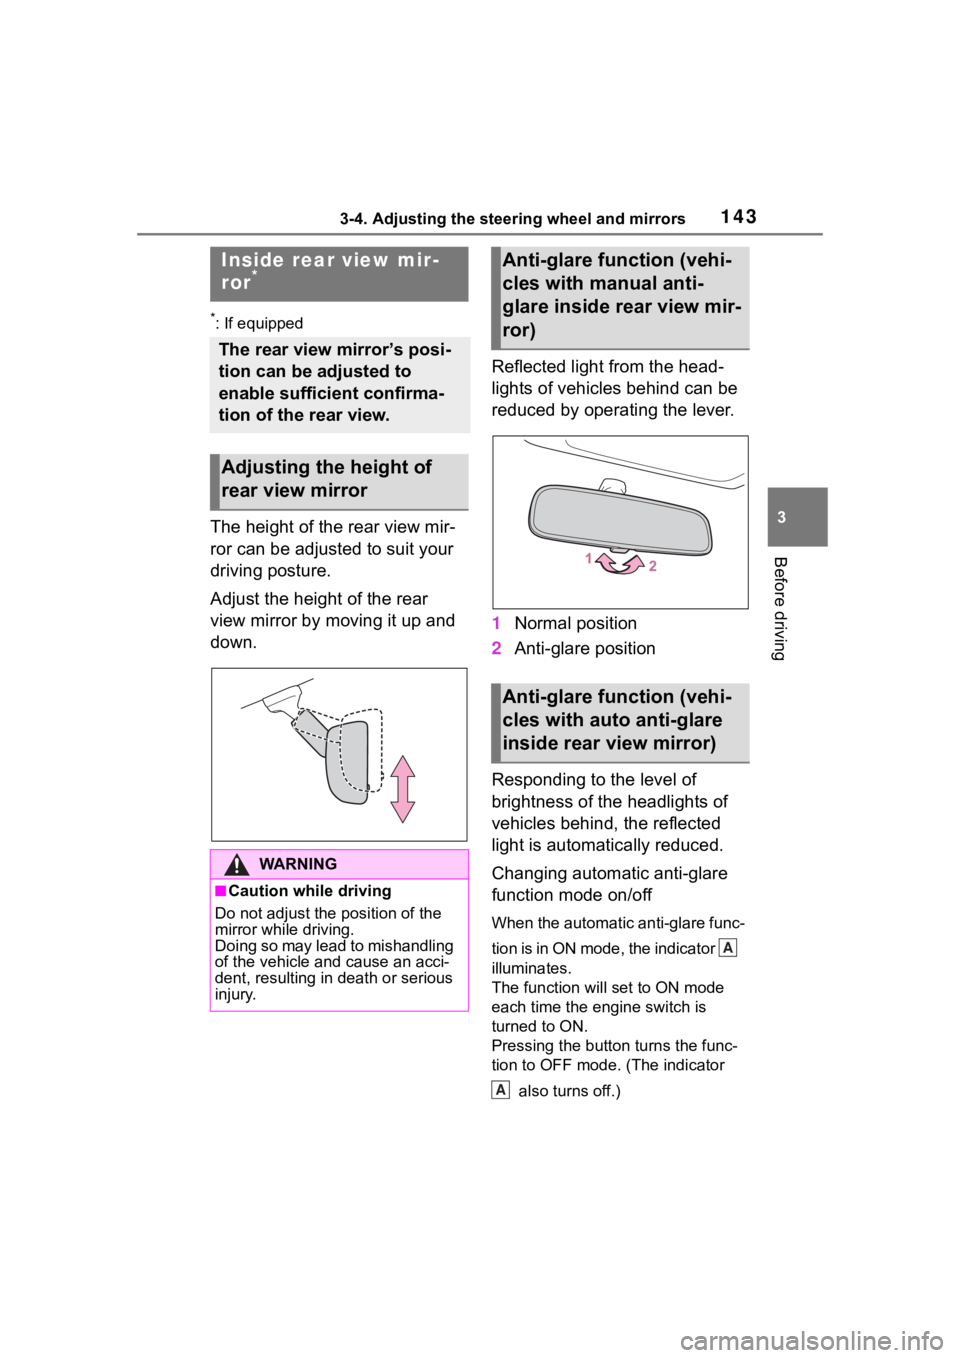
The height of the rear view mir-
ror can be adjusted to suit your
driving posture.
Adjust the height of the rear
view mirror by moving it up and
down.Reflected light from the head-
lights of vehicles behind can be
reduced by operating the lever.
1
Normal position
2 Anti-glare position
Responding to the level of
brightness of the headlights of
vehicles behind, the reflected
light is automatically reduced.
Changing automatic anti-glare
function mode on/off
When the automatic anti-glare func-
tion is in ON mode, the indicator
illuminates.
The function will set to ON mode
each time the engine switch is
turned to ON.
Pressing the button turns the func-
tion to OFF mode. (The indicator also turns off.)
Inside rear view mir-
ror*
The rear view mirror’s posi-
tion can be adjusted to
enable sufficient confirma-
tion of the rear view.
Adjusting the height of
rear view mirror
WA R N I N G
■Caution while driving
Do not adjust the position of the
mirror while driving.
Doing so may lead to mishandling
of the vehicle and cause an acci-
dent, resulting in death or serious
injury.
Anti-glare function (vehi-
cles with manual anti-
glare inside rear view mir-
ror)
Anti-glare function (vehi-
cles with auto anti-glare
inside rear view mirror)
A
A
Page 148 of 736
1483-4. Adjusting the steering wheel and mirrors
*: This is a function for the optical
mirror mode, however, the setting
can also be changed while using
the digital mirror mode.
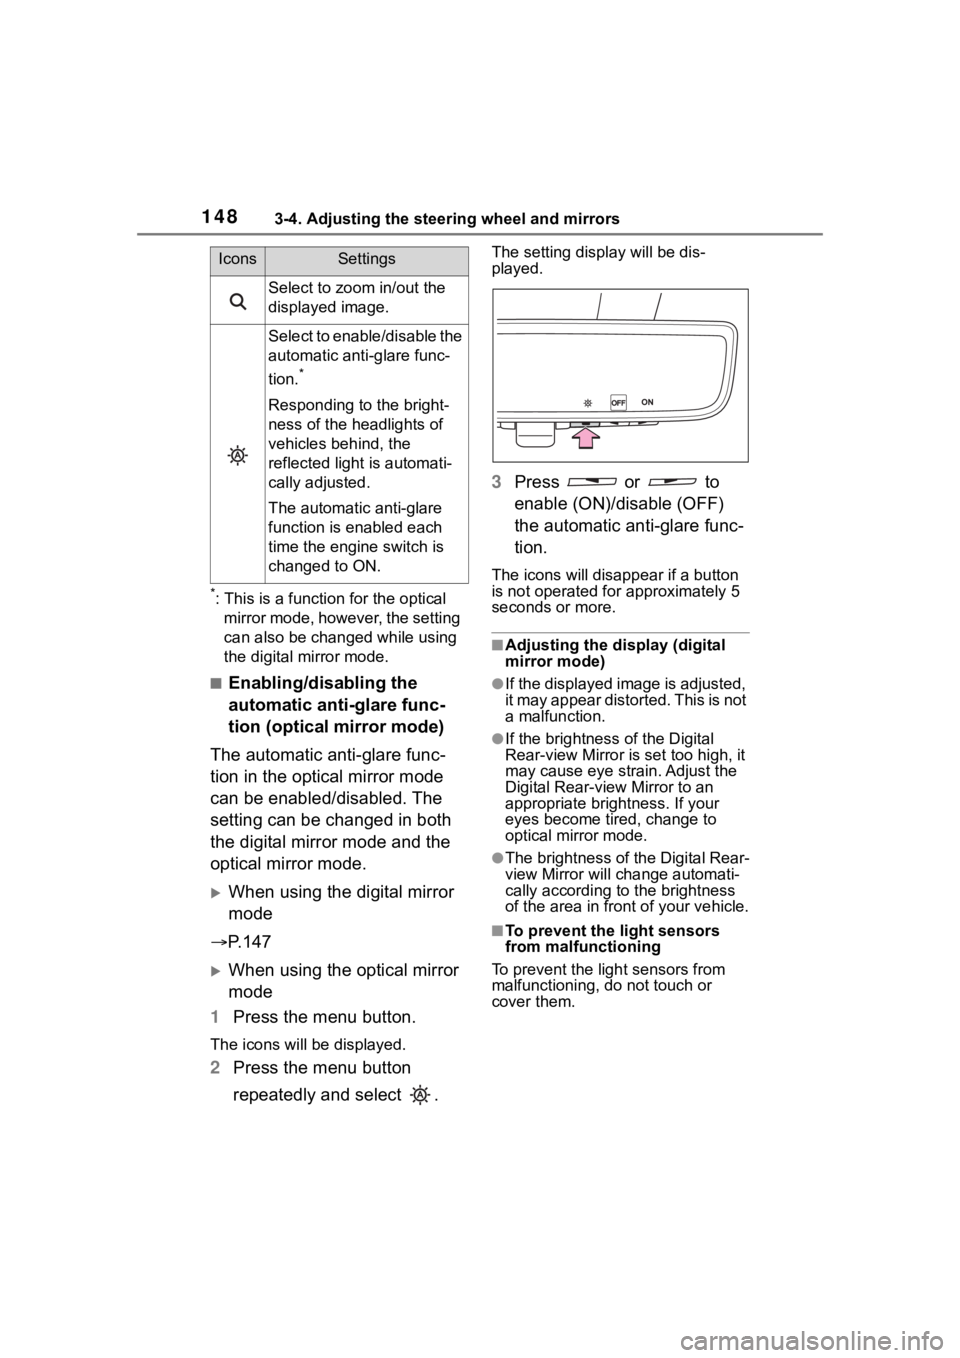
■Enabling/disabling the
automatic anti-glare func-
tion (optical mirror mode)
The automatic anti-glare func-
tion in the optical mirror mode
can be enabled/disabled. The
setting can be changed in both
the digital mirror mode and the
optical mirror mode.
When using the digital mirror
mode
P. 1 4 7
When using the optical mirror
mode
1 Press the menu button.
The icons will be displayed.
2Press the menu button
repeatedly and select .
The setting display will be dis-
played.
3Press or to
enable (ON)/disable (OFF)
the automatic anti-glare func-
tion.
The icons will disappear if a button
is not operated fo r approximately 5
seconds or more.
■Adjusting the display (digital
mirror mode)
●If the displayed image is adjusted,
it may appear distorted. This is not
a malfunction.
●If the brightness of the Digital
Rear-view Mirror is set too high, it
may cause eye strain. Adjust the
Digital Rear-view Mirror to an
appropriate brightness. If your
eyes become tired, change to
optical mirror mode.
●The brightness of the Digital Rear-
view Mirror will change automati-
cally according to the brightness
of the area in front of your vehicle.
■To prevent the light sensors
from malfunctioning
To prevent the light sensors from
malfunctioning, do not touch or
cover them.
Select to zoom in/out the
displayed image.
Select to enable/disable the
automatic anti-glare func-
tion.
*
Responding to the bright-
ness of the headlights of
vehicles behind, the
reflected light is automati-
cally adjusted.
The automatic anti-glare
function is enabled each
time the engine switch is
changed to ON.
IconsSettings
Page 151 of 736
1513-4. Adjusting the steering wheel and mirrors
3
Before driving
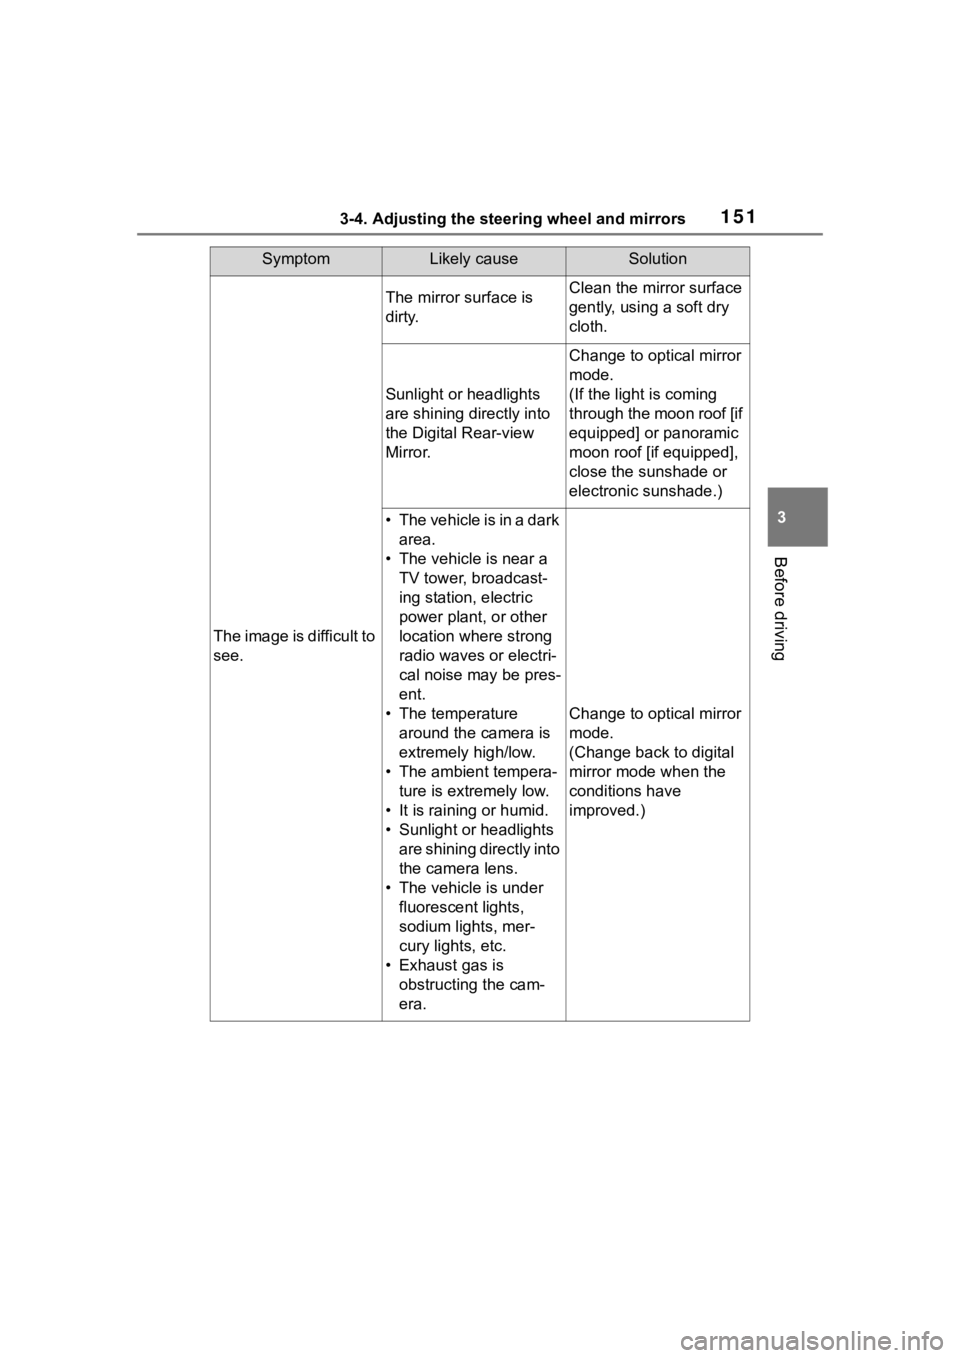
SymptomLikely causeSolution
The image is difficult to
see.
The mirror surface is
dirty.Clean the mirror surface
gently, using a soft dry
cloth.
Sunlight or headlights
are shining directly into
the Digital Rear-view
Mirror.
Change to optical mirror
mode.
(If the light is coming
through the moon roof [if
equipped] or panoramic
moon roof [if equipped],
close the sunshade or
electronic sunshade.)
• T h e v e h i c l e i s i n a d a r k area.
• The vehicle is near a TV tower, broadcast-
ing station, electric
power plant, or other
location where strong
radio waves or electri-
cal noise may be pres-
ent.
• The temperature around the camera is
extremely high/low.
• The ambient tempera- ture is extremely low.
• It is raining or humid.
• Sunlight or headlights are shining directly into
the camera lens.
• The vehicle is under fluorescent lights,
sodium lights, mer-
cury lights, etc.
• Exhaust gas is obstructing the cam-
era.
Change to optical mirror
mode.
(Change back to digital
mirror mode when the
conditions have
improved.)
Page 209 of 736
2094-3. Operating the lights and wipers
4
Driving
4-3.Operating the lights and wipers
Operating the switch
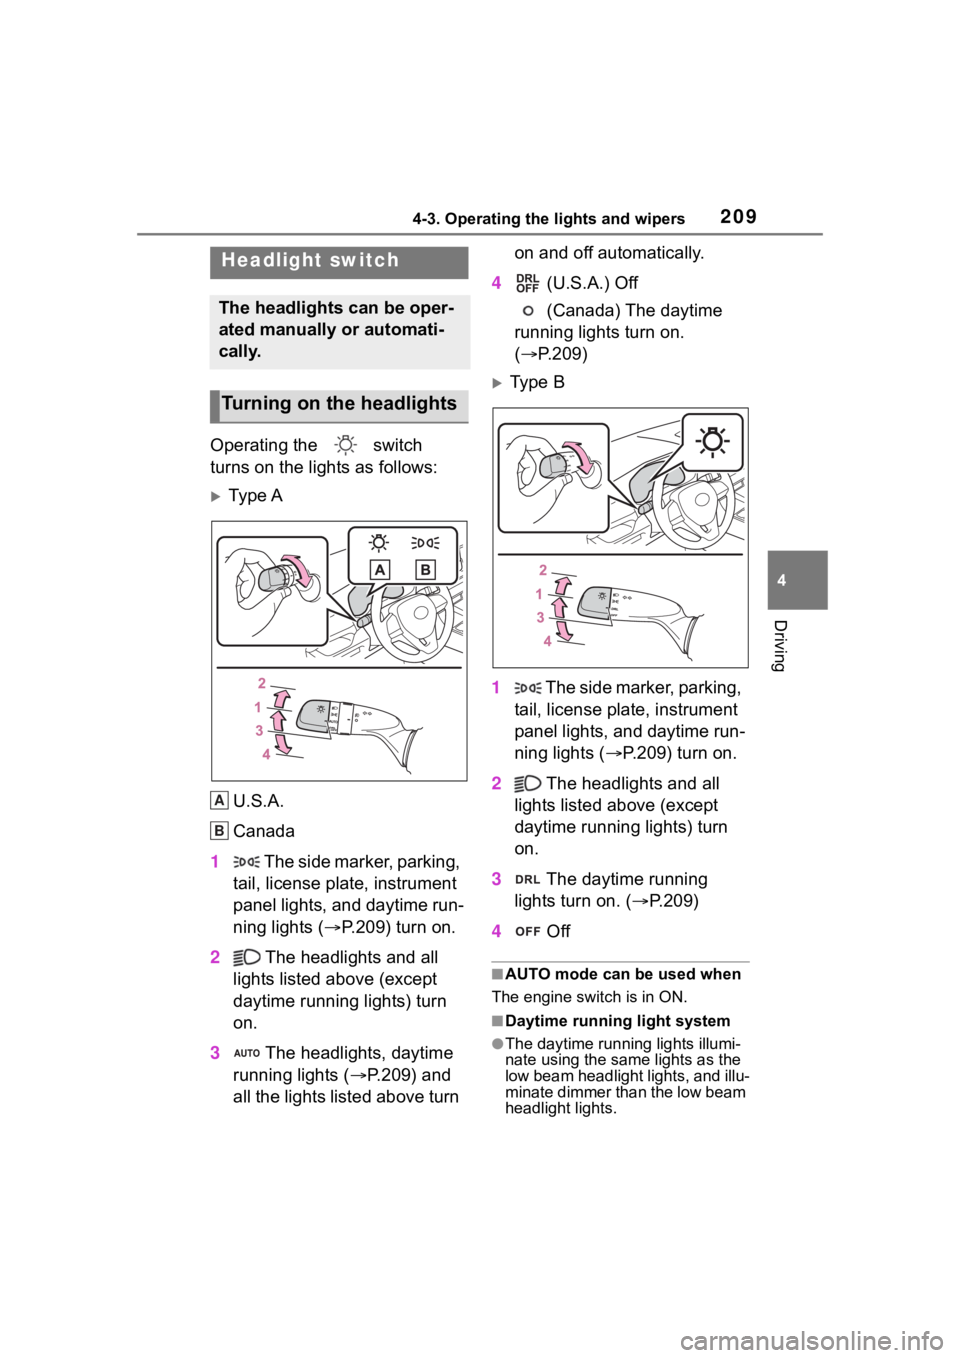
turns on the lights as follows:
Ty p e A
U.S.A.
Canada
1 The side marker, parking,
tail, license plate, instrument
panel lights, and daytime run-
ning lights ( P.209) turn on.
2 The headlights and all
lights listed above (except
daytime running lights) turn
on.
3 The headlights, daytime
running lights ( P.209) and
all the lights listed above turn on and off automatically.
4 (U.S.A.) Off
(Canada) The daytime
running lights turn on.
( P.209)
Type B
1 The side marker, parking,
tail, license plate, instrument
panel lights, and daytime run-
ning lights ( P.209) turn on.
2 The headlights and all
lights listed above (except
daytime running lights) turn
on.
3 The daytime running
lights turn on. ( P.209)
4 Off
■AUTO mode can be used when
The engine switch is in ON.
■Daytime running light system
●The daytime runn ing lights illumi-
nate using the same lights as the
low beam headlight lights, and illu-
minate dimmer than the low beam
headlight lights.
Headlight switch
The headlights can be oper-
ated manually or automati-
cally.
Turning on the headlights
A
B
Page 210 of 736
2104-3. Operating the lights and wipers
●To make your vehicle more visible
to other drivers during daytime
driving, the daytime running lights
turn on automatically when all of
the following conditions are met.
(The daytime running lights are
not designed for use at night.)
• The engine is running
• The parking brake is released
• The headlight s witch is in the
(Canada only), , or
*
position
*: When the surroundings are bright
The daytime running lights remain
on after they illumi nate, even if the
parking brake is set again.
●For the U.S.A.: Daytime running
lights can be turned off by operat-
ing the switch.
●Compared to turning on the head-
lights, the daytime running light
system offers gr eater durability
and consumes less electricity, so
it can help improve fuel economy.
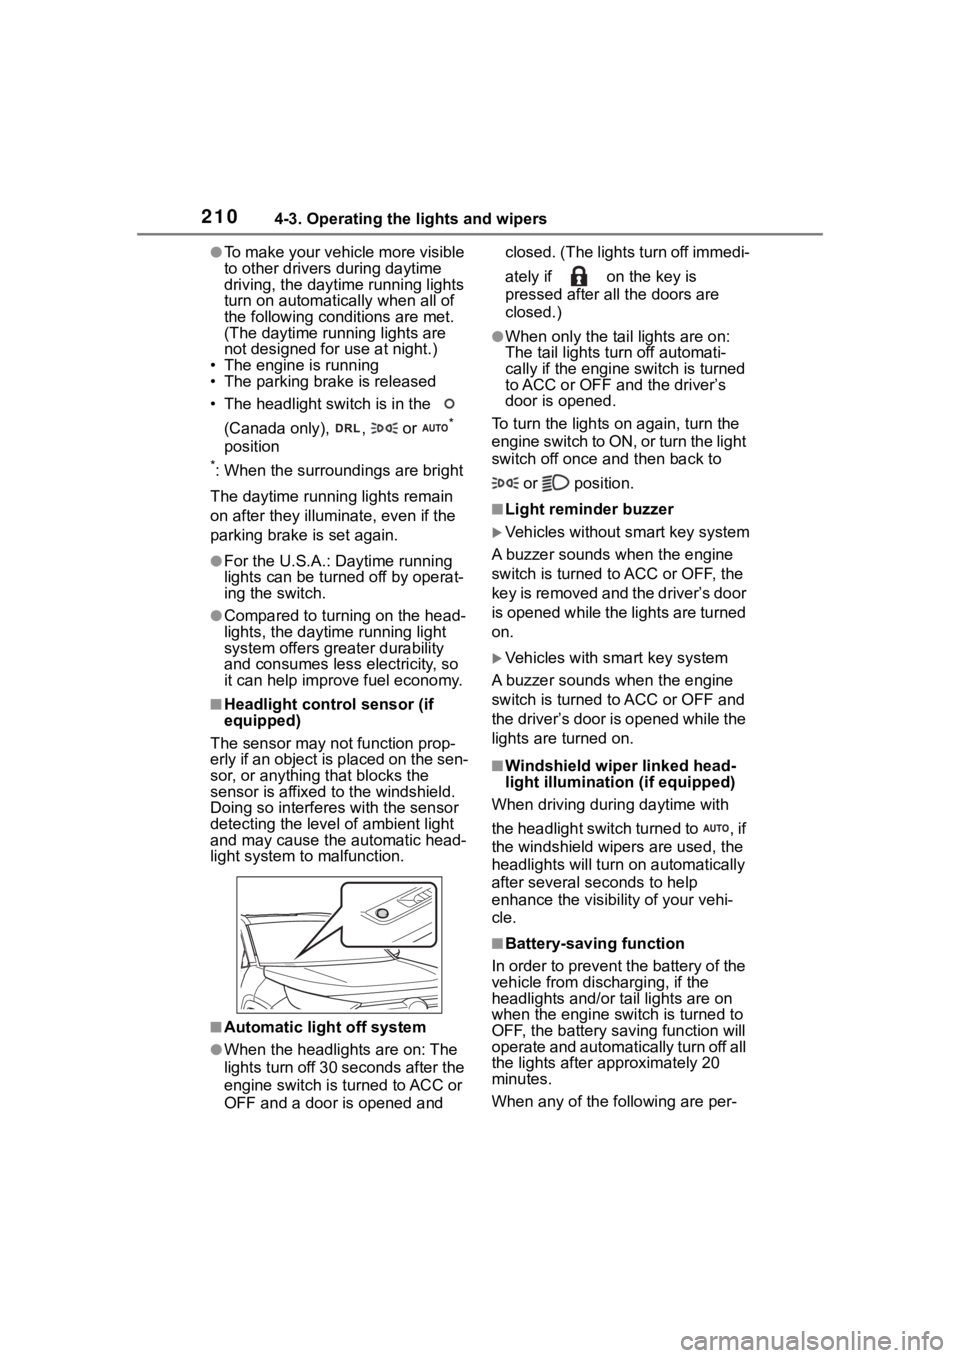
■Headlight control sensor (if
equipped)
The sensor may not function prop-
erly if an object is placed on the sen-
sor, or anything that blocks the
sensor is affixed to the windshield.
Doing so interfere s with the sensor
detecting the level of ambient light
and may cause the automatic head-
light system to malfunction.
■Automatic light off system
●When the headlights are on: The
lights turn off 30 seconds after the
engine switch is tu rned to ACC or
OFF and a door is opened and closed. (The lights turn off immedi-
ately if on the key is
pressed after all the doors are
closed.)
●When only the tail lights are on:
The tail lights turn off automati-
cally if the engine switch is turned
to ACC or OFF and the driver’s
door is opened.
To turn the lights on again, turn the
engine switch to ON, or turn the light
switch off once and then back to
or position.
■Light reminder buzzer
Vehicles without smart key system
A buzzer sounds when the engine
switch is turned to ACC or OFF, the
key is removed and the driver’s door
is opened while the lights are turned
on.
Vehicles with smart key system
A buzzer sounds when the engine
switch is turned to ACC or OFF and
the driver’s door is opened while the
lights are turned on.
■Windshield wiper linked head-
light illumination (if equipped)
When driving during daytime with
the headlight switch turned to , if
the windshield wipers are used, the
headlights will turn o n automatically
after several se conds to help
enhance the visibility of your vehi-
cle.
■Battery-saving function
In order to prevent the battery of the
vehicle from discharging, if the
headlights and/or tail lights are on
when the engine switch is turned to
OFF, the battery saving function will
operate and automatically turn off all
the lights after approximately 20
minutes.
When any of the following are per-
Page 211 of 736
2114-3. Operating the lights and wipers
4
Driving
formed, the battery-saving function
is canceled once and then reacti-
vated. All the light s will turn off auto-
matically 20 minutes after the
battery-saving function has been
reactivated:
●When the headlight switch is oper-
ated
●When a door is opened or closed
■If “Headlight System Malfunc-
tion Visit Your Dealer” is dis-
played on the multi-information
display
The system may be malfunctioning.
Have the vehicle inspected by your
Toyota dealer.
■Customization
Settings (e.g. light sensor sensitiv-
ity) can be changed.
(Customizable features: P.694)
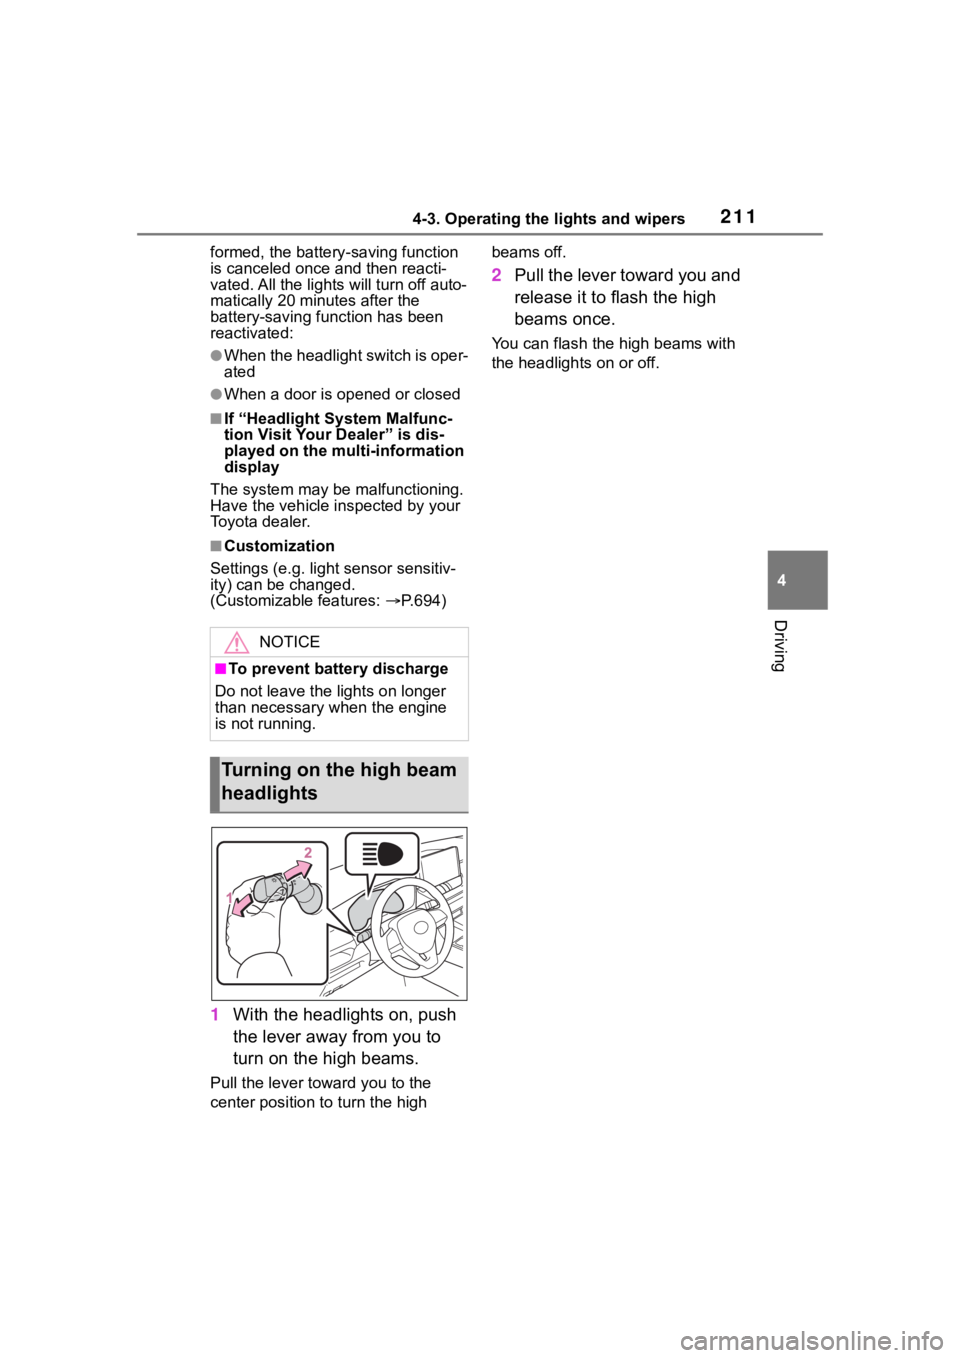
1 With the headlights on, push
the lever away from you to
turn on the high beams.
Pull the lever to ward you to the
center position to turn the high beams off.
2
Pull the lever toward you and
release it to flash the high
beams once.
You can flash the high beams with
the headlights on or off.
NOTICE
■To prevent battery discharge
Do not leave the lights on longer
than necessary when the engine
is not running.
Turning on the high beam
headlights
Page 212 of 736
2124-3. Operating the lights and wipers
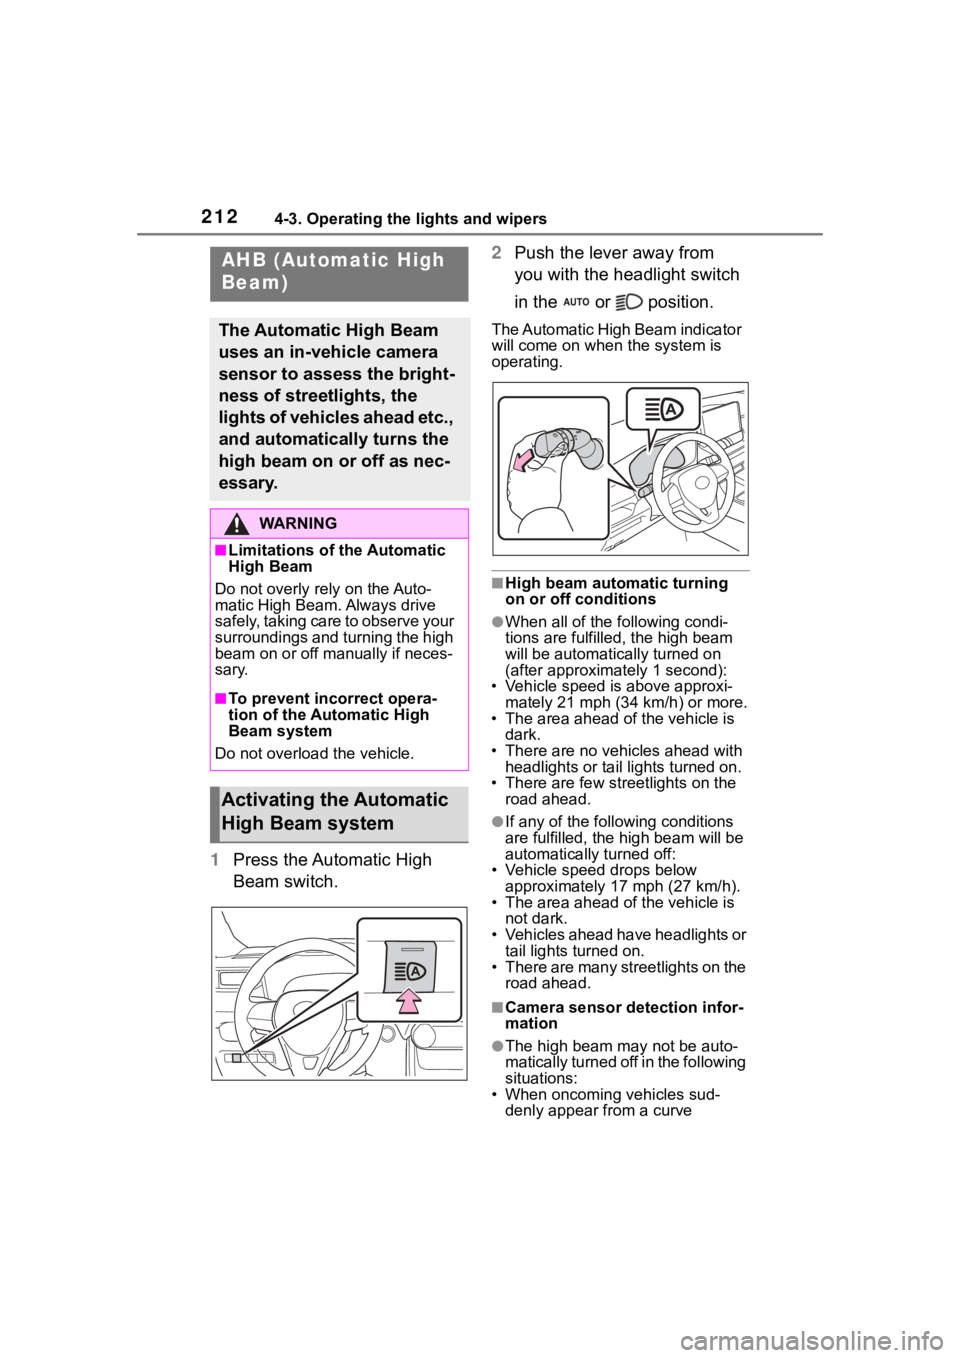
1Press the Automatic High
Beam switch. 2
Push the lever away from
you with the headlight switch
in the or position.
The Automatic High Beam indicator
will come on when the system is
operating.
■High beam automatic turning
on or off conditions
●When all of the f ollowing condi-
tions are fulfilled, the high beam
will be automatica lly turned on
(after approximately 1 second):
• Vehicle speed is above approxi-
mately 21 mph (34 km/h) or more.
• The area ahead of the vehicle is dark.
• There are no vehicles ahead with headlights or tail lights turned on.
• There are few str eetlights on the
road ahead.
●If any of the following conditions
are fulfille d, the high beam will be
automatically turned off:
• Vehicle speed drops below
approximately 17 mph (27 km/h).
• The area ahead of the vehicle is not dark.
• Vehicles ahead have headlights or tail lights turned on.
• There are many streetlights on the road ahead.
■Camera sensor detection infor-
mation
●The high beam ma y not be auto-
matically turned off in the following
situations:
• When oncoming vehicles sud-
denly appear from a curve
AHB (Automatic High
Beam)
The Automatic High Beam
uses an in-vehicle camera
sensor to assess the bright-
ness of streetlights, the
lights of vehicles ahead etc.,
and automatically turns the
high beam on or off as nec-
essary.
WA R N I N G
■Limitations of the Automatic
High Beam
Do not overly rely on the Auto-
matic High Beam. Always drive
safely, taking care to observe your
surroundings and turning the high
beam on or off manually if neces-
sary.
■To prevent incorrect opera-
tion of the Automatic High
Beam system
Do not overload the vehicle.
Activating the Automatic
High Beam system