VOLKSWAGEN GOLF 2010 Service Manual
Manufacturer: VOLKSWAGEN, Model Year: 2010, Model line: GOLF, Model: VOLKSWAGEN GOLF 2010Pages: 516, PDF Size: 105.12 MB
Page 41 of 516
first read and heed the on page 3 and note the ductory information on page
through an ed via (for a phone)
can be through the speakers. via the radio-navigation system is
audio source must support the
A2DP or AVRCP
in equipped with a factory -installed phone age that supports this function . To
responding owner's Cell
Phone Package.
Pairing and connec ting is done via the radio
audio
the directions in the owner 's
Redu ce
To change to
Bl uetooth function
button 26.
Aud io mode is indicated on the screen
by Bl uetooth Audio 25 .
The
o f t he be adjusted to match the of the other audio sources
activating audio
some devices ,
After the audio
transmission , a pop-up window opens.
Request fo r confir mation of aud io
BT-Audio Audio mode must be
swi tched to
Audio transmission, as
audio source is
started or s topped automatically by switc hing to
addition , track dio navigation system 's arrow keys 1
25.
the connection is broken . the radio
navigation system switches to
media source.
th e that dio ed .
Radio mode, press the sETUP) button .
Press the
Press the
Tag the device connected and press
the connect) funct ion butt on.
Read and manufacturer of the
Because of the number of audio sources , it canno t be teed that
audio source, warning and service tones, suc h as touch
tones on a
Do not connect radio nav igation system at the same time for
music
interface , as this to on the
ing the use of can be obtained from the
Page 42 of 516
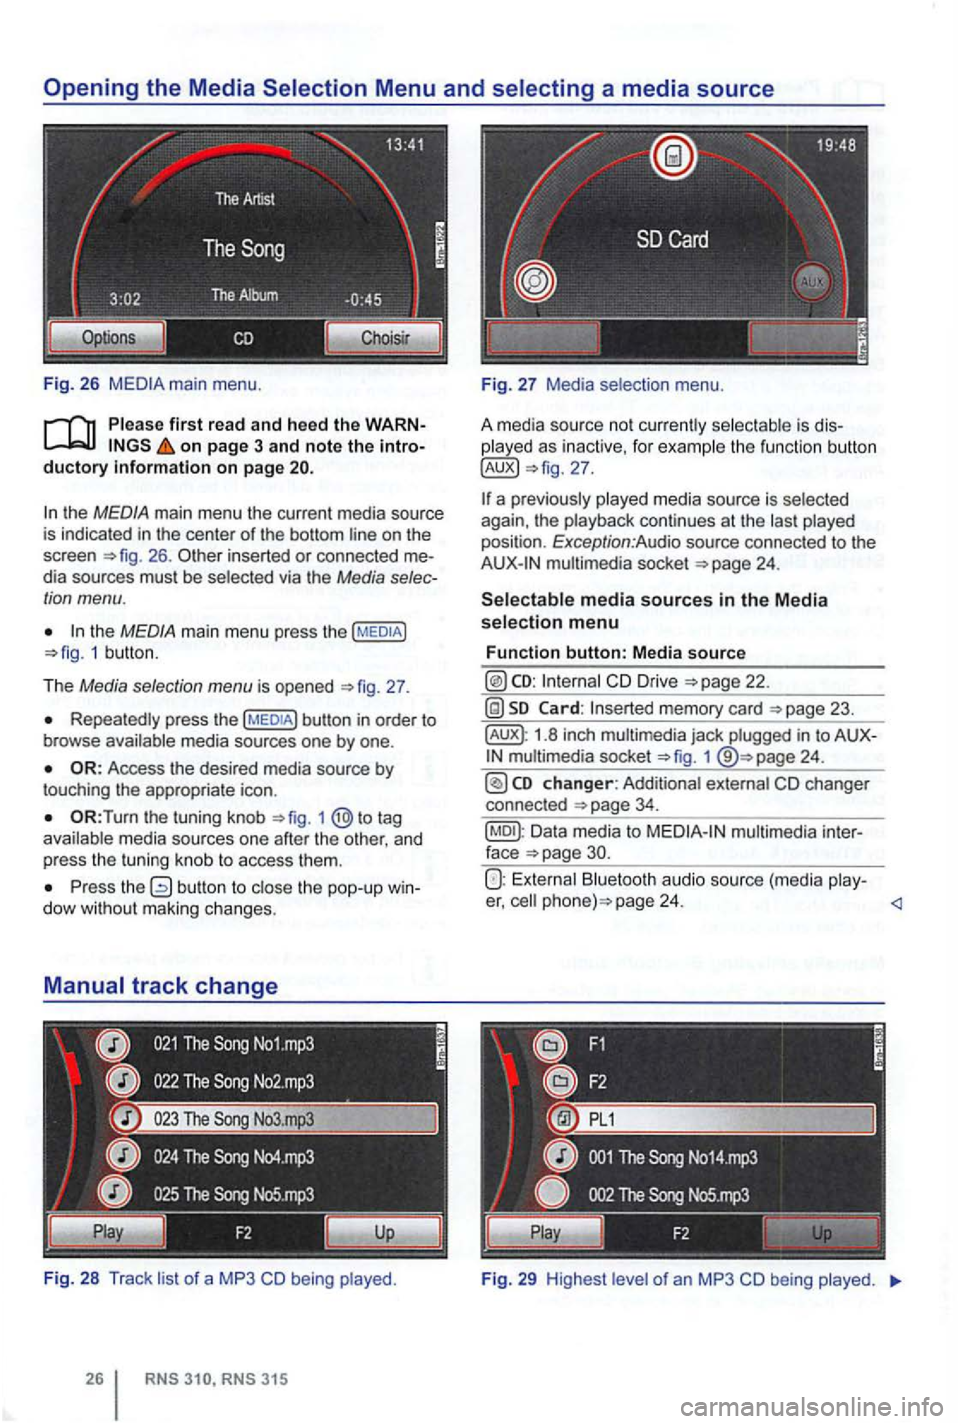
Fig . 26
Please first read and heed the on page 3 and note the
the MEDIA main menu the current media source
is indicated in the center of the bottom line on the
screen 26 . inserted or connected dia sources must be selected via the Media
the MEDIA main menu press the 1 butt on .
T he
Media selection menu is opened 27 .
Repeatedly press the
the tuning knob to tag
a va ila ble media sources one after the other , and
p ress
the tuning knob to access them .
Press the dow with out maki ng changes.
Fi g. 28
Track li st of a MP3 CD being played .
played as inactive, for examp le the function button
multimedia socket
CD Drive
memory card
1.8 inch multimedia jack plugged in to 1
Data media to
Bluetooth audio source (media play-er, page 24.
Fig . 29 High est le ve l of an MP3 CD being played.
Page 43 of 516
Page 44 of 516
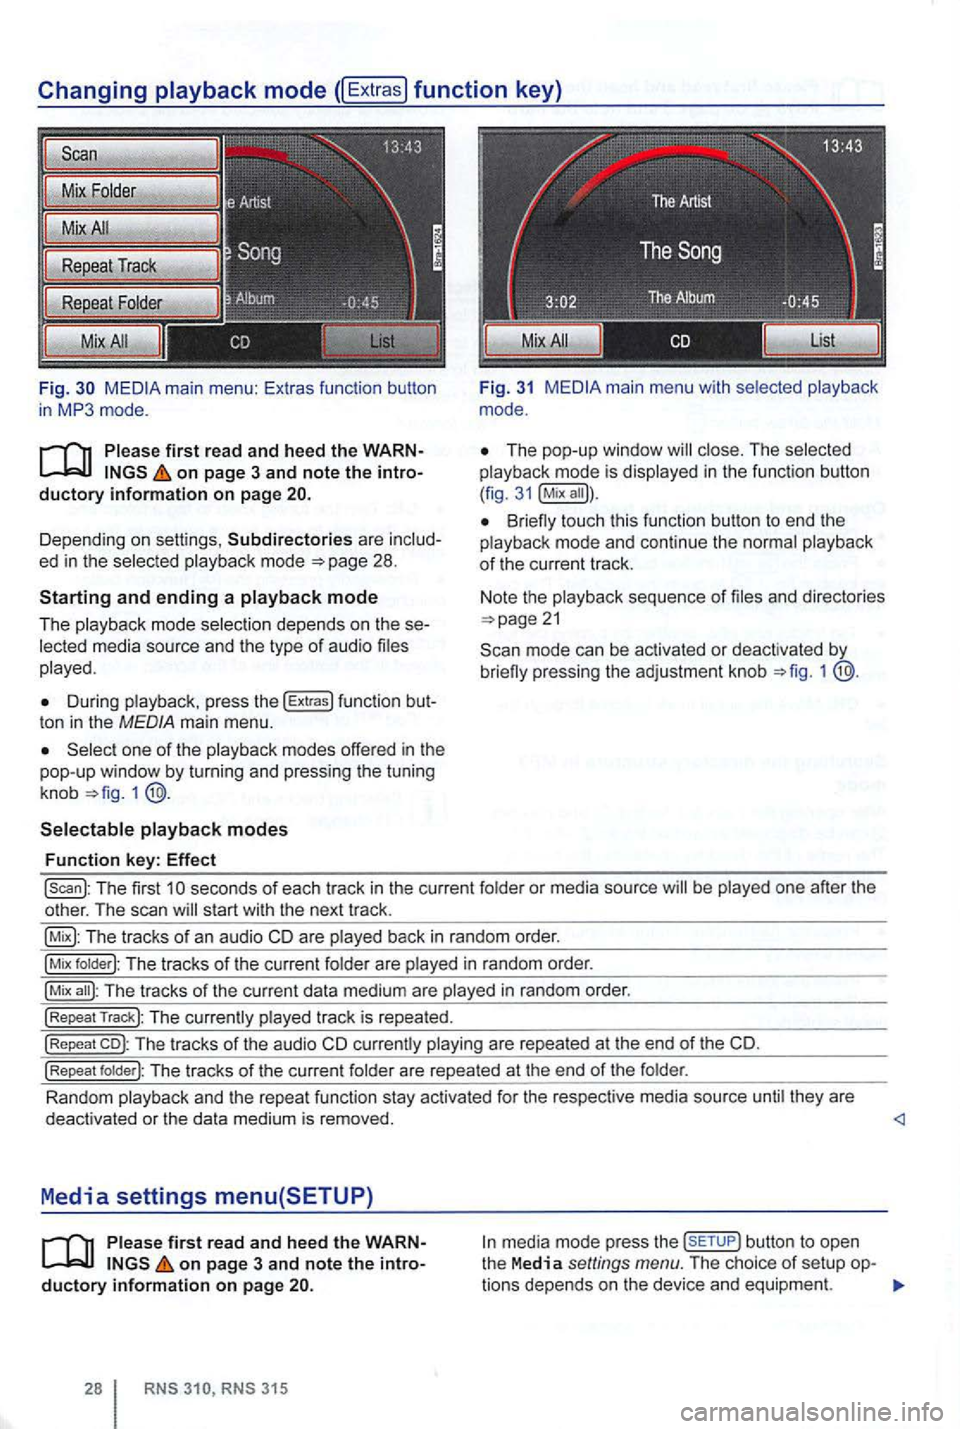
Fig. main m enu : Ex tras function butto n
i n mode.
on page 3 and note the
Depending on sett ings , Subdirectories are mode
During press the !Extras) func tion t on in the MED IA ma in menu.
one of the
1
main menu wit h
Th e pop-up windo w in the funct ion button
( fig .
Bri eny touch this function button to end the mode and continue the
sequence of
mode can be activated or deactivated by brieny pressing the adjustment knob 1
!scan): Th e first seconds of each tr ack in the curre nt or media source be one after the
o ther . The scan start with the next track .
The tracks of an aud io CD are back in random order.
!Mix T he tracks of the cur rent are in random order.
!Mix The tracks of the curr ent data medium are in random order.
!Repeat Track): The track is repea ted.
!Repeat co): The tracks of the audio CD are repea te d at t he end of the CD.
!Repeat The tracks of the curren t
Random they are
deact ivated or the data medium is removed. <1
Media settings menu(SETUP)
on page 3 and note the button to open
the Media settings menu. The choice of setup tions dep ends on the device and equipme nt.
Page 45 of 516
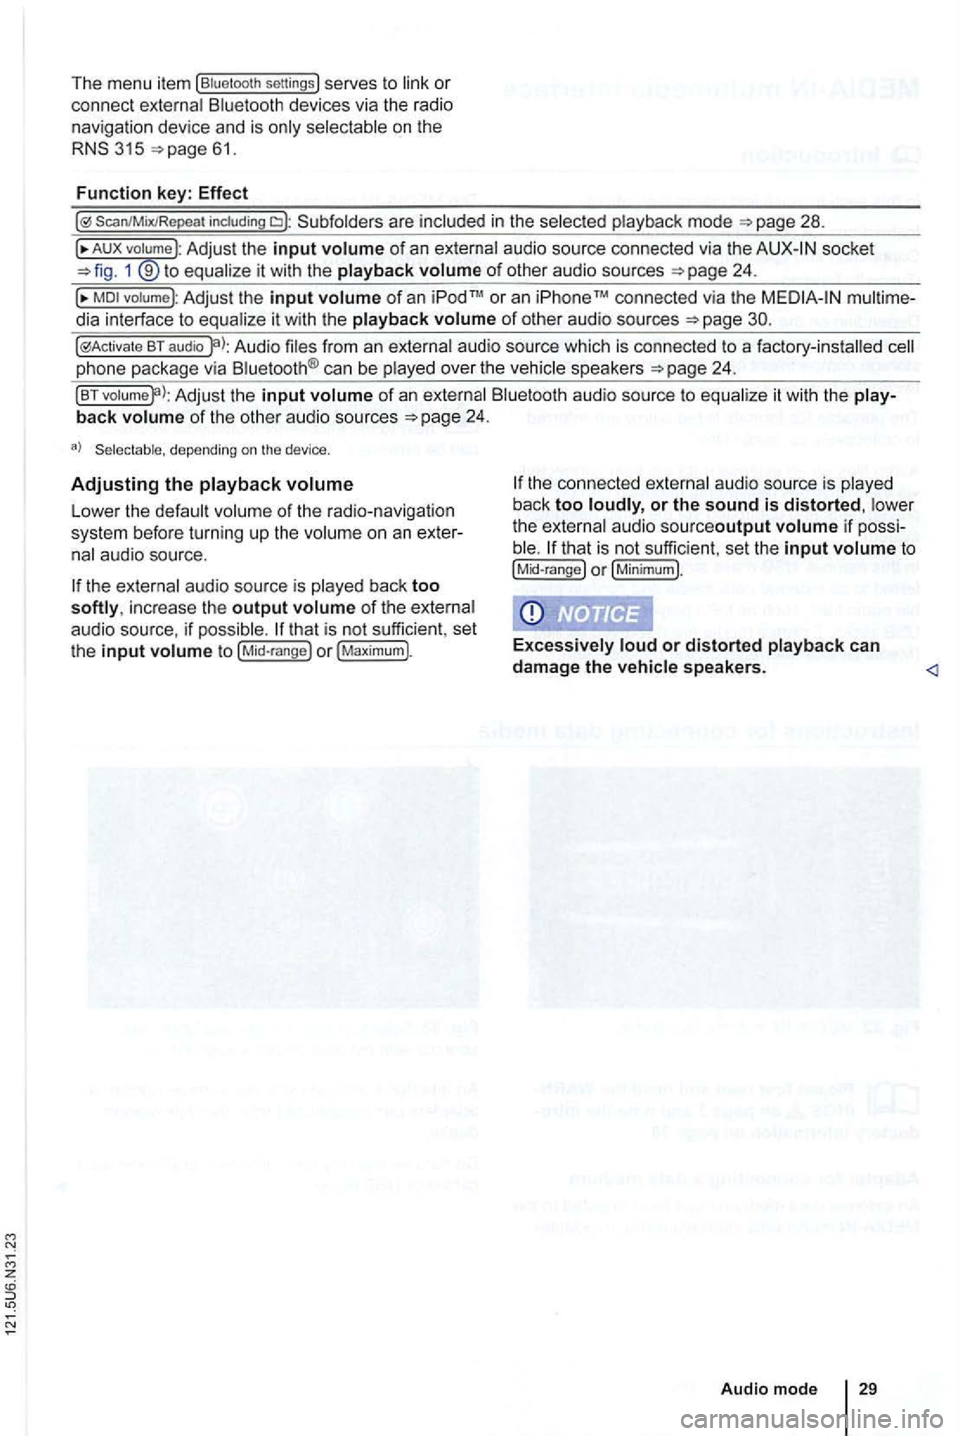
The menu item (Biue loo th se ttings} serves to or
connect
315
S can/MixiRepea t includi ng in the
A UX volume :Adjust the input of an socket 1 9 to of other audio sources
of an or an iP hone conn ected via the dia interface to of other audio sources
BT audio audio source which is connected to a factory -installed ca n be over the spea kers
of an it with the of the othe r aud io sou rces
Lower the on an audio source.
the of the audio source , if that is not sufficient , set
the input t o
back too or the sound is distorted, t h e au dio sourceoutput if to (Mid-ra nge or
or distorted speakers.
Page 46 of 516
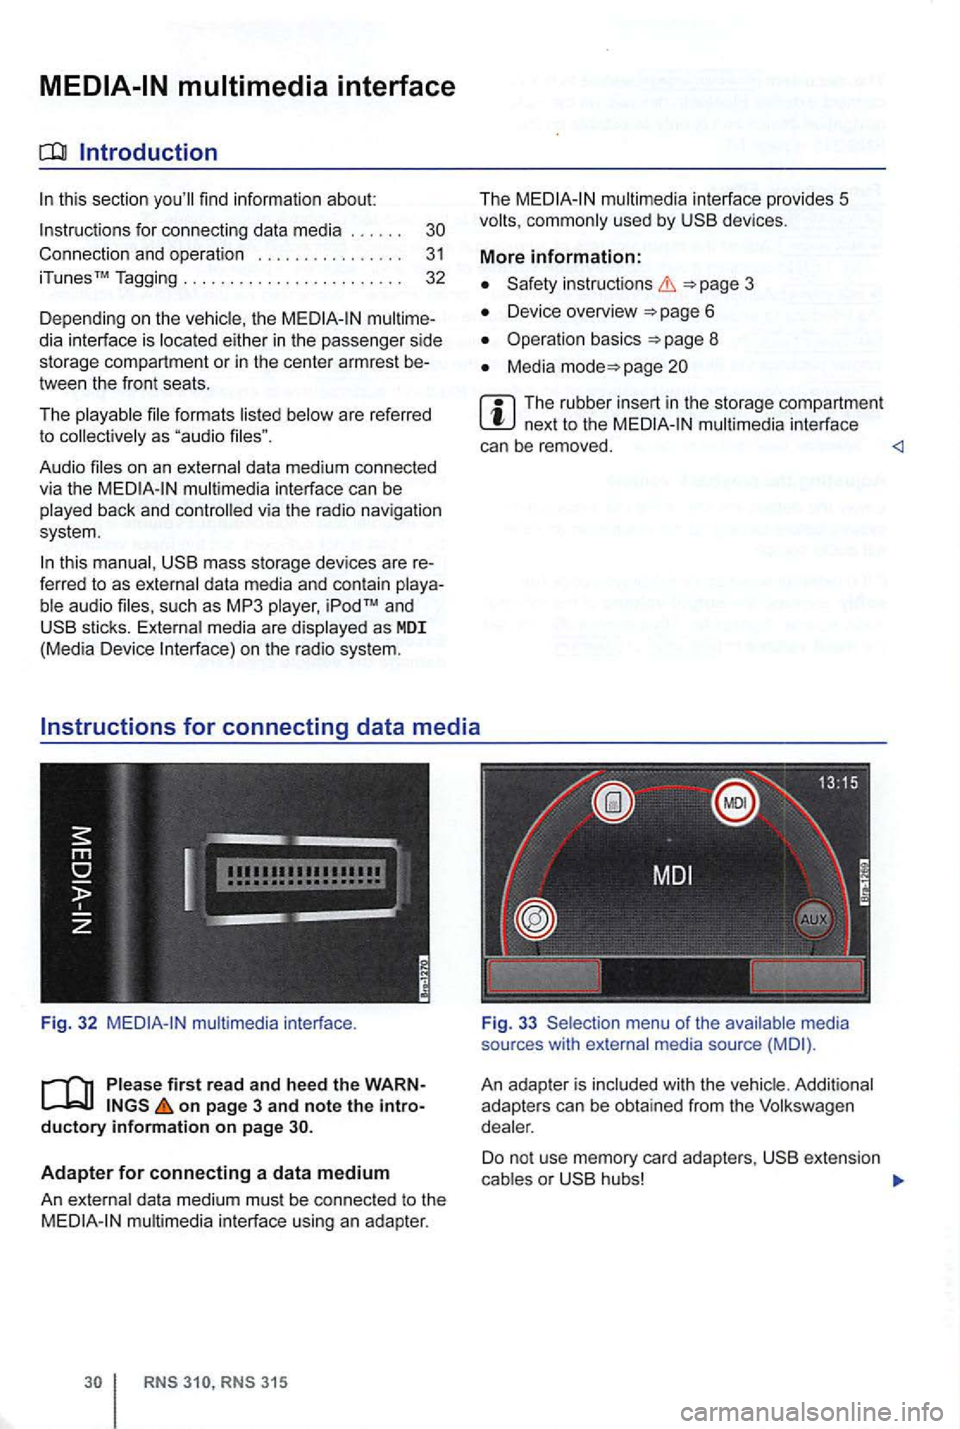
Introduction
find information about:
for connect ing data media . . . . . .
th e multime
dia interf ace is
formats are referred
t o
data medium conn ected
v ia the interface can be back and controlled via the radio navigation
system.
this data media and contain such as MP3 as MDI (Med ia Device
multi media interface.
first read and h ee d the WARN on page 3 and note the introductory information on page
Adapter for connecting a data medium
An
RNS 3 15
The multimedia interface provides 5 used by
instructions
Device overview
Operation basics
Media page
multimedia interface
can be removed.
sou rces with med ia source
An adap te r is
D o no t use m em ory card adapter s, o r
Page 47 of 516
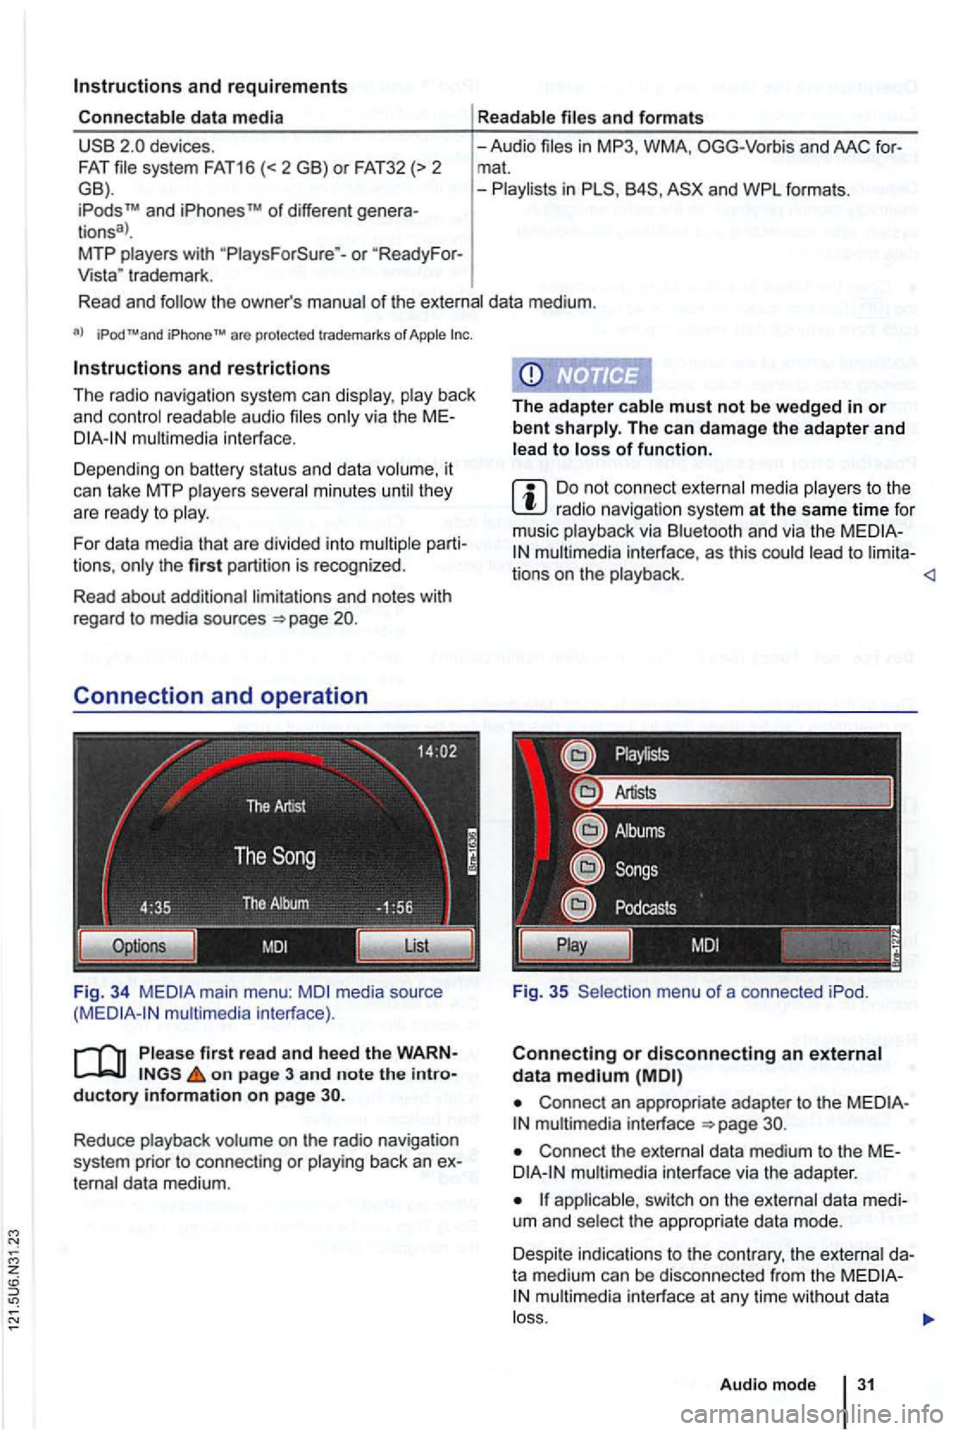
and requirements
system FAT16 (<2GB) or F A T32 (> 2 GB).
iPodsrM and iPhonesrM of different generations3>. MTP or Vista" trademark.
and formats
-Audio in OGG-Vor bis and AAC mat.
-i n
of the
are protec ted trademarks of Apple
it can take M TP they are ready to
For data media that are divided into tions . the first partition is recognized.
Read about
Fig. 34 media source interface).
on page 3 and note the
The can damage the adapter and of function.
Do not connect media to the radio navigatio n syste m at the same time fo r
musi c via a n d via the to
Connect an appropriate adapter to the interface
Connect the dat a medium t o the
switch on the the appropriate data mode.
Despite indica tions to th e contrary, the
Audio mode
Page 48 of 516
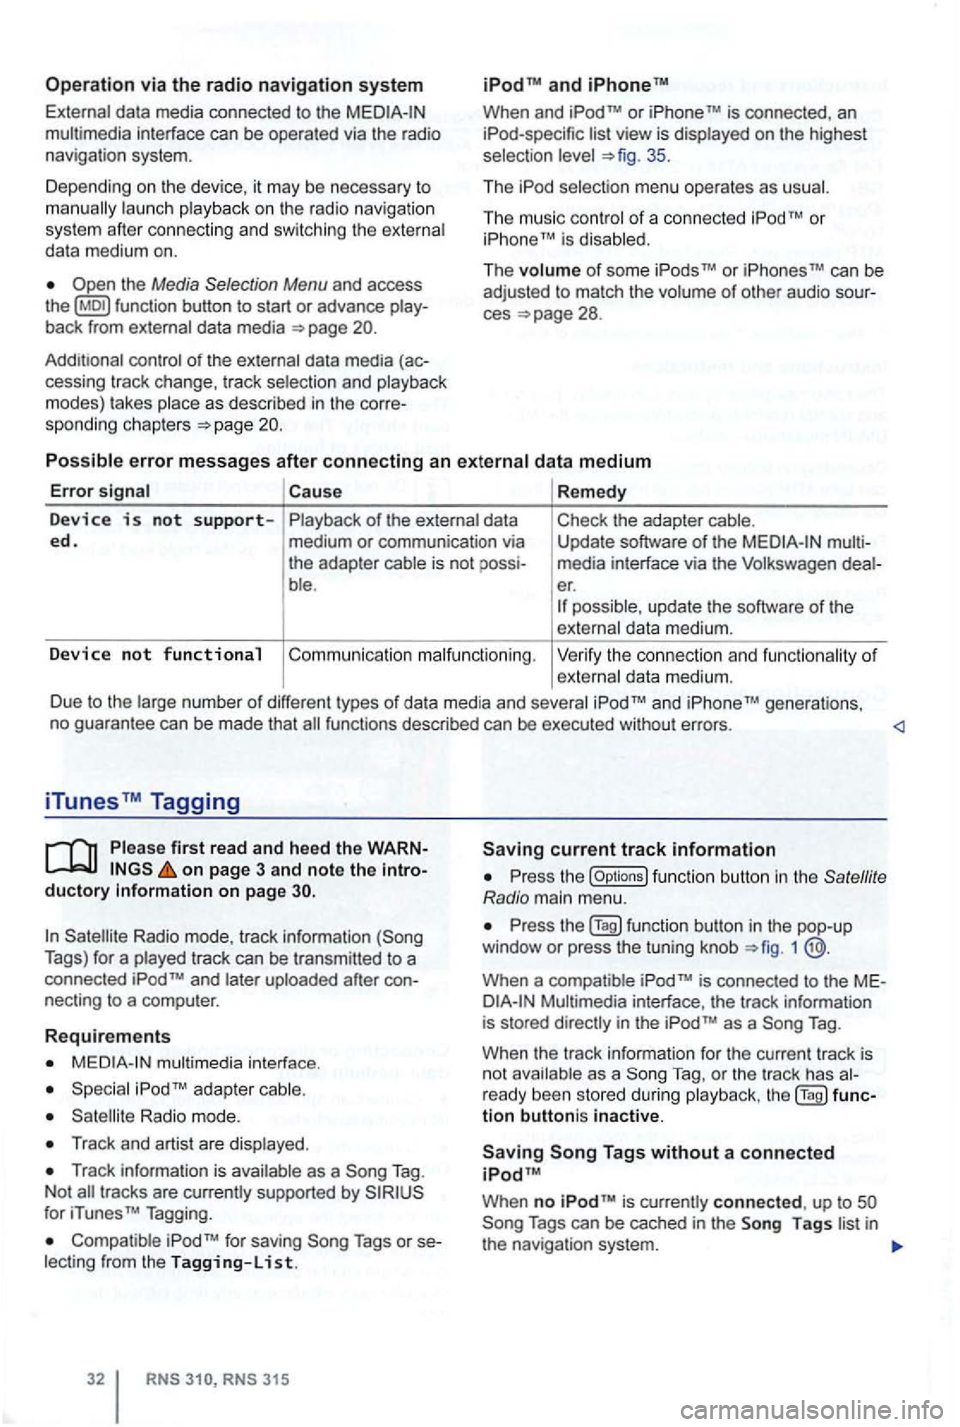
Operation via the radio navigation system
External data media con nec ted to the multimedia interface can be ope rated via the radio
navigation system.
D epend i
ng on th e de vic e, it m ay be necessary to launch playback on t he radio na vigat ion
s ys te m afte r co nn ec ting an d swi tch ing the extern al
d a ta medium on.
back from external data media
con trol of th e externa l data media (ac-
cessing tr ack change, track selectio n and playb ack
m odes) takes plac e as described in the corre-
spon ding ch apt ers
and
When and TM is connected , an list view is displayed on the highest
selec tion 35 .
Th e
The music co ntro l of a conn ected
Cause Remedy
Device is not s upp orted. of the external data
medium or communication via
the adap ter cable is not
ble . Check
the adapter cable.
Update software
of the media interfac e via t he Volkswage n er. possible , update th e software of th e
exte rnal data me diu m .
Device no t functional Co mmu nicatio n malfunctio nin g . Ve rify the con nect io n an d fu n ct ion ality of externa l data m ediu m.
D ue to the large num be r of different types
of d ata media and several gene rations,
no gua ran tee can be made that fu nctions described can be executed without errors.
iTunes Tagging
first read and heed th e on page 3 and note the ductory Information on page
Radio mode, track information Tags) for a played track can be tr ansm itted to a
connected
necting to a compu ter.
Requirements
multimedia interface .
Radio mode.
Track and artist are disp layed .
Track in forma tion is available as a Tag .
N ot
for iTunes TM Tagging.
Compatible Tags or
RNS 315
current track information
th e (Options ) function butt on in the
1
is conne cted to the
as a Tag .
When the track informa tion for the current track is
n ot ava ilab le as a
Tag, or th e tr ack has
tion buttoni s inactive.
When no is currently connect ed , up to
Page 49 of 516
sage is shown one time that no
as the number of Tags that can
Tags or if the is Tags). After press ing function butt on , a corresponding message follows.
The next time an
saved
in the naviga-
system . The Song Tags saved on the can be displayed and purchased over the ternet.
Display and
Media mode, press the
the (Song Tags) function button in the Media settings menu.
The saved Tags are displayed in a one
after the other .
the functio n button to delete saved Tags, after further confirmation.
Audio mode
Page 50 of 516
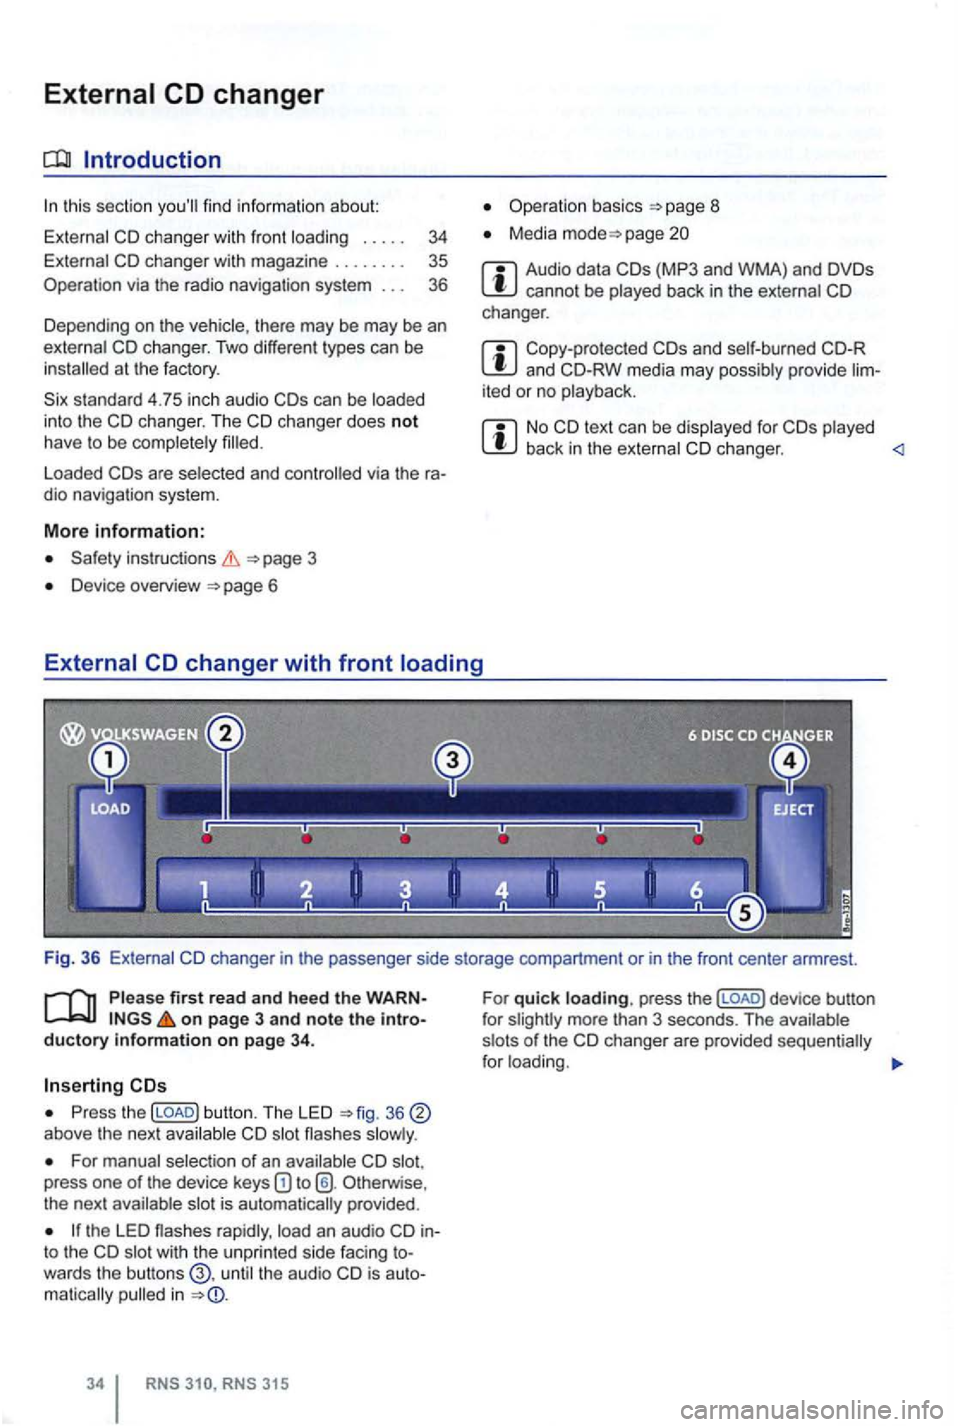
External
this section find inform ation about:
External
at the factory .
standard 4.75 in ch audio
Loaded via the ra
dio naviga tion system.
More information:
page 3
Device overview 6
Operation basics
Media page
Audio data cannot be played back in the external changer.
Copy-protected and CD-RW media may possibly provide lim
ited or no playback.
No back in the external changer .
Please firs t read and hee d the WARNon page 3 and note the introductory infonmation on pag e 34 .
Press the (LOAD) button. The LED above the next
For manual selection of an press one of the device keys Otherw ise ,
the next
the LED rapidly , into the wit h t he un pr inted side facing towards the butt ons the audio in
315
For quick loading. press the (LOAD) d evice button
f or