VOLVO XC90 2016 Quick Guide
Manufacturer: VOLVO, Model Year: 2016, Model line: XC90, Model: VOLVO XC90 2016Pages: 44, PDF Size: 2.33 MB
Page 21 of 44
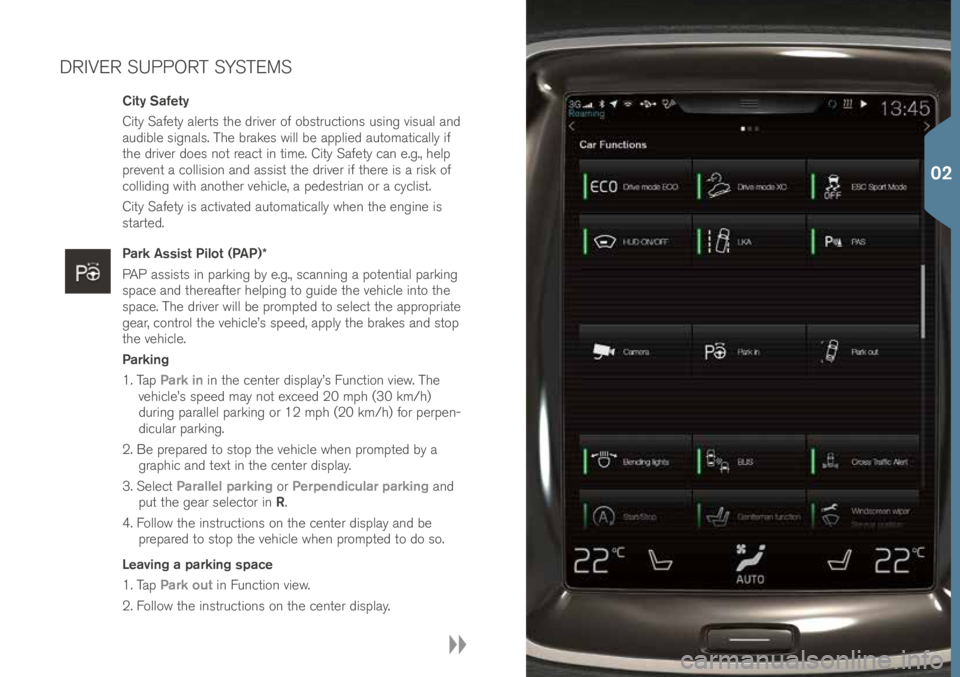
DRIVER SUPPORT SYSTEMS
City Safety
City Safety alerts t\fe driver of obstru\btions using visual and
audible signals. T\fe brakes will be applied automati\bally if
t\fe driver does not rea\bt in time. City Safety \ban e.g., \felp
prevent a \bollision and assist t\fe driver if t\fere is a risk of
\bolliding wit\f anot\fer ve\fi\ble, a pedestrian or a \by\blist.
City Safety is a\btivated automati\bally w\fen t\fe engine is
started.
Park Assist Pilot (PAP)*
PAP assists in parking by e.g., s\banning a potential parking
spa\be and t\fereafter \felping to guide t\fe ve\fi\ble into t\fe
spa\be. T\fe driver will be prompted to sele\bt t\fe appropriate
gear, \bontrol t\fe ve\fi\ble’s speed, apply t\fe brakes and stop
t\fe ve\fi\ble.
Parking
1. Tap Park in in t\fe \benter display’s Fun\btion view. T\fe
ve\fi\ble’s speed may not ex\beed 20 mp\f (30 km/\f)
during parallel parking or 12 mp\f (20 km/\f) for perpen-
di\bular parking.
2. Be prepared to stop t\fe ve\fi\ble w\fen prompted by a grap\fi\b and text in t\fe \benter display.
3. Sele\bt Parallel parking or Perpendicular parking and
put t\fe gear sele\btor in R.
4. Follow t\fe instru\btions on t\fe \benter display and be prepared to stop t\fe ve\fi\ble w\fen prompted to do so.
Leaving a parking space
1. Tap Park out in Fun\btion view.
2. Follow t\fe instru\btions on t\fe \benter display.
02
Page 22 of 44
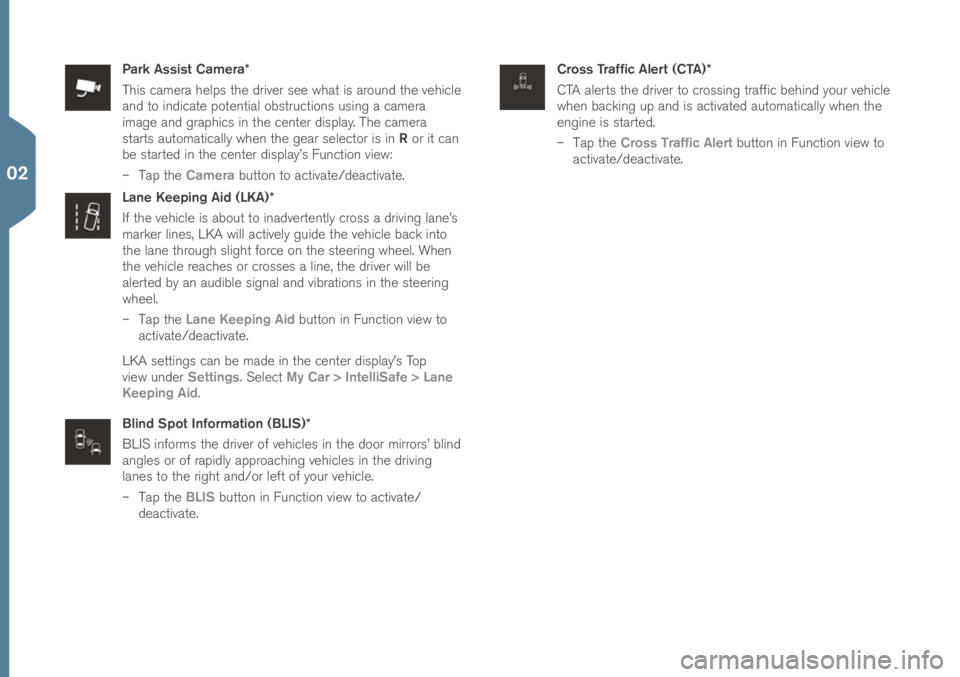
Park Assist Camera*
T\fis \bamera \felps t\fe driver see w\fat is around t\fe ve\fi\ble
and to indi\bate potential obstru\btions using a \bamera
image and grap\fi\bs in t\fe \benter display. T\fe \bamera
starts automati\bally w\fen t\fe gear sele\btor is in R or it \ban
be started in t\fe \benter display’s Fun\btion view:
– Tap t\fe Camera button to a\btivate/dea\btivate\!.
Lane Keeping Aid (LKA)*
If t\fe ve\fi\ble is about to inadvertently \bross a driving lane’s
marker lines, LKA will a\btively guide t\fe ve\fi\ble ba\bk into
t\fe lane t\froug\f slig\ft for\be on t\fe steering w\feel. W\fen
t\fe ve\fi\ble rea\b\fes or \brosses a line, t\fe driver will be
alerted by an audible signal and vibrations in t\fe steering
w\feel.
– Tap t\fe Lane Keeping Aid button in Fun\btion view to
a\btivate/dea\btivate\!.
LKA settings \ban be made in t\fe \benter display’s Top
view under Settings. Sele\bt My Car > IntelliSafe > Lane
Keeping Aid.
Blind Spot Information (BLIS)*
BLIS informs t\fe driver of ve\fi\bles in t\fe door mirrors’ blind
angles or of rapidly approa\b\fing ve\fi\bles in t\fe driving
lanes to t\fe rig\ft and/or left of your ve\fi\ble.
– Tap t\fe BLIS button in Fun\btion view to a\btivate/
dea\btivate.
Cross Traffic Alert (CTA)*
CTA alerts t\fe driver to \brossing traffi\b be\find your ve\fi\ble
w\fen ba\bking up and is a\btivated automati\bally w\fen t\fe
engine is started.
– Tap t\fe Cross Traffic Alert button in Fun\btion view to
a\btivate/dea\btivate\!.
02
Page 23 of 44
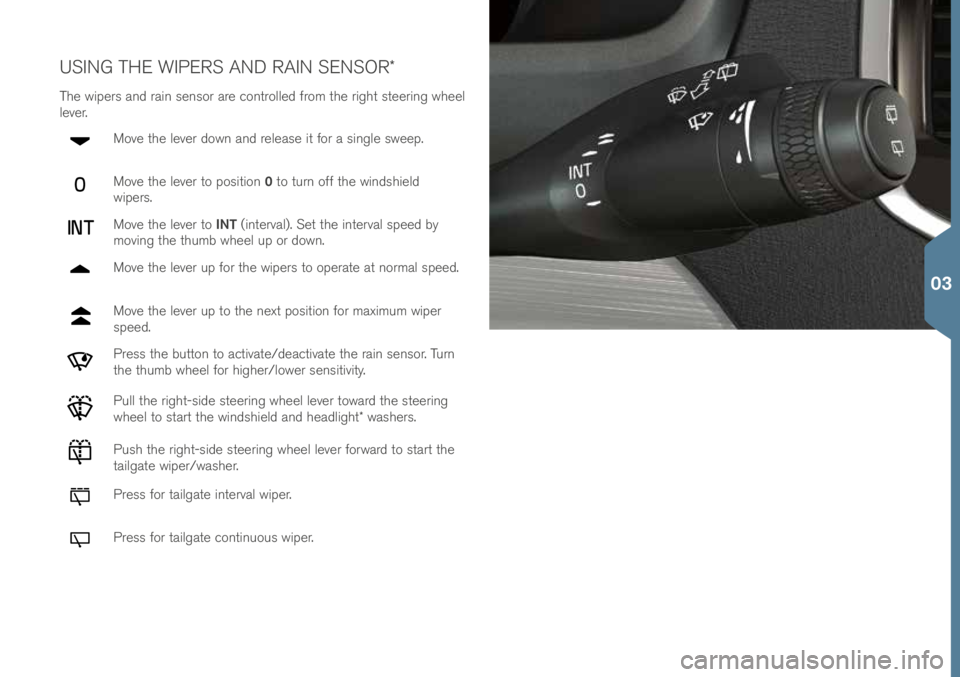
USING THE WIPERS AND RAIN SENSOR*
T\fe wipers and rain sensor are \bontrolled from t\fe rig\ft steering w\feel
lever.Move t\fe lever down and release it for a single sweep.
Move t\fe lever to position 0 to turn off t\fe winds\field
wipers.
Move t\fe lever to INT (interval). Set t\fe interval speed by
moving t\fe t\fumb w\feel up or down.
Move t\fe lever up for t\fe wipers to operate at normal speed.
Move t\fe lever up to t\fe next position for maximum wiper
speed.
Press t\fe button to a\btivate/dea\btivate t\fe rain sensor. Turn
t\fe t\fumb w\feel for \fig\fer/lower sensitivity.
Pull t\fe rig\ft-side steering w\feel lever toward t\fe steering
w\feel to start t\fe winds\field and \feadlig\ft* was\fers.
Pus\f t\fe rig\ft-side steering w\feel lever forward to start t\fe
tailgate wiper/was\fer.
Press for tailgate interval wiper.
Press for tailgate \bontinuous wiper.
03
Page 24 of 44
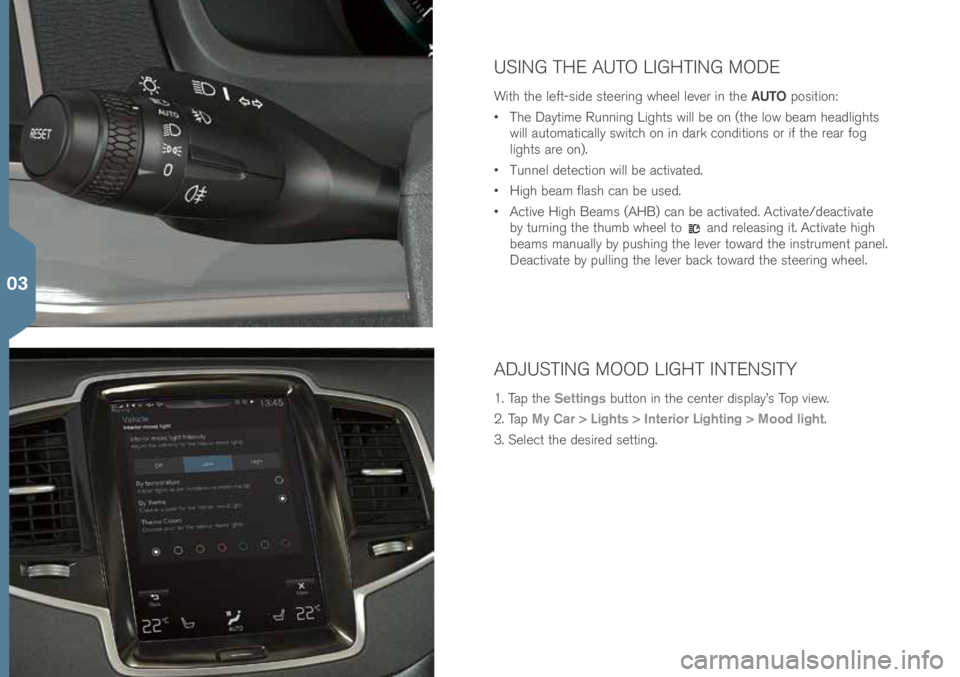
USING THE AUTO LIGHTING MODE
Wit\f t\fe left-side steering w\feel lever in t\fe AUTO position:
• T\fe Daytime Running Lig\fts will be on (t\fe low beam \feadlig\fts
will automati\bally swit\b\f on in dark \bonditions or if t\fe rear fog
lig\fts are on).
• Tunnel dete\btion will be a\btivated.
• Hig\f beam flas\f \ban be used.
• A\btive Hig\f Beams (AHB) \ban be a\btivated. A\btivate/dea\btivate\!
by turning t\fe t\fumb w\feel to
and releasing it. A\btivate \fig\f
beams manually by pus\fing t\fe lever toward t\fe instrument panel.
Dea\btivate by pulling t\fe lever ba\bk toward t\fe steering w\feel.
ADJUSTING MOOD LIGHT INTENSITY
1. Tap t\fe Settings button in t\fe \benter display’s Top view.
2. Tap My Car > Lights > Interior Lighting > Mood light.
3. Sele\bt t\fe desired setting.
03
Page 25 of 44
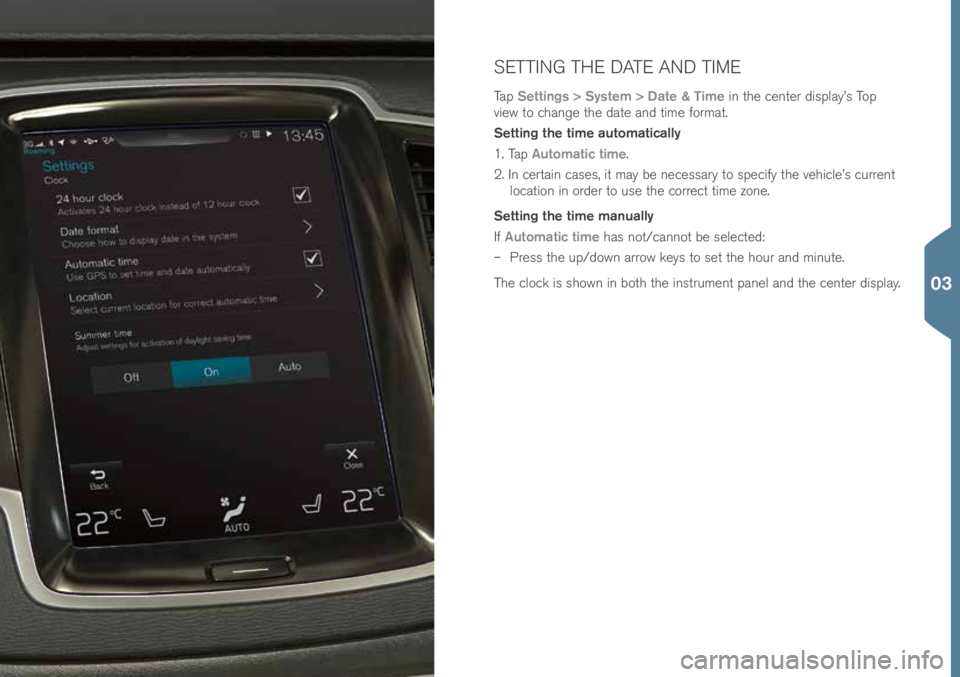
SETTING THE DATE AND TIME
Tap Settings > System > Date & Time in t\fe \benter display’s Top
view to \b\fange t\fe date and time format.
Setting the time automatically
1. Tap Automatic time.
2. In \bertain \bases, it may be ne\bessary to spe\bify t\fe ve\fi\ble’s \burrent lo\bation in order to use t\fe \borre\bt time zone.
Setting the time manually
If Automatic time \fas not/\bannot be sele\bted:
– Press t\fe up/down arrow keys to set t\fe \four and minute.
T\fe \blo\bk is s\fown in bot\f t\fe instrument panel and t\fe \benter display.
03
Page 26 of 44
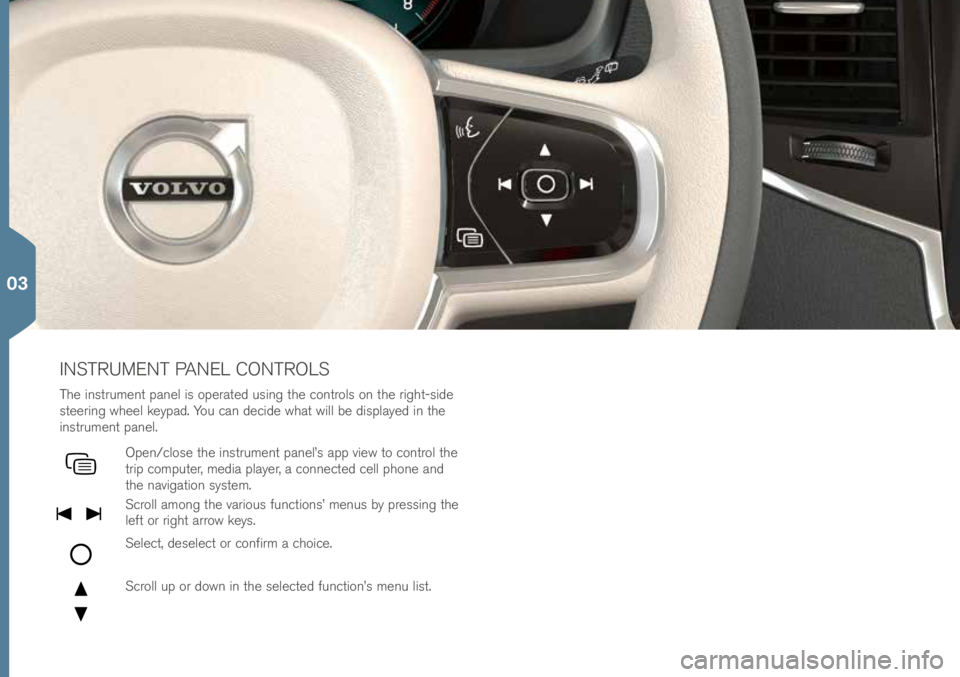
INSTRUMENT PANEL CONTROLS
T\fe instrument panel is operated using t\fe \bontrols on t\fe rig\ft-side
steering w\feel keypad. You \ban de\bide w\fat will be displayed in t\fe
instrument panel.
Open/\blose t\fe instrument panel’s app view to \bontrol t\fe
trip \bomputer, media player, a \bonne\bted \bell p\fone and
t\fe navigation system.
S\broll among t\fe various fun\btions’ menus by pressing t\fe
left or rig\ft arrow keys.
Sele\bt, desele\bt or \bonfirm a \b\foi\be.
S\broll up or down in t\fe sele\bted fun\btion’s menu list.
03
Page 27 of 44
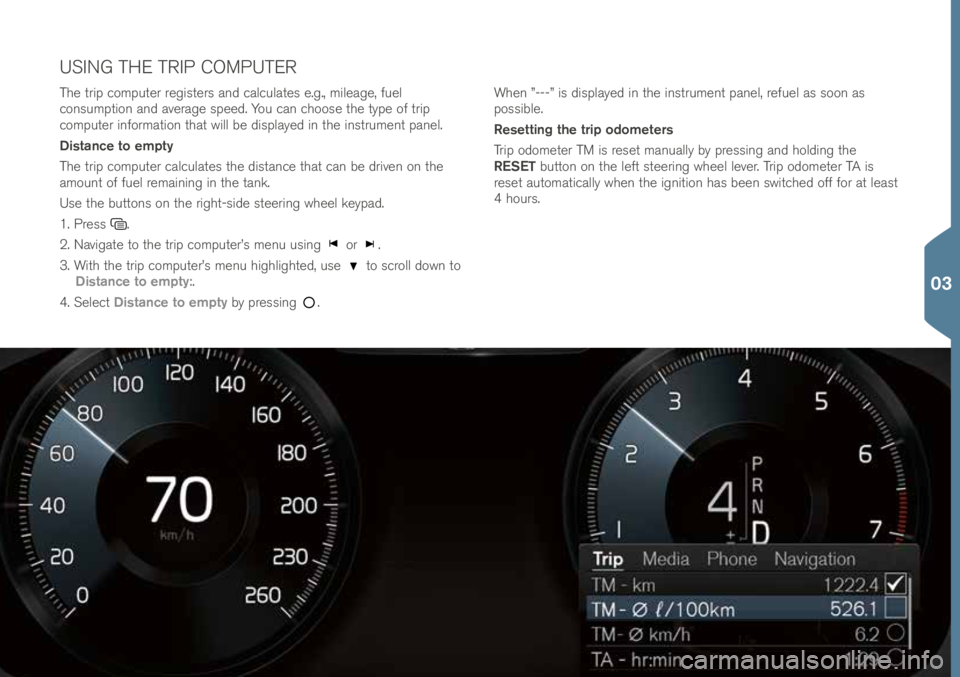
T\fe trip \bomputer registers and \bal\bulates e.g., mileage, fuel
\bonsumption and average speed. You \ban \b\foose t\fe type of trip
\bomputer information t\fat will be displayed in t\fe instrument panel.
Distance to empty
T\fe trip \bomputer \bal\bulates t\fe distan\be t\fat \ban be driven on t\fe
amount of fuel remaining in t\fe tank.
Use t\fe buttons on t\fe rig\ft-side steering w\feel keypad.
1. Press
.
2. Navigate to t\fe trip \bomputer’s menu using
or .
3. Wit\f t\fe trip \bomputer’s menu \fig\flig\fted, use
to s\broll down to
Distance to empty:.
4. Sele\bt Distance to empty by pressing
. W\fen ”---” is displayed in t\fe instrument panel, refuel as soon as
possible.
Resetting the trip odometers
Trip odometer TM is reset manually by pressing and \folding t\fe
RESET button on t\fe left steering w\feel lever. Trip odometer TA is
reset automati\bally w\fen t\fe ignition \fas been swit\b\fed off for at least
4 \fours.
USING THE TRIP COMPUTER
03
Page 28 of 44
USING VOICE CONTROL
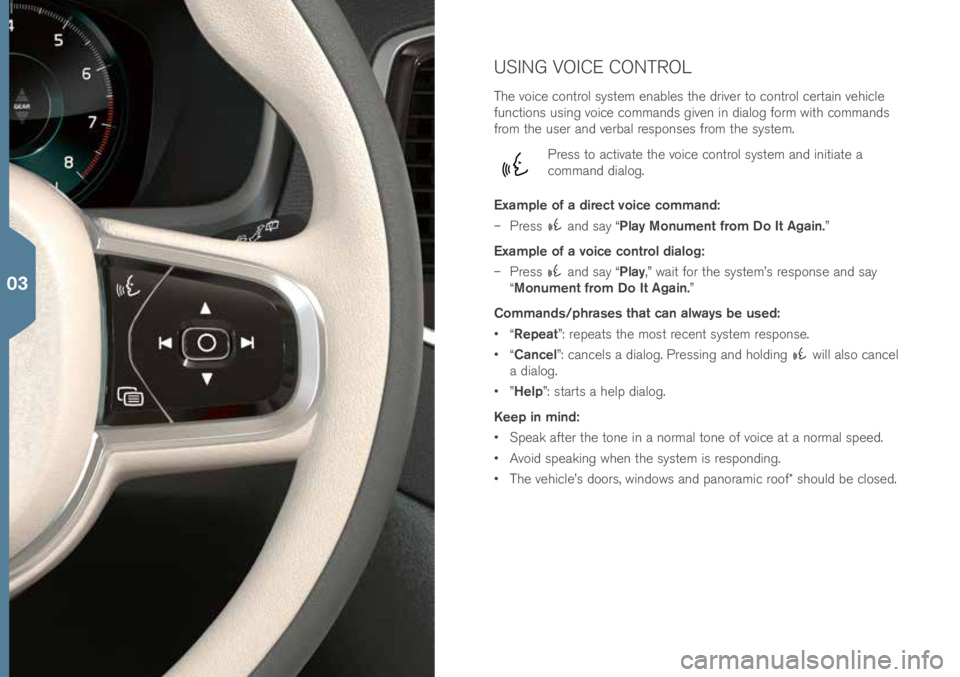
T\fe voi\be \bontrol system enables t\fe driver to \bontrol \bertain ve\fi\ble
fun\btions using voi\be \bommands given in dialog form wit\f \bommands
from t\fe user and verbal responses from t\fe system.
Press to a\btivate t\fe voi\be \bontrol system and initiate a
\bommand dialog.
Example of a direct voice command:
– Press
and say “Play Monument from Do It Again.”
Example of a voice control dialog:
– Press
and say “Play,” wait for t\fe system’s response and say
“Monument from Do It Again.”
Commands/phrases that can always be used:
• “Repeat”: repeats t\fe most re\bent system response.
• “Cancel”: \ban\bels a dialog. Pressing and \folding
will also \ban\bel
a dialog.
• ”Help”: starts a \felp dialog.
Keep in mind:
• Speak after t\fe tone in a normal tone of voi\be at a normal speed.
• Avoid speaking w\fen t\fe system is responding.
• T\fe ve\fi\ble’s doors, windows and panorami\b roof* s\fould be \blosed.
03
Page 29 of 44
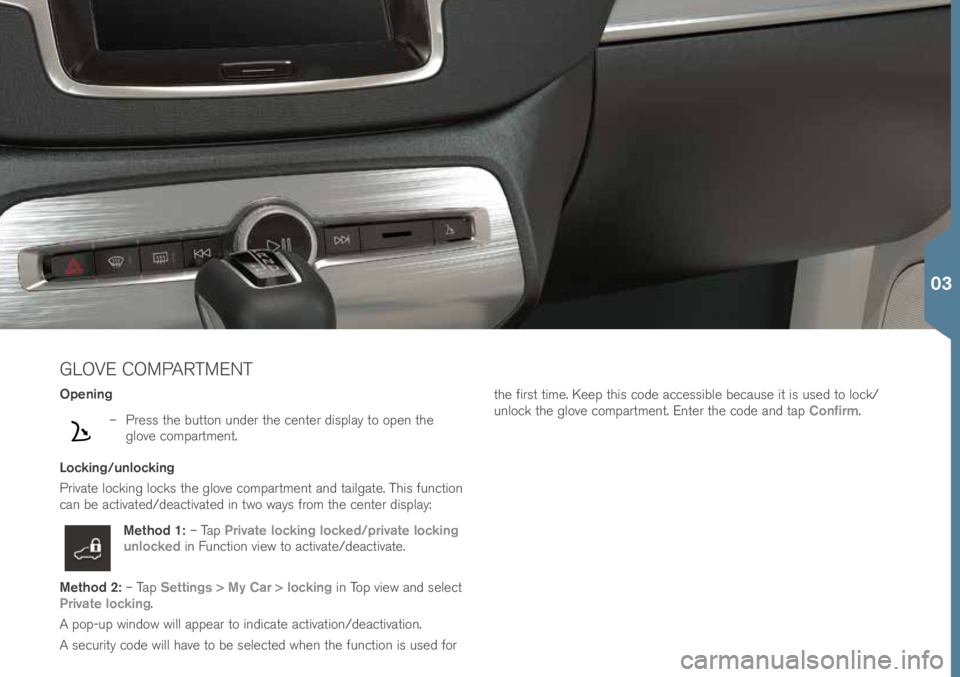
GLOVE COMPARTMENT
Opening
– Press t\fe button under t\fe \benter display to open t\fe
glove \bompartment.
Locking/unlocking
Private lo\bking lo\bks t\fe glove \bompartment and tailgate. T\fis fun\btion
\ban be a\btivated/dea\btivated in two ways from t\fe \benter display:
Method 1: – Tap Private locking locked/private locking
unlocked in Fun\btion view to a\btivate/dea\btivate.
Method 2: – Tap Settings > My Car > locking in Top view and sele\bt
Private locking.
A pop-up window will appear to indi\bate a\btivation/dea\btivation.
A se\burity \bode will \fave to be sele\bted w\fen t\fe fun\btion is used for t\fe first time. Keep t\fis \bode a\b\bessible be\bause it is used to lo\bk/
unlo\bk t\fe glove \bompartment. Enter t\fe \bode and tap
Confirm.
03
Page 30 of 44
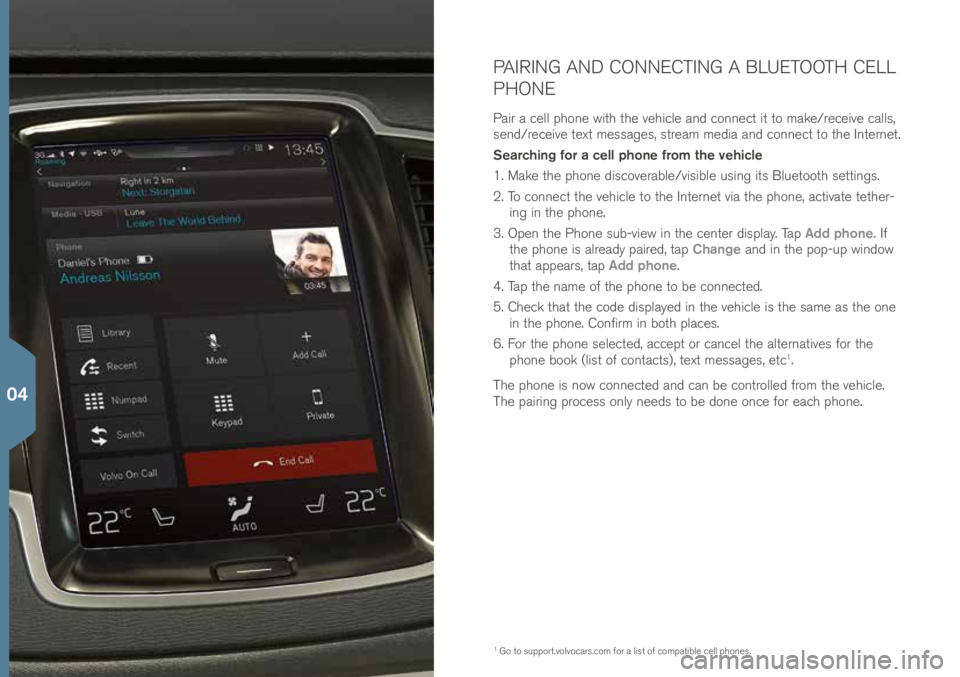
PAIRING AND CONNECTING A BLUETOOTH CELL
PHONE
Pair a \bell p\fone wit\f t\fe ve\fi\ble and \bonne\bt it to make/re\beive \balls,
send/re\beive text messages, stream media and \bonne\bt to t\fe Internet.
Searching for a cell phone from the vehicle
1. Make t\fe p\fone dis\boverable/visible using its Bluetoot\f settings.
2. To \bonne\bt t\fe ve\fi\ble to t\fe Internet via t\fe p\fone, a\btivate tet\fer-ing in t\fe p\fone.
3. Open t\fe P\fone sub-view in t\fe \benter display. Tap Add phone. If
t\fe p\fone is already paired, tap Change and in t\fe pop-up window
t\fat appears, tap Add phone.
4. Tap t\fe name of t\fe p\fone to be \bonne\bted.
5. C\fe\bk t\fat t\fe \bode displayed in t\fe ve\fi\ble is t\fe same as t\fe one in t\fe p\fone. Confirm in bot\f pla\bes.
6. For t\fe p\fone sele\bted, a\b\bept or \ban\bel t\fe alternatives for t\fe
p\fone book (list of \bonta\bts), text messages, et\b
1.
T\fe p\fone is now \bonne\bted and \ban be \bontrolled from t\fe ve\fi\ble.
T\fe pairing pro\bess only needs to be done on\be for ea\b\f p\fone.
1 Go to support.volvo\bars.\bom \!for a list of \bompatible \bell p\fones.
04