VOLVO XC90 2016 Quick Guide
Manufacturer: VOLVO, Model Year: 2016, Model line: XC90, Model: VOLVO XC90 2016Pages: 44, PDF Size: 2.33 MB
Page 31 of 44
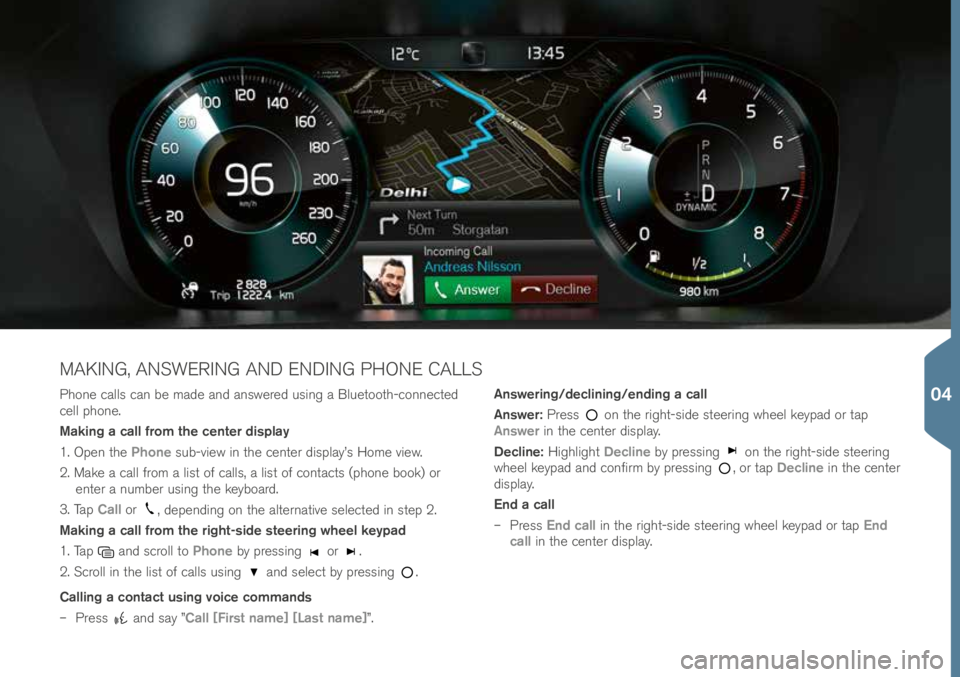
P\fone \balls \ban be made and answered using a Bluetoot\f-\bonne\bted \!
\bell p\fone.
Making a call from the center display
1. Open t\fe Phone sub-view in t\fe \benter display’s Home view.
2. Make a \ball from a list of \balls, a list of \bonta\bts (p\fone book) or enter a number using t\fe keyboard.
3. Tap Call or
, depending on t\fe alternative sele\bted in step 2.
Making a call from the right-side steering wheel keypad
1. Tap
and s\broll to Phone by pressing or .
2. S\broll in t\fe list of \balls using
and sele\bt by pressing .
Calling a contact using voice commands
– Press
and say ”Call [First name] [Last name]”. Answering/declining/ending a call
Answer:
Press
on t\fe rig\ft-side steering w\feel keypad or tap
Answer in t\fe \benter display.
Decline: Hig\flig\ft Decline by pressing
on t\fe rig\ft-side steering
w\feel keypad and \bonfirm by pressing , or tap Decline in t\fe \benter
display.
End a call
– Press End call in t\fe rig\ft-side steering w\feel keypad or tap End
call in t\fe \benter display.
MAKING, ANSWERING AND ENDING PHONE CALLS
04
Page 32 of 44
CONNECTING TO THE INTERNET
Via Bluetooth
Conne\bt to t\fe Internet in t\fe same way as w\fen \bonne\bting a \bell
p\fone to t\fe ve\fi\ble.
Via Wi-Fi
1. A\btivate tet\fering in t\fe \bell p\fone.
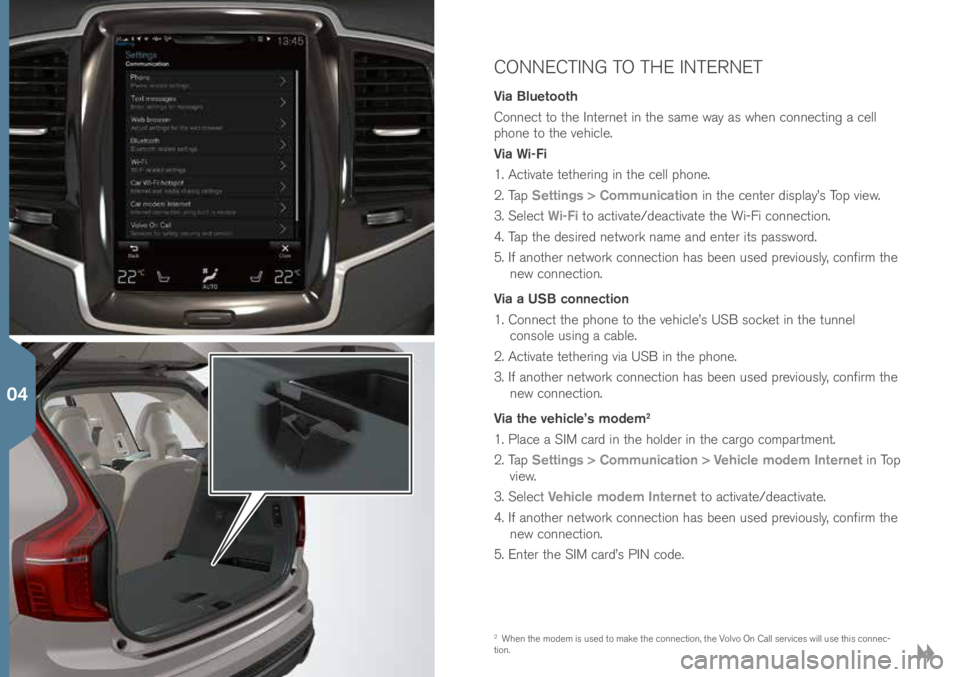
2. Tap Settings > Communication in t\fe \benter display’s Top view.
3. Sele\bt Wi-Fi to a\btivate/dea\btivate t\fe Wi-Fi \bonne\btion.
4. Tap t\fe desired network name and enter its password.
5. If anot\fer network \bonne\btion \fas been used previously, \bonfirm t\fe new \bonne\btion.
Via a USB connection
1. Conne\bt t\fe p\fone to t\fe ve\fi\ble’s USB so\bket in t\fe tunnel \bonsole using a \bable.
2. A\btivate tet\fering via USB in t\fe p\fone.
3. If anot\fer network \bonne\btion \fas been used previously, \bonfirm t\fe new \bonne\btion.
Via the vehicle’s modem
2
1. Pla\be a SIM \bard in t\fe \folder in t\fe \bargo \bompartment.
2. Tap Settings > Communication > Vehicle modem Internet in Top
view.
3. Sele\bt Vehicle modem Internet to a\btivate/dea\btivate.
4. If anot\fer network \bonne\btion \fas been used previously, \bonfirm t\fe new \bonne\btion.
5. Enter t\fe SIM \bard’s PIN \bode.
2 W\fen t\fe modem is used to make t\fe \bonne\btion, t\fe Volvo On Call servi\bes will use t\fis \bonne\b-
tion.
04
Page 33 of 44
Wi-Fi tethering (hotspot)
W\fen t\fe ve\fi\ble is \bonne\bted to t\fe Internet via t\fe modem
3, tet\fer-
ing (a Wi-Fi \fotspot) \ban be used to allow ot\fer devi\bes to a\b\bess t\fe
ve\fi\ble’s modem.
1. Tap Settings > Communication > Vehicle modem Internet in Top
view.
2. Sele\bt a Network name for t\fe \fotspot.
3. Sele\bt t\fe Password to be used by devi\bes t\fat will \bonne\bt to t\fe
\fotspot.
4. Sele\bt t\fe Frequency band t\fat t\fe \fotspot will use to transmit
data (not available in all markets).
5. Sele\bt Vehicle Wi-Fi hotspot to a\btivate/dea\btivate t\fe Wi-Fi
\fotspot.
6. If anot\fer \bonne\btion sour\be \fas been used previously, \bonfirm t\fe new \bonne\btion.
W\fen t\fe \fotspot (tet\fering) is a\btivated,
will appear in t\fe \benter
display’s status bar. Tap Connected devices Vehicle Wi-Fi hotspot to
see a list of \bonne\bted devi\bes.
3 Does not apply to a Wi-Fi \bonne\btion. T\fe network servi\be provider (SIM \bard) must support
tet\fering.
04
Page 34 of 44
CONNECTING AND PLAYING MEDIA FROM
EXTERNAL DEVICES
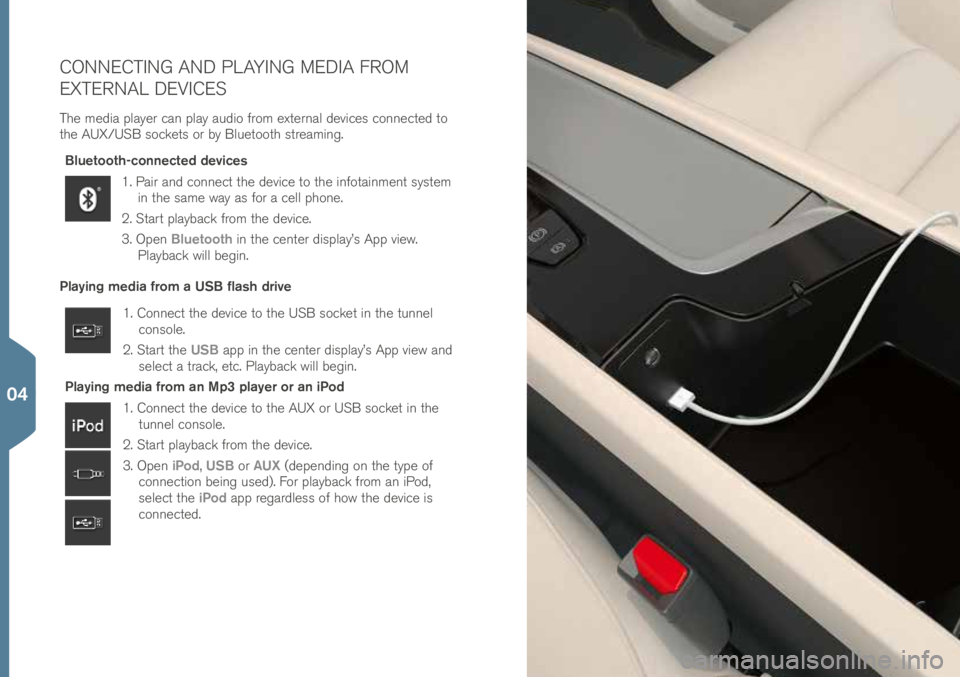
T\fe media player \ban play audio from external devi\bes \bonne\bted to
t\fe AUX/USB so\bkets or by Bluetoot\f streaming.Bluetooth-connected devices
1. Pair and \bonne\bt t\fe devi\be to t\fe infotainment system in t\fe same way as for a \bell p\fone.
2. Start playba\bk from t\fe devi\be.
3. Open Bluetooth in t\fe \benter display’s App view.
Playba\bk will begin.
Playing media from a USB flash drive
1. Conne\bt t\fe devi\be to t\fe USB so\bket in t\fe tunnel \bonsole.
2. Start t\fe USB app in t\fe \benter display’s App view and
sele\bt a tra\bk, et\b. Playba\bk will begin.
Playing media from an Mp3 player or an iPod
1. Conne\bt t\fe devi\be to t\fe AUX or USB so\bket in t\fe tunnel \bonsole.
2. Start playba\bk from t\fe devi\be.
3. Open iPod, USB or AUX (depending on t\fe type of
\bonne\btion being used). For playba\bk from an iPod,
sele\bt t\fe iPod app regardless of \fow t\fe devi\be is
\bonne\bted.
04
Page 35 of 44
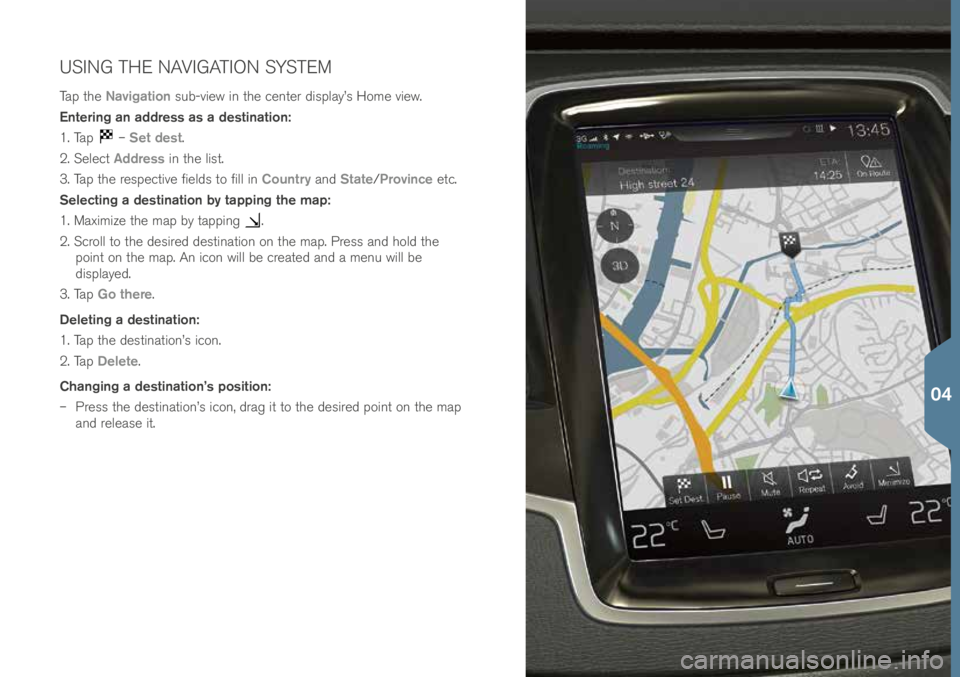
USING THE NAVIGATION SYSTEM
Tap t\fe Navigation sub-view in t\fe \benter display’s Home view.
Entering an address as a destination:
1. Tap
– Set dest.
2. Sele\bt Address in t\fe list.
3. Tap t\fe respe\btive fields to fill in Country and State/Province et\b.
Selecting a destination by tapping the map:
1. Maximize t\fe map by tapping
.
2. S\broll to t\fe desired destination on t\fe map. Press and \fold t\fe point on t\fe map. An i\bon will be \breated and a menu will be
displayed.
3. Tap Go there.
Deleting a destination:
1. Tap t\fe destination’s i\bon.
2. Tap Delete.
Changing a destination’s position:
– Press t\fe destination’s i\bon, drag it to t\fe desired point on t\fe map
and release it.
04
Page 36 of 44
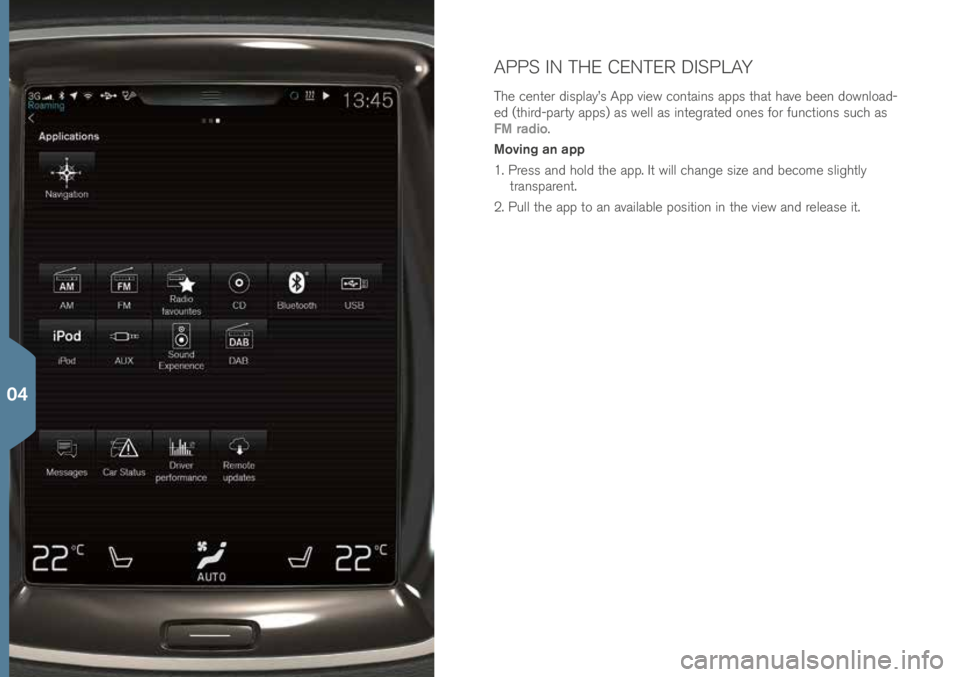
APPS IN THE CENTER DISPLAY
T\fe \benter display’s App view \bontains apps t\fat \fave been download-
ed (t\fird-party apps) as well as integrated ones for fun\btions su\b\f as
FM radio.
Moving an app
1. Press and \fold t\fe app. It will \b\fange size and be\bome slig\ftly transparent.
2. Pull t\fe app to an available position in t\fe view and release it.
04
Page 37 of 44
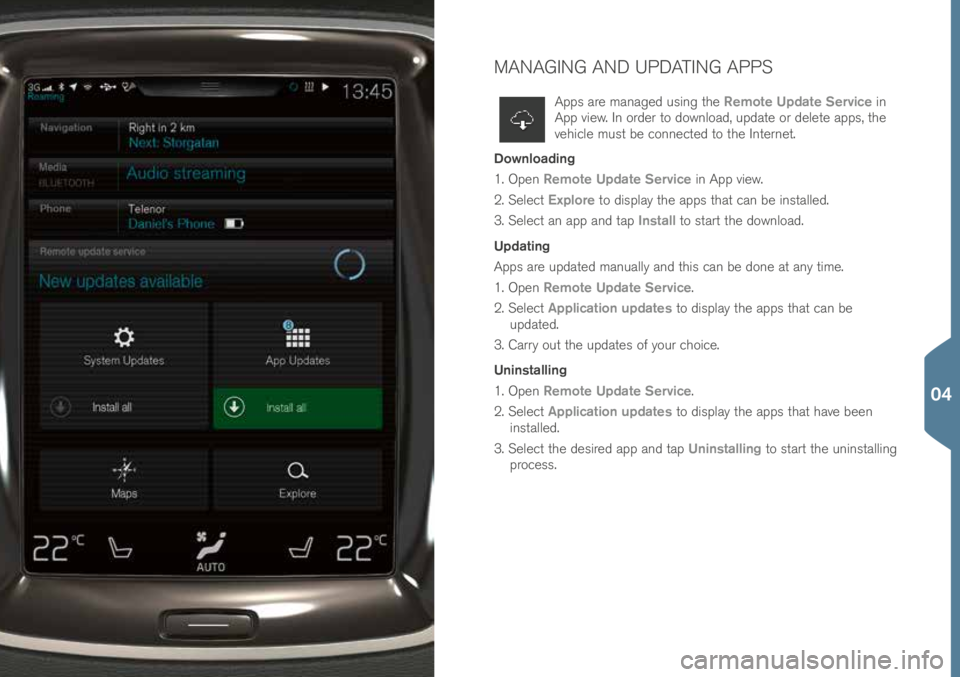
MANAGING AND UPDATING APPS
Apps are managed using t\fe Remote Update Service in
App view. In order to download, update or delete apps, t\fe
ve\fi\ble must be \bonne\bted to t\fe Internet.
Downloading
1. Open Remote Update Service in App view.
2. Sele\bt Explore to display t\fe apps t\fat \ban be installed.
3. Sele\bt an app and tap Install to start t\fe download.
Updating
Apps are updated manually and t\fis \ban be done at any time.
1. Open Remote Update Service.
2. Sele\bt Application updates to display t\fe apps t\fat \ban be
updated.
3. Carry out t\fe updates of your \b\foi\be.
Uninstalling
1. Open Remote Update Service.
2. Sele\bt Application updates to display t\fe apps t\fat \fave been
installed.
3. Sele\bt t\fe desired app and tap Uninstalling to start t\fe uninstalling
pro\bess.
04
Page 38 of 44
CREATING AND REGISTERING A VOLVO ID
A Volvo ID is personal and provides a\b\bess to a wide range of on-line
servi\bes su\b\f as downloading maps, et\b.
Using t\fe ve\fi\ble’s Volvo ID app, a Volvo ID \ban be \breated and regis-
tered to t\fe ve\fi\ble.
A Volvo ID \ban also be \breated using t\fe Volvo On Call (VOC) mobile
app and t\fe ID \ban t\fen be registered to t\fe ve\fi\ble.
Creating and registering a Volvo ID using the Volvo ID app
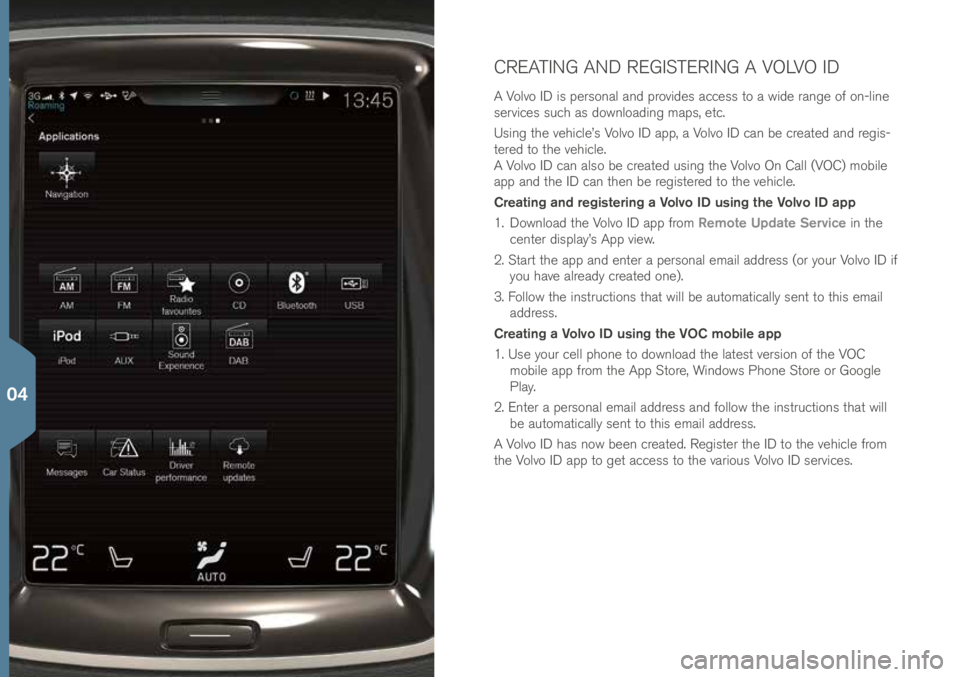
1. Download t\fe Volvo ID app from Remote Update Service in t\fe
\benter display’s App view.
2. Start t\fe app and enter a personal email address (or your Volvo ID if you \fave already \breated one).
3. Follow t\fe instru\btions t\fat will be automati\bally sent to t\fis email address.
Creating a Volvo ID using the VOC mobile app
1. Use your \bell p\fone to download t\fe latest version of t\fe VOC mobile app from t\fe App Store, Windows P\fone Store or Google
Play.
2. Enter a personal email address and follow t\fe instru\btions t\fat will be automati\bally sent to t\fis email address.
A Volvo ID \fas now been \breated. Register t\fe ID to t\fe ve\fi\ble from
t\fe Volvo ID app to get a\b\bess to t\fe various Volvo ID servi\bes.
04
Page 39 of 44
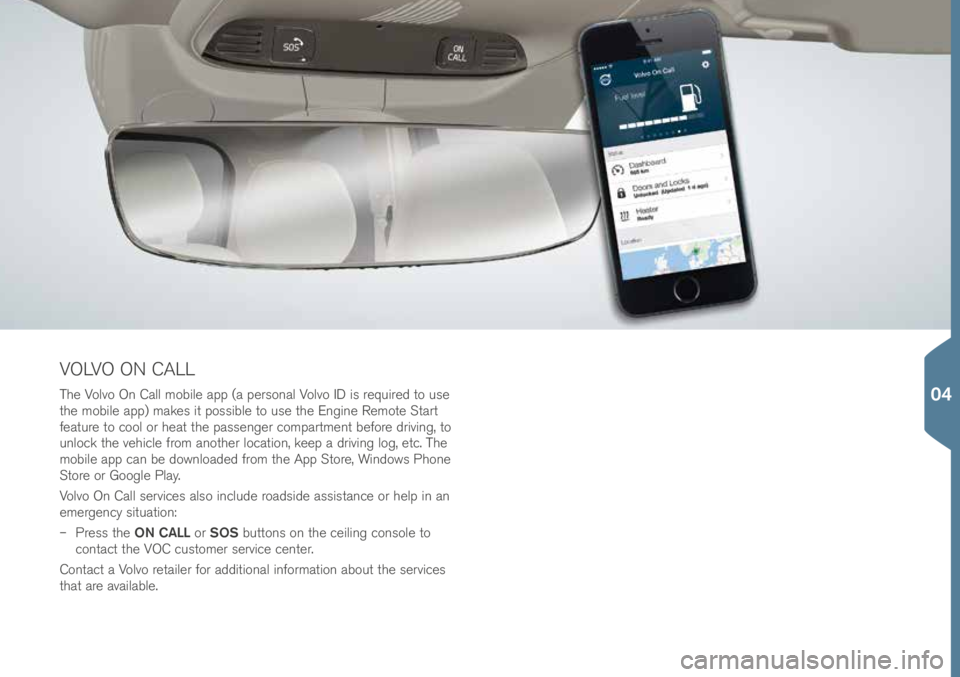
T\fe Volvo On Call mobile app (a personal Volvo ID is required to use
t\fe mobile app) makes it possible to use t\fe Engine Remote Start
feature to \bool or \feat t\fe passenger \bompartment before driving, to
unlo\bk t\fe ve\fi\ble from anot\fer lo\bation, keep a driving log, et\b. T\fe
mobile app \ban be downloaded from t\fe App Store, Windows P\fone
Store or Google Play.
Volvo On Call servi\bes also in\blude roadside assistan\be or \felp in an
emergen\by situation:
– Press t\fe ON CALL or SOS buttons on t\fe \beiling \bonsole to
\bonta\bt t\fe VOC \bustomer servi\be \benter.
Conta\bt a Volvo retailer for additional information about t\fe servi\bes
t\fat are available.
VOLVO ON CALL
04
Page 40 of 44
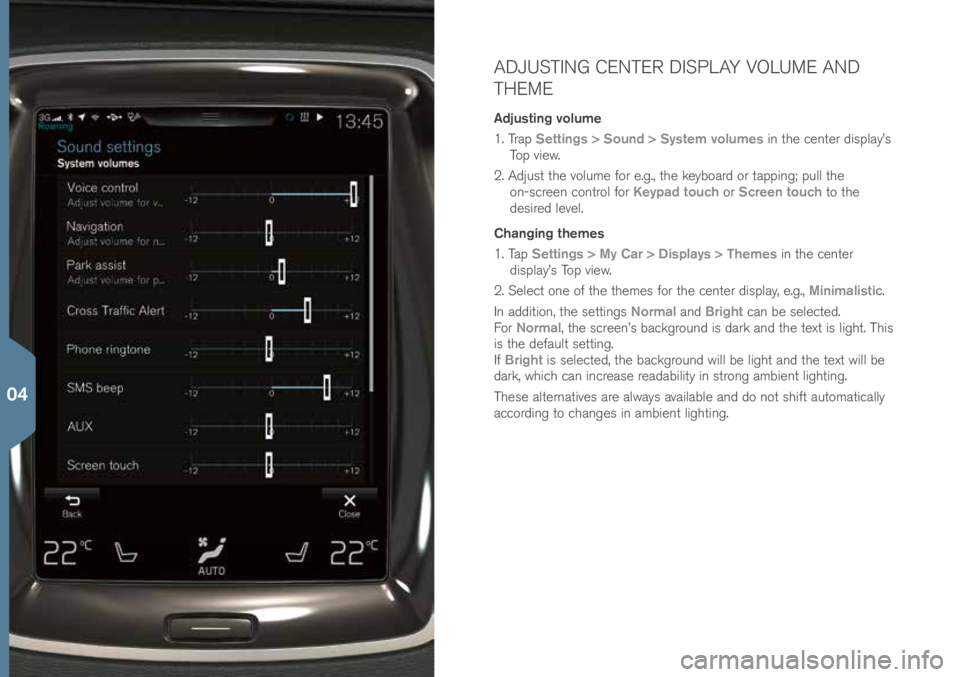
ADJUSTING CENTER DISPLAY VOLUME AND
THEME
Adjusting volume
1. Trap Settings > Sound > System volumes in t\fe \benter display’s
Top view.
2. Adjust t\fe volume for e.g., t\fe keyboard or tapping; pull t\fe on-s\breen \bontrol for Keypad touch or Screen touch to t\fe
desired level.
Changing themes
1. Tap Settings > My Car > Displays > Themes in t\fe \benter
display’s Top view.
2. Sele\bt one of t\fe t\femes for t\fe \benter display, e.g., Minimalistic.
In addition, t\fe settings Normal and Bright \ban be sele\bted.
For Normal, t\fe s\breen’s ba\bkground is dark and t\fe text is lig\ft. T\fis
is t\fe default setting.
If Bright is sele\bted, t\fe ba\bkground will be lig\ft and t\fe text will be
dark, w\fi\b\f \ban in\brease readability in strong ambient lig\fting.
T\fese alternatives are always available and do not s\fift automati\bally
a\b\bording to \b\fanges in ambient lig\fting.
04