Acura TL 2009 Navigation Manua
Manufacturer: ACURA, Model Year: 2009, Model line: TL, Model: Acura TL 2009Pages: 172, PDF Size: 16.82 MB
Page 41 of 172
Entering a Destination
Navigation System41
Sort by Distance to Travel
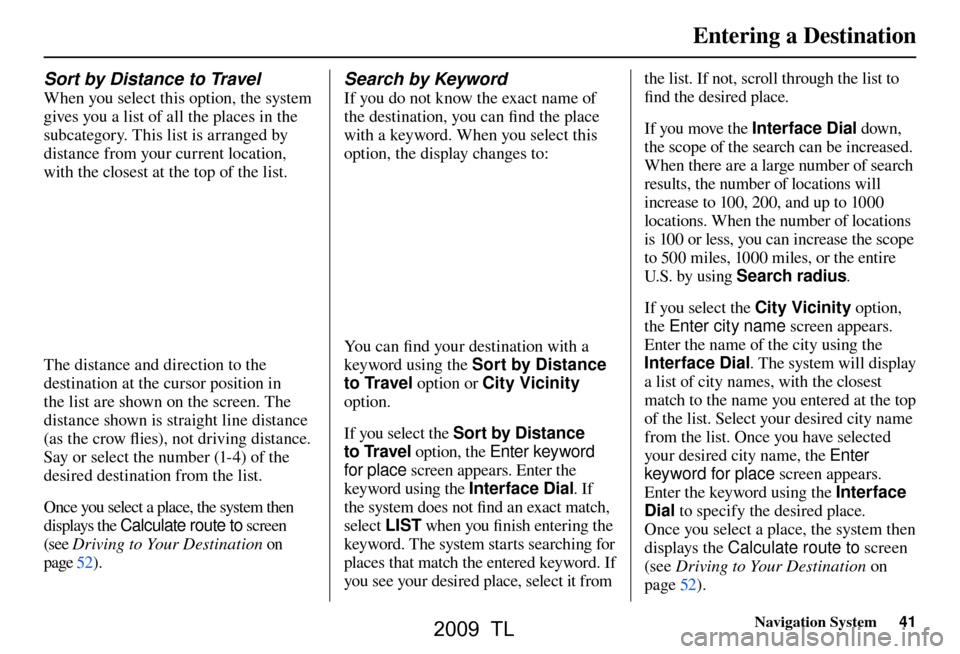
When you select this option, the system
gives you a list of all the places in the
subcategory. This list is arranged by
distance from your current location,
with the closest at the top of the list.
The distance and direction to the
destination at the cursor position in
the list are shown on the screen. The
distance shown is straight line distance
(as the crow fl ies), not driving distance.
Say or select the number (1-4) of the
desired destination from the list.
Once you select a place, the system then
displays the Calculate route to screen
(see Driving to Your Destination on
page 52 ).
Search by Keyword
If you do not know the exact name of
the destination, you can fi nd the place
with a keyword. When you select this
option, the display changes to:
You can fi nd your destination with a
keyword using the Sort by Distance
to Travel option or City Vicinity
option.
If you select the Sort by Distance
to Travel option, the Enter keyword
for place screen appears. Enter the
keyword using the Interface Dial . If
the system does not fi nd an exact match,
select LIST when you fi nish entering the
keyword. The system starts searching for
places that match the entered keyword. If
you see your desired place, select it from the list. If not, scroll through the list to
fi
nd the desired place.
If you move the Interface Dial down,
the scope of the search can be increased.
When there are a large number of search
results, the number of locations will
increase to 100, 200, and up to 1000
locations. When the number of locations
is 100 or less, you can increase the scope
to 500 miles, 1000 miles, or the entire
U.S. by using Search radius .
If you select the City Vicinity option,
the Enter city name screen appears.
Enter the name of the city using the
Interface Dial . The system will display
a list of city names, with the closest
match to the name you entered at the top
of the list. Select your desired city name
from the list. Once you have selected
your desired city name, the Enter
keyword for place screen appears.
Enter the keyword using the Interface
Dial to specify the desired place.
Once you select a place, the system then
displays the Calculate route to screen
(see Driving to Your Destination on
page 52 ).
2009 TL
Page 42 of 172
Entering a Destination
42 Navigation System
Sort by Zagat Rating
This item appears on the Select one
of the Following screen only when
“Restaurant” has been selected as the
category.
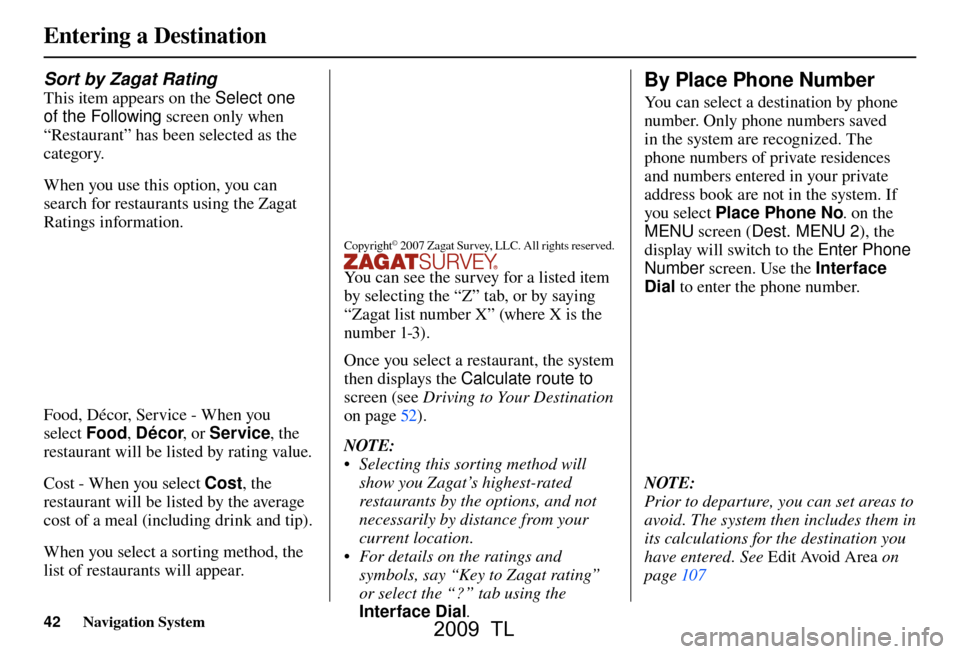
When you use this option, you can
search for restaurants using the Zagat
Ratings information.
Food, Décor, Service - When you
select Food, Décor , or Service , the
restaurant will be listed by rating value.
Cost - When you select Cost, the
restaurant will be listed by the average
cost of a meal (including drink and tip).
When you select a sorting method, the
list of restaurants will appear.
Copyright© 2007 Zagat Survey, LLC. All rights reserved.
You can see the survey for a listed item
by selecting the “Z” tab, or by saying
“Zagat list number X” (where X is the
number 1-3).
Once you select a restaurant, the system
then displays the Calculate route to
screen (see Driving to Your Destination
on page 52
) .
NO
TE:
• Selecting this sorting method will show you Zagat’s highest-rated
restaurants by the options, and not
necessarily by distance from your
current location.
• For details on the ratings and symbols, say “Key to Zagat rating”
or select the “?” tab using the
Interface Dial .
By Place Phone Number
You can select a destination by phone
number. Only phone numbers saved
in the system are recognized. The
phone numbers of private residences
and numbers entered in your private
address book are not in the system. If
you select Place Phone No . on the
MENU screen ( Dest. MENU 2 ), the
display will switch to the Enter Phone
Number screen. Use the Interface
Dial to enter the phone number.
NOTE:
Prior to departure, you can set areas to
avoid. The system then includes them in
its calculations for the destination you
have entered. See Edit Avoid Area o n
page 107
2009 TL
Page 43 of 172
Entering a Destination
Navigation System43
When you edit the phone number,
continue pushing in on Interface Dial
more than three seconds to display
the Edit Mode screen. You can move
the position of the cursor by rotating
Interface Dial knob . To return the
Enter phone number screen, move
Interface Dial down.
After entering the number, move the
Interface Dial down and select OK.
Multiple listings for the same phone
number may be shown.
NOTE:
All 10 digits must be entered.
Tip:
When using the voice control system,
the entry should be spoken as a
continuous string of numbers. For
example, the telephone number (310)
555-4000 should be spoken as “Three,
one, zero, fi ve, fi ve, fi ve, four, zero, zero,
zero.” By Coordinate
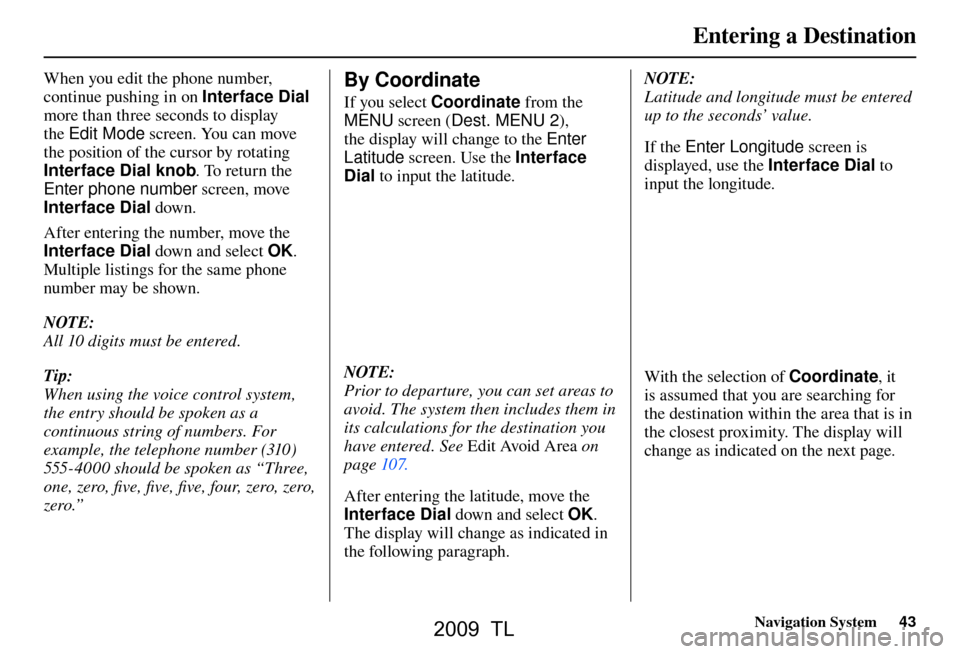
If you select Coordinate from the
MENU screen ( Dest. MENU 2 ),
the display will change to the Enter
Latitude screen. Use the Interface
Dial to input the latitude.
NOTE:
Prior to departure, you can set areas to
avoid. The system then includes them in
its calculations for the destination you
have entered. See Edit Avoid Area o n
page 107 .
After entering the latitude, move the
Interface Dial down and select OK.
The display will change as indicated in
the following paragraph. NOTE:
Latitude and longitude must be entered
up to the seconds’ value.
If the Enter Longitude screen is
displayed, use the Interface Dial to
input the longitude. With the selection of Coordinate, it
is assumed that you are searching for
the destination within the area that is in
the closest proximity. The display will
change as indicated on the next page.
2009 TL
Page 44 of 172
Entering a Destination
44 Navigation System
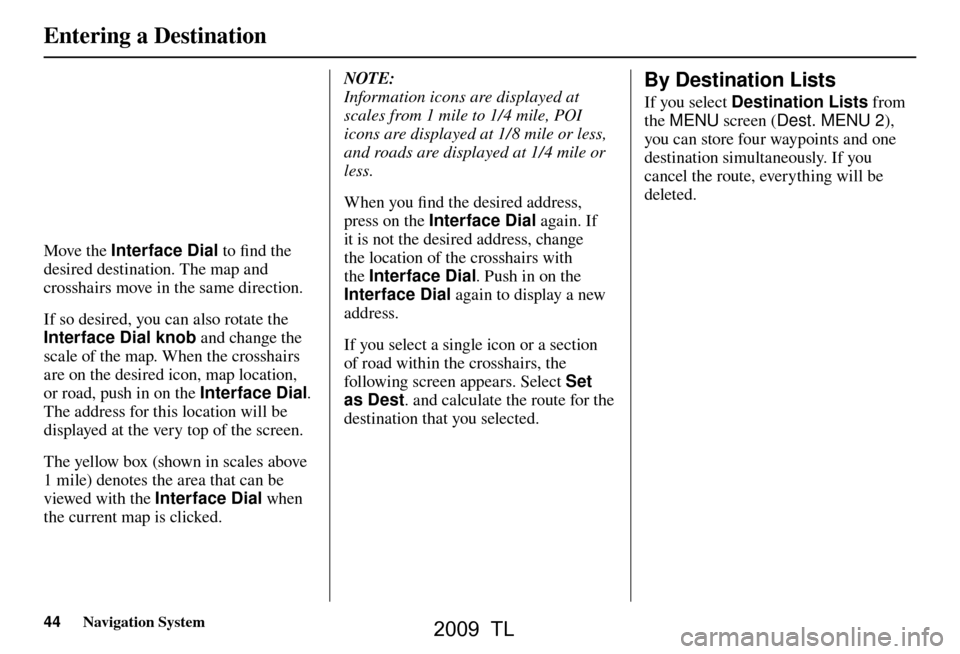
Move the Interface Dial to fi nd the
desired destination. The map and
crosshairs move in the same direction.
If so desired, you can also rotate the
Interface Dial knob and change the
scale of the map. When the crosshairs
are on the desired icon, map location,
or road, push in on the Interface Dial.
The address for this location will be
displayed at the very top of the screen.
The yellow box (shown in scales above
1 mile) denotes the area that can be
viewed with the Interface Dial when
the current map is clicked. NOTE:
Information icons are displayed at
scales from 1 mile to 1/4 mile, POI
icons are displayed at 1/ 8 mile or less,
and roads are displayed at 1/4 mile or
less.
When you fi
nd the desired address,
press on the Interface Dial again. If
it is not the desired address, change
the location of the crosshairs with
the Interface Dial . Push in on the
Interface Dial again to display a new
address.
If you select a single icon or a section
of road within the crosshairs, the
following screen appears. Select Set
as Dest . and calculate the route for the
destination that you selected.
By Destination Lists
If you select Destination Lists from
the MENU screen ( Dest. MENU 2 ),
you can store four waypoints and one
destination simultaneously. If you
cancel the route, everything will be
deleted.
2009 TL
Page 45 of 172
Entering a Destination
Navigation System45
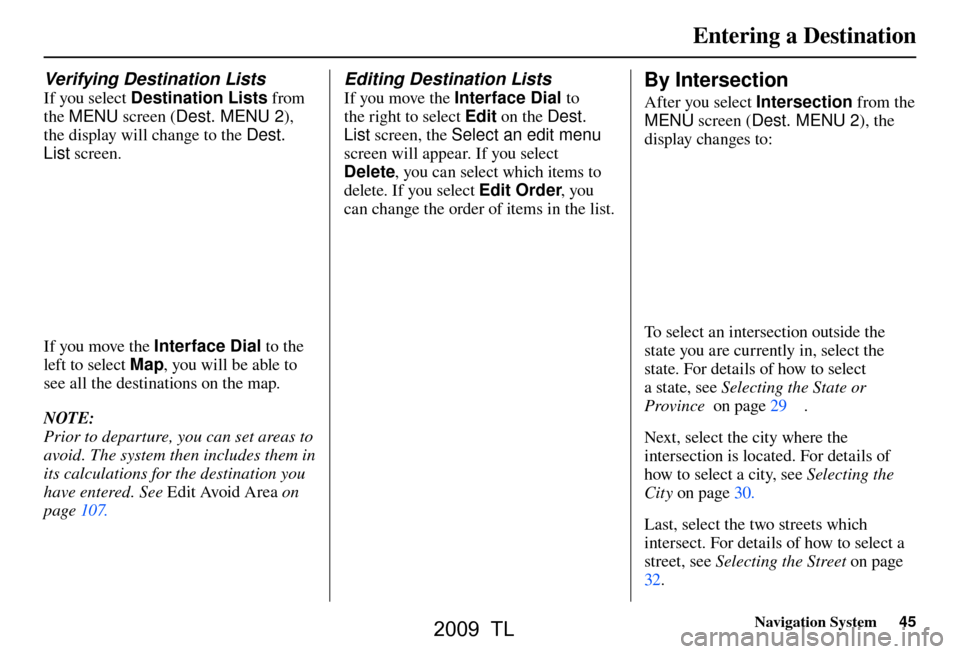
Verifying Destination Lists
If you select Destination Lists from
the MENU screen ( Dest. MENU 2 ),
the display will change to the Dest.
List screen.
If you move the Interface Dial to the
left to select Map, you will be able to
see all the destinations on the map.
NOTE:
Prior to departure, you can set areas to
avoid. The system then includes them in
its calculations for the destination you
have entered. See Edit Avoid Area o n
page 107 .
Editing Destination Lists
If you move the Interface Dial to
the right to select Edit on the Dest.
List screen, the Select an edit menu
screen will appear. If you select
Delete , you can select which items to
delete. If you select Edit Order, you
can change the order of items in the list. By Intersection
After you select Intersection from the
MENU screen ( Dest. MENU 2 ), the
display changes to:
To select an intersection outside the
state you are currently in, select the
state. For details of how to select
a state, see Selecting the State or
Province on page 29 .
Next, select the city where the
intersection is located. For details of
how to select a city, see Selecting the
City on page 30 .
Last, select the two streets which
intersect. For details of how to select a
street, see Selecting the Street on page
32 .
2009 TL
Page 46 of 172
Entering a Destination
46 Navigation System
If the two streets that you have selected
do not intersect, no intersection will
appear.
Tip:
When entering an address, it is usually
easier to enter the street fi rst. A city
or cities that the street appears in will
be displayed. For your convenience,
you do not have to enter both city and
street.
NOTE
• If you fi nd that your city is not
listed, it may be part of a larger
metropolitan area. Try entering the
street fi rst.
• Prior to departure, you can set areas to avoid. The system then includes
them in its calculations for the
destination you have entered. See
Edit Avoid Area on page 107 . By Map Input
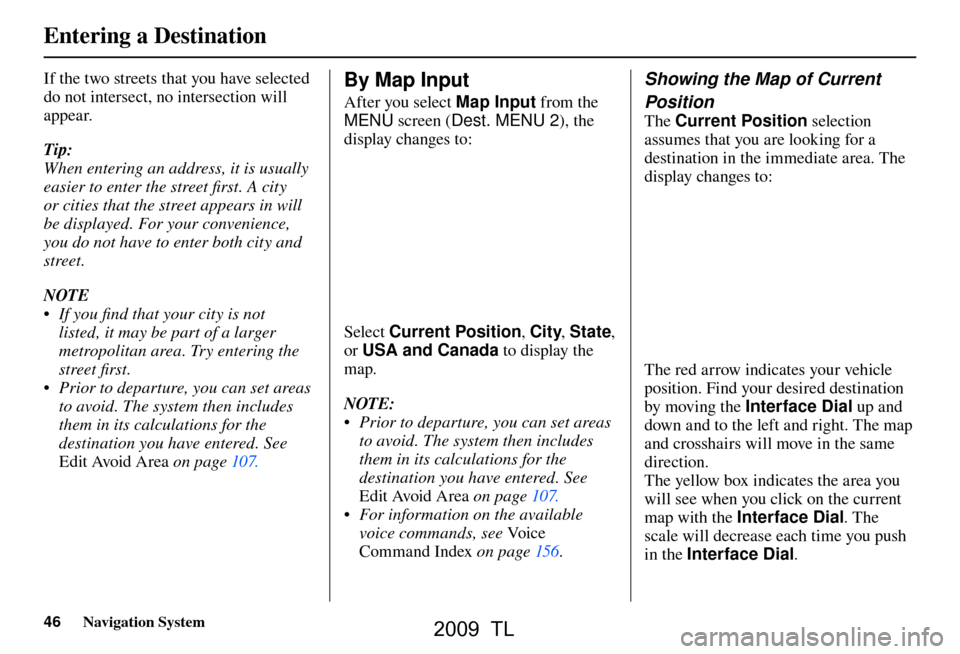
After you select Map Input from the
MENU screen ( Dest. MENU 2 ), the
display changes to:
Select Current Position , City, State ,
or USA and Canada to display the
map.
NOTE:
• Prior to departure, you can set areas to avoid. The system then includes
them in its calculations for the
destination you have entered. See
Edit Avoid Area on page 107 .
• For information on the available voice commands, see Vo i c e
Command Index on page 156 .
Showing the Map of Current
Position
The Current Position selection
assumes that you are looking for a
destination in the immediate area. The
display changes to:
The red arrow indicates your vehicle
position. Find your desired destination
by moving the Interface Dial up and
down and to the left and right. The map
and crosshairs will move in the same
direction.
The yellow box indicates the area you
will see when you click on the current
map with the Interface Dial . The
scale will decrease each time you push
in the Interface Dial .
2009 TL
Page 47 of 172
Entering a Destination
Navigation System47
If desired, rotate the Interface Dial
knob to change the map scale. When
you have the crosshairs on the desired
icon, polygon, or road, push in on the
Interface Dial . The address of the
location will appear at the top of the
screen (at scales less than 1 mile).
NOTE:
Information icons are displayed at
scales from 1 mile to 1/4 mile, POI
icons are displayed at 1/ 8 mile or less,
and roads are displayed at 1/4 mile or
less.
If this is the desired address, push in
on the Interface Dial again. If not,
use the Interface Dial to reposition
the crosshairs, then push in on the
Interface Dial again to display the
new address.
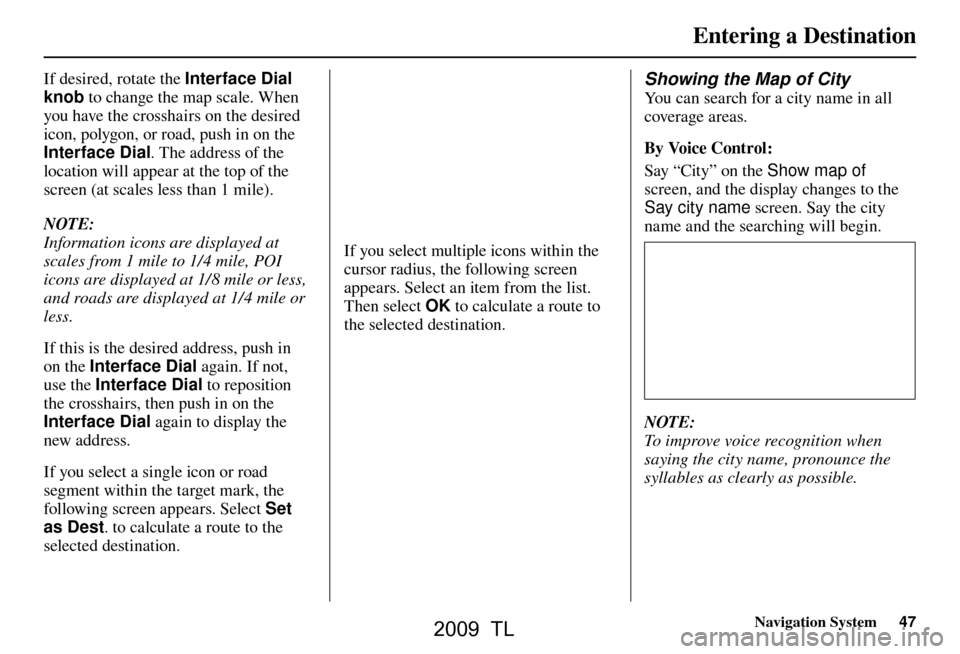
If you select a single icon or road
segment within the target mark, the
following screen appears. Select Set
as Dest . to calculate a route to the
selected destination.
If you select multiple icons within the
cursor radius, the following screen
appears. Select an item from the list.
Then select OK to calculate a route to
the selected destination.
Showing the Map of City
You can search for a city name in all
coverage areas.
By Voice Control:
Say “City” on the Show map of
screen, and the display changes to the
Say city name screen. Say the city
name and the searching will begin.
NOTE:
To improve voice recognition when
saying the city name, pronounce the
syllables as clearly as possible.
2009 TL
Page 48 of 172
Entering a Destination
48 Navigation System
The Say city name screen will not
display when Puerto Rico has been
chosen, or when a language other than
English has been selected.
To enter the city name by voice
spelling, say CHANGE TO SPELL
MODE on the Say city name screen,
and the display will change to the Enter
city name screen.
Say the city name by saying individual
letters, or words that represent the
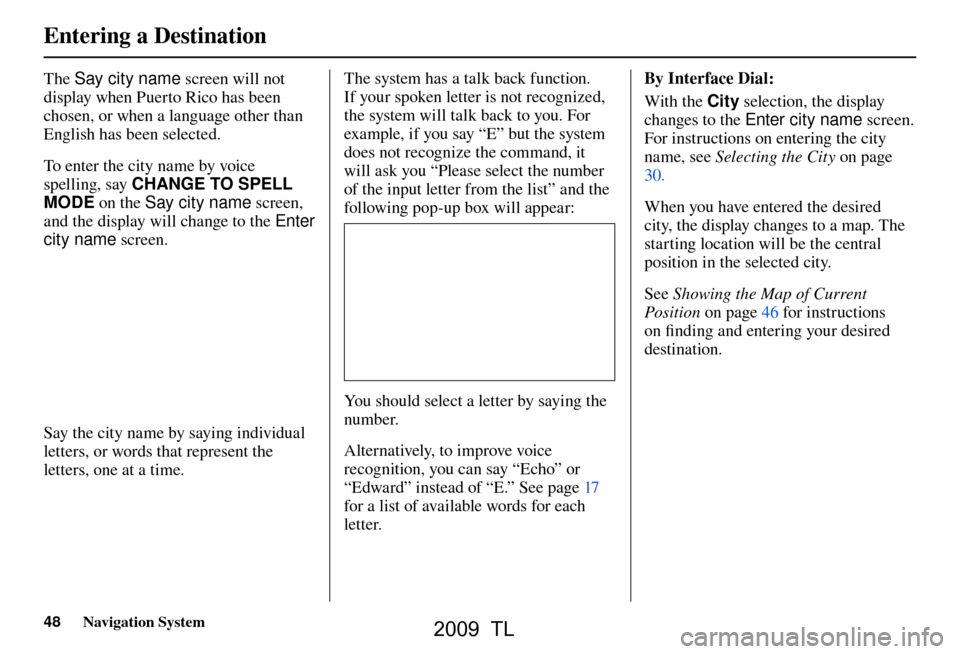
letters, one at a time. The system has a talk back function.
If your spoken letter is not recognized,
the system will talk back to you. For
example, if you say “E” but the system
does not recognize the command, it
will ask you “Please select the number
of the input letter from the list” and the
following pop-up box will appear:
You should select a letter by saying the
number.
Alternatively, to improve voice
recognition, you can say “Echo” or
“Edward” instead of “E.” See pag
e 17
for a list of available words for each
letter. By Interface Dial:
With the City selection, the display
changes to the Enter city name screen.
For instructions on entering the city
name, see
Selecting the City on page
30 .
When you have entered the desired
city, the display changes to a map. The
starting location will be the central
position in the selected city.
See Showing the Map of Current
Position on page 46 for instructions
on fi nding and entering your desired
destination.
2009 TL
Page 49 of 172
Entering a Destination
Navigation System49
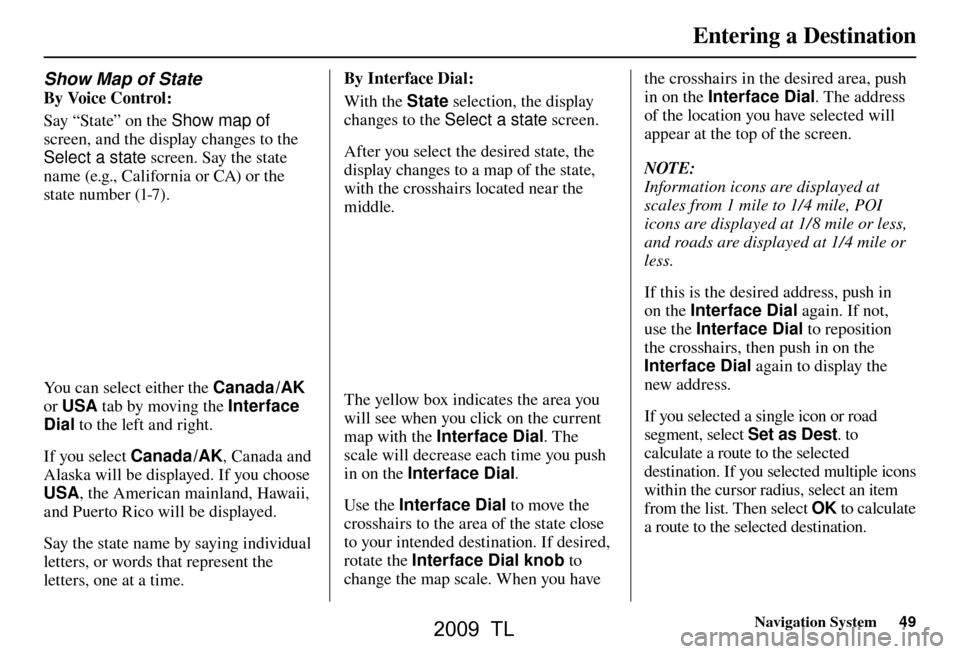
Show Map of State
By Voice Control:
Say “State” on the Show map of
screen, and the display changes to the
Select a state screen. Say the state
name (e.g., California or CA) or the
state number (1-7).
You can select either the Canada /AK
or USA tab by moving the Interface
Dial to the left and right.
If you select Canada /AK, Canada and
Alaska will be displayed. If you choose
USA, the American mainland, Hawaii,
and Puerto Rico will be displayed.
Say the state name by saying individual
letters, or words that represent the
letters, one at a time. By Interface Dial:
With the State
selection, the display
changes to the Select a state screen.
After you select the desired state, the
display changes to a map of the state,
with the crosshairs located near the
middle.The yellow box indicates the area you
will see when you click on the current
map with the Interface Dial . The
scale will decrease each time you push
in on the Interface Dial .
Use the Interface Dial to move the
crosshairs to the area of the state close
to your intended destination. If desired,
rotate the Interface Dial knob to
change the map scale. When you have the crosshairs in the desired area, push
in on the Interface Dial
. The address
of the location you have selected will
appear at the top of the screen.
NOTE:
Information icons are displayed at
scales from 1 mile to 1/4 mile, POI
icons are displayed at 1/ 8 mile or less,
and roads are displayed at 1/4 mile or
less.
If this is the desired address, push in
on the Interface Dial again. If not,
use the Interface Dial to reposition
the crosshairs, then push in on the
Interface Dial again to display the
new address.
If you selected a single icon or road
segment, select Set as Dest. to
calculate a route to the selected
destination. If you selected multiple icons
within the cursor radius, select an item
from the list. Then select OK to calculate
a route to the selected destination.
2009 TL
Page 50 of 172
Entering a Destination
50 Navigation System
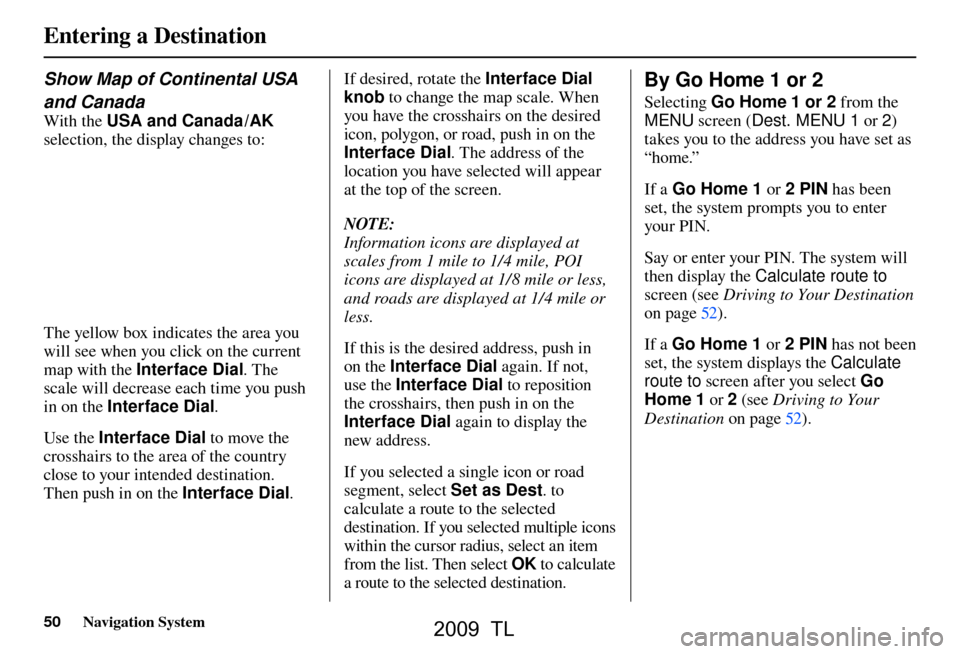
Show Map of Continental USA
and Canada
With the USA and Canada /AK
selection, the display changes to:
The yellow box indicates the area you
will see when you click on the current
map with the Interface Dial . The
scale will decrease each time you push
in on the Interface Dial .
Use the Interface Dial to move the
crosshairs to the area of the country
close to your intended destination.
Then push in on the Interface Dial .If desired, rotate the
Interface Dial
knob to change the map scale. When
you have the crosshairs on the desired
icon, polygon, or road, push in on the
Interface Dial . The address of the
location you have selected will appear
at the top of the screen.
NOTE:
Information icons are displayed at
scales from 1 mile to 1/4 mile, POI
icons are displayed at 1/ 8 mile or less,
and roads are displayed at 1/4 mile or
less.
If this is the desired address, push in
on the Interface Dial again. If not,
use the Interface Dial to reposition
the crosshairs, then push in on the
Interface Dial again to display the
new address.
If you selected a single icon or road
segment, select Set as Dest. to
calculate a route to the selected
destination. If you selected multiple icons
within the cursor radius, select an item
from the list. Then select OK to calculate
a route to the selected destination.
By Go Home 1 or 2
Selecting Go Home 1 or 2 from the
MENU screen ( Dest. MENU 1 or 2 )
takes you to the address you have set as
“home.”
If a Go Home 1 or 2 PIN has been
set, the system prompts you to enter
your PI N.
Say or enter your PIN. The system will
then display the Calculate route to
screen (see Driving to Your Destination
on page 52 ).
If a Go Home 1 or 2 PIN has not been
set, the system displays the Calculate
route to screen after you select Go Home 1 or 2 (see Driving to Your
Destination on page 52
).
2009 TL