Voice Acura TL 2009 Navigation Manua
[x] Cancel search | Manufacturer: ACURA, Model Year: 2009, Model line: TL, Model: Acura TL 2009Pages: 172, PDF Size: 16.82 MB
Page 77 of 172

Driving to Your Destination
Navigation System77
Changing Your Destination
There are four methods by which you
can change or add a waypoint to your
route. These are:
Find Nearest (Voice command)
From the map screen, say one of the
“Find Nearest...” voice commands to
locate the nearest gas station, ATM,
restaurant or other point of interest. See
the “Find Nearest” voice commands
listing on page 158 .
Go Home (Voice command)
From the map screen, say “Go Home
1” or “Go Home 2.” If an address has
been entered in both Home Address
1 and Home Address 2 , say “Go
Home” and the system will give
preference to Home Address 1 and
display the confi rmation screen.
Using Interface Dial to Change
Destination
While following a calculated route, you
can select a new destination with the
map screen and the Interface Dial.
With the map screen displayed,
use the Interface Dial to move the
cursor. It will change to crosshairs.
Use the Interface Dial to position
the crosshairs on your desired new
destination, street, or icon, then push in
on the Interface Dial . The Select an
item screen or a pop-up menu may be
displayed if there are multiple POIs in
the vicinity.
NOTE:
The Select an item screen will be
displayed when the crosshairs are
positioned near multiple icons or
locations. A pop-up menu will be
displayed when the crosshairs are
positioned on a particular street. If this is not your desired new
destination, press the CANCEL
button
or the BACK button to return to the
map screen. Reposition the crosshairs
with the Interface Dial , then push in
on the Interface Dial again to see the
new address.
When the Select an item screen is
displayed, select an item from the list,
and the Calculate route to screen is
displayed. Then select OK and push in
on the Interface Dial .
2009 TL
Page 78 of 172

Driving to Your Destination
78 Navigation System
When the pop-up menu is displayed,
select New Dest . to set your location
as a replacement destination, or
Waypoint to set as a waypoint.
The system will return to the map
screen and recalculate the route to your
new destination or waypoint.
Entering a Destination from the
Menu Screen (while en route)
If you say “Menu”, or press the MENU
button and select the “Dest. MENU
1” or “Dest. MENU 2” tab, the system
displays the MENU screen. Follow
the procedure described in Entering a
Destination , which begins on page 28 .
When the Calculate route to screen is
displayed, select OK and push in on the
Interface Dial .
When the pop-up menu is displayed,
select New Dest . to set your location
as a replacement destination, or
Waypoint to set as a waypoint.
The system will return to the map
screen and recalculate the route to your
specifi ed new destination or waypoint.
Continue Trip to Screen
If you restart the vehicle without having
completed your prior trip, you will see
the following screen:
• To continue to your destination or
other waypoints, say or select OK.
• To cancel your destination, press the CANCEL button or the BACK
button on the steering wheel, or
using the voice control system, say
“Cancel” or “Back.”
• If you wish to change the routing method, select Route Pref. by using
the Interface Dial .
• For additional information on changing the routing method, see
Changing the Routing Method on
page 53 .
2009 TL
Page 80 of 172
Information Features
80 Navigation System
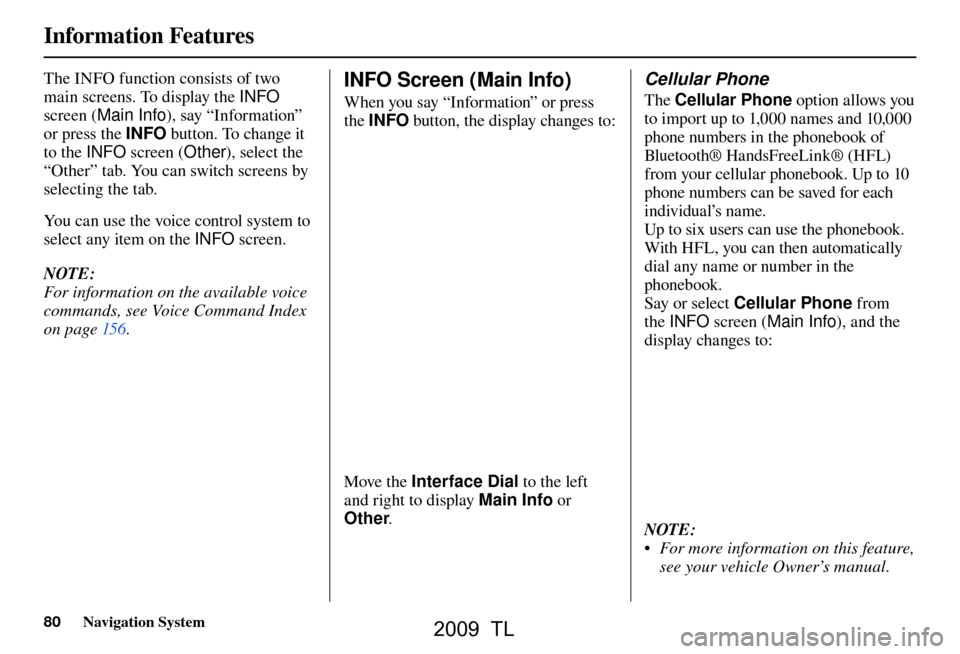
The INFO function consists of two
main screens. To display the INFO
screen ( Main Info ), say “Information”
or press the INFO button. To change it
to the INFO screen ( Other), select the
“Other” tab. You can switch screens by
selecting the tab.
You can use the voice control system to
select any item on the INFO screen.
NOTE:
For information on the available voice
commands, see Voice Command Index
on pag e 156 . INFO Screen (Main Info)
When you say “Information” or press
the INFO button, the display changes to:
Move the Interface Dial to the left
and right to display Main Info or
Other .
Cellular Phone
The Cellular Phone option allows you
to import up to 1,000 names and 10,000
phone numbers in the phonebook of
Bluetooth® Ha ndsFreeLin k® (H F L)
from your cellular phonebook. Up to 10
phone numbers can be saved for each
individual’s name.
Up to six users can use the phonebook.
With HFL, you can then automatically
dial any name or number in the
phonebook.
Say or select Cellular Phone from
the INFO screen ( Main Info ), and the
display changes to:
NOTE:
• For more information on this feature, see your vehicle Owner’s manual.
2009 TL
Page 85 of 172
Information Features
Navigation System85
You can also view the weather
information for your destination when
you select the destination directly from
the map screen (use the Interface
Dial to position the target mark on your
desired destination, and then push in on
the Interface Dial ).
NOTE:
When the GPS signal or weather
information cannot be received, “NA”
will be displayed. When the system calculates a route
and there is a warning on the route, the
following screen will be displayed:
Select
Check Info. , and the warning
list will be displayed (see page 82 ).
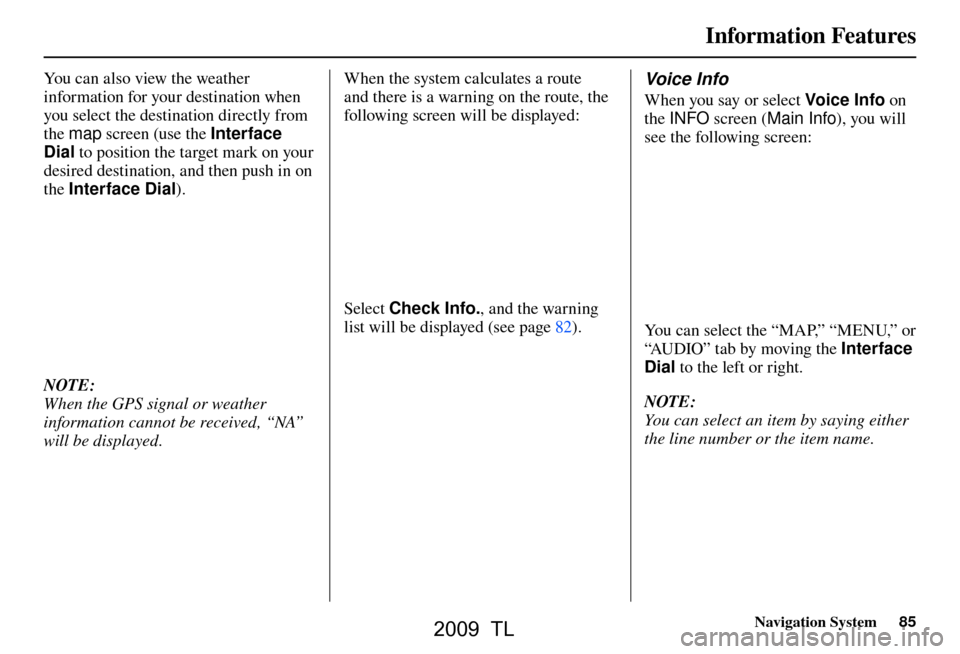
Voice Info
When you say or select Voic e I nfo on
the INFO screen ( Main Info ), you will
se e t
he following screen:
You can select the “MAP,” “MENU,” or
“AUDIO” tab by moving the Interface
Dial to the left or right.
NOTE:
You can select an item by saying either
the line number or the item name.
2009 TL
Page 86 of 172
Information Features
86 Navigation System
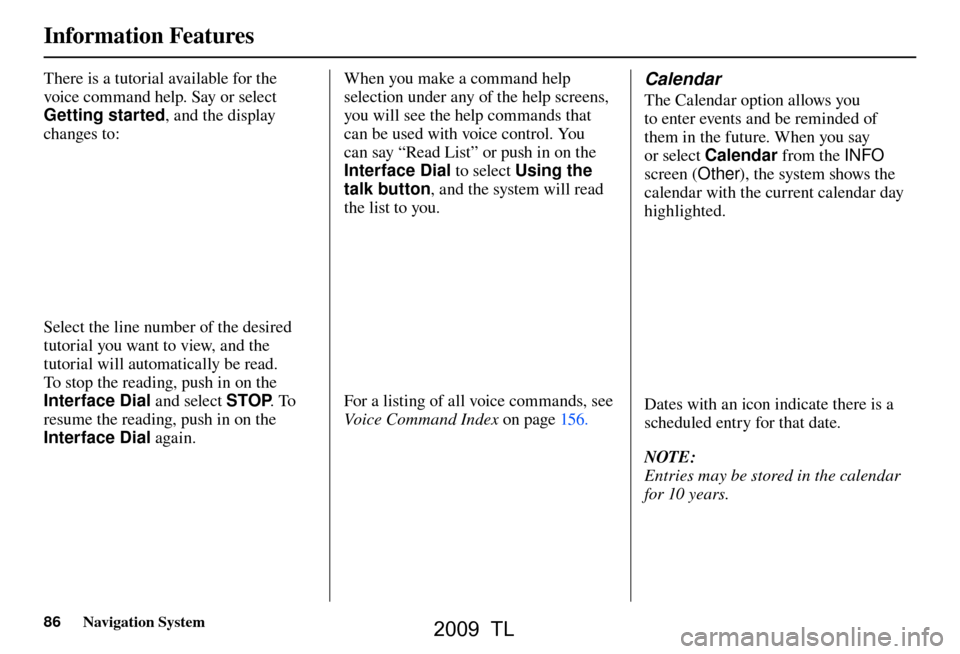
There is a tutorial available for the
voice command help. Say or select
Getting started , and the display
changes to:
Select the line number of the desired
tutorial you want to view, and the
tutorial will automatically be read.
To stop the reading, push in on the
Interface Dial and select STOP. To
resume the reading, push in on the
Interface Dial again. When you make a command help
selection under any of the help screens,
you will see the help commands that
can be used with voice control. You
can say “Read List” or push in on the
Interface Dial
to select Using the
talk button , and the system will read
the list to you.
For a listing of all voice commands, see
Voice Command Index on page 156 .
Calendar
The Calendar option allows you
to enter events and be reminded of
them in the future. When you say
or select Calendar from the INFO
screen ( Other), the system shows the
calendar with the current calendar day
highlighted.
Dates with an icon indicate there is a
scheduled entry for that date.
NOTE:
Entries may be stored in the calendar
for 10 years.
2009 TL
Page 87 of 172
Information Features
Navigation System87
You can scroll through the calendar day
by day by rotating the Interface Dial
knob, or select the day by voice. When
you move the Interface Dial up or
down, you can also scroll through the
calendar week by week. To change the
month, say “Next month” or “Previous
month,” or move the Interface Dial
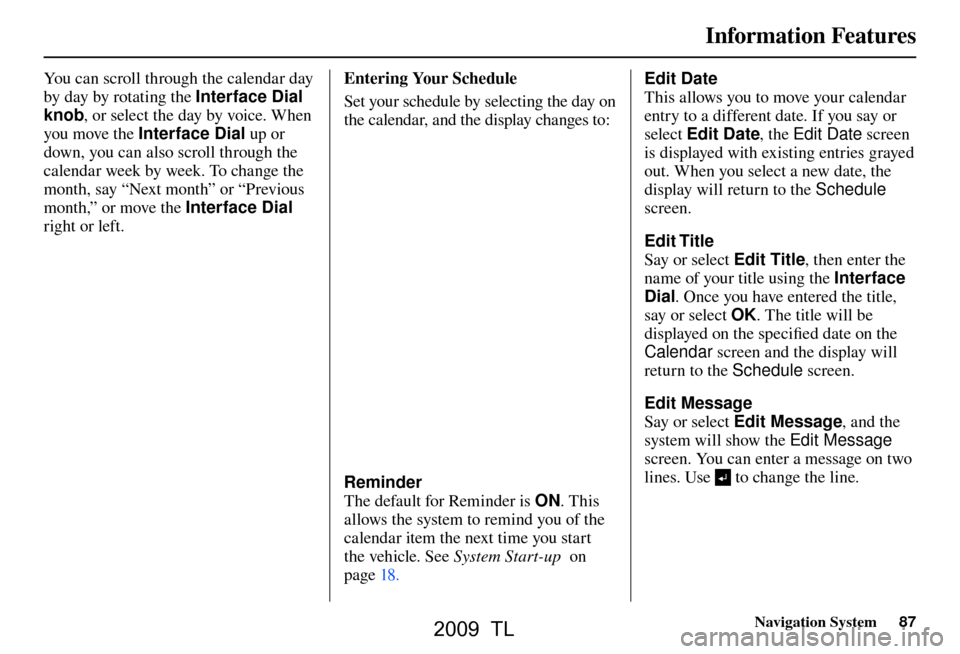
right or left. Entering Your Schedule
Set your schedule by selecting the day on
the calendar, and the display changes to:
Reminder
The default for Reminder is
ON. This
allows the system to remind you of the
calendar item the next time you start
the vehicle. See System Start-up on
page 18 . Edit Date
This allows you to move your calendar
entry to a different date. If you say or
select
Edit Date , the Edit Date screen
is displayed with existing entries grayed
out. When you select a new date, the
display will return to the Schedule
screen.
Edit Title
Say or select Edit Title , then enter the
name of your title using the Interface
Dial . Once you have entered the title,
say or select OK . The title will be
displayed on the specifi ed date on the
Calendar screen and the display will
return to the Schedule screen.
Edit Message
Say or select Edit Message , and the
system will show the Edit Message
screen. You can enter a message on two
lines. Use to change the line.
2009 TL
Page 93 of 172
System Setup
Navigation System93
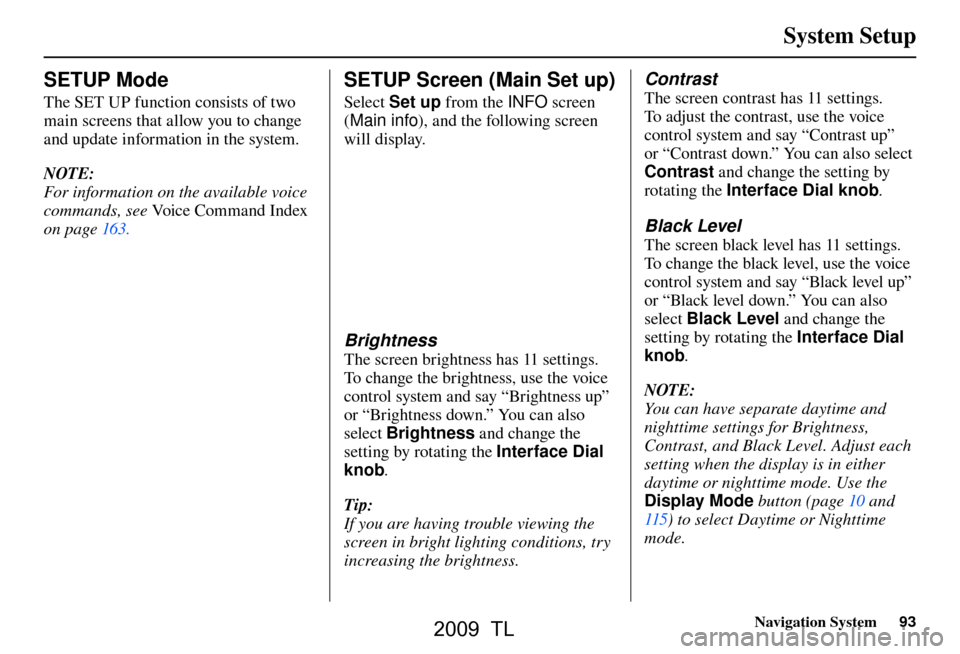
SETUP Mode
The SET UP function consists of two
main screens that allow you to change
and update information in the system.
NOTE:
For information on the available voice
commands, see Voice Command Index
on page 163 .
SETUP Screen (Main Set up)
Select Set up from the INFO screen
( Main info ), and the following screen
will display.
Brightness
The screen brightness has 11 settings.
To change the brightness, use the voice
control system and say “Brightness up”
or “Brightness down.” You can also
select Brightness and change the
setting by rotating the Interface Dial
knob .
Tip:
If you are having trouble viewing the
screen in bright lighting conditions, try
increasing the brightness.
Contrast
The screen contrast has 11 settings.
To adjust the contrast, use the voice
control system and say “Contrast up”
or “Contrast down.” You can also select
Contrast and change the setting by
rotating the Interface Dial knob .
Black Level
The screen black level has 11 settings.
To change the black level, use the voice
control system and say “Black level up”
or “Black level down.” You can also
select Black Level and change the
setting by rotating the Interface Dial
knob .
NOTE:
You can have separate daytime and
nighttime settings for Brightness,
Contrast, and Black Level. Adjust each
setting when the display is in either
daytime or nighttime mode. Use the
Display Mode button (page 10 and
115 ) to select Daytime or Nighttime
mode.
2009 TL
Page 94 of 172
System Setup
94 Navigation System
Volum e
The navigation voice volume has 11
settings and can be adjusted by:
• Using the voice control system and
saying “Volume up” or “Volume
down”.
• Selecting Volum e and changing the
setting by rotating the Interface
Dial knob .
• Saying “Volume Off,” or selecting Volum e and then OFF .
NOTE:
If you turn the volume off, you will not
hear route guidance or voice command
confi rmations.
If you then select Voic e in the Map
menu, you will hear route guidance at
the default volume.
Interface Dial Feedback
This setting allows you to control
when (and if) the system will read the
current selection you choose with the
Interface Dial . The purpose of this
feature is to minimize the need to look
at the screen while operating the dial.
You can set the one of the three settings
explained in the following table. The
factory default is AUTO.
Setting Degree of assistance
ON When selection is made,
the system always reads
what is selected.
AUTO
(factory default) The system reads
selection only when
moving
OFF No voice assistance
when selecting.
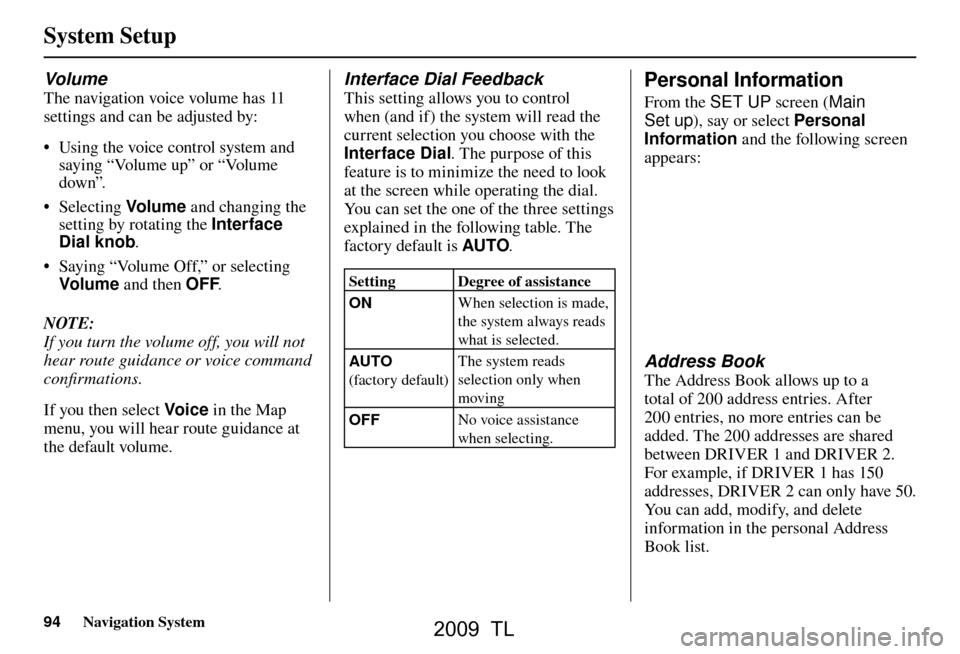
Personal Information
From the SET UP
screen (Main
Set up ), say or select Personal
Information and the following screen
appears:
Address Book
The Address Book allows up to a
total of 200 address entries. After
200 entries, no more entries can be
added. The 200 addresses are shared
between DRIVER 1 and DRIVER 2.
For example, if DRIVER 1 has 150
addresses, DRIVER 2 can only have 50.
You can add, modify, and delete
information in the personal Address
Book list.
2009 TL
Page 95 of 172
System Setup
Navigation System95
You may choose to use a Personal
Identifi cation Number (PIN) to protect
your privacy. However, PINs are
optional, and if you decide to use one,
record it in case you forget the number
(see page 99 ).
NOTE:
If you forget your PIN, your dealer will
have to reset it for you, and all of your
PINs will be cleared.
You can do the following functions in
the address book:
• Enter an address (see page 95 )
• Edit an existing address (see page 96 )
• Delete an existing address (see page 98 ) Accessing the Address Book List
After selecting the Address Book
,
move the Interface Dial down while
on the Select an address screen to
change to DRIVER 1 or DRIVER 2 .
If an Address Book PIN has been set,
the system prompts you to enter your
PIN. Verify that the correct user is
displayed, then enter your PIN. After
entering your PIN correctly by voice
or by using the Interface Dial , the
system displays your Address Book.
If no Address Book PIN has been set,
the system displays your Address Book
after selecting DRIVER 1 or DRIVER
2 .
NOTE:
Personal information cannot be backed
up or moved to another navigation
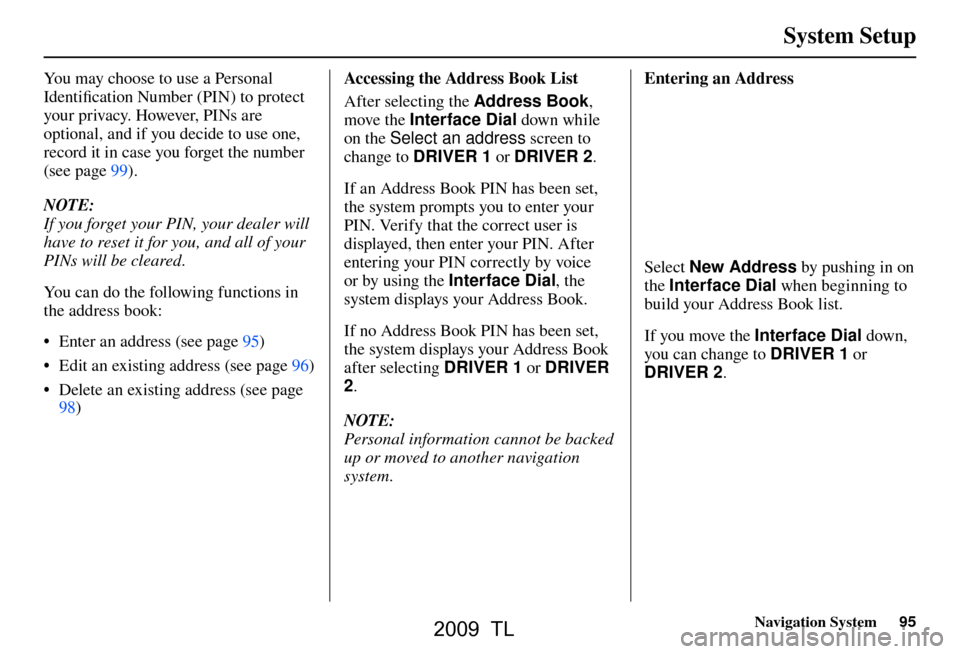
system. Entering an Address
Select
New Address by pushing in on
the Interface Dial when beginning to
build your Address Book list.
If you move the Interface Dial down,
you can change to DRIVER 1 or
DRIVER 2 .
2009 TL
Page 97 of 172
System Setup
Navigation System97
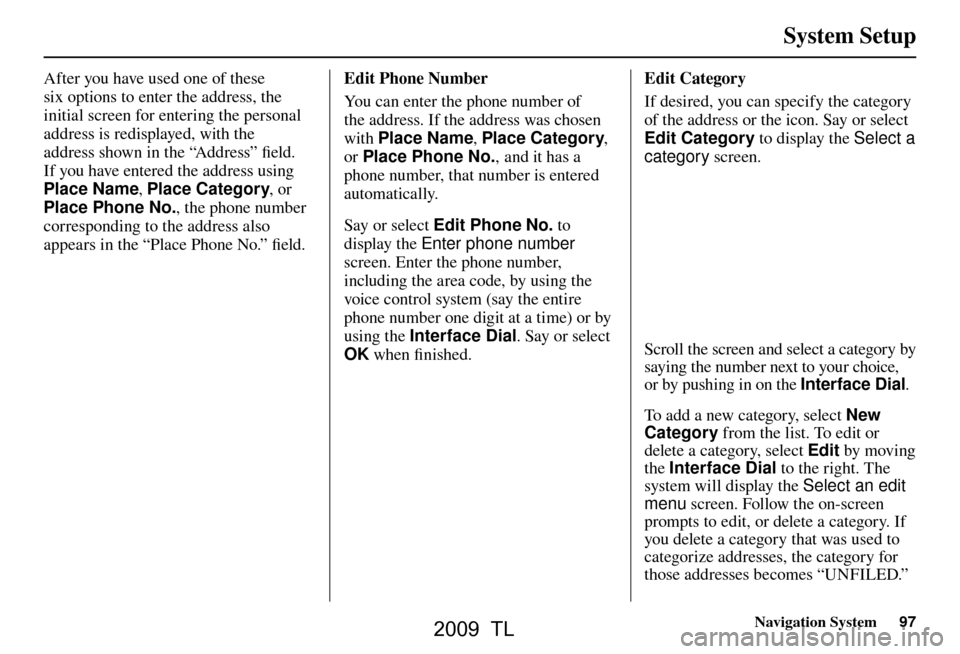
After you have used one of these
six options to enter the address, the
initial screen for entering the personal
address is redisplayed, with the
address shown in the “Address” fi eld.
If you have entered the address using
Place Name , Place Category , or
Place Phone No. , the phone number
corresponding to the address also
appears in the “Place Phone No.” fi eld. Edit Phone Number
You can enter the phone number of
the address. If the address was chosen
with Place Name
, Place Category ,
or Place Phone No. , and it has a
phone number, that number is entered
automatically.
Say or select Edit Phone No. to
display the Enter phone number
screen. Enter the phone number,
including the area code, by using the
voice control system (say the entire
phone number one digit at a time) or by
using the Interface Dial . Say or select
OK when fi nished. Edit Category
If desired, you can specify the category
of the address or the icon. Say or select
Edit Category to display the
Select a
category screen.
Scroll the screen and select a category by
saying the number next to your choice,
or by pushing in on the Interface Dial .
To add a new category, select New
Category from the list. To edit or
delete a category, select Edit by moving
the Interface Dial to the right. The
system will display the Select an edit
menu screen. Follow the on-screen
prompts to edit, or delete a category. If
you delete a category that was used to
categorize addresses, the category for
those addresses becomes “UNFILED.”
2009 TL