ASTON MARTIN DB7 1997 Workshop Manual
Manufacturer: ASTON MARTIN, Model Year: 1997, Model line: DB7, Model: ASTON MARTIN DB7 1997Pages: 421, PDF Size: 9.31 MB
Page 341 of 421

Air Conditioning Repair Procedures
O ^?
8-64 May 1996
Page 342 of 421
Air Conditioning
Air-Conditioning Diagnostics
The Air Conditioning System Diagnostics
The air-conditioning control module (A/CCM) is located at the right end of the air-conditioning unit.
A
digital microprocessor within the
A/CCM
receives
data
signals from
the
operator controlled
switches.
Comparison
of these signals with those returned from the system temperature sensor and feedback devices results in the
appropriate voltage changes necessary to vary: blower motor
speed,
flap positions and system solenoids to respond
to the drivers selected temperature demand.
The air from the two blower motors is passed through the evaporator matrix which, depending on the A/C mode
selected,
removes heat from the incoming air. Depending on the position of
the
two blend
flaps,
the cold air passes
either directly into the vehicle outlet vents, or is passed through the heater matrix to be reheated and then passed
to the vehicle outlet vents.
The amount of air passing through the heater matrix is infinitely variable depending on ambient temperature and
the temperature selected within the vehicle.
Air Conditioning Diagnostics
Cable Connections to the A/CCM
Cable Setup
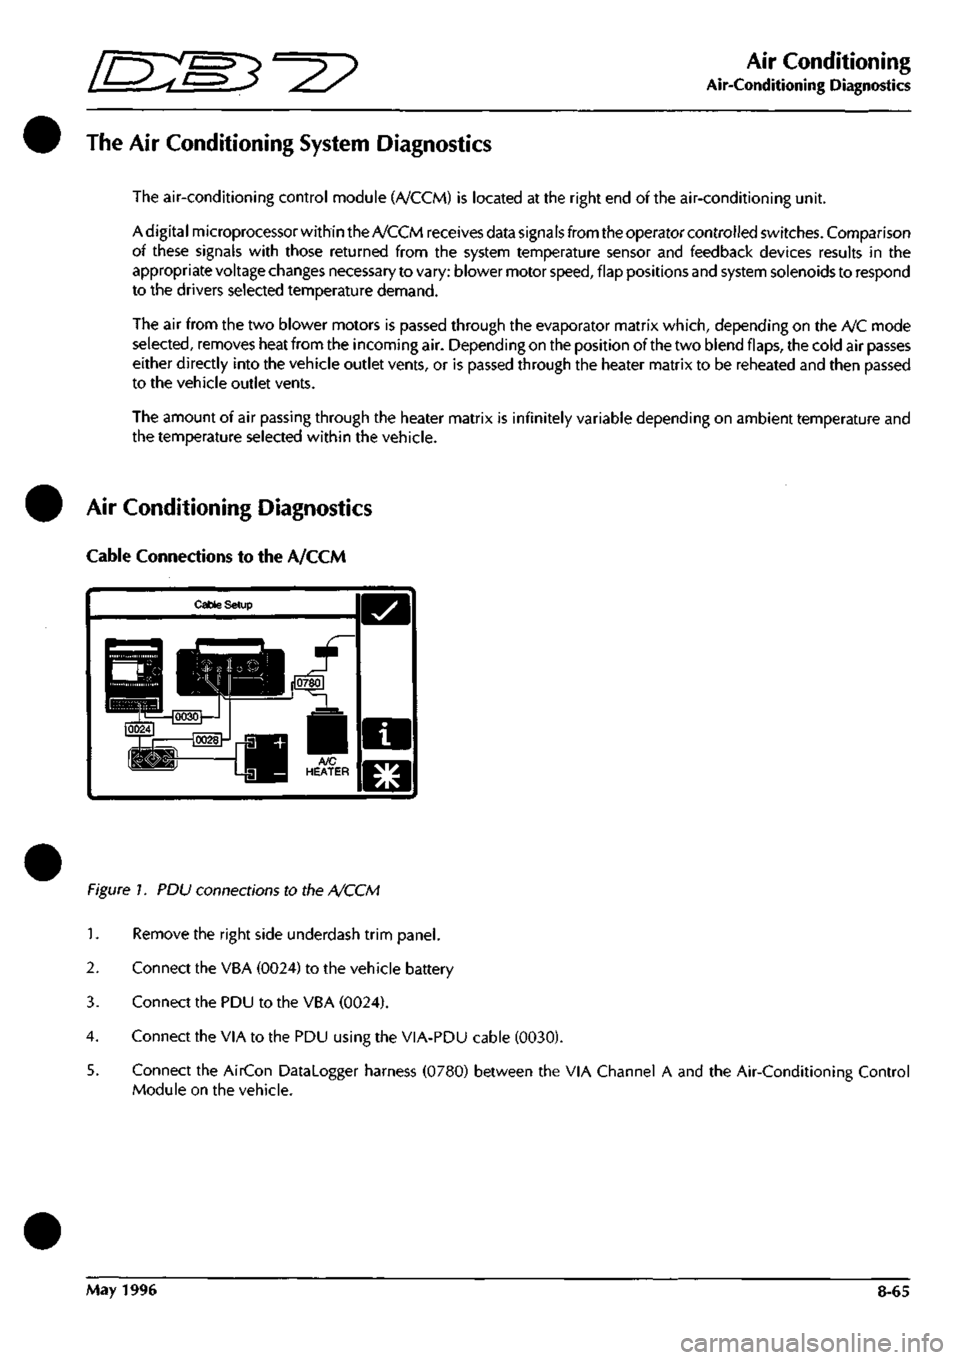
Figure 1. PDU connections to the A/CCM
1.
Remove the right side underdash trim panel.
2.
Connect the VBA (0024) to the vehicle battery
3. Connect the PDU to the VBA (0024).
4.
Connect the VIA to the PDU using the VIA-PDU cable (0030).
5. Connect the AirCon Datalogger harness (0780) between the VIA Channel A and the Air-Conditioning Control
Module on the vehicle.
May 1996 8-65
Page 343 of 421
Air Conditioning
Portable Diagnostic Unit - Signal Monitoring 3^^?
Air Conditioning Signal Monitoring
The following signals can be monitored using the PDU. The abbreviated name of the signal is shown on the PDU
display.
Display Name Full Signal Name
AMBTEMP Ambient temperature sensor
ARECIP Auto-Recirculation input
ARECOP Auto-Recirculation output
AUX+ Auxiliary battery positive
CLUREL Clutch relay drive output
CVSOL Centre vent solenoid
DEFSOL Defrost solenoid
DIFF Temperature differential
EVSEN Evaporator sensor
FANDEF Fanspeed defrost
FANHIG Fanspeed high
FAN LOW Fanspeed low
FANMED Fanspeed medium
FIVEV Five volt supply voltage
FORSERL Lower servo forward drive
FORSERU Upper servo forward drive
GND10 Ground voltage
GND2 Ground voltage
GND38 Ground voltage
GND45 Ground voltage
GND6 Ground voltage
HSREL High speed relay drive
ICSEN In-Car sensor
LBLOFB Left blower feedback voltage
LBLOWOP Left blower output voltage
LSERFB Lower servo feedback potentiometer
MPROBE Measurement probe
POWIN+ Switched power input
POWOP+ Power output
RBLOFB Right blower feedback voltage
RBLOWOP Right blower output voltage
REF Reference signal
REVSERL Lower servo reverse drive
REVSERU Upper servo reverse drive
TEMPDEM Temperature demand
USERFB Upper servo feedback potentiometer
WATSW Water switch
WATVAL Water valve
8-66 May 1996
Page 344 of 421
^=2?
Air Conditioning
Portable Diagnostic Unit - Signal Definitions
ThefollowingsignalsaresupportedontheAir-ConditioningControlModule. For each signal. The signal name, mnemonic
and background information are detailed.
Ambient Temperature Sensor
(AMBTEMP)
Auto-Recircuiation Input
(ARECIP)
Auto-Recirculation Output
(ARECOP)
Auxiliary Battery Positive
(AUX+)
Clutch Relay Drive Output
(CLUREL)
A/CCM Pin 34 ref Pin 6
This sensor is located in the right hand blower motor. This signal is used to enable
the A/C system to compensate for changes in ambient air temperature. The output
to pin 34 is 2.732 volts at 0 degrees Celsius and changes by 0.01 volts for each
degree Celsius above or below zero.
A/CCM Pin 9 ref Pin 6
This is effectively an On/Off switch for the A/C system and forms part of the fan
control switch.
Switch Off - Pin 9 should be at ground
Switch On - Pin 9 should be at 10+ volts.
When pin 9 is at ground, pin 3 will be at 10+ volts causing the recirculation flaps
to open.
A/CCM Pin 3 ref Pin 6
This signal will cause the recirculation flaps to close. Operating conditions should
be:
A/C Off - 10+ volts at pin 3, flaps open.
Temp demand minimum - 10+ volts at pin 3, flaps open.
Defrost - 0 volts at pin 3, flaps closed.
Temp demand max - 0 volts at pin 3, flaps closed.
A/CCM Pin 1 ref Vehicle Battery -ve
This signal istheauxiliary supply to the A/CCM. Pin
1
should read battery voltage
if the ignition switch is in the auxiliary or ignition on positions. Pin
1
should read
0 volts when the ignition switch is in the Off position or in position III whilst
cranking the engine. Loss of this supply will cause total failureof the A/C system.
A/CCM Pin 20 ref Pin 6
This signal responds to the input at pin 5 (evaporator sensor). When pin 5 is
between 2.715 and 2.725 volts, pin 20 should read below 1 volt, and the
compressor clutch will be switched off. When pin 5 is between 2.735 and 2.745
volts,
pin 20 will rise to 10+ volts and the compressor will re-engage.
Centre Vent Solenoid
(CVSOL) A/CCM Pin 18 ref Pin 6
The centre vent solenoid controls the operation of the centre vent flap. The centre
vent will open to increase the cooling capabilities of the vehicle when cooling is
selected.
In all other conditions, the centre vent will be closed.
Solenoid energised: pin 18 should read 10+volts and the centre vent will be open.
Solenoid de-energised; pin 18 should read below 0.5 volts and the centre vent
should be closed.
May 1996 8-67
Page 345 of 421

Air Conditioning
Portable Diagnostic Unit - Signal Definitions ^27
Defrost Solenoid
(DEFSOL)
Temperature Differential
(DIFF)
Evaporator Sensor
(EVSEN)
Fanspeed Defrost
(FANDEF)
Fanspeed High
(FANHIG)
Fanspeed Low
(FAN LOW)
A/CCM Pin 11 ref Pin 6
The defrost solenoid controls the operation ofthe screen vents. When the solenoid
is energised, the screen vents will be held closed by the vacuum created. To open
the vents the solenoid is de-energised.
The solenoid is energised when a ground supply is provided to pin 11. The
solenoid is de-energised when the ground supply is removed, at which point 10+
volts can be read at pin 11.
A/CCM Pin 28 ref Pin 6
This sets the differential between the position ofthe upper and lower flaps. With
minimum differential selected, pin 28 should read between 0 and 100 millivolts.
The voltage at pin 28 will rise smoothly as the differential is increased, up to a
maximum of 2.885 volts.
A/CCM Pin 5 ref Pin 6
This sensor monitors the temperature of the evaporator matrix, the output is used
to trigger the compressor circuit via the A/CCM pin 20. Operating conditions are
2.732 volts at 0 degrees Celsius ±0.01 volts for every degree Celsius above or
below zero.
A/CCM Pin 27 ref Pin 6
This signal is normal ly held at 3.6 ±0.8 volts by the control module. When Defrost
is selected from the control panel, the line is pulled down to 0.6 volts or below.
This will cause the defrost flaps to open by applying system voltage (approx 11
volts) to pin
11.
In addition, both fans will go to full speed i.e. high speed fan relay
energised .
A/CCM Pin 15 ref Pin 6
This signal is generated from the fan speed control switch.
Switch at High, pin
1
5 should read 0.6 volts.
Switch at Off, L, M or D positions, pin 15 should read 3.6 ±0.8 volts.
A/CCM Pin 13 ref Pin 6
This signal is generated from the fanspeed control switch.
Switch at Low, pin 13 should read 0.6 volts.
Switch at Off, M, H or D positions, pin 13 should read 3.6 ±0.8 volts.
8-68 May 1996
Page 346 of 421
3^7?
Air Conditioning
Portable Diagnostic Unit - Signal Definitions
Fanspeed Medium
(FANMED)
Five Volt Supply
(FIVEV)
Flap Servo Drive Signals
Lower Servo Forward Drive
(FORSERL)
Upper Servo Forward Drive
(FORSERU)
Lower Servo Reverse Drive
(REVSERL)
Upper Servo Reverse Drive
(REVSERU)
Ground Voltage
(GND10)
A/CCMPin 14ref Pin6
This signal is generated from the fanspeed control switch.
Switch at Low, pin 14 should read 0.6 volts.
Switch at Off, L, H or D positions, pin 14 should read 3.6 ±0.8 volts.
A/CCM Pin 43 ref Pin 6
This 5 volt rail provides the power supply for all the sensors and the feedback
potentiometers. Any variation in this signal would totally upset the balance of the
whole system.
The servo drive signals control the position of the upper and lower
flaps.
The drive
signals work in pairs, two for the upper and two for the lower flaps.
A/CCM Pin 37 ref Pin 6
A/CCM Pin 40 ref Pin 6
A/CCM Pin 41 ref Pin 6
A/CCM Pin 42 ref Pin 6
When the flaps are stationary, all signals will be at 0.6 volts approximately. When
the flap(s) is being driven, the drive iine(s) will rise to approximately 6 volts.
As the flap approaches its final position, the drive signal will be pulsed to nudge
the flap to the exact position required.
Note: If
a
drive
signal rises to above
8.5
volts
and
the servo
motor
does
not
operate,
suspect
an open circuit within the servo.
A/CCM Pin 10 ref Pin 6
This is the ground supply from the A/CCM to the in-car sensor and should read
below 10 millivolts.
Failure of this line will cause the in-car sensor to believe the vehicle temperature
to be at maximum all the time, thus forcing the system into permanent cooling.
Under these circumstances, pin 4 (in-car sensor output) will be approximately 5
volts.
May 1996 8-69
Page 347 of 421
Air Conditioning
Portable Diagnostic Unit - Signal Definitions ^^P
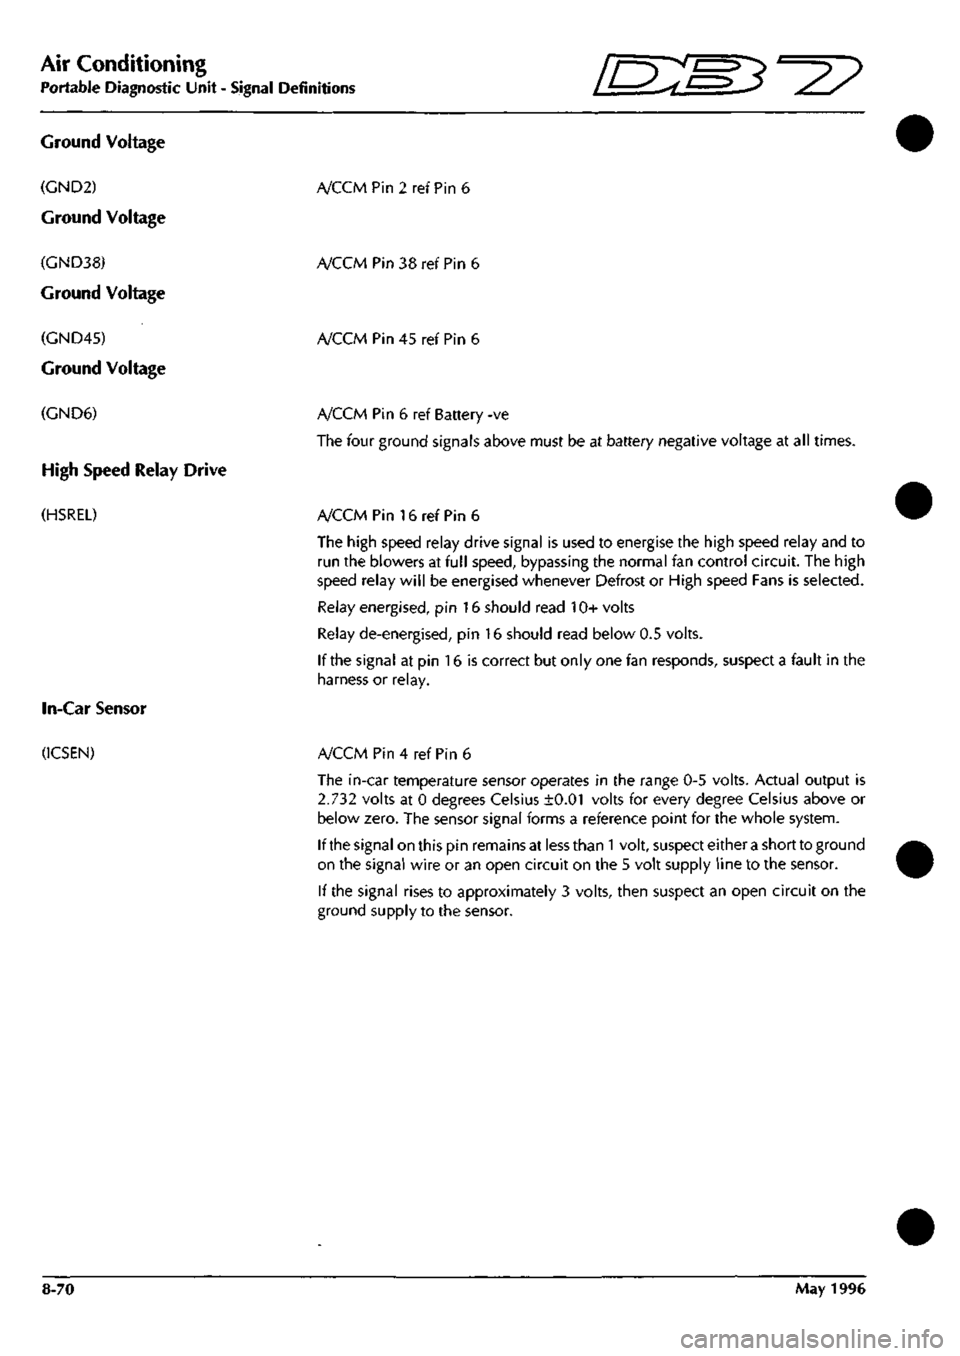
Ground Voltage
(GND2)
Ground Voltage
(GND38)
Ground Voltage
(GND45)
Ground Voltage
(GND6)
High Speed Relay Drive
(HSREL)
In-Car Sensor
(ICSEN)
A/CCMPin2refPin6
A/CCM Pin 38 ref Pin 6
A/CCM Pin 45 ref Pin 6
A/CCM Pin 6 ref Battery -ve
The four ground signals above must be at battery negative voltage at all times.
A/CCM Pin 16 ref Pin 6
The high speed relay drive signal is used to energise the high speed relay and to
run the blowers at full speed, bypassing the normal fan control circuit. The high
speed relay will be energised whenever Defrost or High speed Fans is selected.
Relay energised, pin 16 should read 10+ volts
Relay de-energised, pin 16 should read below 0.5 volts.
If the signal at pin 16 is correct but only one fan responds, suspect a fault in the
harness or relay.
A/CCM Pin 4 ref Pin 6
The in-car temperature sensor operates in the range 0-5 volts. Actual output is
2.732 volts at 0 degrees Celsius ±0.01 volts for every degree Celsius above or
below zero. The sensor signal forms a reference point for the whole system.
If the signal on this pin remains at less than
1
volt, suspect either a short to ground
on the signal wire or an open circuit on the 5 volt supply line to the sensor.
If the signal rises to approximately 3 volts, then suspect an open circuit on the
ground supply to the sensor.
8-70 May 1996
Page 348 of 421
Air Conditioning
Portable Diagnostic Unit - Signal Definitions
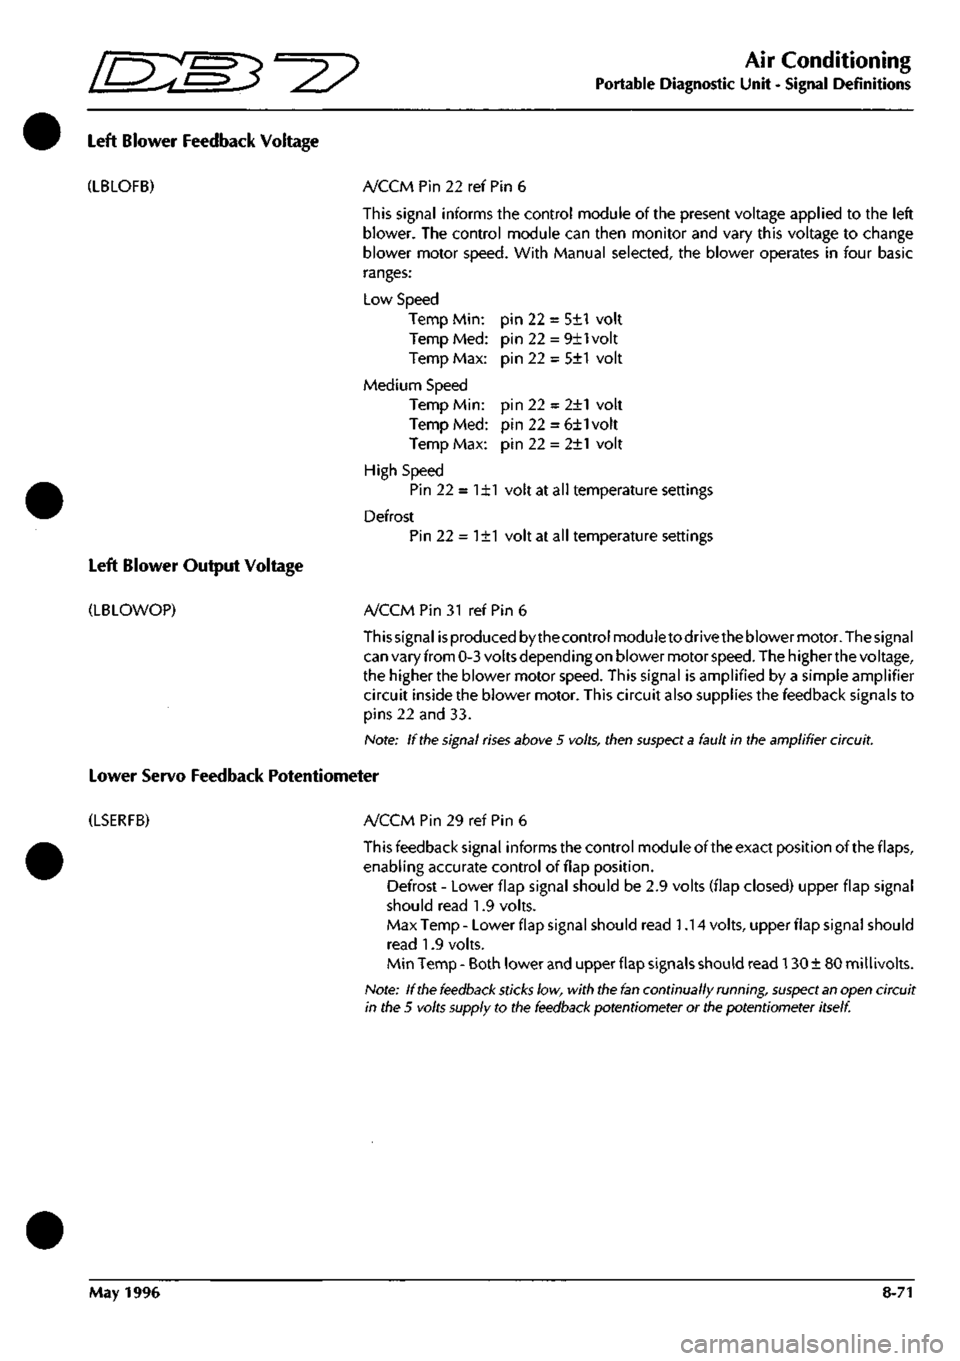
Left Blower Feedback Voltage
(LBLOFB)
Left Blower Output Voltage
(LBLOWOP)
pin 22 = 5±1 volt
pin22 = 9±lvolt
pin 22 = 5±1 volt
pin 22 = 2±1 volt
pin22 = 6±1volt
pin 22 = 2±1 volt
A/CCM Pin 22 ref Pin 6
This signal informs the control module of the present voltage applied to the left
blower. The control module can then monitor and vary this voltage to change
blower motor speed. With Manual selected, the blower operates in four basic
ranges:
Low Speed
Temp Min:
Temp Med:
Temp Max:
Medium Speed
Temp Min:
Temp Med:
Temp Max:
High Speed
Pin 22 = 1±1 volt at all temperature settings
Defrost
Pin 22 = 1±1 volt at all temperature settings
A/CCM Pin 31 ref Pin 6
This signal is produced by the control moduleto drive the blower motor. The signal
can vary from 0-3 volts depending on blower motor
speed.
The higher the voltage,
the higher the blower motor speed. This signal is amplified by a simple amplifier
circuit inside the blower motor. This circuit also supplies the feedback signals to
pins 22 and 33.
Note: If the signal
rises
above 5
volts,
then
suspect a
fault in the amplifier circuit.
Lower Servo Feedback Potentiometer
(LSERFB) A/CCM Pin 29 ref Pin 6
This feedback signal informs the control module of the exact position of the flaps,
enabling accurate control of flap position.
Defrost - Lower flap signal should be 2.9 volts (flap closed) upper flap signal
should read 1.9 volts.
Max Temp - Lower flap signal should read 1.14 volts, upper flap signal should
read 1.9 volts.
Min Temp- Both lower and upper flap signals should read 130± 80 millivolts.
Note: If the
feedback sticks
low, with the fan continually running,
suspect an
open circuit
in the 5 volts supply to the
feedback
potentiometer or
the
potentiometer
itself.
May 1996 8-71
Page 349 of 421
Air Conditioning
Portable Diagnostic Unit Signal Definitions ~3^^?
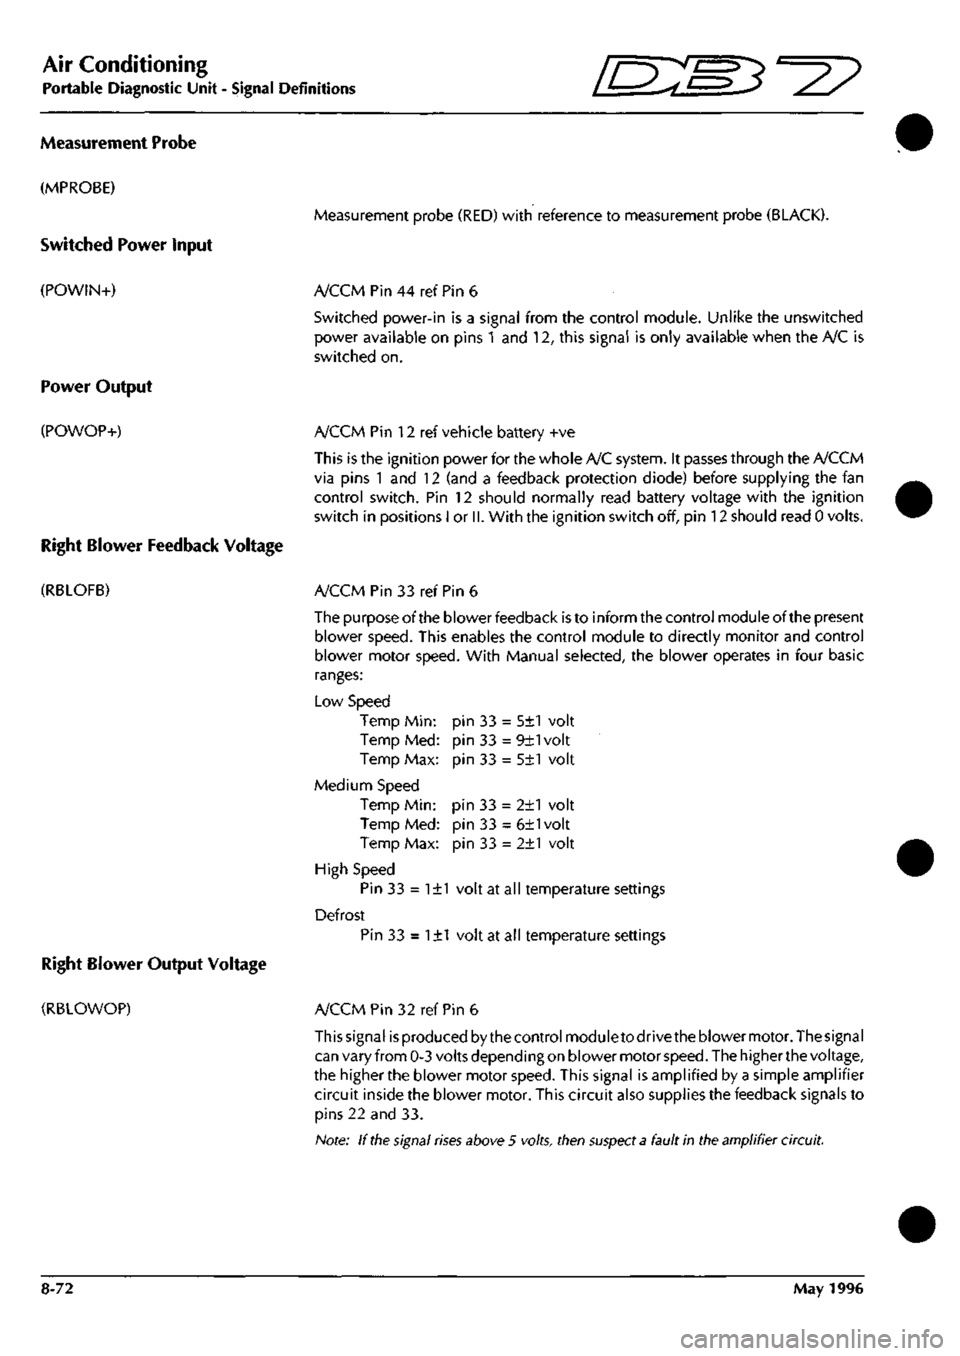
Measurement Probe
(MPROBE)
Switched Power Input
(POWIN+)
Power Output
(POWOP+)
Right Blower Feedback Voltage
(RBLOFB)
Right Blower Output Voltage
(RBLOWOP)
Measurement probe (RED) with reference to measurement probe (BLACK).
A/CCM Pin 44 ref Pin 6
Switched power-in is a signal from the control module. Unlike the unswitched
power available on pins 1 and 12, this signal is only available when the A/C is
switched on.
A/CCM Pin 12 ref vehicle battery +ve
This is the ignition power for the whole A/C system. It passes through the A/CCM
via pins 1 and 12 (and a feedback protection diode) before supplying the fan
control switch. Pin 12 should normally read battery voltage with the ignition
switch in positions I or
II.
With the ignition switch off, pin 12 should read 0 volts.
A/CCM Pin 33 ref Pin 6
The purpose of the blower feedback is to inform the control module of the present
blower speed. This enables the control module to directly monitor and control
blower motor speed. With Manual selected, the blower operates in four basic
ranges:
Low Speed
Temp Min:
Temp Med:
Temp Max:
Medium Speed
Temp Min:
Temp Med:
Temp Max:
High Speed
Pin 33 = 1±1 volt at all temperature settings
Defrost
Pin 33 = 1±1 volt at all temperature settings
pin 33 = 5±1 volt
pin 33 = 9±1volt
pin 33 = 5±1 volt
pin 33 = 2±1 volt
pin 33 = 6±1volt
pin 33 = 2±1 volt
A/CCM Pin 32 ref Pin 6
This signal is produced by the control module to drive the blower motor. The signal
can vary from 0-3 volts depending on blower motor
speed.
The higher the voltage,
the higher the blower motor speed. This signal is amplified by a simple amplifier
circuit inside the blower motor. This circuit also supplies the feedback signals to
pins 22 and 33.
Note: If
the
signal
rises
above 5 volts, then
suspect a
fault in the amplifier circuit.
8-72 May 1996
Page 350 of 421
O" D'^?
Air Conditioning
Portable Diagnostic Unit - Signal Definitions
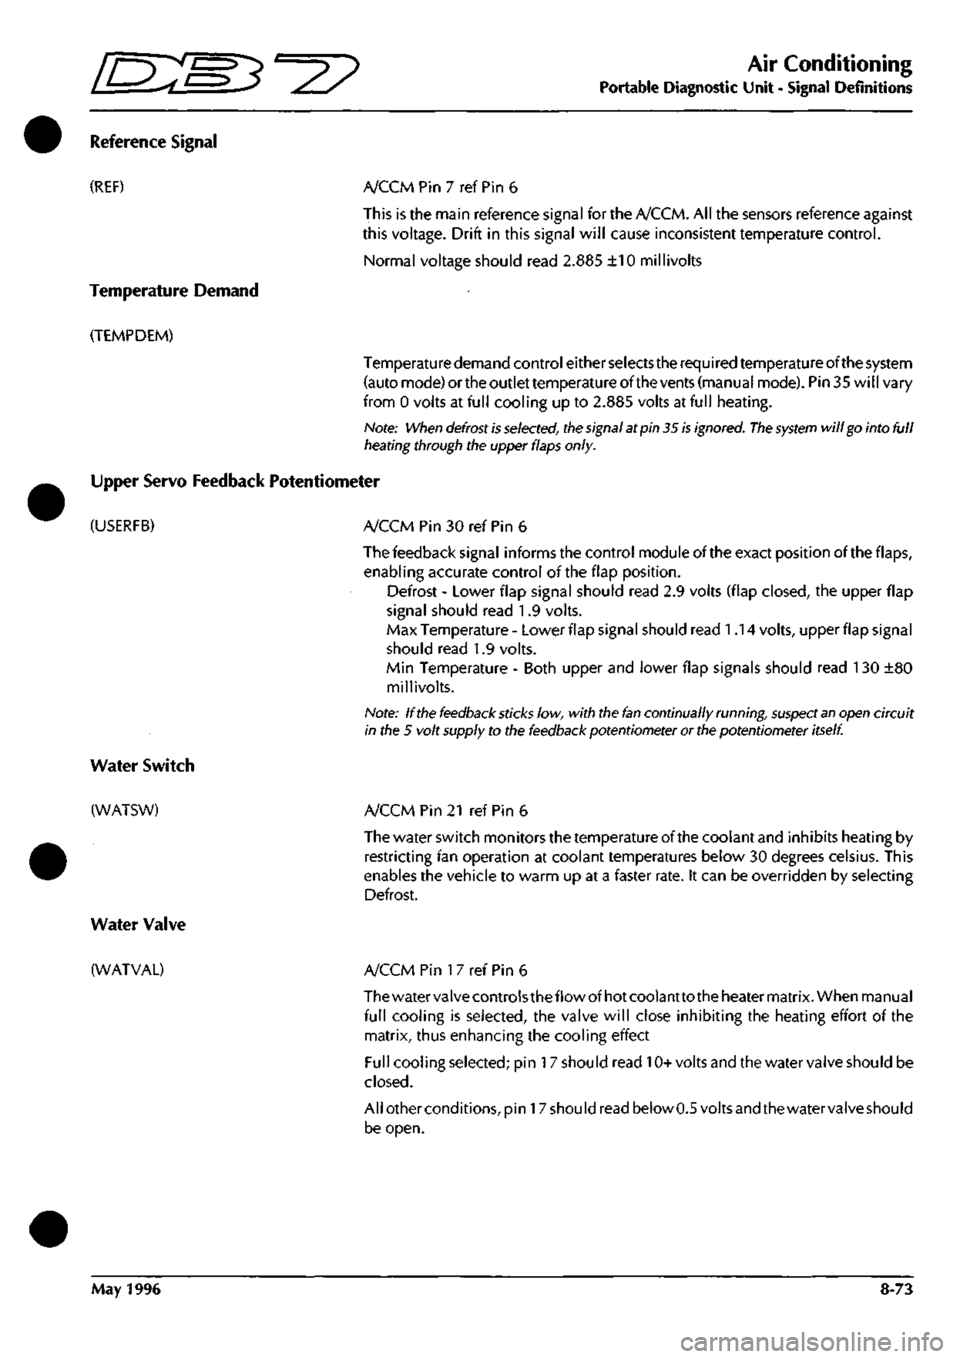
Reference Signal
(REF) A/CCM Pin 7 ref Pin 6
This is the main reference signal for the A/CCM. All the sensors reference against
this voltage. Drift in this signal will cause inconsistent temperature control.
Normal voltage should read 2.885 ±10 millivolts
Temperature Demand
(TEMPDEM)
Temperature demand control either selects the required temperature of the system
(auto mode) or the outlet temperature of the vents (manual mode). Pin 35 will vary
from 0 volts at full cooling up to 2.885 volts at full heating.
Note: When
defrost is
selected,
the
signal at pin 35
is
ignored.
The system
will go into full
heating through the upper flaps
only.
Upper Servo Feedback Potentiometer
(USERFB) A/CCM Pin 30 ref Pin 6
The feedback signal informs the control module ofthe exact position of the flaps,
enabling accurate control ofthe flap position.
Defrost - Lower flap signal should read 2.9 volts (flap closed, the upper flap
signal should read 1.9 volts.
Max Temperature - Lower flap signal should read 1.14 volts, upper flap signal
should read 1.9 volts.
Min Temperature - Both upper and lower flap signals should read
1
30 ±80
millivolts.
Note: If the
feedback sticks
low, with the
fan
continually running,
suspect an
open circuit
in the 5 volt supply to the feedback potentiometer or the potentiometer itself
Water Switch
(WATSW)
Water Valve
(WATVAL)
A/CCM Pin 21 ref Pin 6
The water switch monitors the temperature ofthe coolant and inhibits heating by
restricting fan operation at coolant temperatures below 30 degrees Celsius. This
enables the vehicle to warm up at a faster rate. It can be overridden by selecting
Defrost.
A/CCM Pin
1
7 ref Pin 6
The water valve controls thef low of hot coolant to the heater matrix. When manual
full cooling is selected, the valve will close inhibiting the heating effort ofthe
matrix, thus enhancing the cooling effect
Full cooling selected; pin
1
7 should read 10+volts and the water valve should be
closed.
All other conditions, pin
1
7 should read below 0.5 volts and the water valve should
be open.
May 1996 8-73