BMW M3 CONVERTIBLE 2001 E46 Manual Online
Manufacturer: BMW, Model Year: 2001, Model line: M3 CONVERTIBLE, Model: BMW M3 CONVERTIBLE 2001 E46Pages: 195, PDF Size: 1.96 MB
Page 81 of 195
81n
IndexDataTechnologyRepairsCar careControlsOverview
Tire Pressure Warning (RDW)The conceptThe Tire Pressure Warning system
(RDW) monitors the tire inflation pres-
sure in all four tires while driving. The
system is designed to detect whenever
the inflation pressure in a tire drops off
significantly.
By monitoring the speeds of the tires
relative to each other, a flat tire can be
detected and reported because its
speed suddenly deviates drastically
from that of the other tires.
Initializing the systemInitializing is necessary to familiarize the
system with the correct inflation pres-
sure.
Repeat this process after any changes
in tire inflation pressure, tire rotation or
replacement. Do not carry out further
system initialization after correcting the
inflation pressure and letting the system
"learn" what condition is required.
1 Check the tire inflation pressure in all
the tires, comparing them with the
inflation pressure table (page 28),
and adjusting their pressure if neces-
sary
2 Turn the ignition key to position 2
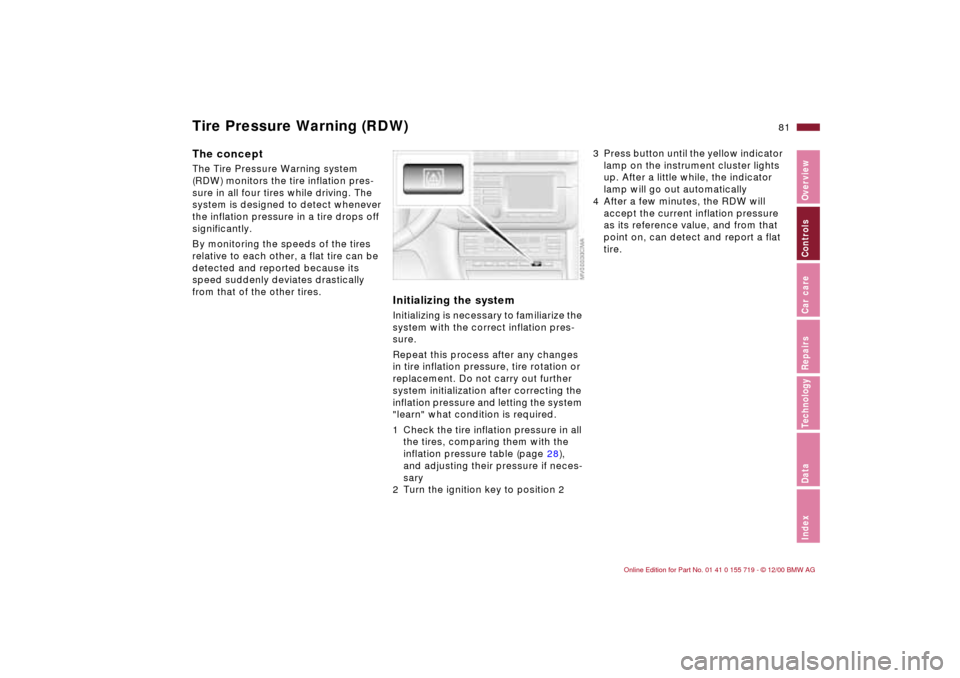
3 Press button until the yellow indicator
lamp on the instrument cluster lights
up. After a little while, the indicator
lamp will go out automatically
4 After a few minutes, the RDW will
accept the current inflation pressure
as its reference value, and from that
point on, can detect and report a flat
tire.
Page 82 of 195
82n
Tire Pressure Warning (RDW)Activating/deactivating the
systemThe system is automatically active in
ignition key position 2 and is therefore
always on during driving.
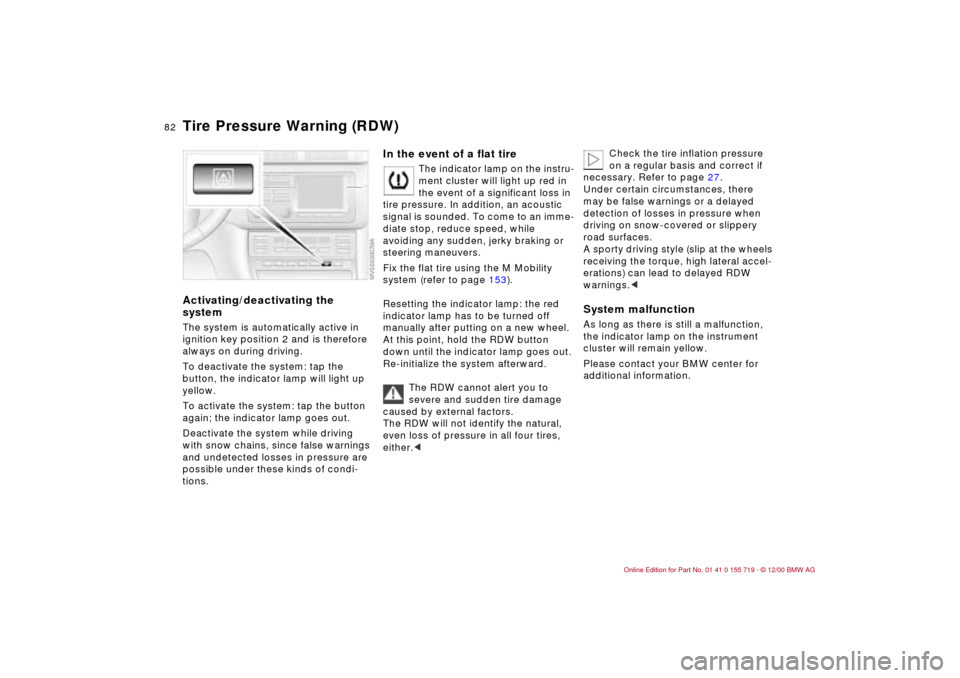
To deactivate the system: tap the
button, the indicator lamp will light up
yellow.
To activate the system: tap the button
again; the indicator lamp goes out.
Deactivate the system while driving
with snow chains, since false warnings
and undetected losses in pressure are
possible under these kinds of condi-
tions.
In the event of a flat tire
The indicator lamp on the instru-
ment cluster will light up red in
the event of a significant loss in
tire pressure. In addition, an acoustic
signal is sounded. To come to an imme-
diate stop, reduce speed, while
avoiding any sudden, jerky braking or
steering maneuvers.
Fix the flat tire using the M Mobility
system (refer to page 153).
Resetting the indicator lamp: the red
indicator lamp has to be turned off
manually after putting on a new wheel.
At this point, hold the RDW button
down until the indicator lamp goes out.
Re-initialize the system afterward.
The RDW cannot alert you to
severe and sudden tire damage
caused by external factors.
The RDW will not identify the natural,
even loss of pressure in all four tires,
either.<
Check the tire inflation pressure
on a regular basis and correct if
necessary. Refer to page 27.
Under certain circumstances, there
may be false warnings or a delayed
detection of losses in pressure when
driving on snow-covered or slippery
road surfaces.
A sporty driving style (slip at the wheels
receiving the torque, high lateral accel-
erations) can lead to delayed RDW
warnings.<
System malfunctionAs long as there is still a malfunction,
the indicator lamp on the instrument
cluster will remain yellow.
Please contact your BMW center for
additional information.
Page 83 of 195
83n
IndexDataTechnologyRepairsCar careControlsOverview
M Engine dynamics controlThe system (sport mode identification)
will cause the engine to respond more
spontaneously to the motion of the
accelerator pedal. Activating/deactivating sport
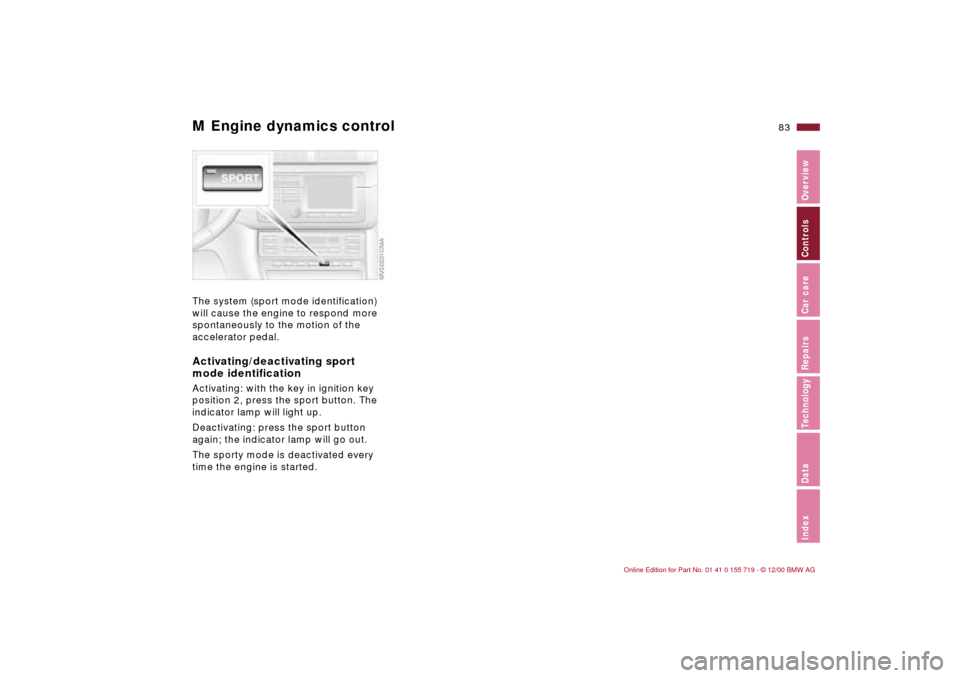
mode identificationActivating: with the key in ignition key
position 2, press the sport button. The
indicator lamp will light up.
Deactivating: press the sport button
again; the indicator lamp will go out.
The sporty mode is deactivated every
time the engine is started.
Page 84 of 195
84n
Parking lamps/Side marker lamps
With the switch in this position,
vehicle lighting is illuminated on
both sides. You can use the side
lamps for parking. Refer to page 85 for
one-sided lighting as an additional
possibility for parking.
Low beam headlamps
When you switch the ignition off
with the low beam headlamps
on, only the side lamps will
remain on.
"Follow-me-home lamps":
If you turn the headlamp flasher
on after you have parked the vehicle,
the low beam headlamps will remain on
for a short period of time. You can also
have this function deactivated.<
"LAMPS ON" warningWhenever you open the driver's door,
after having turned the ignition key to
position 0, you will hear a buzzing
sound for a few seconds to remind you
that the lamps have not been switched
off.Daylight driving lamps
*
If you desire, the lamp switch can be
left in the second position. When the
ignition is switched off, the external
lighting is also switched off.
In order to spare the battery, all of
the lamps in the vehicle are
switched off automatically approx.
15 minutes after the ignition key has
been turned to position 0.<
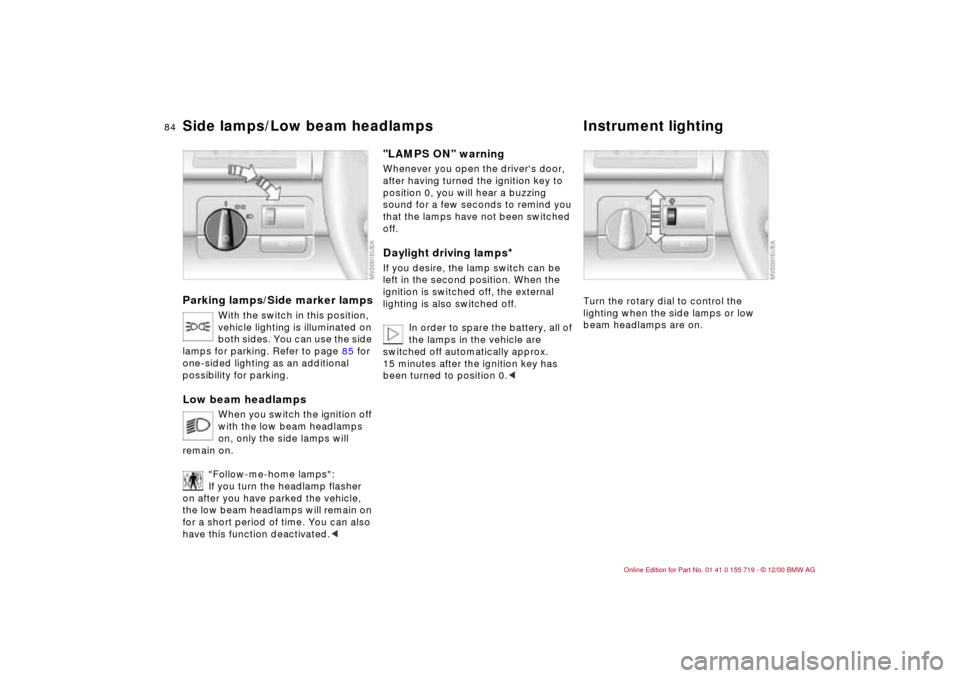
Turn the rotary dial to control the
lighting when the side lamps or low
beam headlamps are on.
Side lamps/Low beam headlamps Instrument lighting
Page 85 of 195
85n
IndexDataTechnologyRepairsCar careControlsOverview
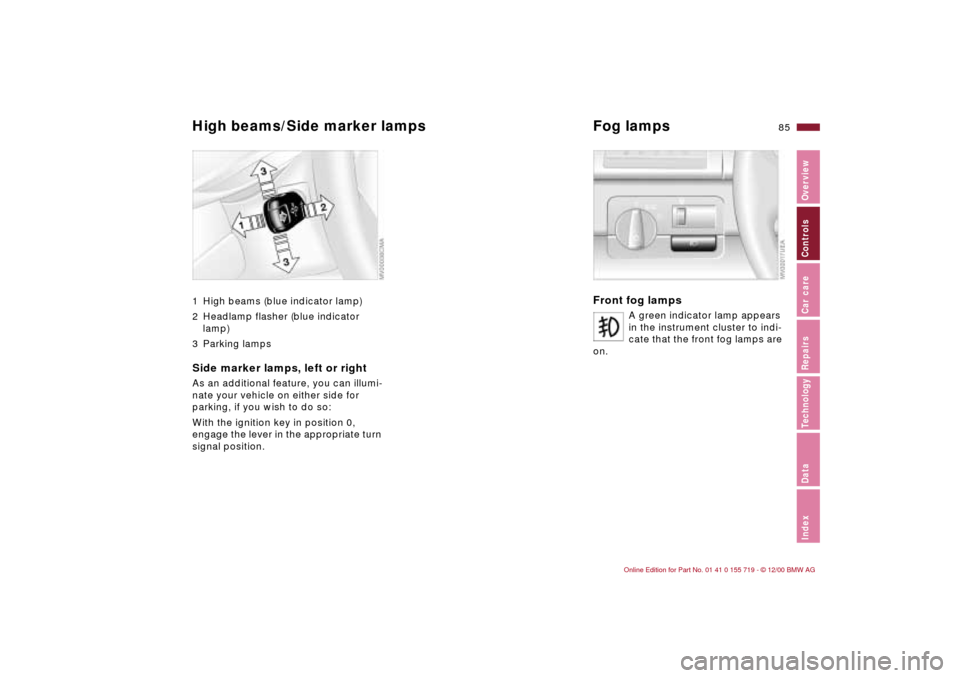
High beams/Side marker lamps Fog lamps
1 High beams (blue indicator lamp)
2 Headlamp flasher (blue indicator
lamp)
3 Parking lampsSide marker lamps, left or rightAs an additional feature, you can illumi-
nate your vehicle on either side for
parking, if you wish to do so:
With the ignition key in position 0,
engage the lever in the appropriate turn
signal position.
Front fog lamps
A green indicator lamp appears
in the instrument cluster to indi-
cate that the front fog lamps are
on.
Page 86 of 195
86n
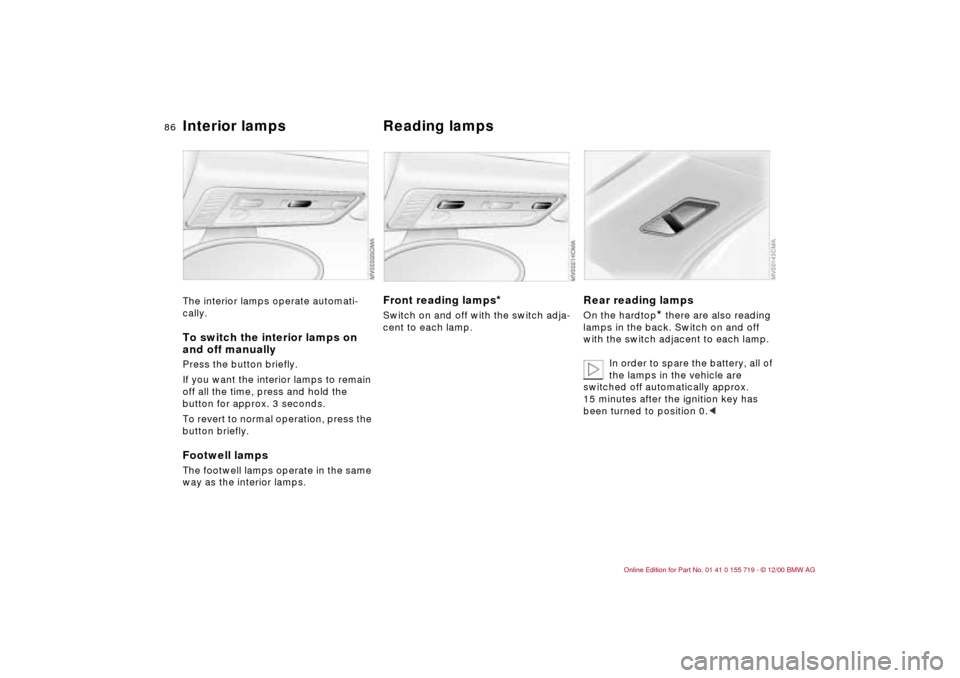
Interior lamps Reading lampsThe interior lamps operate automati-
cally.To switch the interior lamps on
and off manuallyPress the button briefly.
If you want the interior lamps to remain
off all the time, press and hold the
button for approx. 3 seconds.
To revert to normal operation, press the
button briefly.Footwell lampsThe footwell lamps operate in the same
way as the interior lamps.
Front reading lamps
*
Switch on and off with the switch adja-
cent to each lamp.
Rear reading lampsOn the hardtop
* there are also reading
lamps in the back. Switch on and off
with the switch adjacent to each lamp.
In order to spare the battery, all of
the lamps in the vehicle are
switched off automatically approx.
15 minutes after the ignition key has
been turned to position 0.<
Page 87 of 195

87n
IndexDataTechnologyRepairsCar careControlsOverview
Page 88 of 195
88n
Automatic climate control
Page 89 of 195

89n
IndexDataTechnologyRepairsCar careControlsOverview
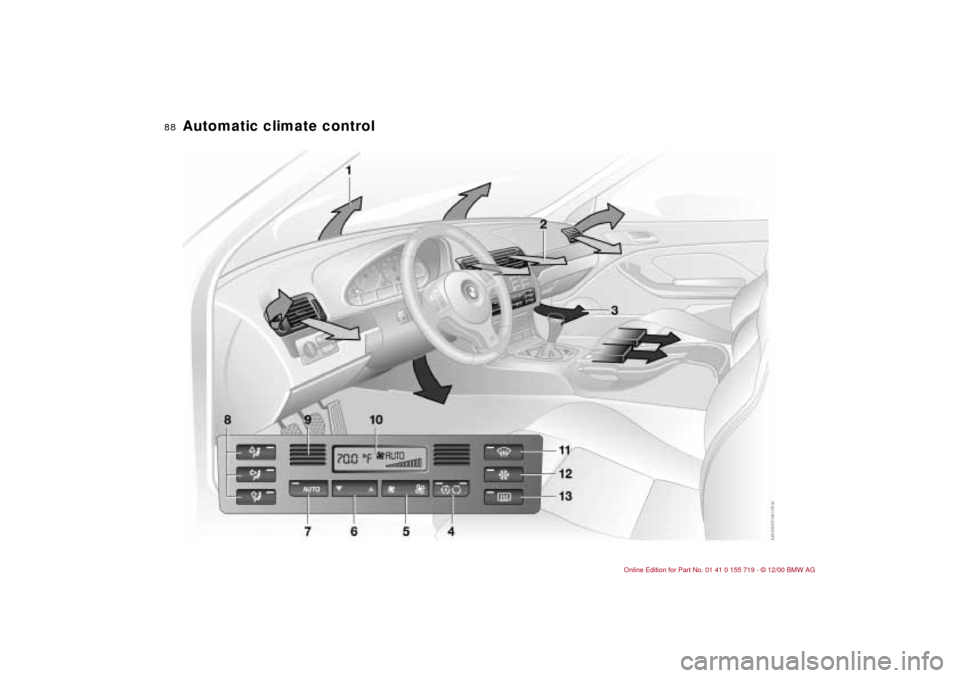
Automatic climate control 1 Air onto the windshield and onto the
side windows
2 Airflow toward the upper body
The side rotary dials allow you to
open and close the air supply
through an infinitely-variable range,
while the levers change the airflow
direction. The center rotary dial
adjusts the temperature of the
emerging air, see page 92
3 Ventilation for the front footwell
There are corresponding air vents in
the rear footwell as well
4 Recirculated air mode/Automatic
recirculated air control (AUC)91
5 Air supply (fan)91
6 Temperature90
7 Automatic air distribution90
8 Individual air distribution90
9 Air grille for interior temperature
sensor – please keep clear and
unobstructed
10 Display for temperature and air
supply90
11 To defrost the windows and remove
condensation91
12 Air conditioner91
13 Rear window defroster71, 92
Page 90 of 195
90n
Automatic climate controlTips for pleasant drivingUse the automatic system (switch on
AUTO – button 7).
>Select an interior temperature that is
comfortable for you — e. g. 72 7
(+22 6).
>Whenever the outside temperature is
above 41 7 (+5 6), you can also
use the air conditioner 12. This will
dry the air as well as preventing
condensation on the window
surfaces – if there are passengers
with damp clothing, for example.
>Set the outlets 2 so that the air flows
past you and is not directed straight
at you.
>Set the rotary dial between the air
outlets 2 for the upper body to a
medium position, since air that is
somewhat cooler promotes driving
without fatigue.
Detailed setting options are described
for you in the following sections.
Your vehicle is set in such a
manner that, when you unlock the
vehicle with your individualized remote
control, your own personalized setting
for the automatic climate control is initi-
ated.<
Automatic air distribution
The automatic program will take
over
>automatically distributing the air
supply to the vents, as well as
>automatically adjusting the amount of
incoming air.
It will adapt to the settings you have
made for the temperature that you want
in the passenger compartment – taking
outside influences into account
(summer, winter) – and will privide you
with a comfortable climate in the
vehicle at any time of the year.
>Select an interior temperature that is
comfortable for you — e. g. 72 7
(+22 6). The temperature selected
and AUTO for air supply will
appear in display 10. Refer to the
overview on page 88
>Open up the vents for the upper body
>Switch on the air conditioner in warm
weather. The maximum cooling
capacity is achieved when you set
rotary dial 3 (refer to page 92) to cold.
Individual air distribution
You can cancel the AUTO
program by selecting specific
distribution patterns to suit your
own individual requirements.
You can direct air to flow onto the
windows , toward the upper body
, and into the footwell .
Temperature
The figures in the display
provide a general indication of
interior temperature. We recommend
72 7 (+22 6) as a comfortable setting,
even if the air conditioner is on. When
you start the vehicle, the system
ensures that the selected temperature
is reached as quickly as possible. It
then maintains this temperature,
regardless of the season.
Set rotary dial 3 (refer to "Draft-free
ventilation" on page 92) to a medium
setting, since air that is somewhat
cooler promotes driving without fatigue.
You can use this setting for mixing air to
make minor comfort modifications.
You can set uncontrolled heater
output up to 90 7 (+32 6). The
air conditioner is at full cooling output
at 60 7 (+16 6).<