BMW MOTORRAD K 1200 R 2008 Rider's Manual (in English)
Manufacturer: BMW MOTORRAD, Model Year: 2008, Model line: K 1200 R, Model: BMW MOTORRAD K 1200 R 2008Pages: 165, PDF Size: 2.18 MB
Page 51 of 165
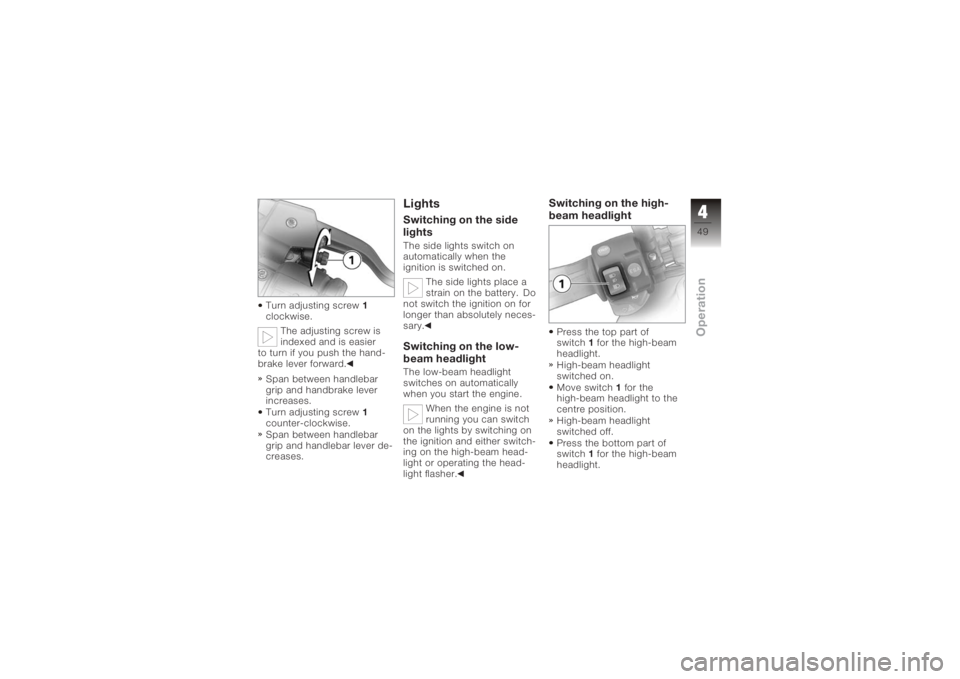
Turn adjusting screw1
clockwise.
The adjusting screw is
indexed and is easier
to turn if you push the hand-
brake lever forward.
Span between handlebar
grip and handbrake lever
increases.
Turn adjusting screw 1
counter-clockwise.
Span between handlebar
grip and handlebar lever de-
creases.
LightsSwitching on the side
lightsThe side lights switch on
automatically when the
ignition is switched on.
The side lights place a
strain on the battery. Do
not switch the ignition on for
longer than absolutely neces-
sary.Switching on the low-
beam headlightThe low-beam headlight
switches on automatically
when you start the engine.
When the engine is not
running you can switch
on the lights by switching on
the ignition and either switch-
ing on the high-beam head-
light or operating the head-
light flasher.
Switching on the high-
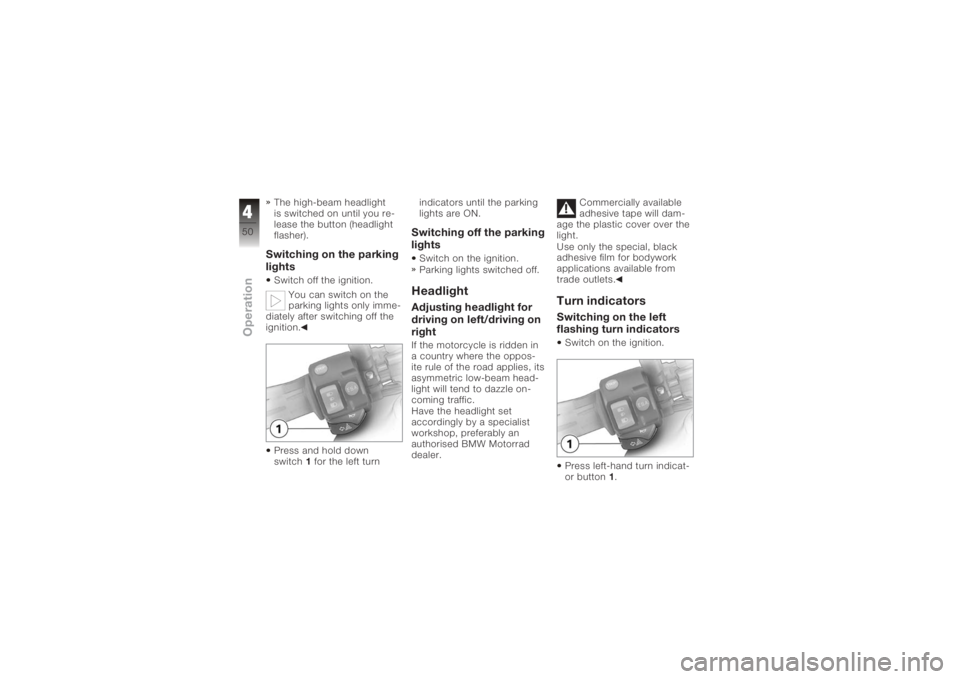
beam headlightPress the top part of
switch 1for the high-beam
headlight.
High-beam headlight
switched on.
Move switch 1for the
high-beam headlight to the
centre position.
High-beam headlight
switched off.
Press the bottom part of
switch 1for the high-beam
headlight.
449zOperation
Page 52 of 165
The high-beam headlight
is switched on until you re-
lease the button (headlight
flasher).Switching on the parking
lightsSwitch off the ignition.You can switch on the
parking lights only imme-
diately after switching off the
ignition.
Press and hold down
switch 1for the left turn indicators until the parking
lights are ON.
Switching off the parking
lightsSwitch on the ignition.
Parking lights switched off.HeadlightAdjusting headlight for
driving on left/driving on
rightIf the motorcycle is ridden in
a country where the oppos-
ite rule of the road applies, its
asymmetric low-beam head-
light will tend to dazzle on-
coming traffic.
Have the headlight set
accordingly by a specialist
workshop, preferably an
authorised BMW Motorrad
dealer.
Commercially available
adhesive tape will dam-
age the plastic cover over the
light.
Use only the special, black
adhesive film for bodywork
applications available from
trade outlets.
Turn indicatorsSwitching on the left
flashing turn indicatorsSwitch on the ignition.
Press left-hand turn indicat-
or button 1.
450zOperation
Page 53 of 165
The turn indicators are
cancelled automatically
after you have ridden for ap-
proximately 10 seconds, or
covered a distance of about
200 m.
Left-hand turn indicators
switched on.
Telltale light for left-hand
turn indicators flashes.
Switching on the right
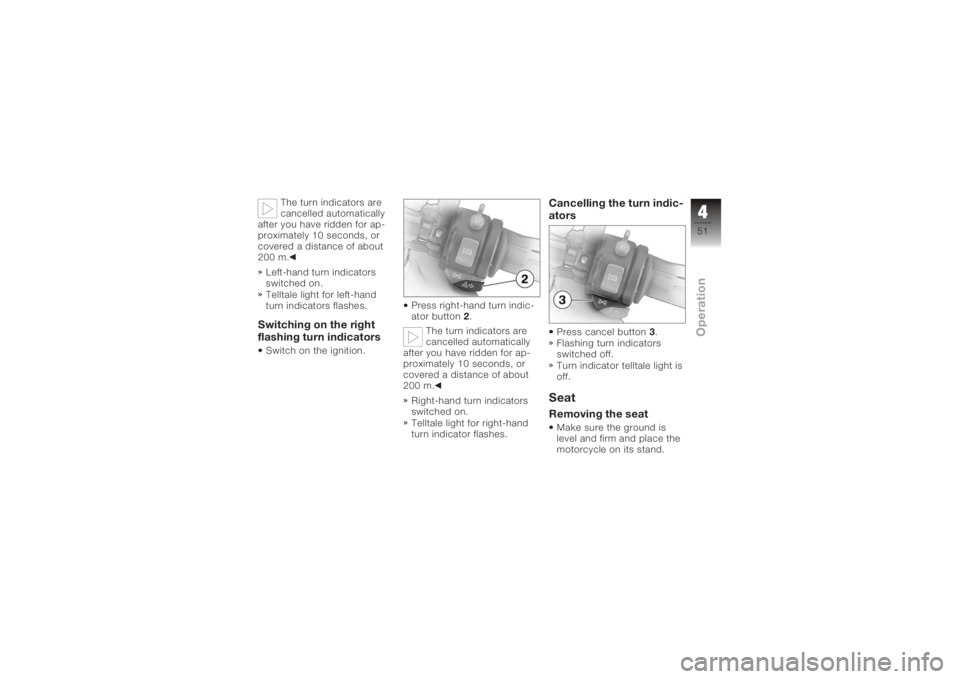
flashing turn indicatorsSwitch on the ignition. Press right-hand turn indic-
ator button
2.
The turn indicators are
cancelled automatically
after you have ridden for ap-
proximately 10 seconds, or
covered a distance of about
200 m.
Right-hand turn indicators
switched on.
Telltale light for right-hand
turn indicator flashes.
Cancelling the turn indic-
atorsPress cancel button 3.
Flashing turn indicators
switched off.
Turn indicator telltale light is
off.SeatRemoving the seatMake sure the ground is
level and firm and place the
motorcycle on its stand.
451zOperation
Page 54 of 165
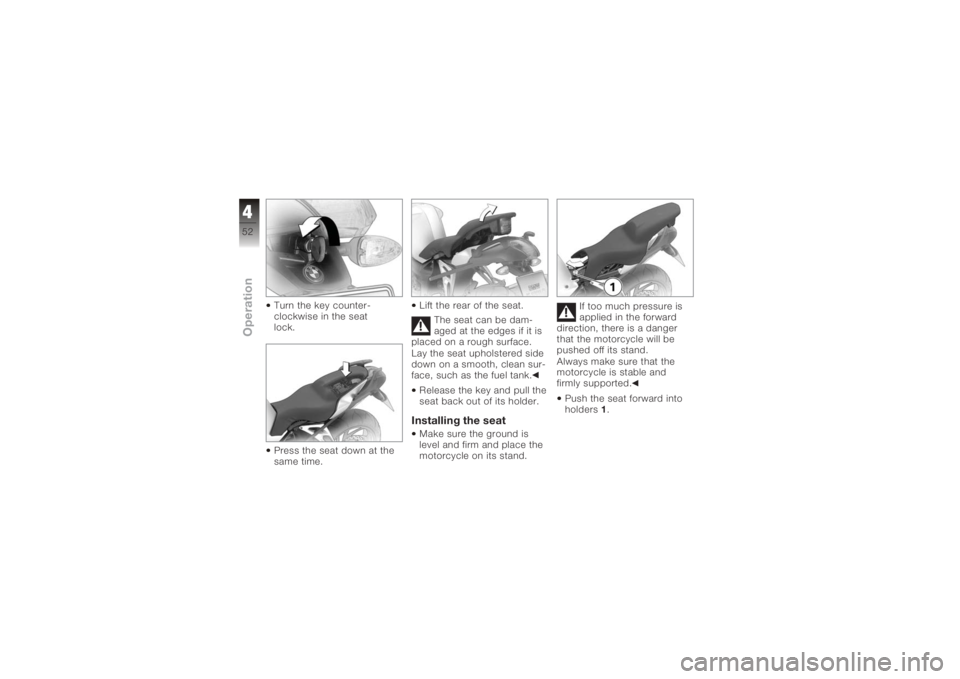
Turn the key counter-
clockwise in the seat
lock.
Press the seat down at the
same time.Lift the rear of the seat.
The seat can be dam-
aged at the edges if it is
placed on a rough surface.
Lay the seat upholstered side
down on a smooth, clean sur-
face, such as the fuel tank.
Release the key and pull the
seat back out of its holder.
Installing the seatMake sure the ground is
level and firm and place the
motorcycle on its stand. If too much pressure is
applied in the forward
direction, there is a danger
that the motorcycle will be
pushed off its stand.
Always make sure that the
motorcycle is stable and
firmly supported.
Push the seat forward into
holders 1.
452zOperation
Page 55 of 165
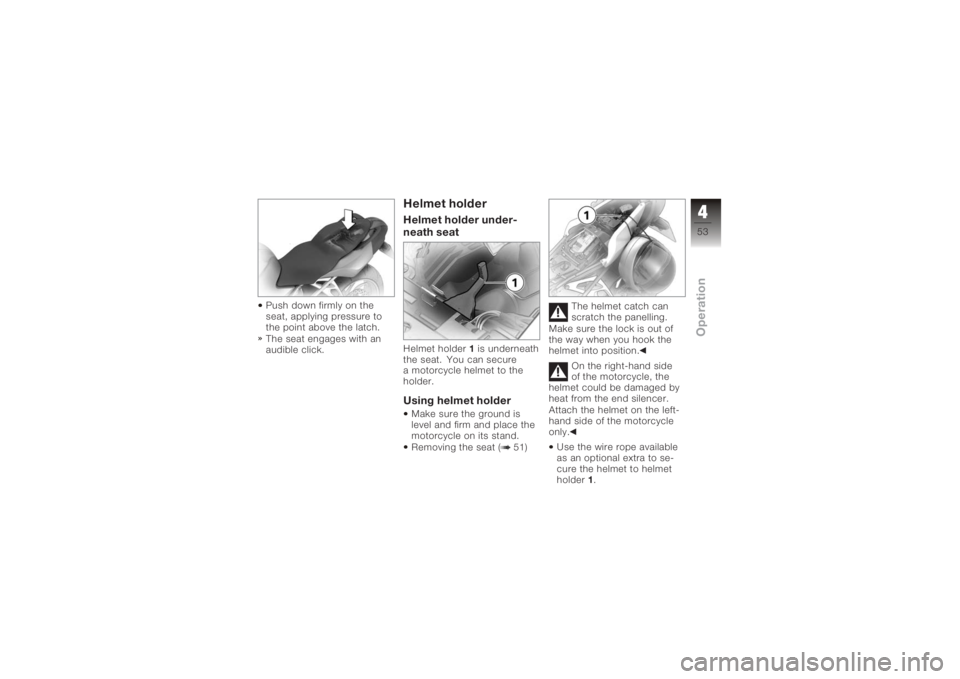
Push down firmly on the
seat, applying pressure to
the point above the latch.
The seat engages with an
audible click.
Helmet holderHelmet holder under-
neath seatHelmet holder1is underneath
the seat. You can secure
a motorcycle helmet to the
holder.Using helmet holderMake sure the ground is
level and firm and place the
motorcycle on its stand.
Removing the seat ( 51) The helmet catch can
scratch the panelling.
Make sure the lock is out of
the way when you hook the
helmet into position.
On the right-hand side
of the motorcycle, the
helmet could be damaged by
heat from the end silencer.
Attach the helmet on the left-
hand side of the motorcycle
only.
Use the wire rope available
as an optional extra to se-
cure the helmet to helmet
holder 1.
453zOperation
Page 56 of 165
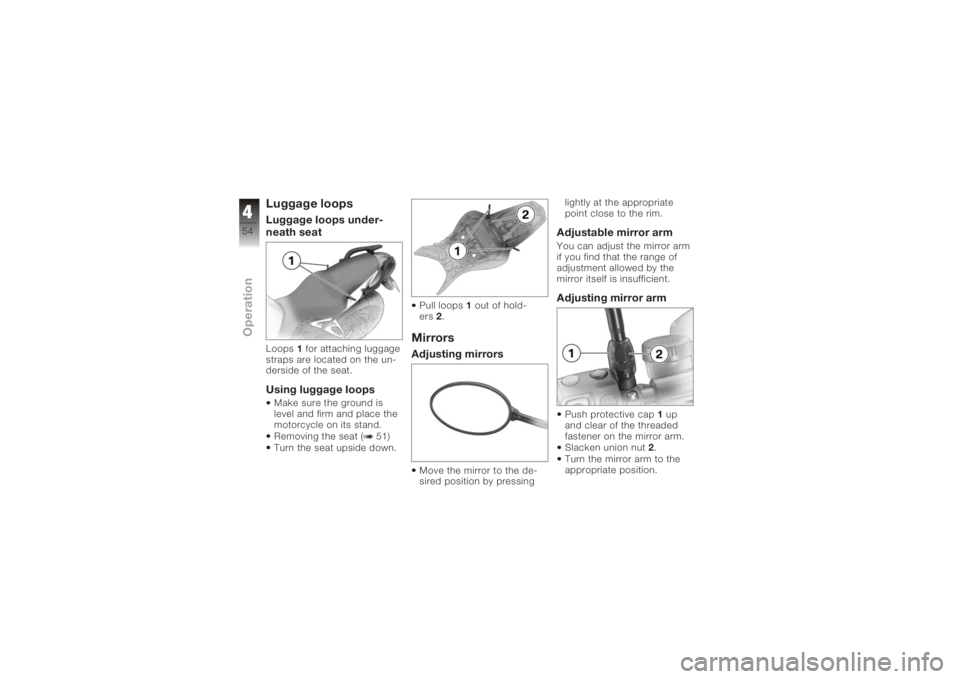
Luggage loopsLuggage loops under-
neath seatLoops1for attaching luggage
straps are located on the un-
derside of the seat.Using luggage loopsMake sure the ground is
level and firm and place the
motorcycle on its stand.
Removing the seat ( 51)
Turn the seat upside down. Pull loops
1out of hold-
ers 2.
MirrorsAdjusting mirrorsMove the mirror to the de-
sired position by pressing lightly at the appropriate
point close to the rim.
Adjustable mirror armYou can adjust the mirror arm
if you find that the range of
adjustment allowed by the
mirror itself is insufficient.Adjusting mirror armPush protective cap
1up
and clear of the threaded
fastener on the mirror arm.
Slacken union nut 2.
Turn the mirror arm to the
appropriate position.
454zOperation
Page 57 of 165
Tighten the union nut.
Pull the protective cap over
the threaded fastener.Spring preloadAdjusting spring preloadIt is essential to set spring
preload to suit the load
carried by the motorcycle.
Increase spring preload when
the motorcycle is heavily
loaded and reduce spring
preload accordingly when the
motorcycle is lightly loaded.Adjusting spring preload
for rear wheel
Your motorcycle's hand-
ling will suffer if you do
not match the spring-preload
and damping-characteristic
settings.
Adjust the damping char-
acteristic to suit spring pre-
load. Adjusting spring preload
while the motorcycle is
being ridden can lead to acci-
dents.
Do not attempt to adjust
spring preload unless the
motorcycle is at a standstill.
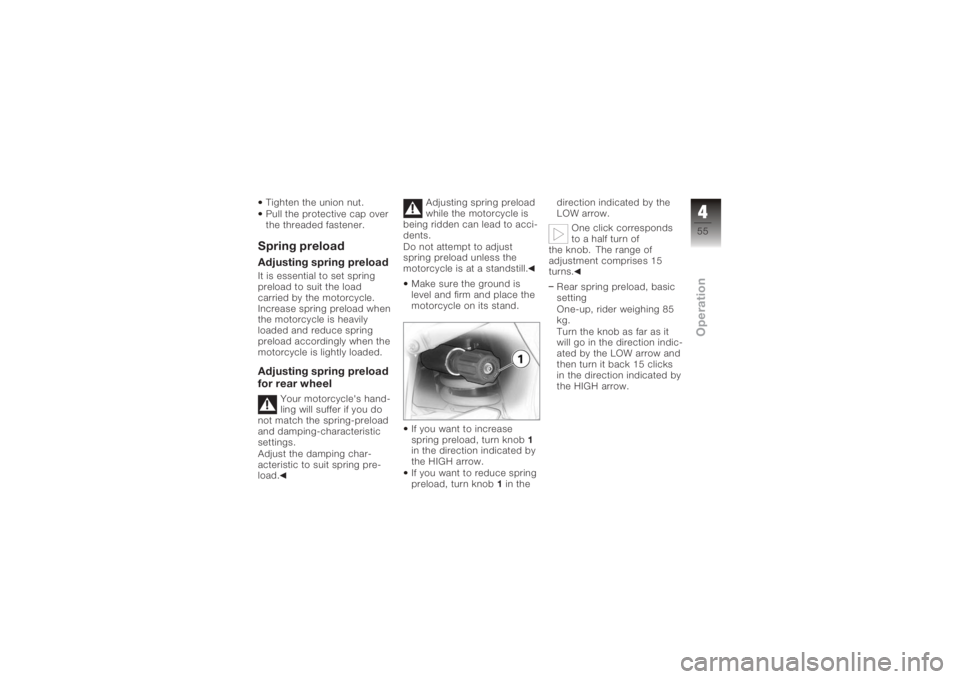
Make sure the ground is
level and firm and place the
motorcycle on its stand.
If you want to increase
spring preload, turn knob 1
in the direction indicated by
the HIGH arrow.
If you want to reduce spring
preload, turn knob 1in the direction indicated by the
LOW arrow.
One click corresponds
to a half turn of
the knob. The range of
adjustment comprises 15
turns.
Rear spring preload, basic
setting
One-up, rider weighing 85
kg.
Turn the knob as far as it
will go in the direction indic-
ated by the LOW arrow and
then turn it back 15 clicks
in the direction indicated by
the HIGH arrow.
455zOperation
Page 58 of 165
Shock absorbersAdjusting suspension
dampingDamping must be adapted
to suit spring preload. An in-
crease in spring preload re-
quires firmer damping, a re-
duction in spring preload re-
quires softer damping.Adjusting rear shock ab-
sorber
Your motorcycle's hand-
ling will suffer if you do
not match the spring-preload
and damping-characteristic
settings.
Adjust the damping char-
acteristic to suit spring pre-
load.
Make sure the ground is
level and firm and place the
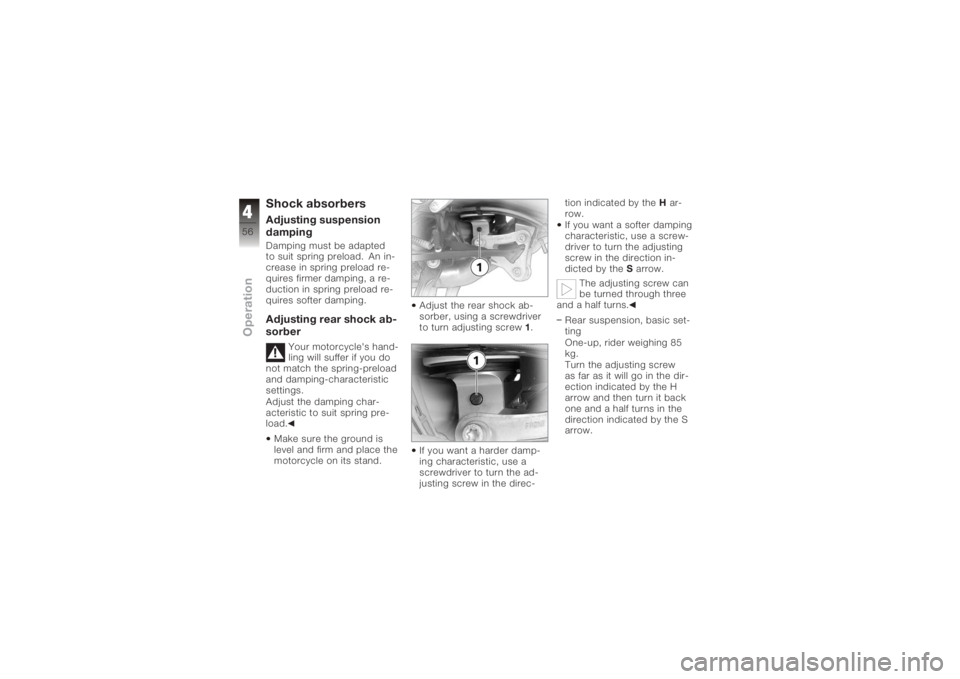
motorcycle on its stand. Adjust the rear shock ab-
sorber, using a screwdriver
to turn adjusting screw
1.
If you want a harder damp-
ing characteristic, use a
screwdriver to turn the ad-
justing screw in the direc- tion indicated by the
Har-
row.
If you want a softer damping
characteristic, use a screw-
driver to turn the adjusting
screw in the direction in-
dicted by the Sarrow.
The adjusting screw can
be turned through three
and a half turns.
Rear suspension, basic set-
ting
One-up, rider weighing 85
kg.
Turn the adjusting screw
as far as it will go in the dir-
ection indicated by the H
arrow and then turn it back
one and a half turns in the
direction indicated by the S
arrow.
456zOperation
Page 59 of 165
Electronic Suspension
Adjustment ESA
OE
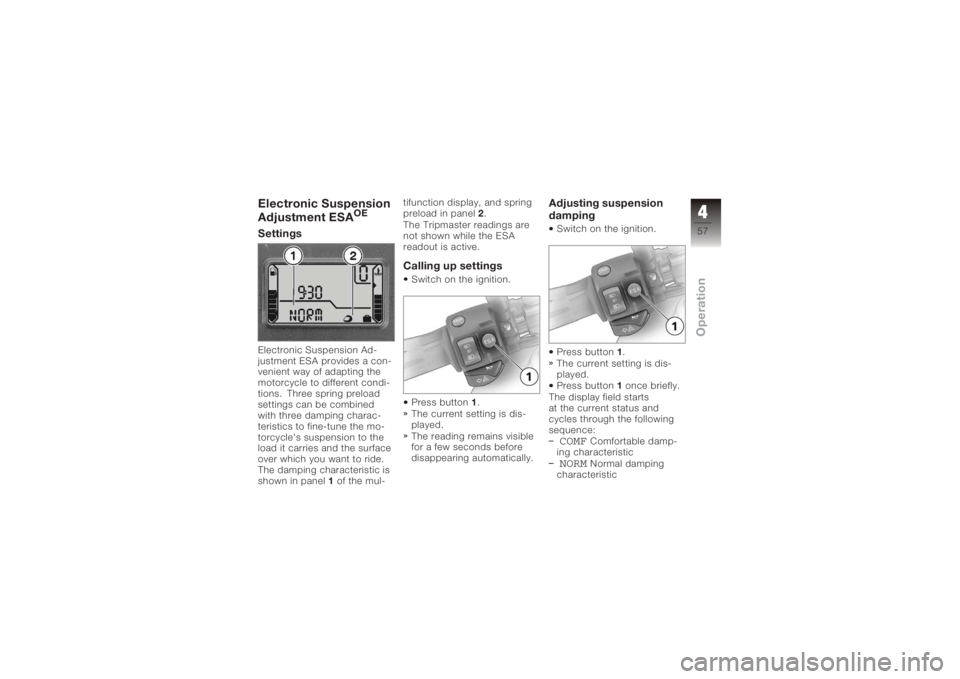
SettingsElectronic Suspension Ad-
justment ESA provides a con-
venient way of adapting the
motorcycle to different condi-
tions. Three spring preload
settings can be combined
with three damping charac-
teristics to fine-tune the mo-
torcycle's suspension to the
load it carries and the surface
over which you want to ride.
The damping characteristic is
shown in panel1of the mul- tifunction display, and spring
preload in panel
2.
The Tripmaster readings are
not shown while the ESA
readout is active.
Calling up settingsSwitch on the ignition.
Press button 1.
The current setting is dis-
played.
The reading remains visible
for a few seconds before
disappearing automatically.
Adjusting suspension
dampingSwitch on the ignition.
Press button 1.
The current setting is dis-
played.
Press button 1once briefly.
The display field starts
at the current status and
cycles through the following
sequence:COMF
Comfortable damp-
ing characteristic
NORM
Normal damping
characteristic
457zOperation
Page 60 of 165
SPORT
Sporty damping
characteristic
The setting shown on the
display is automatically
accepted as the damping
characteristic if you allow
a certain length of time
to pass without pressing
button 1. During the setting
procedure, the display
flashes.
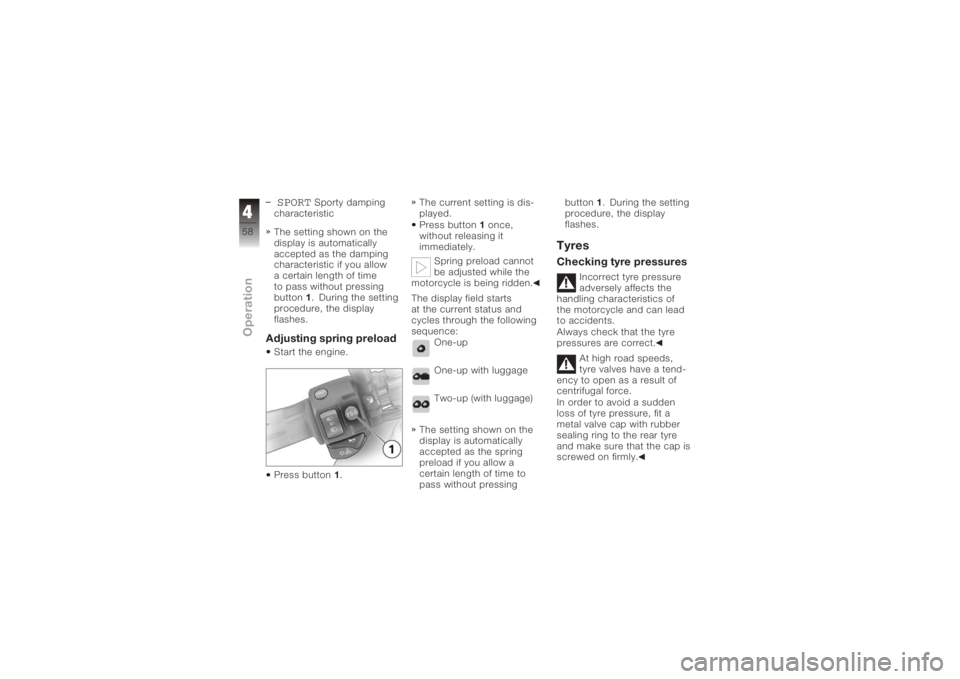
Adjusting spring preloadStart the engine.
Press button 1. The current setting is dis-
played.
Press button
1once,
without releasing it
immediately.
Spring preload cannot
be adjusted while the
motorcycle is being ridden.
The display field starts
at the current status and
cycles through the following
sequence:
One-up
One-up with luggage
Two-up (with luggage)
The setting shown on the
display is automatically
accepted as the spring
preload if you allow a
certain length of time to
pass without pressing button
1. During the setting
procedure, the display
flashes.
TyresChecking tyre pressures
Incorrect tyre pressure
adversely affects the
handling characteristics of
the motorcycle and can lead
to accidents.
Always check that the tyre
pressures are correct.
At high road speeds,
tyre valves have a tend-
ency to open as a result of
centrifugal force.
In order to avoid a sudden
loss of tyre pressure, fit a
metal valve cap with rubber
sealing ring to the rear tyre
and make sure that the cap is
screwed on firmly.
458zOperation