BMW MOTORRAD K 1200 S 2004 Rider's Manual (in English)
Manufacturer: BMW MOTORRAD, Model Year: 2004, Model line: K 1200 S, Model: BMW MOTORRAD K 1200 S 2004Pages: 162, PDF Size: 2.99 MB
Page 31 of 162
329Operation
Ignition switch and
steering lock .................................. 30
Electronic immobiliser .................. 31
Hazard warning flashers............... 32
Tripmaster...................................... 33
Kill switch....................................... 34
Grip heating
OE
............................... 35
Clock .............................................. 35
Handlebar levers ........................... 36
Lights.............................................. 37
Turn indicators .............................. 39
Seat ................................................ 40
Helmet holder ................................ 41
Luggage loops ............................... 42
Mirrors ............................................ 43
Spring preload ............................... 43Shock absorbers ........................... 44
ESA
OE
............................................. 45
Wheels ............................................ 47
Page 32 of 162
Operation330
Ignition switch and
steering lockKeysYou will receive one master
key and one spare key. If a key
is lost, please note the infor-
mation on the EWS electronic
immobiliser (
b 22).
Ignition switch and steer-
ing lock, tank filler cap
lock and seat lock are all oper-
ated with the same key.
System casesOA can also be
operated on request using the
same key.c
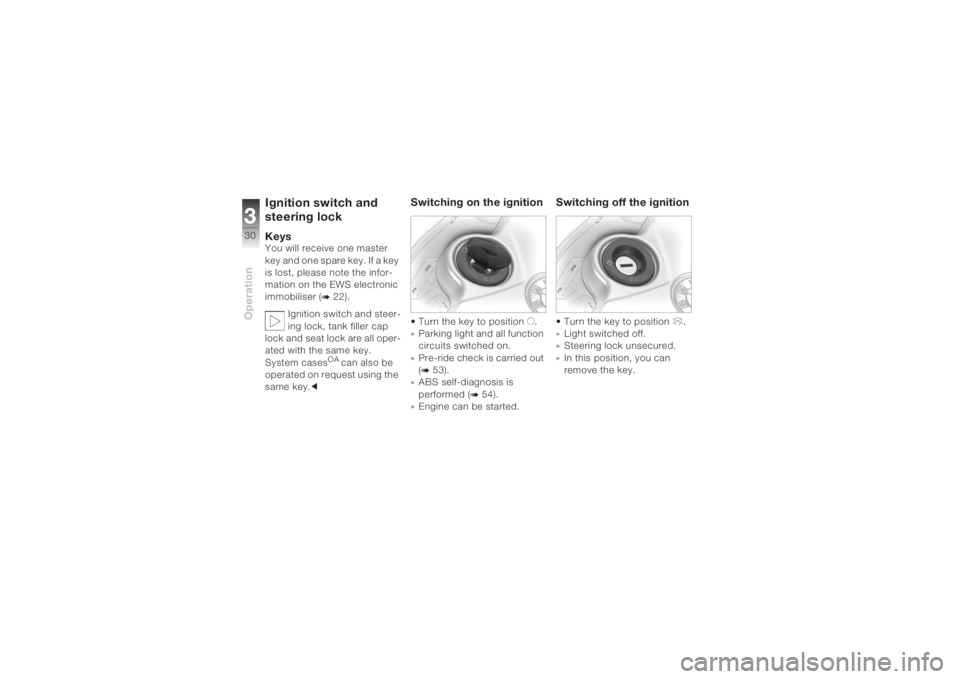
Switching on the ignition• Turn the key to position U.
» Parking light and all function
circuits switched on.
» Pre-ride check is carried out
(b 53).
» ABS self-diagnosis is
performed (
b 54).
» Engine can be started.
Switching off the ignition• Turn the key to position V.
» Light switched off.
» Steering lock unsecured.
» In this position, you can
remove the key.
Page 33 of 162
331Operation
Securing the steering
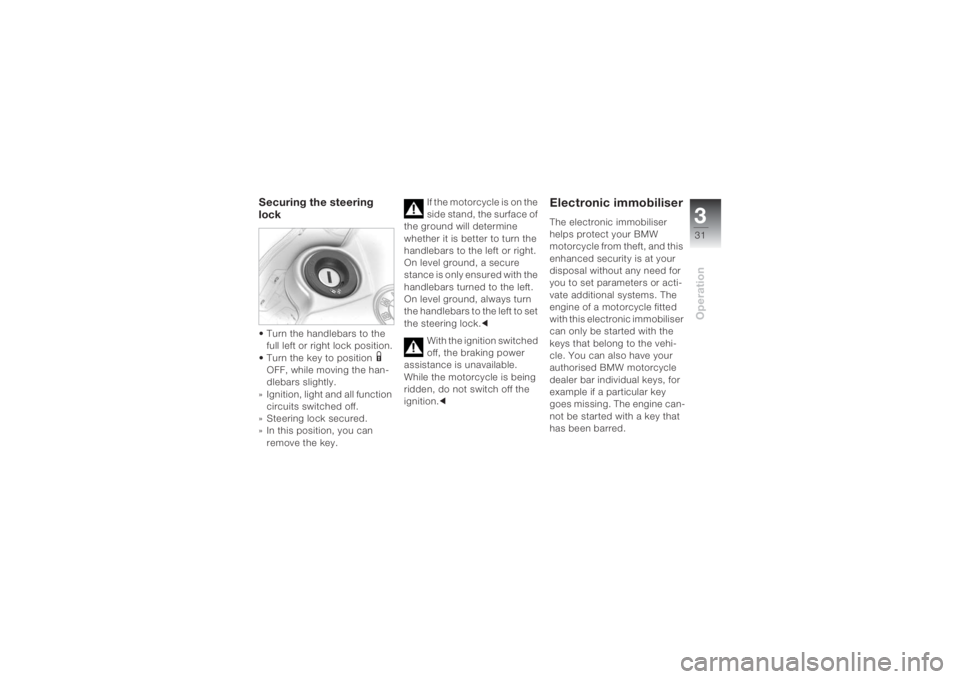
lock• Turn the handlebars to the
full left or right lock position.
• Turn the key to position
1
OFF, while moving the han-
dlebars slightly.
» Ignition, light and all function
circuits switched off.
» Steering lock secured.
» In this position, you can
remove the key.If the motorcycle is on the
side stand, the surface of
the ground will determine
whether it is better to turn the
handlebars to the left or right.
On level ground, a secure
stance is only ensured with the
handlebars turned to the left.
On level ground, always turn
the handlebars to the left to set
the steering lock.c
With the ignition switched
off, the braking power
assistance is unavailable.
While the motorcycle is being
ridden, do not switch off the
ignition.c
Electronic immobiliserThe electronic immobiliser
helps protect your BMW
motorcycle from theft, and this
enhanced security is at your
disposal without any need for
you to set parameters or acti-
vate additional systems. The
engine of a motorcycle fitted
with this electronic immobiliser
can only be started with the
keys that belong to the vehi-
cle. You can also have your
authorised BMW motorcycle
dealer bar individual keys, for
example if a particular key
goes missing. The engine can-
not be started with a key that
has been barred.
Page 34 of 162
Operation332
In-key securityAn electronic component is inte-
grated into each of your keys.
The motorcycle’s electronics
exchange certain continuously
changing signals with the elec-
tronics in the key; these signals
are specific to your motorcycle
and they are transmitted via the
ring antenna in the ignition lock.
The ignition is not enabled for
starting until the key has been
recognised as authorised for
your motorcycle.
A spare key attached to
the same ring as the igni-
tion key used to start the engine
could "upset" the electronics, in
which case the enabling signal
for starting is not issued. The
"EWS" warning is displayed in
the multifunction display. Always store the spare key sep-
arately from the ignition key.c
Replacement and extra
keysYou can only obtain replace-
ment/extra keys through an
authorised BMW motorcycle
dealer. The keys are part of an
integrated security system, so
the dealer is under an obligation
to check the legitimacy of all
applications for replacement/
extra keys.
If you want to have a lost key
barred, you have to bring with
you all the keys that belong to
the motorcycle. A key that has
been barred can subsequently
be cleared and reactivated for
use.
Hazard warning flashersSwitching on the hazard
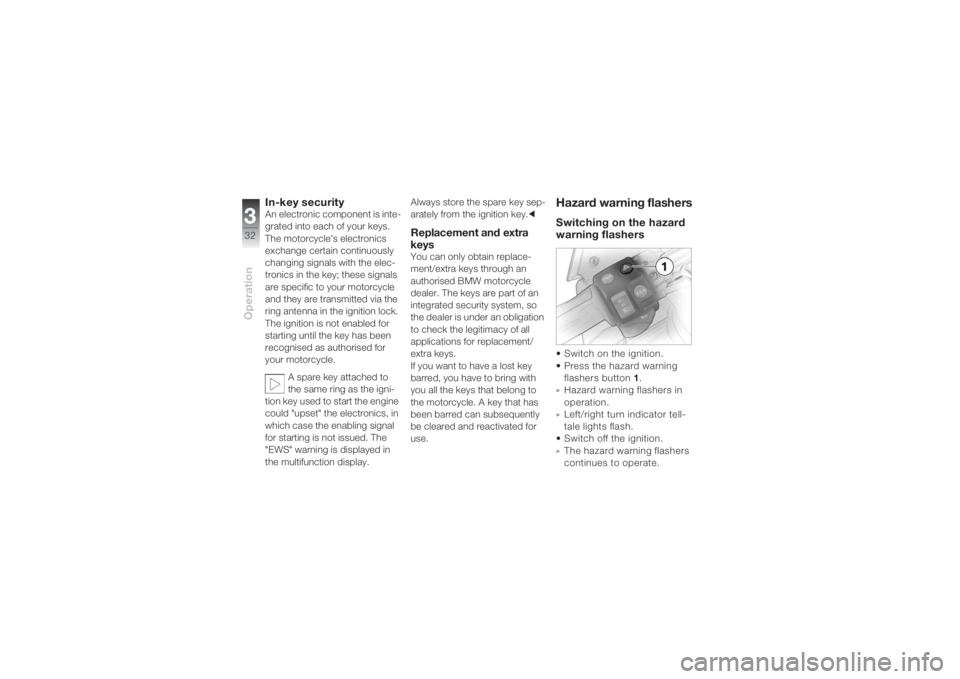
warning flashers• Switch on the ignition.
• Press the hazard warning
flashers button 1.
» Hazard warning flashers in
operation.
» Left/right turn indicator tell-
tale lights flash.
• Switch off the ignition.
» The hazard warning flashers
continues to operate.
Page 35 of 162
333Operation
» Left/right turn indicator tell-
tale lights off.
The hazard warning
flashers can also be
switched on by simultaneously
pressing the buttons for the
left and right turn indicators.c
The hazard warning
flashers places a load on
the battery. Do not use the
hazard warning flashers for
longer than absolutely
necessary.cSwitching off the hazard
warning flashers• Press the hazard warning
flashers button 1 or switch
on ignition.
» Hazard warning flashers
ceases to operate.
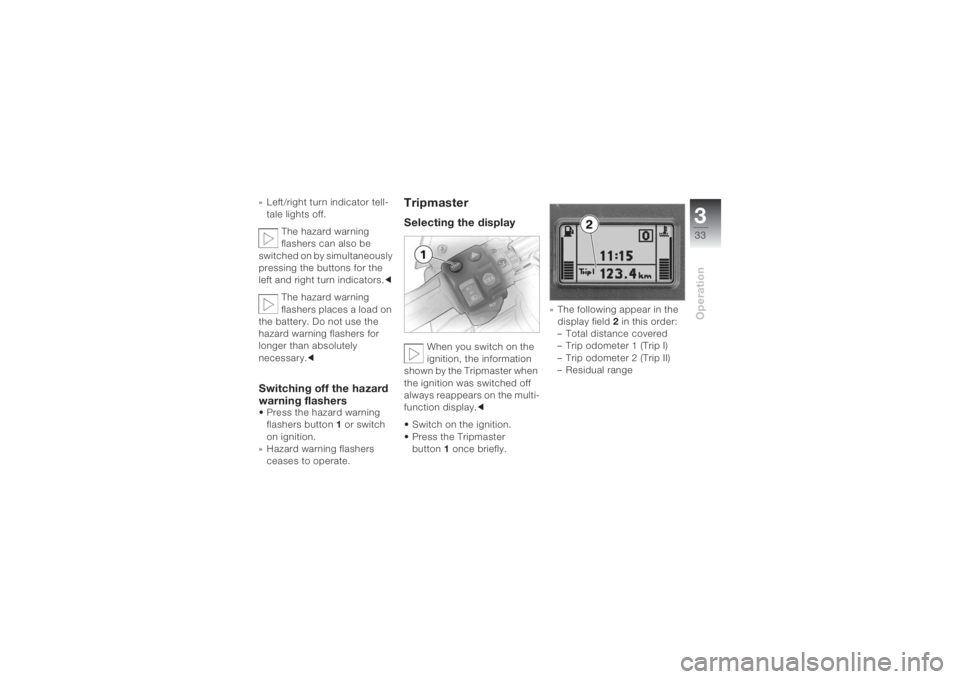
TripmasterSelecting the display
When you switch on the
ignition, the information
shown by the Tripmaster when
the ignition was switched off
always reappears on the multi-
function display.c
• Switch on the ignition.
• Press the Tripmaster
button1 once briefly.» The following appear in the
display field2 in this order:
– Total distance covered
– Trip odometer 1 (Trip I)
– Trip odometer 2 (Trip II)
– Residual range
Page 36 of 162
Operation334
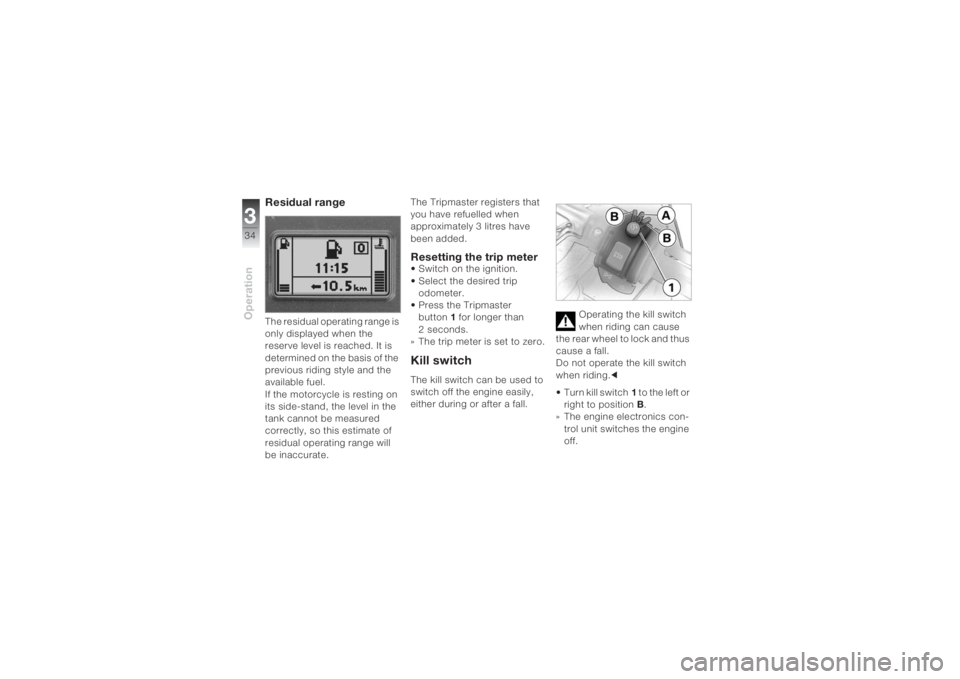
Residual range The residual operating range is
only displayed when the
reserve level is reached. It is
determined on the basis of the
previous riding style and the
available fuel.
If the motorcycle is resting on
its side-stand, the level in the
tank cannot be measured
correctly, so this estimate of
residual operating range will
be inaccurate.The Tripmaster registers that
you have refuelled when
approximately 3 litres have
been added.
Resetting the trip meter• Switch on the ignition.
• Select the desired trip
odometer.
• Press the Tripmaster
button1 for longer than
2 seconds.
» The trip meter is set to zero.Kill switchThe kill switch can be used to
switch off the engine easily,
either during or after a fall. Operating the kill switch
when riding can cause
the rear wheel to lock and thus
cause a fall.
Do not operate the kill switch
when riding.c
• Turn kill switch1 to the left or
right to positionB.
» The engine electronics con-
trol unit switches the engine
off.
Page 37 of 162
335Operation
» The engine cannot be
started in this position.
If the kill switch is moved
to positionB when the
ignition is on, the BMW Inte-
gral ABS is still functioning
(b 50, 69).cGrip heating
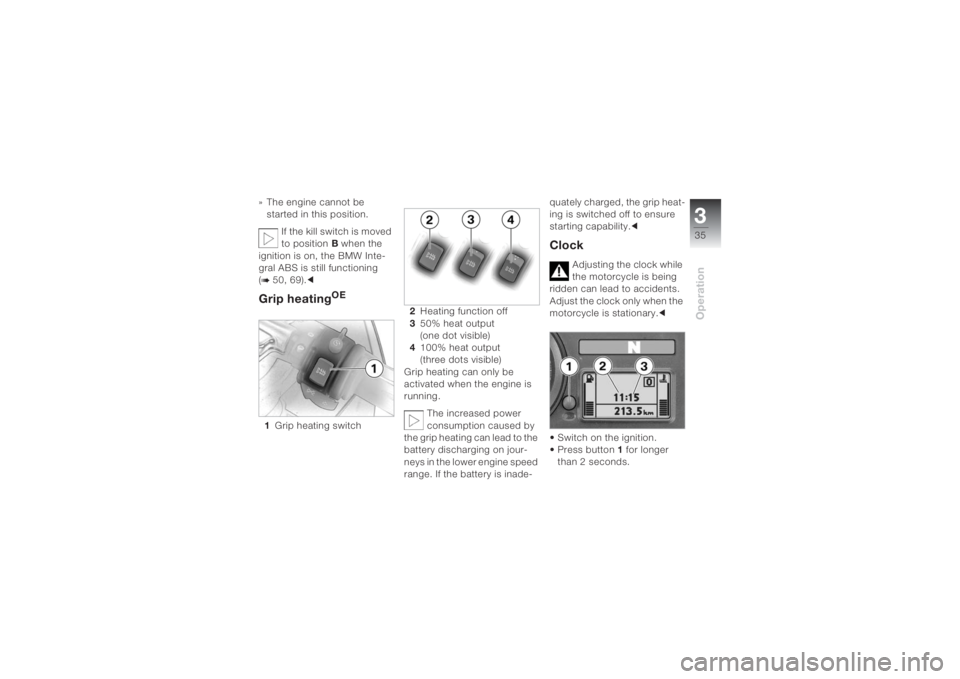
OE
1Grip heating switch 2Heating function off
350% heat output
(one dot visible)
4100% heat output
(three dots visible)
Grip heating can only be
activated when the engine is
running.
The increased power
consumption caused by
the grip heating can lead to the
battery discharging on jour-
neys in the lower engine speed
range. If the battery is inade-quately charged, the grip heat-
ing is switched off to ensure
starting capability.c
Clock
Adjusting the clock while
the motorcycle is being
ridden can lead to accidents.
Adjust the clock only when the
motorcycle is stationary.c
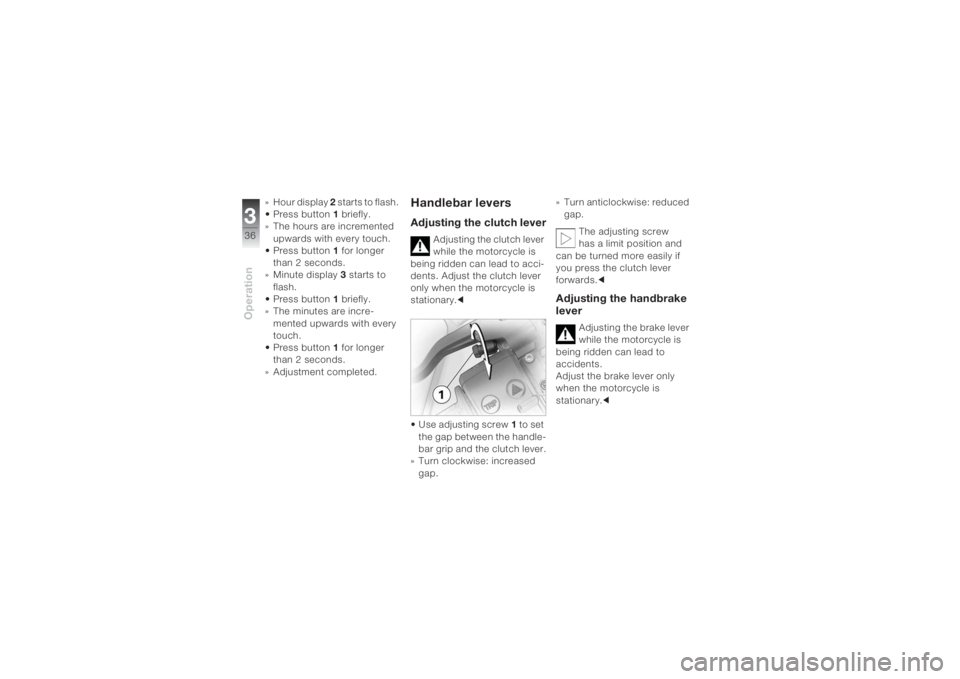
• Switch on the ignition.
• Press button1 for longer
than 2 seconds.
Page 38 of 162
Operation336
» Hour display 2 starts to flash.
• Press button1 briefly.
» The hours are incremented
upwards with every touch.
• Press button1 for longer
than 2 seconds.
»Minute display 3 starts to
flash.
• Press button1 briefly.
» The minutes are incre-
mented upwards with every
touch.
• Press button1 for longer
than 2 seconds.
» Adjustment completed.
Handlebar leversAdjusting the clutch lever
Adjusting the clutch lever
while the motorcycle is
being ridden can lead to acci-
dents. Adjust the clutch lever
only when the motorcycle is
stationary.c
• Use adjusting screw1 to set
the gap between the handle-
bar grip and the clutch lever.
» Turn clockwise: increased
gap.» Turn anticlockwise: reduced
gap.
The adjusting screw
has a limit position and
can be turned more easily if
you press the clutch lever
forwards.c
Adjusting the handbrake
lever
Adjusting the brake lever
while the motorcycle is
being ridden can lead to
accidents.
Adjust the brake lever only
when the motorcycle is
stationary.c
Page 39 of 162
337Operation
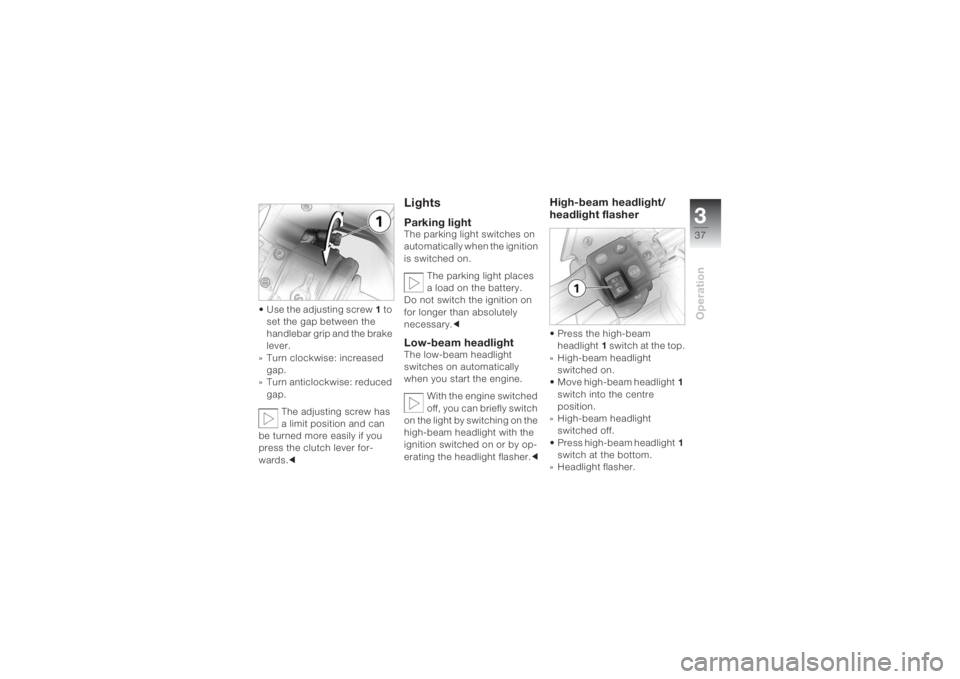
• Use the adjusting screw1 to
set the gap between the
handlebar grip and the brake
lever.
» Turn clockwise: increased
gap.
» Turn anticlockwise: reduced
gap.
The adjusting screw has
a limit position and can
be turned more easily if you
press the clutch lever for-
wards.c
LightsParking lightThe parking light switches on
automatically when the ignition
is switched on.
The parking light places
a load on the battery.
Do not switch the ignition on
for longer than absolutely
necessary.cLow-beam headlight The low-beam headlight
switches on automatically
when you start the engine.
With the engine switched
off, you can briefly switch
on the light by switching on the
high-beam headlight with the
ignition switched on or by op-
erating the headlight flasher.c
High-beam headlight/
headlight flasher • Press the high-beam
headlight1 s w i t c h a t t h e t o p .
» High-beam headlight
switched on.
• Move high-beam headlight1
switch into the centre
position.
» High-beam headlight
switched off.
• Press high-beam headlight1
switch at the bottom.
» Headlight flasher.
Page 40 of 162
Operation338
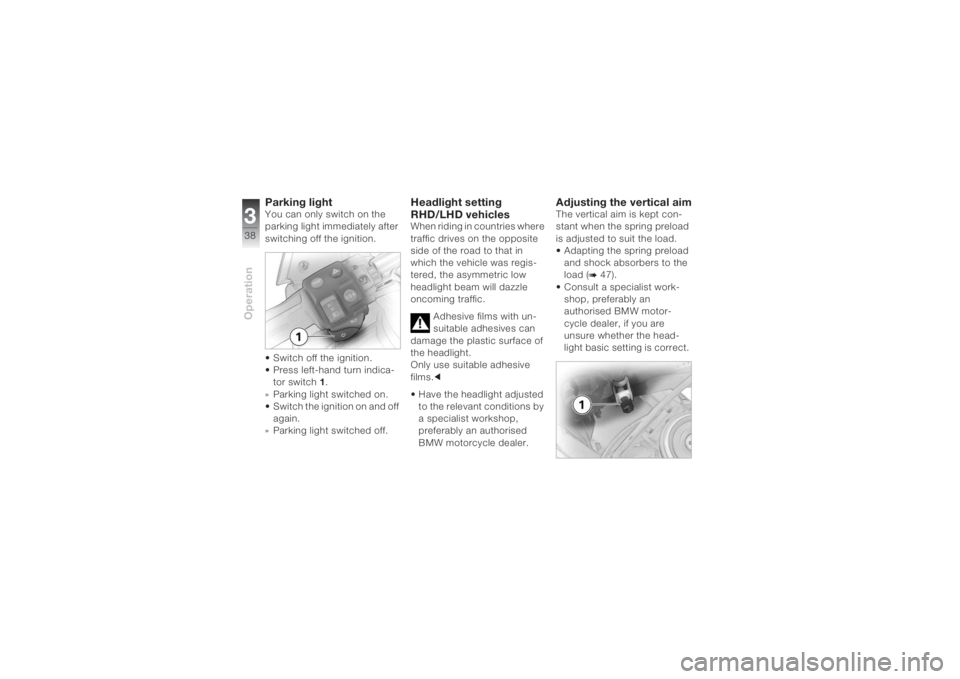
Parking lightYou can only switch on the
parking light immediately after
switching off the ignition.
• Switch off the ignition.
• Press left-hand turn indica-
tor switch1.
» Parking light switched on.
• Switch the ignition on and off
again.
» Parking light switched off.
Headlight setting
RHD/LHD vehiclesWhen riding in countries where
traffic drives on the opposite
side of the road to that in
which the vehicle was regis-
tered, the asymmetric low
headlight beam will dazzle
oncoming traffic.
Adhesive films with un-
suitable adhesives can
damage the plastic surface of
the headlight.
Only use suitable adhesive
films.c
• Have the headlight adjusted
to the relevant conditions by
a specialist workshop,
preferably an authorised
BMW motorcycle dealer.
Adjusting the vertical aimThe vertical aim is kept con-
stant when the spring preload
is adjusted to suit the load.
• Adapting the spring preload
and shock absorbers to the
load (
b 47).
• Consult a specialist work-
shop, preferably an
authorised BMW motor-
cycle dealer, if you are
unsure whether the head-
light basic setting is correct.