BMW MOTORRAD K 1200 S 2007 Rider's Manual (in English)
Manufacturer: BMW MOTORRAD, Model Year: 2007, Model line: K 1200 S, Model: BMW MOTORRAD K 1200 S 2007Pages: 166, PDF Size: 2.8 MB
Page 51 of 166
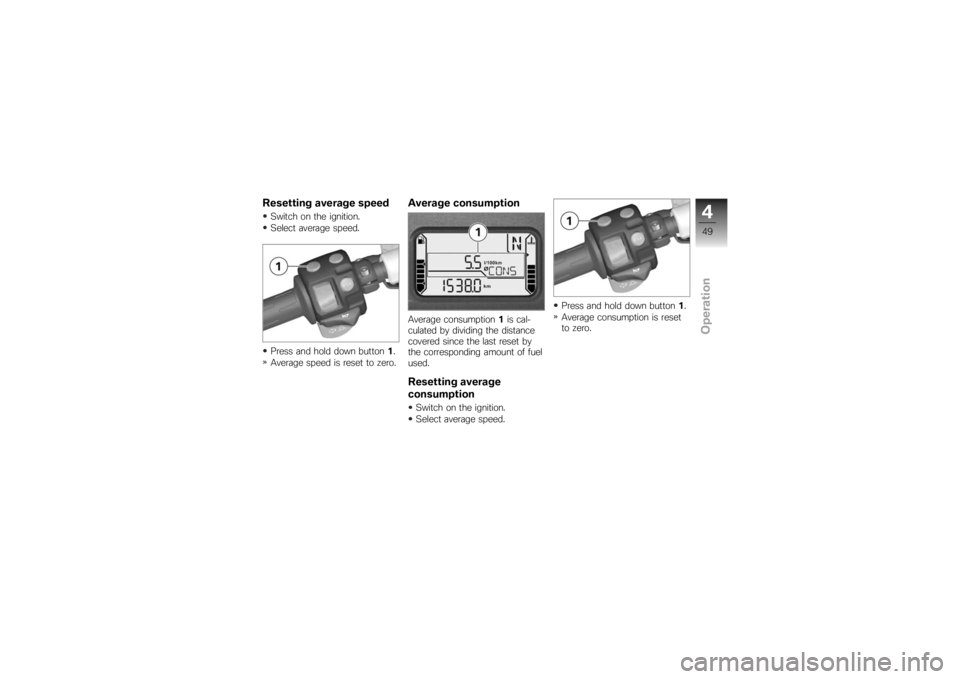
Resetting average speedSwitch on the ignition.
Select average speed.
Press and hold down button1.
Average speed is reset to zero.
Average consumptionAverage consumption 1is cal-
culated by dividing the distance
covered since the last reset by
the corresponding amount of fuel
used.Resetting average
consumptionSwitch on the ignition.
Select average speed. Press and hold down button
1.
Average consumption is reset
to zero.
449zOperation
Page 52 of 166
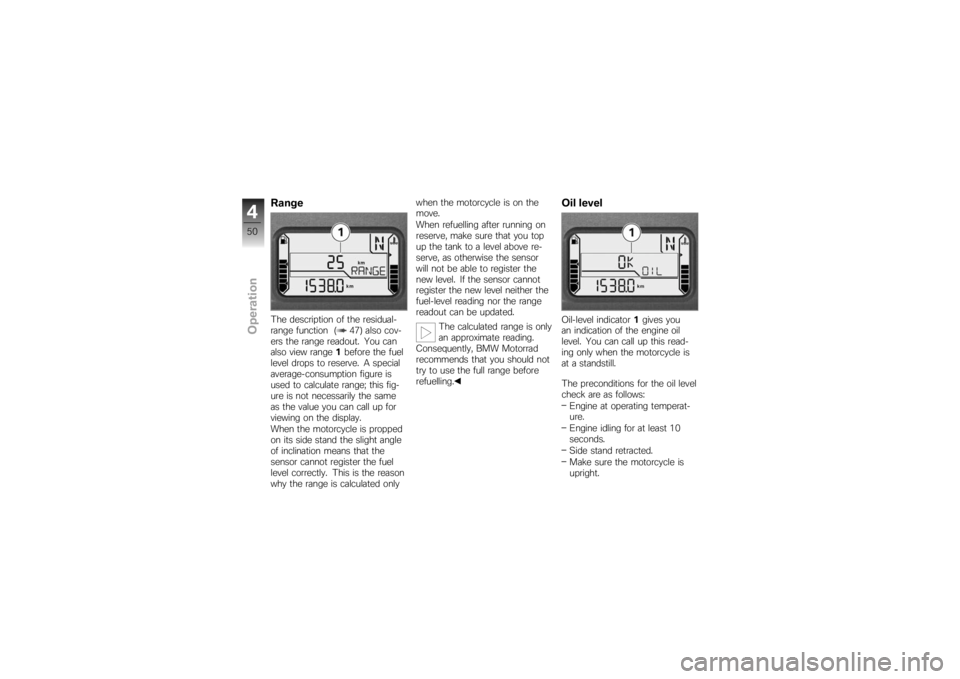
RangeThe description of the residual-
range function ( 47) also cov-
ers the range readout. You can
also view range1before the fuel
level drops to reserve. A special
average-consumption figure is
used to calculate range; this fig-
ure is not necessarily the same
as the value you can call up for
viewing on the display.
When the motorcycle is propped
on its side stand the slight angle
of inclination means that the
sensor cannot register the fuel
level correctly. This is the reason
why the range is calculated only when the motorcycle is on the
move.
When refuelling after running on
reserve, make sure that you top
up the tank to a level above re-
serve, as otherwise the sensor
will not be able to register the
new level. If the sensor cannot
register the new level neither the
fuel-level reading nor the range
readout can be updated.
The calculated range is only
an approximate reading.
Consequently, BMW Motorrad
recommends that you should not
try to use the full range before
refuelling.
Oil levelOil-level indicator 1gives you
an indication of the engine oil
level. You can call up this read-
ing only when the motorcycle is
at a standstill.
The preconditions for the oil level
check are as follows:
Engine at operating temperat-
ure.
Engine idling for at least 10
seconds.
Side stand retracted.
Make sure the motorcycle is
upright.
450zOperation
Page 53 of 166
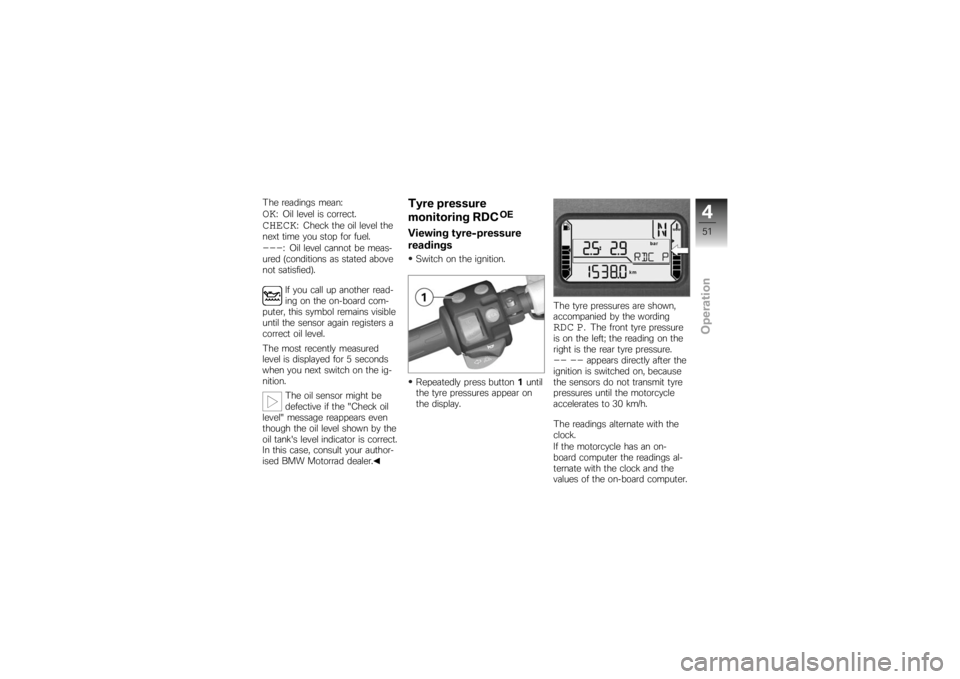
The readings mean:OK
: Oil level is correct.
CHECK
: Check the oil level the
next time you stop for fuel.
---
: Oil level cannot be meas-
ured (conditions as stated above
not satisfied).
If you call up another read-
ing on the on-board com-
puter, this symbol remains visible
until the sensor again registers a
correct oil level.
The most recently measured
level is displayed for 5 seconds
when you next switch on the ig-
nition.
The oil sensor might be
defective if the "Check oil
level" message reappears even
though the oil level shown by the
oil tank's level indicator is correct.
In this case, consult your author-
ised BMW Motorrad dealer.
Tyre pressure
monitoring RDC
OE
Viewing tyre-pressure
readingsSwitch on the ignition.
Repeatedly press button 1until
the tyre pressures appear on
the display. The tyre pressures are shown,
accompanied by the wording
RDC P
. The front tyre pressure
is on the left; the reading on the
right is the rear tyre pressure.
-- --
appears directly after the
ignition is switched on, because
the sensors do not transmit tyre
pressures until the motorcycle
accelerates to 30 km/h.
The readings alternate with the
clock.
If the motorcycle has an on-
board computer the readings al-
ternate with the clock and the
values of the on-board computer.
451zOperation
Page 54 of 166
LightsSide lightThe side lights switch on auto-
matically when the ignition is
switched on.The side lights place
a strain on the battery.
Do not switch the ignition
on for longer than absolutely
necessary.Low-beam headlightThe low-beam headlight switches
on automatically when you start
the engine.
When the engine is not
running you can switch on
the lights by switching on the ig-
nition and either switching on the
high-beam headlight or operating
the headlight flasher.
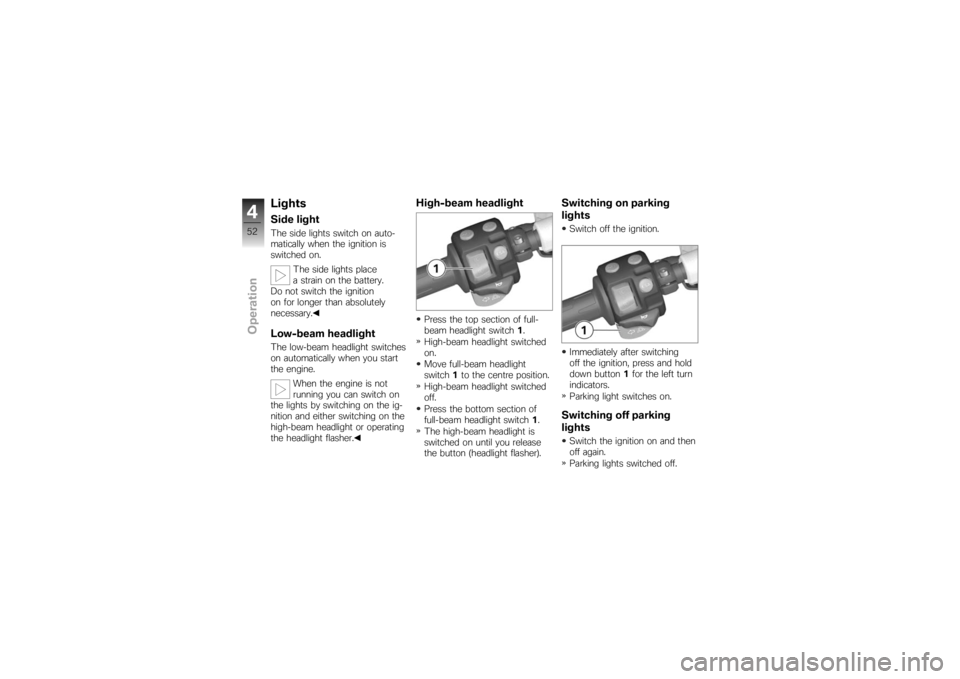
High-beam headlightPress the top section of full-
beam headlight switch 1.
High-beam headlight switched
on.
Move full-beam headlight
switch 1to the centre position.
High-beam headlight switched
off.
Press the bottom section of
full-beam headlight switch 1.
The high-beam headlight is
switched on until you release
the button (headlight flasher).
Switching on parking
lightsSwitch off the ignition.
Immediately after switching
off the ignition, press and hold
down button 1for the left turn
indicators.
Parking light switches on.Switching off parking
lightsSwitch the ignition on and then
off again.
Parking lights switched off.
452zOperation
Page 55 of 166
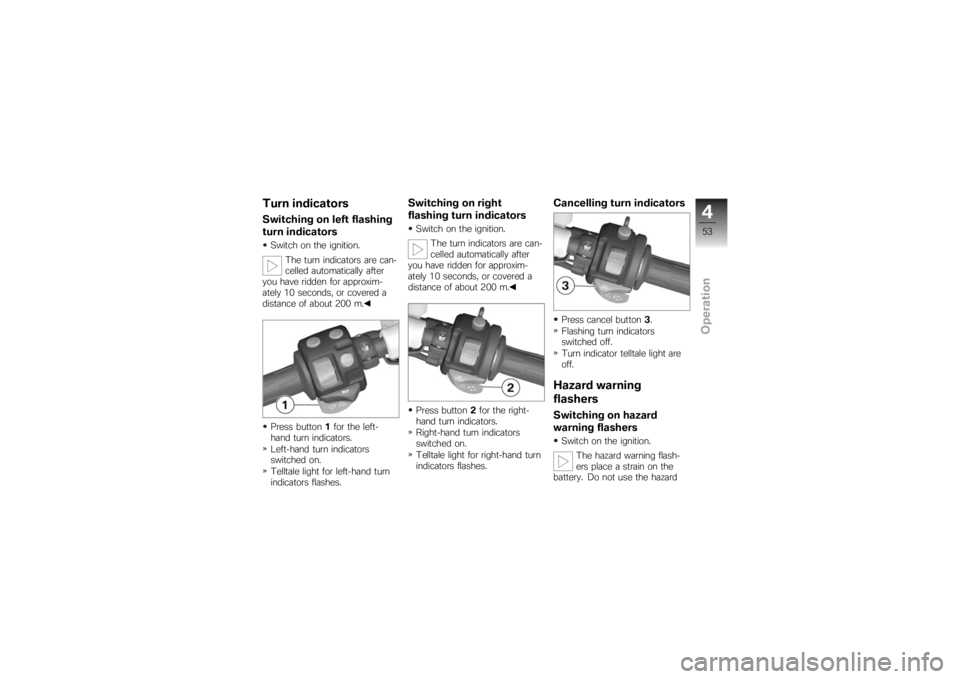
Turn indicatorsSwitching on left flashing
turn indicatorsSwitch on the ignition.The turn indicators are can-
celled automatically after
you have ridden for approxim-
ately 10 seconds, or covered a
distance of about 200 m.
Press button 1for the left-
hand turn indicators.
Left-hand turn indicators
switched on.
Telltale light for left-hand turn
indicators flashes.
Switching on right
flashing turn indicatorsSwitch on the ignition.
The turn indicators are can-
celled automatically after
you have ridden for approxim-
ately 10 seconds, or covered a
distance of about 200 m.
Press button 2for the right-
hand turn indicators.
Right-hand turn indicators
switched on.
Telltale light for right-hand turn
indicators flashes.
Cancelling turn indicatorsPress cancel button 3.
Flashing turn indicators
switched off.
Turn indicator telltale light are
off.Hazard warning
flashersSwitching on hazard
warning flashersSwitch on the ignition.
The hazard warning flash-
ers place a strain on the
battery. Do not use the hazard
453zOperation
Page 56 of 166
warning flashers for longer than
absolutely necessary.If you press a turn-indicat-
or button with the ignition
switched on, the turn-indicator
function is activated instead of
the hazard warning flashers, and
remains active until you release
the button. The hazard warning
flashers recommence flashing as
soon as the button is released.
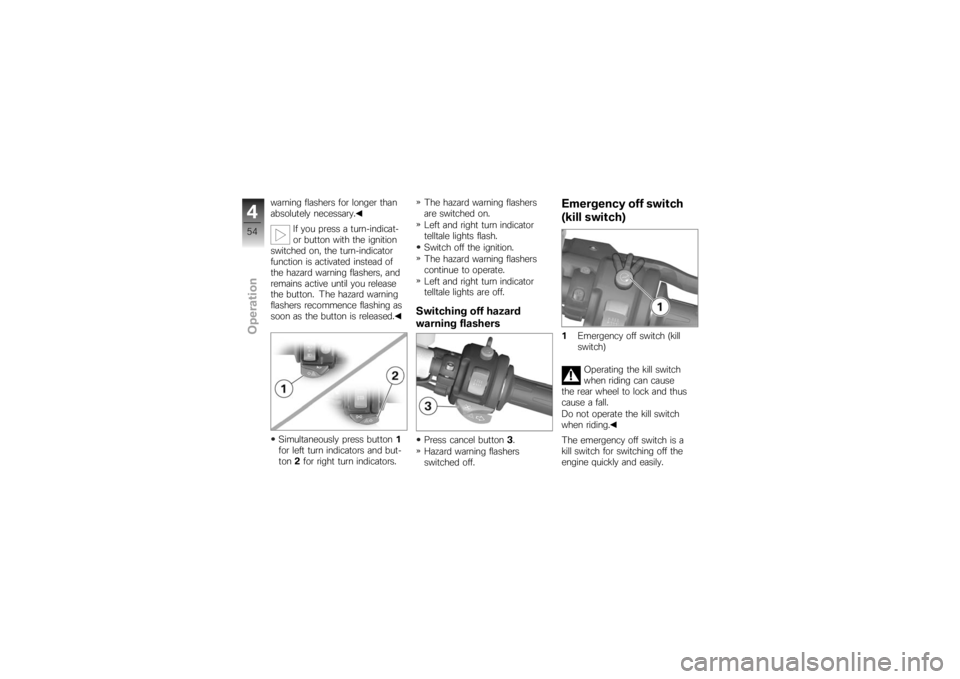
Simultaneously press button 1
for left turn indicators and but-
ton 2for right turn indicators. The hazard warning flashers
are switched on.
Left and right turn indicator
telltale lights flash.
Switch off the ignition.
The hazard warning flashers
continue to operate.
Left and right turn indicator
telltale lights are off.
Switching off hazard
warning flashersPress cancel button
3.
Hazard warning flashers
switched off.
Emergency off switch
(kill switch)1 Emergency off switch (kill
switch)
Operating the kill switch
when riding can cause
the rear wheel to lock and thus
cause a fall.
Do not operate the kill switch
when riding.
The emergency off switch is a
kill switch for switching off the
engine quickly and easily.
454zOperation
Page 57 of 166
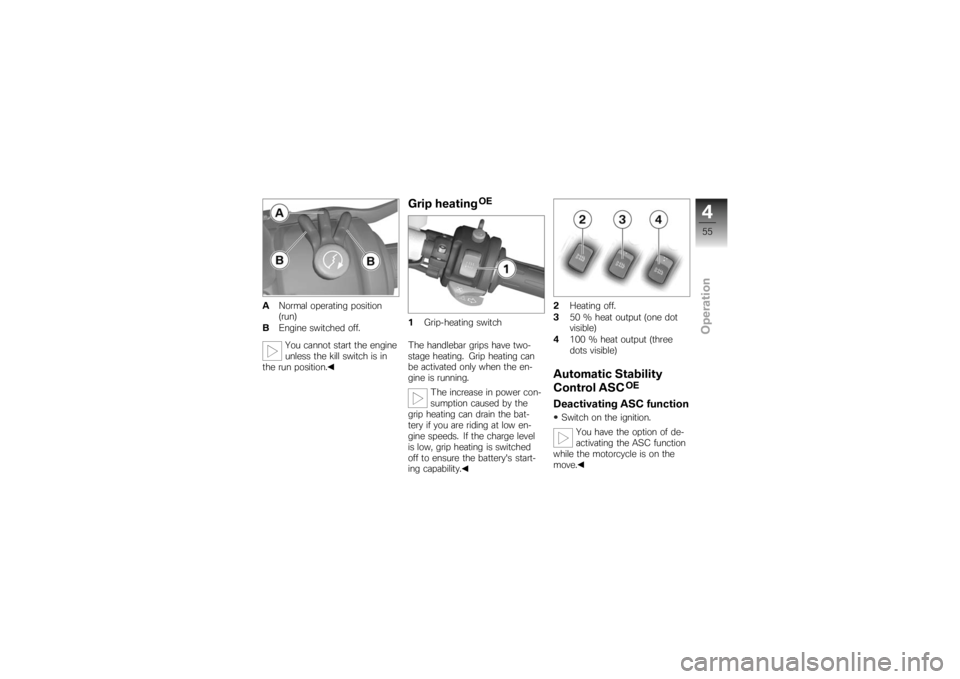
ANormal operating position
(run)
B Engine switched off.
You cannot start the engine
unless the kill switch is in
the run position.
Grip heating
OE
1 Grip-heating switch
The handlebar grips have two-
stage heating. Grip heating can
be activated only when the en-
gine is running. The increase in power con-
sumption caused by the
grip heating can drain the bat-
tery if you are riding at low en-
gine speeds. If the charge level
is low, grip heating is switched
off to ensure the battery's start-
ing capability. 2
Heating off.
3 50 % heat output (one dot
visible)
4 100 % heat output (three
dots visible)
Automatic Stability
Control ASC
OE
Deactivating ASC functionSwitch on the ignition.
You have the option of de-
activating the ASC function
while the motorcycle is on the
move.
455zOperation
Page 58 of 166
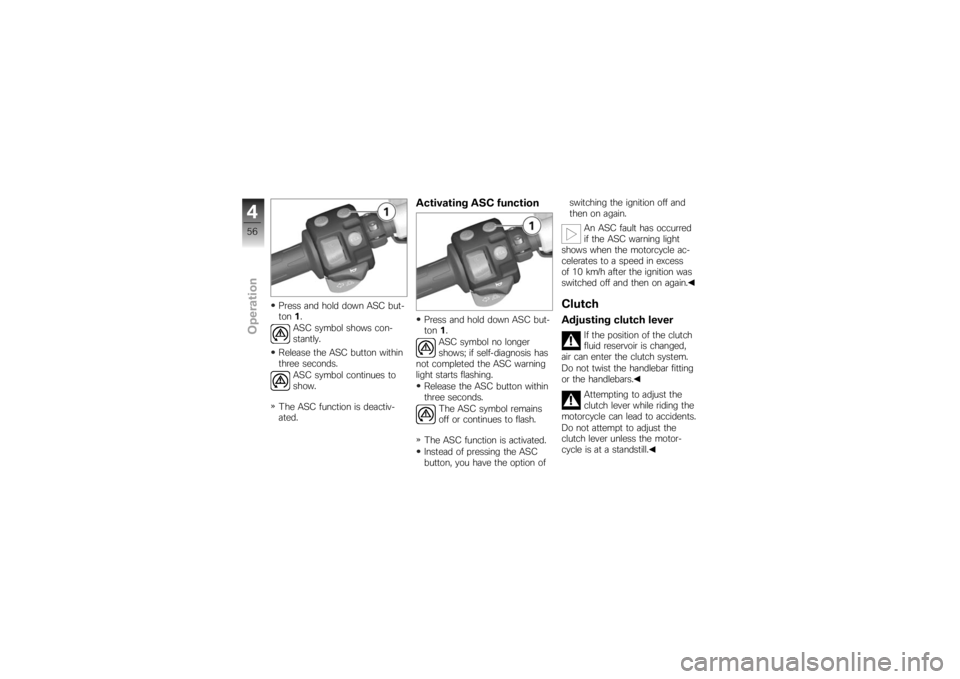
Press and hold down ASC but-
ton1.
ASC symbol shows con-
stantly.
Release the ASC button within
three seconds. ASC symbol continues to
show.
The ASC function is deactiv-
ated.
Activating ASC functionPress and hold down ASC but-
ton 1.
ASC symbol no longer
shows; if self-diagnosis has
not completed the ASC warning
light starts flashing.
Release the ASC button within
three seconds. The ASC symbol remains
off or continues to flash.
The ASC function is activated.
Instead of pressing the ASC
button, you have the option of switching the ignition off and
then on again.
An ASC fault has occurred
if the ASC warning light
shows when the motorcycle ac-
celerates to a speed in excess
of 10 km/h after the ignition was
switched off and then on again.
ClutchAdjusting clutch lever
If the position of the clutch
fluid reservoir is changed,
air can enter the clutch system.
Do not twist the handlebar fitting
or the handlebars.
Attempting to adjust the
clutch lever while riding the
motorcycle can lead to accidents.
Do not attempt to adjust the
clutch lever unless the motor-
cycle is at a standstill.
456zOperation
Page 59 of 166
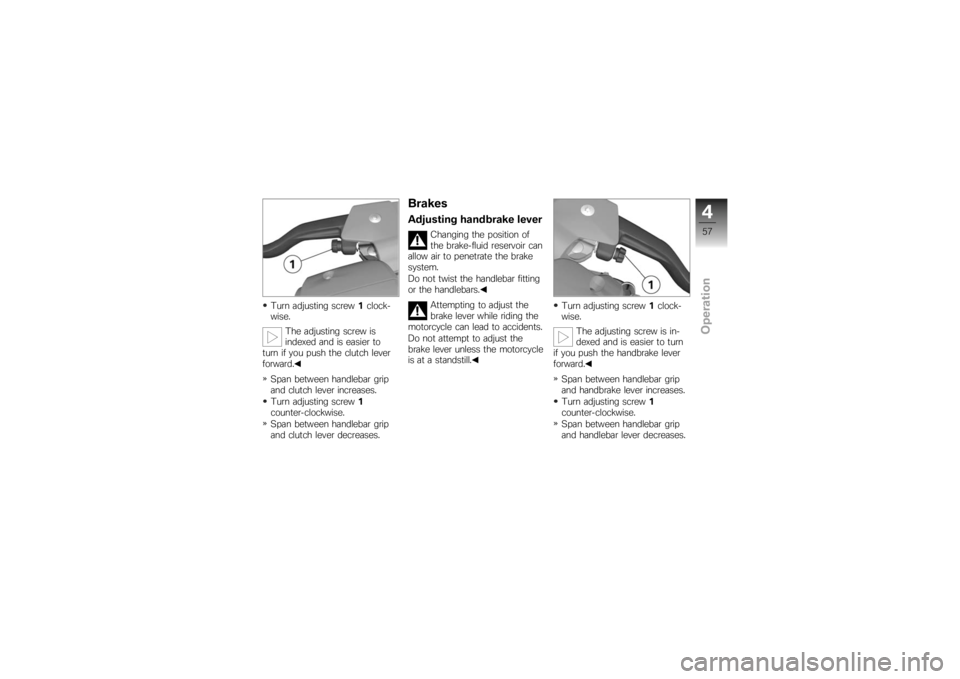
Turn adjusting screw1clock-
wise.
The adjusting screw is
indexed and is easier to
turn if you push the clutch lever
forward.
Span between handlebar grip
and clutch lever increases.
Turn adjusting screw 1
counter-clockwise.
Span between handlebar grip
and clutch lever decreases.
BrakesAdjusting handbrake lever
Changing the position of
the brake-fluid reservoir can
allow air to penetrate the brake
system.
Do not twist the handlebar fitting
or the handlebars.
Attempting to adjust the
brake lever while riding the
motorcycle can lead to accidents.
Do not attempt to adjust the
brake lever unless the motorcycle
is at a standstill. Turn adjusting screw
1clock-
wise.
The adjusting screw is in-
dexed and is easier to turn
if you push the handbrake lever
forward.
Span between handlebar grip
and handbrake lever increases.
Turn adjusting screw 1
counter-clockwise.
Span between handlebar grip
and handlebar lever decreases.
457zOperation
Page 60 of 166
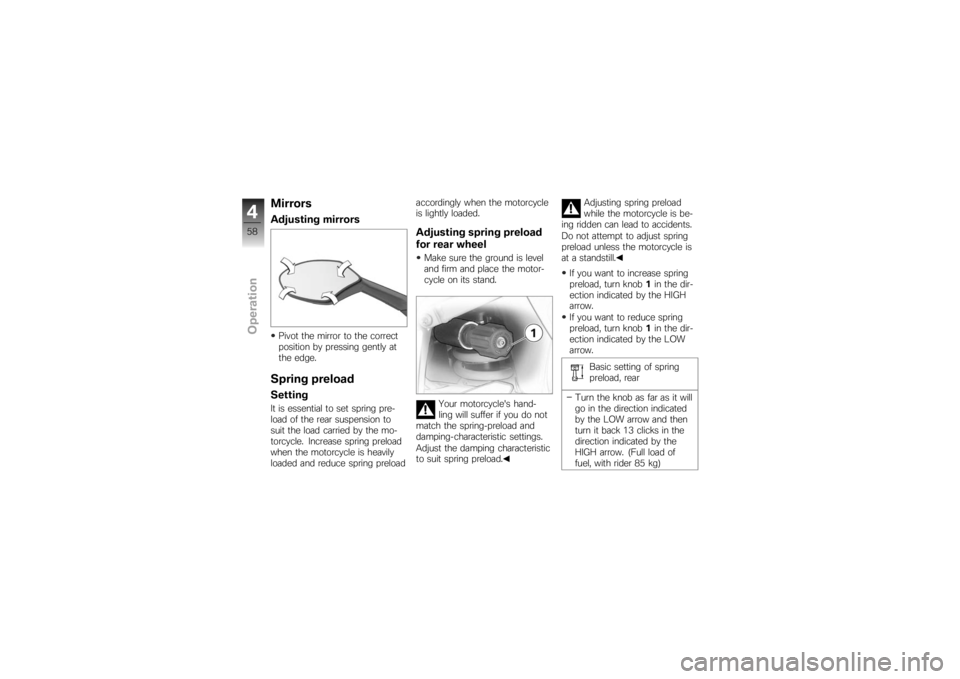
MirrorsAdjusting mirrorsPivot the mirror to the correct
position by pressing gently at
the edge.Spring preloadSettingIt is essential to set spring pre-
load of the rear suspension to
suit the load carried by the mo-
torcycle. Increase spring preload
when the motorcycle is heavily
loaded and reduce spring preloadaccordingly when the motorcycle
is lightly loaded.
Adjusting spring preload
for rear wheelMake sure the ground is level
and firm and place the motor-
cycle on its stand.
Your motorcycle's hand-
ling will suffer if you do not
match the spring-preload and
damping-characteristic settings.
Adjust the damping characteristic
to suit spring preload. Adjusting spring preload
while the motorcycle is be-
ing ridden can lead to accidents.
Do not attempt to adjust spring
preload unless the motorcycle is
at a standstill.
If you want to increase spring
preload, turn knob 1in the dir-
ection indicated by the HIGH
arrow.
If you want to reduce spring
preload, turn knob 1in the dir-
ection indicated by the LOW
arrow.
Basic setting of spring
preload, rear
Turn the knob as far as it will
go in the direction indicated
by the LOW arrow and then
turn it back 13 clicks in the
direction indicated by the
HIGH arrow. (Full load of
fuel, with rider 85 kg)
458zOperation