BUICK CENTURY 1994 Owners Manual
Manufacturer: BUICK, Model Year: 1994, Model line: CENTURY, Model: BUICK CENTURY 1994Pages: 308, PDF Size: 16.3 MB
Page 101 of 308
Interior/Instrument Panel Lights
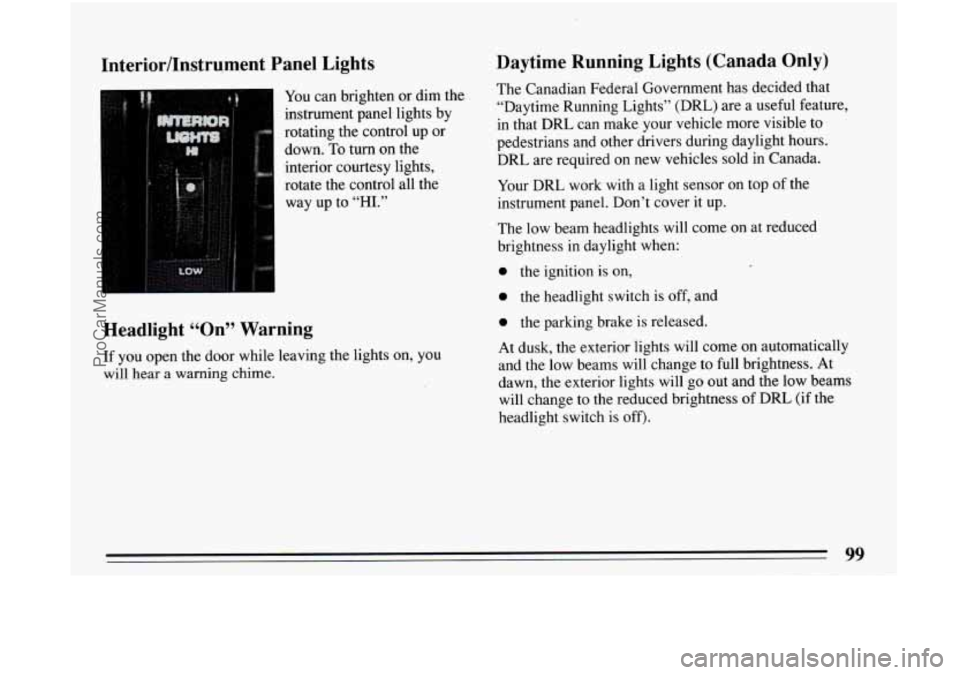
You can brighten or dim the
instrument panel lights by
rotating the control up or
down. To turn on the
interior courtesy lights,
rotate the control all the
way up to
“HI.”
Headlight ccOn99 Warning
If you open the door while leaving the lights on, you
will hear
a warning chime.
Daytime Running Lights (Canada Only)
The Canadian Federal Government has decided that
“Daytime Running Lights” (DRL) are a useful feature,
in that DRL can make your vehicle more visible to
pedestrians and other drivers during daylight hours.
DRL are required on new vehicles sold in Canada.
Your DRL work with a light sensor on top of the
instrument panel. Don’t cover it up.
The low beam headlights will come on at reduced
brightness in daylight when:
0 the ignition is on,
0 the headlight switch is off, and
0 the parking brake is released.
At dusk, the exterior lights will come on automatically
and the low beams will change to full brightness. At
dawn, the exterior lights will go out and the low beams
will change to the reduced brightness
of DRL (if the
headlight switch is off).
99
ProCarManuals.com
Page 102 of 308
Of course, you may still turn on the headlights any time
you need to.
To idle your vehicle with the DRL off, set the parking
brake while the ignition
is in the “Off’ or “Lock”
position. Then start the vehicle. The
DRL will stay off
until you release the parking brake.
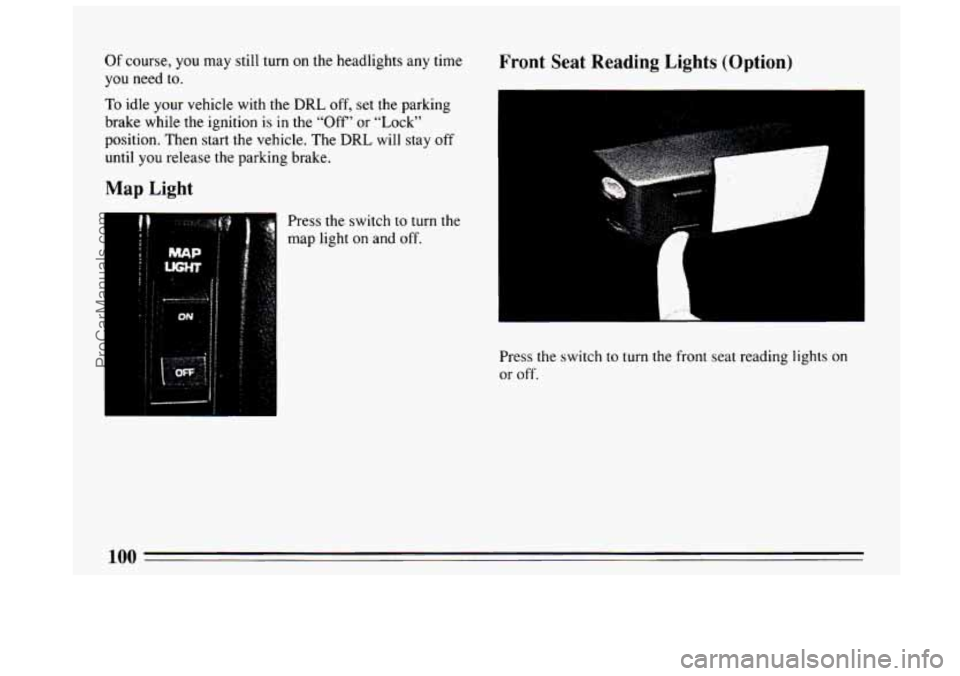
Press the switch to turn the
map light on and off.
Front Seat Reading Lights (Option)
.. . , ..
L
Press the switch to turn the front seat reading lights on
or off.
100
ProCarManuals.com
Page 103 of 308
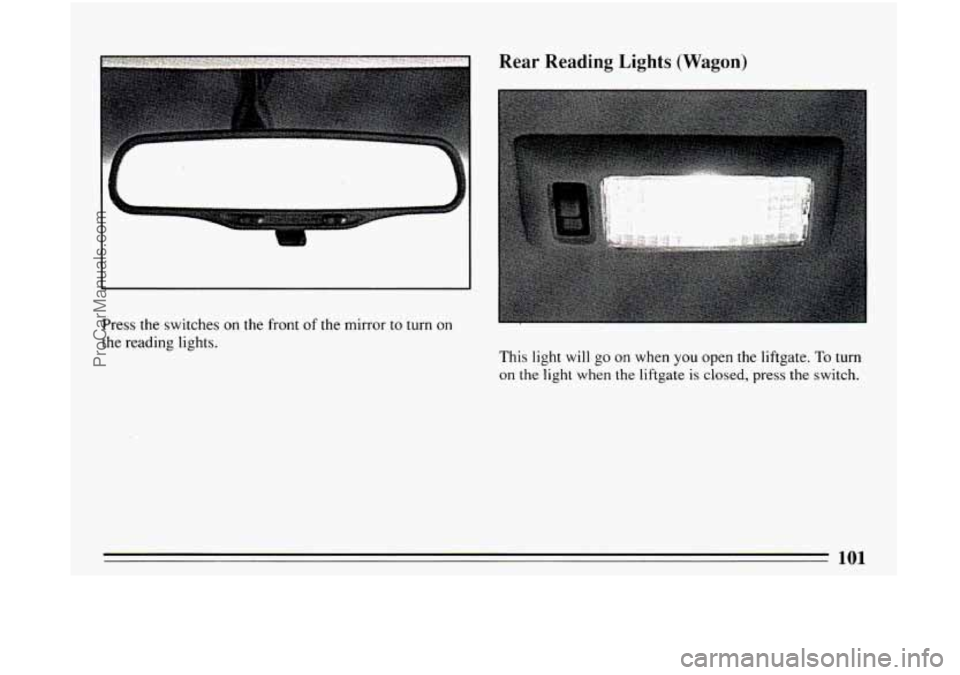
Press the switches on the front of the mirror to turn on
the reading lights.
Rear Reading Lights (Wagon)
This light will go on when you open the liftgate. To turn
on the light when the liftgate is closed, press the switch.
1 A1
ProCarManuals.com
Page 104 of 308
Interior Lights Delay
When you pull on the driver’s outside door handle, the
dome and courtesy lights will go on and stay on for
about
40 seconds, or until you turn the ignition on.
If you pull on the driver’s inside door handle within 30
seconds of switching off the ignition, the interior lights
will go
on and stay on for about 5 seconds, to allow you
to unlock your door(s).
Courtesy Lights
When any door is opened, several lights go on. These
lights are under
the instrument panel. Optional lights are
on the rear doors. They make it easy for you to enter and
leave
the vehicle. You also can turn these lights on by
rotating the interior lights switch to
“HI.”
Mirrors
Inside Mirror
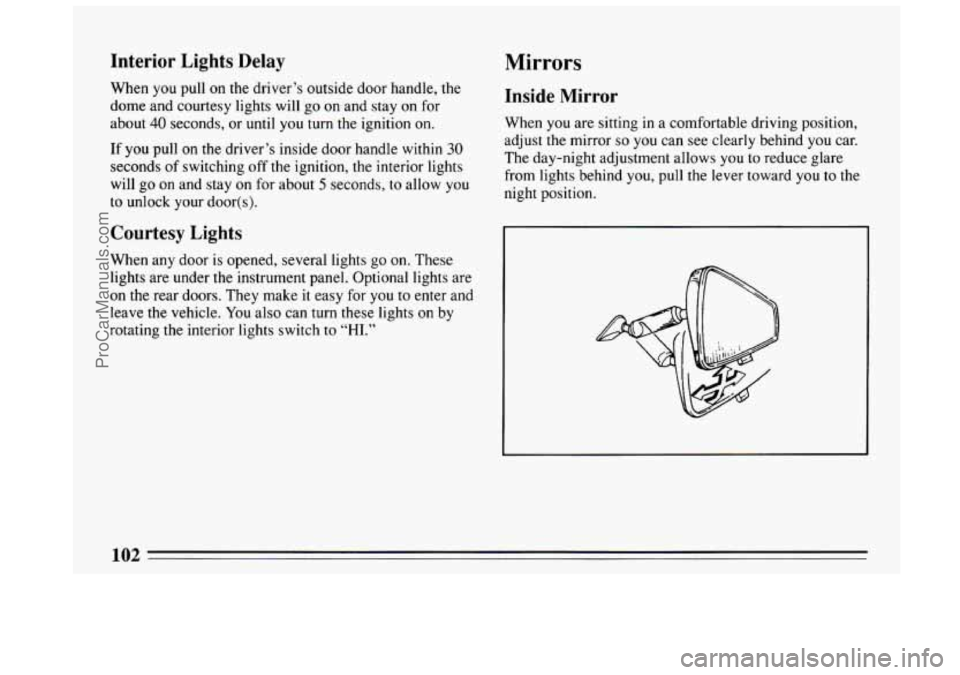
When you are sitting in a comfortable driving position,
adjust the mirror
so you can see clearly behind you car.
The day-night adjustment allows
you to reduce glare
from lights behind you, pull the lever toward
you to the
night position.
1 A3
ProCarManuals.com
Page 105 of 308
Outside Mirrors Power (Option)
Manual
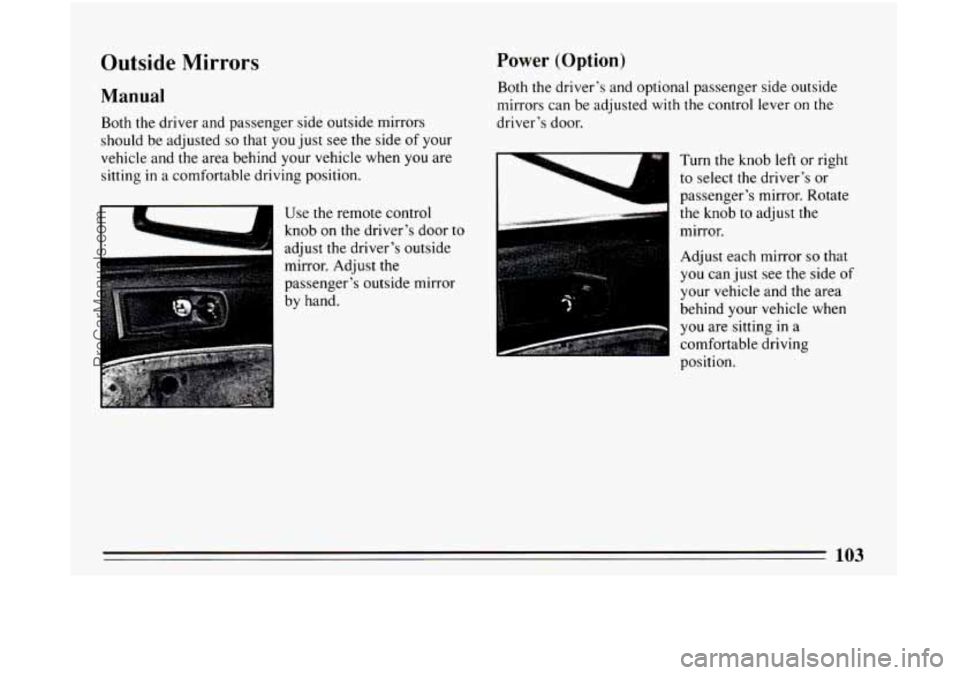
Both the driver and passenger side outside mirrors
should be adjusted
so that you just see the side of your
vehicle and the area behind your vehicle when you are
sitting in a comfortable driving position.
Use the remote control
knob on the driver’s door to
adjust the driver’s outside
mirror. Adjust the
passenger’s outside mirror
by hand. Both
the driver’s and optional passenger side outside
mirrors can be adjusted
with the control lever on the
driver’s door.
Turn the knob
left or right
to select the driver’s or
passenger’s mirror. Rotate
mirror.
!!!!!!! the knob to adjust the
Adjust each mirror
so that
you can just see the side of
your vehicle and the area
behind your vehicle when
you are sitting in a
comfortable driving
position.
103
ProCarManuals.com
Page 106 of 308
Convex Outside Mirror Lighted Visor Vanity Mirror (Option)
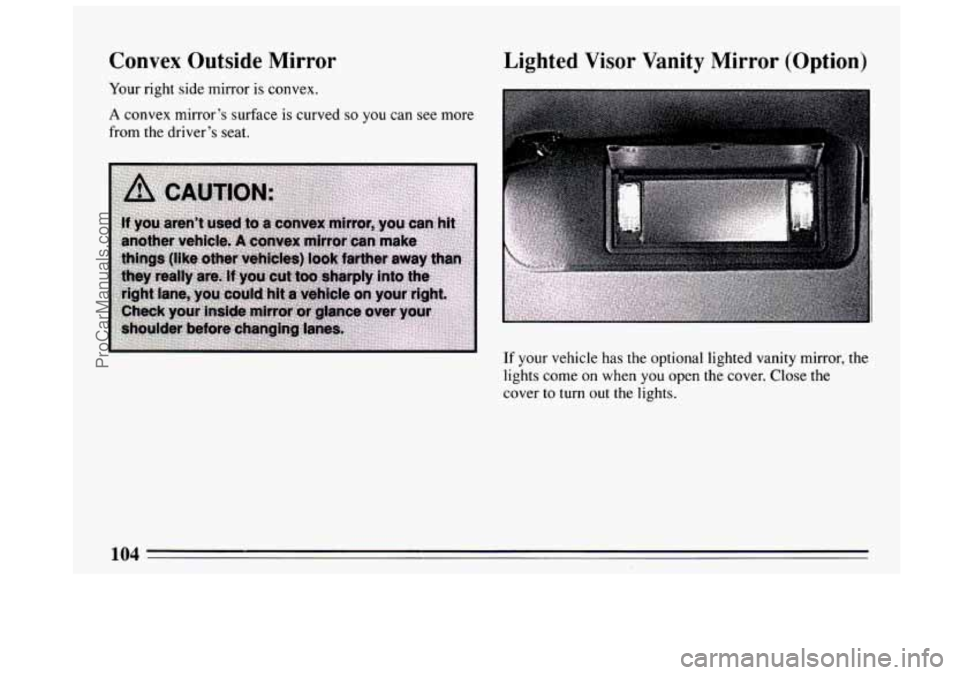
Your right side mirror is convex.
A convex mirror’s surface is curved so you can see more
from the driver’s seat.
If your vehicle has the optional lighted vanity mirror, the
lights come
on when you open the cover. Close the
cover
to turn out the lights.
104
ProCarManuals.com
Page 107 of 308
Convenience Net (Option)
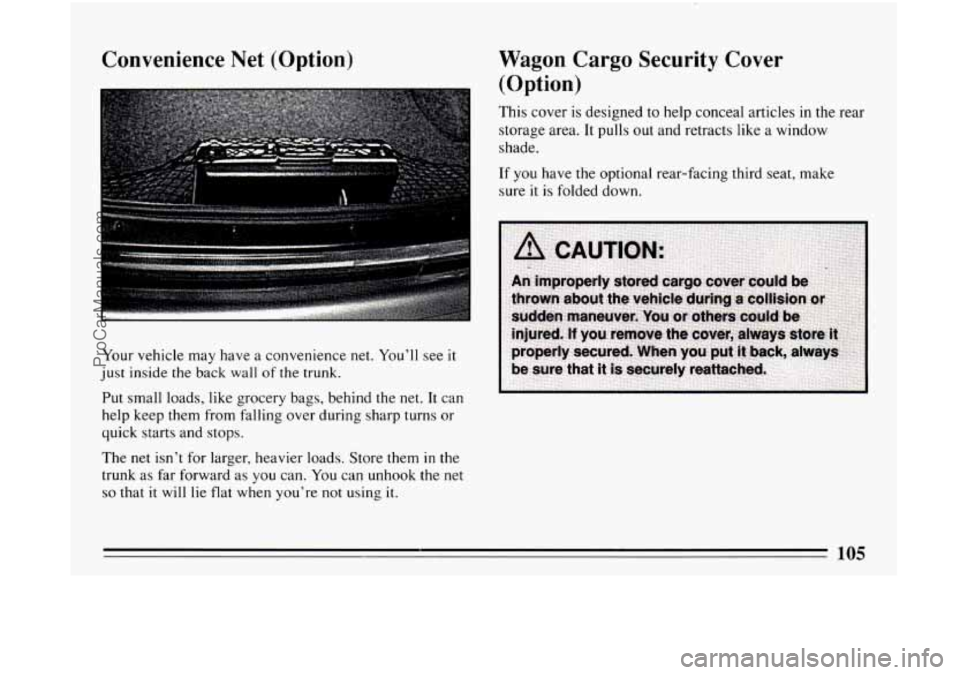
Your vehicle may have a convenience net. You’ll see it
just inside the back wall of the trunk.
Put small loads, like grocery bags, behind the
net. It can
help keep them from falling over during sharp turns or
quick starts and stops.
The net isn’t for larger, heavier loads. Store them
in the
trunk as far forward as you can. You can unhook the net
so that it will lie flat when you’re not using it.
Wagon Cargo Security Cover
(Option)
This cover is designed to help conceal articles in the rear
storage area.
It pulls out and retracts like a window
shade.
If you have the optional rear-facing third seat, make
sure
it is folded down.
ProCarManuals.com
Page 108 of 308
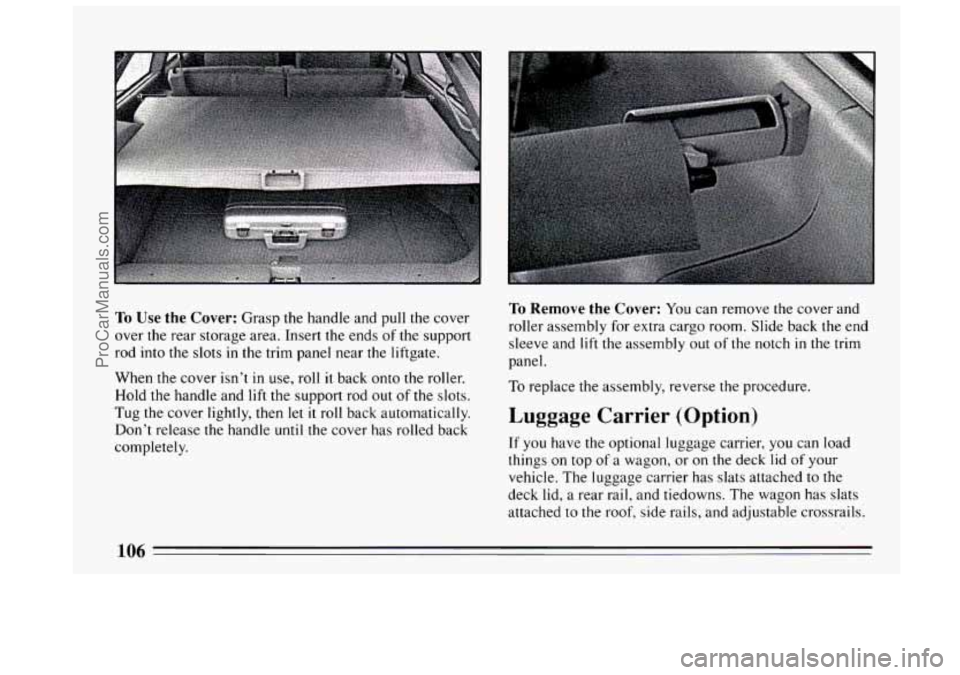
To Use the Cover: Grasp the handle and pull the cover
over the rear storage area. Insert the ends of the support
rod into the slots
in the trim panel near the liftgate.
When the cover
isn’t in use, roll it back onto the roller.
Hold the handle and
lift the support rod out of the slots.
Tug the cover lightly, then let it roll back automatically.
Don’t release the handle
until the cover has rolled back
completely.
To Remove the Cover: You can remove the cover and
roller assembly for extra cargo room. Slide back the end
sleeve and
lift the assembly out of the notch in the trim
panel.
To replace the assembly, reverse the procedure.
Luggage Carrier (Option)
If you have the optional luggage carrier, you can load
things on top
of a wagon, or on the deck lid of your
vehicle. The luggage carrier
has slats attached to the
deck lid, a rear rail, and tiedowns. The wagon has slats
attached
to the roof, side rails, and adjustable crossrails.
106
ProCarManuals.com
Page 109 of 308
The crossrails can be adjusted by loosening the screws.
After
moving the crossrails, be sure to tighten the
screws securely.
I
I NOTICE:
Loading cargo that weighs more than 50 pounds
(23 kg) for the deck lid or 200 pounds (90 kg) for
the roof on the luggage carrier may damage your
vehicle. When you carry large things, never let
them hang over the rear or the sides
of your
vehicle. Load your cargo
so that it rests on the
slats and does not scratch or damage the
vehicle. Put the cargo against
the rear rail of the
deck lid carrier and fasten
it securely. On the
wagon, put the cargo against the side rails of the
roof carrier and fasten
it securely.
Don’t exceed the maximum vehicle capacity when
loading your Buick. For more information on vehicle
capacity and loading, see “Loading Your Vehicle”
in the
Index.
To prevent damage or loss of cargo as you’re driving,
check now and then to make sure the luggage carrier
and cargo are still securely fastened.
Storage Armrest (Option)
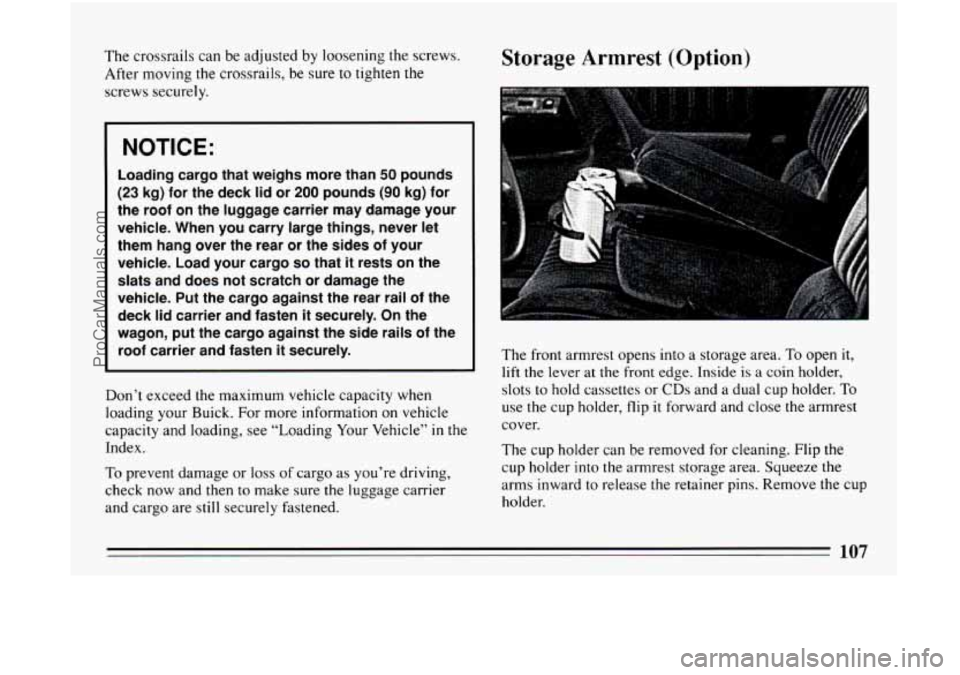
The front armrest opens into a storage area. To open it,
lift the lever at the front edge. Inside is a coin holder,
slots to hold cassettes or CDs and a dual cup holder.
To
use the cup holder, flip it forward and close the armrest
cover.
The cup holder can be removed for cleaning. Flip the
cup holder into
the armrest storage area. Squeeze the
arms inward to release the retainer pins. Remove the cup
holder.
107
ProCarManuals.com
Page 110 of 308
The armrest can be raised so that a passenger can sit in
the center position.
Rear Locking Storage Compartment
(Wagon)
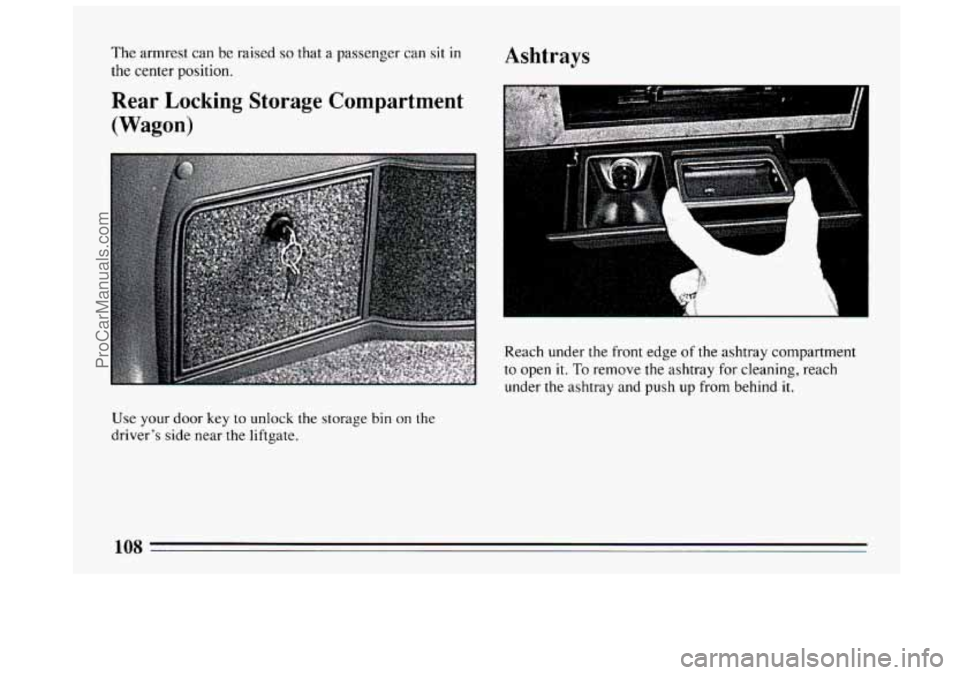
Use your door key to unlock the storage bin on the
driver’s side near the liftgate.
Ashtrays
Reach under the front edge of the ashtray compartment
to open
it. To remove the ashtray for cleaning, reach
under the ashtray and
push up from behind it.
108
ProCarManuals.com