CADILLAC ESCALADE 2010 3.G Owners Manual
Manufacturer: CADILLAC, Model Year: 2010, Model line: ESCALADE, Model: CADILLAC ESCALADE 2010 3.GPages: 616, PDF Size: 39.41 MB
Page 271 of 616
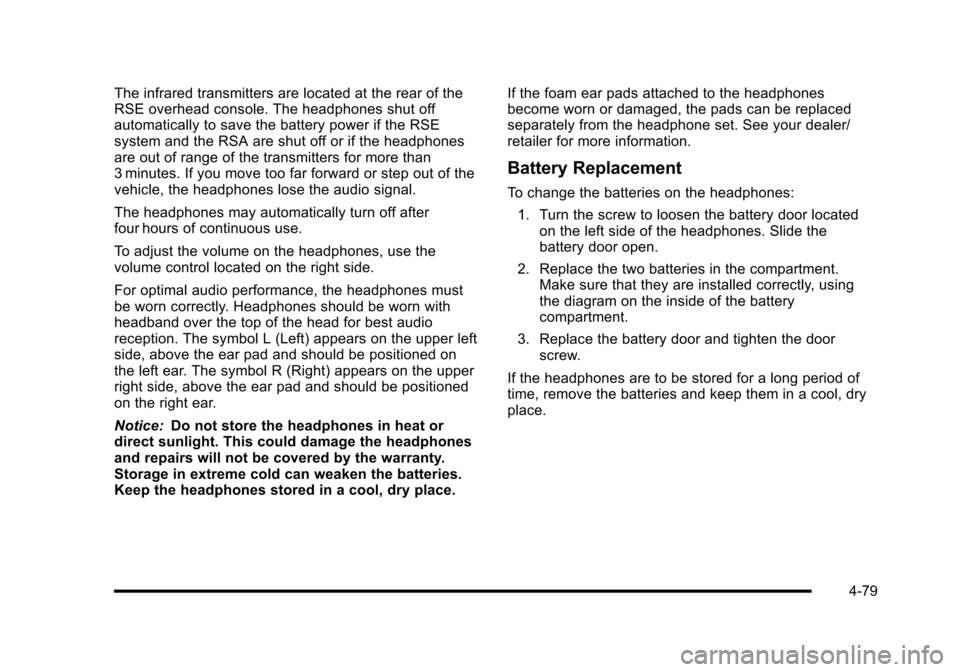
The infrared transmitters are located at the rear of theRSE overhead console. The headphones shut offautomatically to save the battery power if the RSEsystem and the RSA are shut off or if the headphonesare out of range of the transmitters for more than3 minutes. If you move too far forward or step out of thevehicle, the headphones lose the audio signal.
The headphones may automatically turn off afterfour hours of continuous use.
To adjust the volume on the headphones, use thevolume control located on the right side.
For optimal audio performance, the headphones mustbe worn correctly. Headphones should be worn withheadband over the top of the head for best audioreception. The symbol L (Left) appears on the upper leftside, above the ear pad and should be positioned onthe left ear. The symbol R (Right) appears on the upperright side, above the ear pad and should be positionedon the right ear.
Notice:Do not store the headphones in heat ordirect sunlight. This could damage the headphonesand repairs will not be covered by the warranty.Storage in extreme cold can weaken the batteries.Keep the headphones stored in a cool, dry place.
If the foam ear pads attached to the headphonesbecome worn or damaged, the pads can be replacedseparately from the headphone set. See your dealer/retailer for more information.
Battery Replacement
To change the batteries on the headphones:
1. Turn the screw to loosen the battery door locatedon the left side of the headphones. Slide thebattery door open.
2. Replace the two batteries in the compartment.Make sure that they are installed correctly, usingthe diagram on the inside of the batterycompartment.
3. Replace the battery door and tighten the doorscrew.
If the headphones are to be stored for a long period oftime, remove the batteries and keep them in a cool, dryplace.
4-79
Page 272 of 616

Audio/Video (A/V) Jacks
The A/V jacks are located on the rear of the floorconsole. The A/V jacks allow audio or video signals tobe connected from an auxiliary device such as acamcorder or a video game unit to the RSE system.Adapter connectors or cables (not included) maybe required to connect the auxiliary device to theA/V jacks. Refer to the manufacturer’s instructionsfor proper usage.
The A/V jacks are color coded to match typical homeentertainment system equipment. The yellow jack (A) isfor the video input. The white jack (B) is for the leftaudio input. The red jack (C) is for the right audio input.
Power for auxiliary devices is not supplied by the radiosystem.
To use the auxiliary inputs of the RSE system, connectan external auxiliary device to the color-coded A/V jacksand turn both the auxiliary device and the video screenpower on. If the video screen is in the DVD playermode, pressing the AUX (auxiliary) button on theremote control switches the video screen from the DVDplayer mode to the auxiliary device. The radio plays theaudio of the connected auxiliary device by sourcing toauxiliary. SeeNavigation Audio Systemon page 5!60for more information.
For optimal sound quality, increase the portable audiodevice's volume to the loudest level. Higher levels ofvolume decreases audio distortion.
It is always best to power a portable audio devicethrough its own battery while playing.
4-80
Page 273 of 616
How to Change the RSE Video Screen
Settings
The screen display mode (normal, full, and zoom),screen brightness, and setup menu language can bechanged from the on screen setup menu. To changeany feature, perform the following:
1. Press thezbutton on the remote control.
2. Use the remote controlQ,R,q,rnavigation
arrows and therbutton to use the setup menu.
3. Press thezbutton again to remove the setup
menu from the screen.
Audio Output
Audio from the DVD player or auxiliary inputs can beheard through the following possible sources:
.Wireless Headphones
.Vehicle Speakers
.Vehicle wired headphone jacks on the rear seataudio system, if the vehicle has this feature.
The RSE system always transmits the audio signal tothe wireless headphones, if there is audio available.See“Headphones”earlier in this section for moreinformation.
The DVD player is capable of outputting audio to thewired headphone jacks on the RSA system, if thevehicle has this feature. The DVD player can beselected as an audio source on the RSA system. SeeRear Seat Audio (RSA)on page 4!103for moreinformation.
When a device is connected to the A/V jacks, the rearseat passengers are be able to hear audio from theauxiliary device through the wireless or wiredheadphones. The front seat passengers are able tolisten to playback from this device through the vehiclespeakers by selecting AUX as the source on the radio.
Video Screen(s)
The video screen(s) are located in the overheadconsole.
To use the video screen(s):
1. Push the release button located on the overheadconsole.
2. Move the screen to the desired position.
When the video screen is not in use, push it up into itslocked position.
If a DVD is playing and the screen is raised to its lockedposition, the screen remains on, this is normal, and theDVD continues to play through the previous audiosource. Use the remote control power button or ejectthe disc to turn off the screen.
4-81
Page 274 of 616
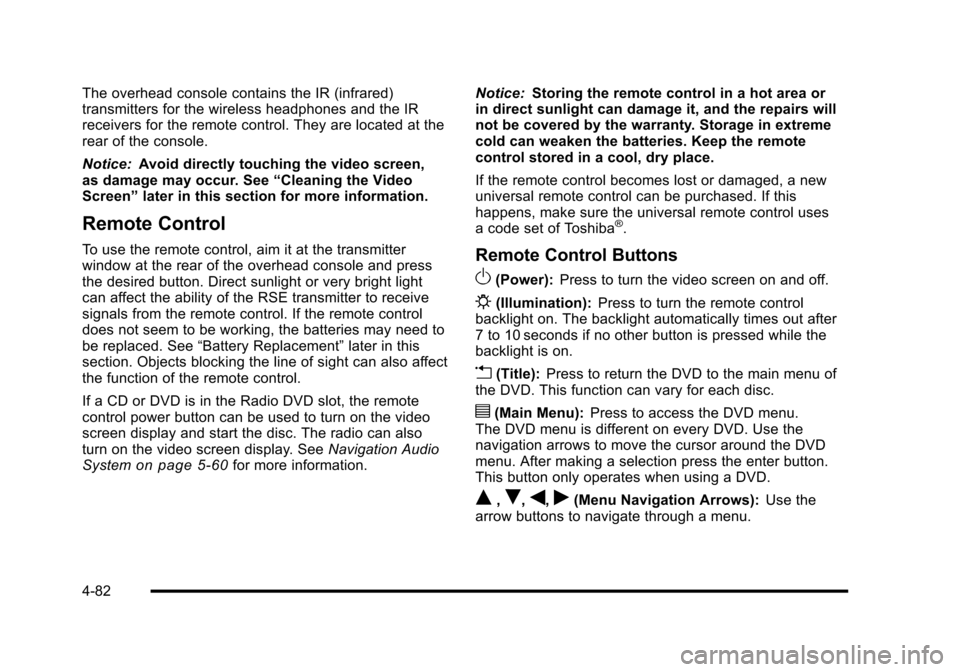
The overhead console contains the IR (infrared)transmitters for the wireless headphones and the IRreceivers for the remote control. They are located at therear of the console.
Notice:Avoid directly touching the video screen,as damage may occur. See“Cleaning the VideoScreen”later in this section for more information.
Remote Control
To use the remote control, aim it at the transmitterwindow at the rear of the overhead console and pressthe desired button. Direct sunlight or very bright lightcan affect the ability of the RSE transmitter to receivesignals from the remote control. If the remote controldoes not seem to be working, the batteries may need tobe replaced. See“Battery Replacement”later in thissection. Objects blocking the line of sight can also affectthe function of the remote control.
If a CD or DVD is in the Radio DVD slot, the remotecontrol power button can be used to turn on the videoscreen display and start the disc. The radio can alsoturn on the video screen display. SeeNavigation AudioSystemon page 5!60for more information.
Notice:Storing the remote control in a hot area orin direct sunlight can damage it, and the repairs willnot be covered by the warranty. Storage in extremecold can weaken the batteries. Keep the remotecontrol stored in a cool, dry place.
If the remote control becomes lost or damaged, a newuniversal remote control can be purchased. If thishappens, make sure the universal remote control usesa code set of Toshiba®.
Remote Control Buttons
O(Power):Press to turn the video screen on and off.
P(Illumination):Press to turn the remote controlbacklight on. The backlight automatically times out after7 to 10 seconds if no other button is pressed while thebacklight is on.
v(Title):Press to return the DVD to the main menu ofthe DVD. This function can vary for each disc.
y(Main Menu):Press to access the DVD menu.The DVD menu is different on every DVD. Use thenavigation arrows to move the cursor around the DVDmenu. After making a selection press the enter button.This button only operates when using a DVD.
Q,R,q,r(Menu Navigation Arrows):Use thearrow buttons to navigate through a menu.
4-82
Page 275 of 616

r(Enter):Press to select the choice that ishighlighted in any menu.
z(Display Menu):Press to adjust the brightness,screen display mode (normal, full, or zoom), and displaythe language menu.
q(Return):Press to exit the current active menu andreturn to the previous menu. This button operates onlywhen the display menu or a DVD menu is active.
c(Stop):Press to stop playing, fast reversing, or fastforwarding a DVD. Press twice to return to thebeginning of the DVD.
s(Play/Pause):Press to start playing a DVD. Presswhile a DVD is playing to pause it. Press again tocontinue playing the DVD.
When the DVD is playing, depending on the radio,perform slow play by pressing the play/pause buttonthen pressing the fast forward button. The DVDcontinues playing in a slow play mode. Depending onthe radio, perform reverse slow play by pressing theplay/pause button and then pressing the fast reversebutton. To cancel slow play mode, press the play/pausebutton.
t(Previous Track/Chapter):Press to return to thestart of the current track or chapter. Press again to go tothe previous track or chapter. This button might notwork when the DVD is playing the copyright informationor the previews.
u(Next Track/Chapter):Press to go to the beginningof the next chapter or track. This button might not workwhen the DVD is playing the copyright information orthe previews.
r(Fast Reverse):Press to fast reverse the DVD orCD. To stop fast reversing a DVD video, press the play/pause button. To stop fast reversing a DVD audio orCD, release the fast reverse button. This button mightnot work when the DVD is playing the copyrightinformation or the previews.
[(Fast Forward):Press to fast forward the DVD orCD. To stop fast forwarding a DVD video, press theplay/pause button. To stop fast forwarding a DVD audioor CD, release the fast forward button. This buttonmight not work when the DVD is playing the copyrightinformation or the previews.
e(Audio):Press to change audio tracks on DVDs thathave this feature when the DVD is playing. The formatand content of this function vary for each disc.
{(Subtitles):Press to turn ON/OFF subtitles and tomove through subtitle options when a DVD is playing.The format and content of this function varies foreach disc.
4-83
Page 276 of 616
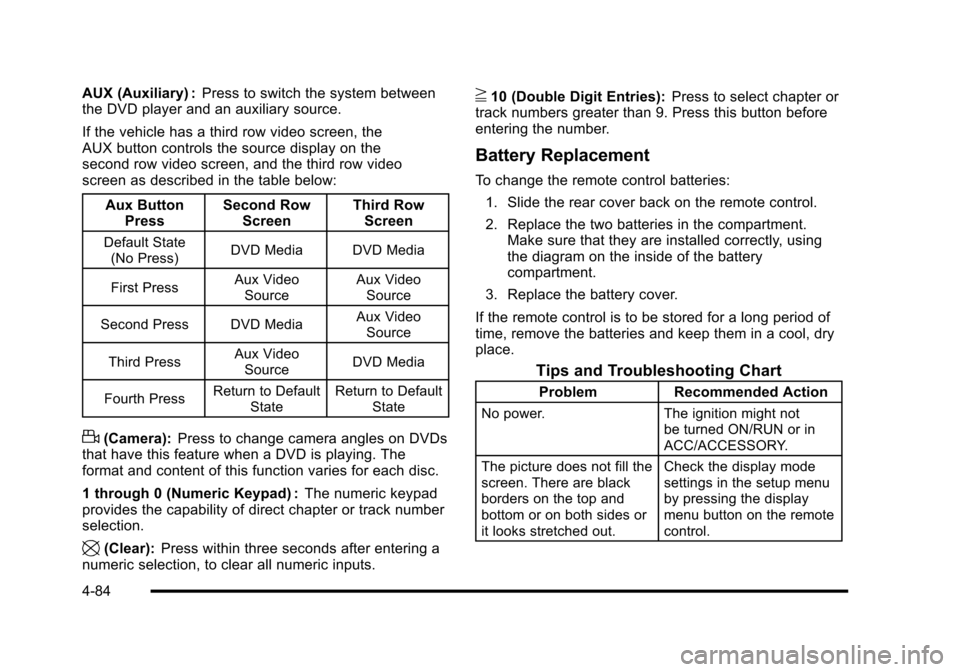
AUX (Auxiliary) :Press to switch the system betweenthe DVD player and an auxiliary source.
If the vehicle has a third row video screen, theAUX button controls the source display on thesecond row video screen, and the third row videoscreen as described in the table below:
Aux ButtonPressSecond RowScreenThird RowScreen
Default State(No Press)DVD MediaDVD Media
First PressAux VideoSourceAux VideoSource
Second Press DVD MediaAux VideoSource
Third PressAux VideoSourceDVD Media
Fourth PressReturn to DefaultStateReturn to DefaultState
d(Camera):Press to change camera angles on DVDsthat have this feature when a DVD is playing. Theformat and content of this function varies for each disc.
1 through 0 (Numeric Keypad) :The numeric keypadprovides the capability of direct chapter or track numberselection.
\(Clear):Press within three seconds after entering anumeric selection, to clear all numeric inputs.
}10 (Double Digit Entries):Press to select chapter ortrack numbers greater than 9. Press this button beforeentering the number.
Battery Replacement
To change the remote control batteries:
1. Slide the rear cover back on the remote control.
2. Replace the two batteries in the compartment.Make sure that they are installed correctly, usingthe diagram on the inside of the batterycompartment.
3. Replace the battery cover.
If the remote control is to be stored for a long period oftime, remove the batteries and keep them in a cool, dryplace.
Tips and Troubleshooting Chart
ProblemRecommended Action
No power.The ignition might notbe turned ON/RUN or inACC/ACCESSORY.
The picture does not fill thescreen. There are blackborders on the top andbottom or on both sides orit looks stretched out.
Check the display modesettings in the setup menuby pressing the displaymenu button on the remotecontrol.
4-84
Page 277 of 616

Tips and Troubleshooting Chart (cont'd)
ProblemRecommended Action
In auxiliary mode, thepicture moves or scrolls.Check the auxiliary inputconnections at bothdevices.
The remote control doesnot work.Check to make sure thereis no obstruction betweenthe remote control and thetransmitter window.Check the batteries tomake sure they are notdead or installedincorrectly.
After stopping the player,I push Play but sometimesthe DVD starts where I leftoff and sometimes at thebeginning.
If the stop button waspressed one time, the DVDplayer resumes playingwhere the DVD wasstopped. If the stop buttonwas pressed two times theDVD player begins to playfrom the beginning ofthe DVD.
Tips and Troubleshooting Chart (cont'd)
ProblemRecommended Action
The auxiliary source isrunning but there is nopicture or sound.
Check that the RSE videoscreen is in the auxiliarysource mode.Check the auxiliary inputconnections at bothdevices.
Sometimes the wirelessheadphone audio cuts outor buzzes.
Check for obstructions, lowbatteries, reception range,and interference fromcellular telephone towers orby using a cellulartelephone in the vehicle.Check that the headphonesare on correctly using theL (left) and R (right) on theheadphones.
I lost the remote and/or theheadphones.See your dealer/retailer forassistance.
The DVD is playing, butthere is no picture orsound.
Check that the RSE videoscreen is sourced to theDVD player.
4-85
Page 278 of 616
DVD Display Error Messages
The DVD display error message depends on whichradio the vehicle has. The video screen might displayone of the following:
Disc Load/Eject Error :Displays when there are discload or eject problems.
Disc Format Error :Displays if the disc is inserted withthe disc label wrong side up, or if the disc is damaged.
Disc Region Error :Displays, if the disc is not from acorrect region.
No Disc Inserted :Displays, if no disc is present whenZor DVD AUX is pressed on the radio.
DVD Distortion
Video distortion may occur when operating cellularphones, scanners, CB radios, Global Position Systems(GPS)*, two-way radios, mobile fax, or walkie talkies.
It might be necessary to turn off the DVD player whenoperating one of these devices in or near the vehicle.
*Excludes the OnStar®System.
Cleaning the RSE Overhead Console
When cleaning the RSE overhead console surface, useonly a clean cloth dampened with clean water.
Cleaning the Video Screen
When cleaning the video screen, use only a clean clothdampened with clean water. Use care when directlytouching or cleaning the screen, as damage can result.
Rear Seat Entertainment (RSE)
System (Headrest DVD)
Vehicles with an RSE system include two head restraintvideo display screens with integrated DVD players,auxiliary inputs, two wireless headphones, and a remotecontrol. This system works independently from thevehicle's Overhead DVD RSE system. See the vehicle'sowners manual for information about the OverheadDVD RSE system.
The vehicle has a feature called Retained AccessoryPower (RAP). With RAP, the RSE system can be playedeven after the ignition is turned off. See“RetainedAccessory Power (RAP)”in the owners manual for moreinformation.
4-86
Page 279 of 616
Video Display Screens
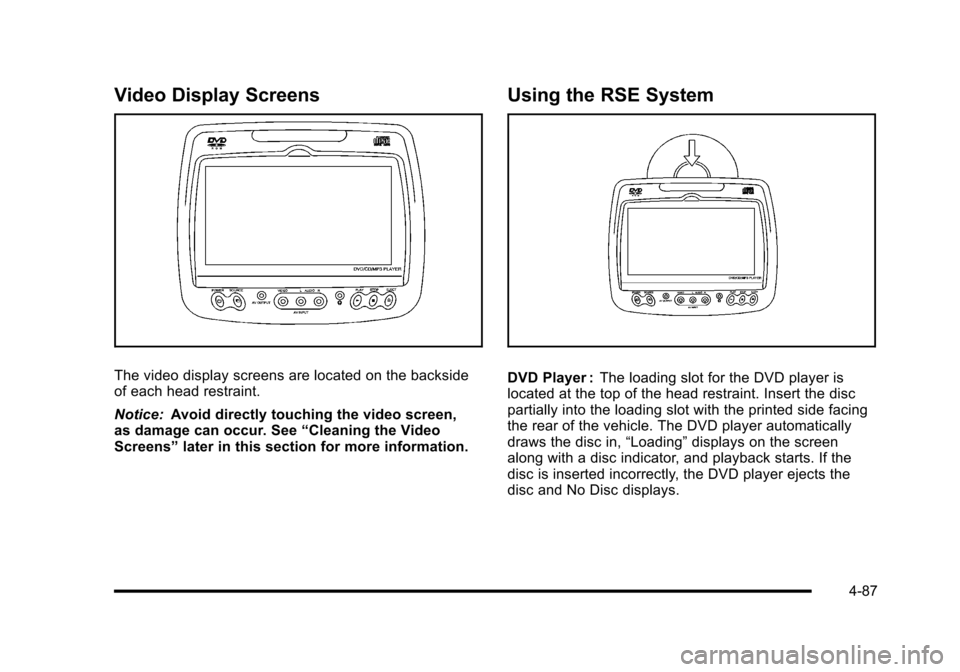
The video display screens are located on the backsideof each head restraint.
Notice:Avoid directly touching the video screen,as damage can occur. See“Cleaning the VideoScreens”later in this section for more information.
Using the RSE System
DVD Player :The loading slot for the DVD player islocated at the top of the head restraint. Insert the discpartially into the loading slot with the printed side facingthe rear of the vehicle. The DVD player automaticallydraws the disc in,“Loading”displays on the screenalong with a disc indicator, and playback starts. If thedisc is inserted incorrectly, the DVD player ejects thedisc and No Disc displays.
4-87
Page 280 of 616

Some DVDs do not allow fast forwarding or skipping ofthe copyright information or previews. If the DVD doesnot begin playing at the main title, refer to the on-screeninstructions.
The DVD player can be controlled by using the buttonslocated below the video display screen or by using thebuttons on the system’s remote control. See“RemoteControl”later for more information.
The following discs are compatible with the DVD player:
.DVD-Video: A DVD that has video.
.CD-DA: A CD that has music or soundcontent only.
.CD-Video: A CD that has a movie.
.CD-R/RW: A disc that has audio files such asCD-R with downloaded MP3 files, MPEG, orJPEG files.
The DVD player and discs are coded by global region.The DVD players are set to Region 1. Discs with otherregion codes will not work in the players.
If an error message displays on the video screen, see“DVD Messages”later in this section.
While the vehicle is moving, passengers should notunfasten their safety belts to make adjustments to thevideo screen control buttons. See“Safety Belts”under,Seats and Restraint Systems in the vehicle’s ownermanual. Use the remote control for any necessaryadjustments. See“Remote Control”later in thissupplement.
POWERO:Press to turn the power on or off. Each
video screen can be powered on or off independently.
EJECTX:Press to eject a disc from the DVD slot.
If a disc is ejected from the player, but not removed, itwill automatically reload into the player. Another way toreload a disc that has been ejected, but not removedfrom the DVD player, is to press the eject button or theplay button.
PLAYr:Press this button located below the video
display screen to start playback of a disc. On DVDs andvideo CDs with playback control (PBC), menu screenscan display automatically. It might be necessary topress the play button again to begin play.
There is a play position memory feature for DVD andvideo CD only. If the DVD player is turned off and thenturned back on, the DVD player resumes playbackwhere the disc stopped. The play position memory iserased if the disc is removed.
4-88