CHEVROLET ASTRO PASSENGER 1994 1.G Owners Manual
Manufacturer: CHEVROLET, Model Year: 1994, Model line: ASTRO PASSENGER, Model: CHEVROLET ASTRO PASSENGER 1994 1.GPages: 340, PDF Size: 16.86 MB
Page 101 of 340
Downloaded from www.Manualslib.com manuals search engine Lights
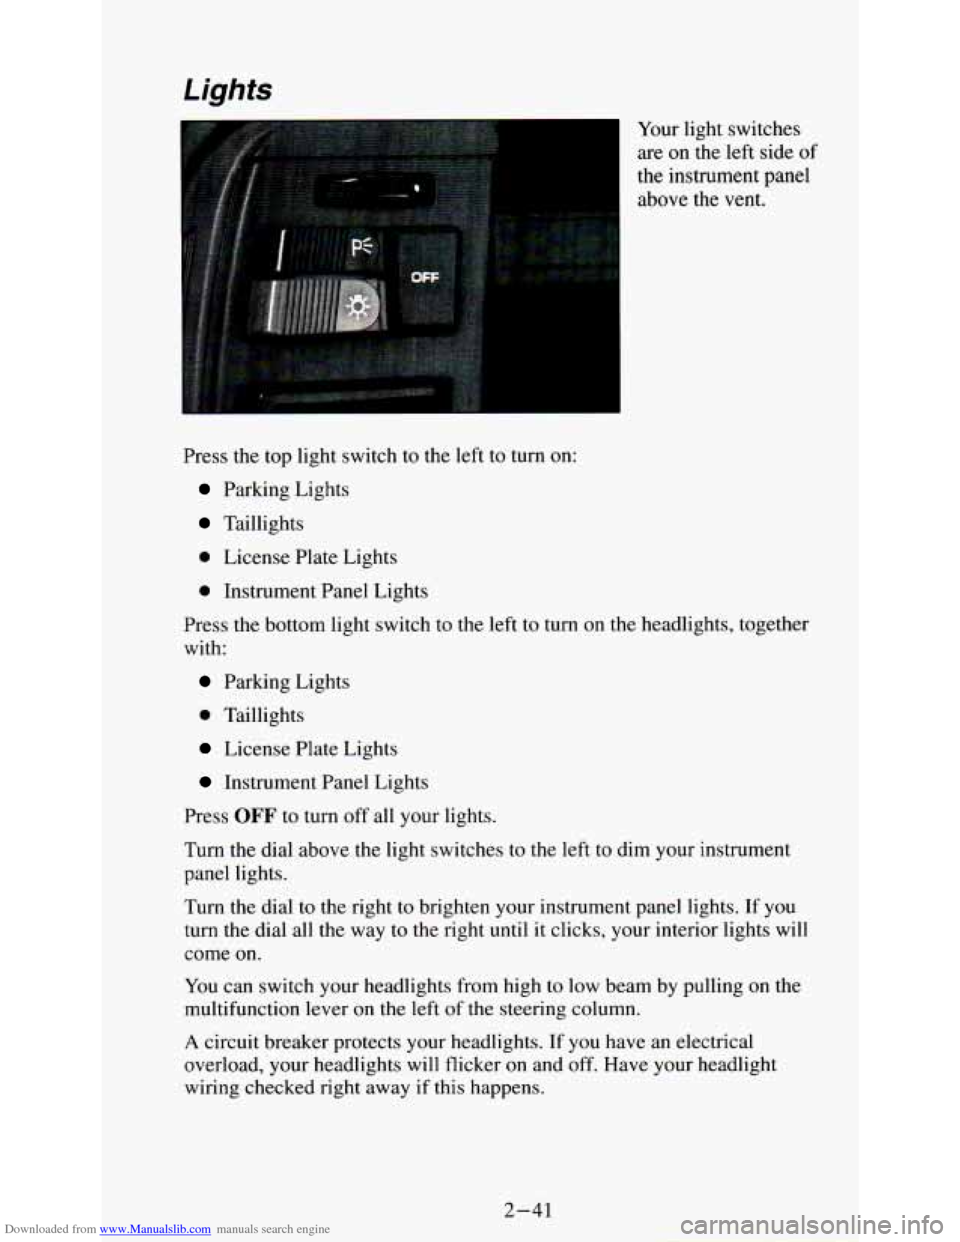
Your light switches
are
on the left side of
the instrument panel
above the vent.
Press the top light switch to the left
to turn on:
Parking Lights
Taillights
0 License Plate Lights
0 Instrument Panel Lights
Press the bottom light switch to the left to turn on the headlights, together
with:
Parking Lights
0 Taillights
License Plate Lights
Instrument Panel Lights
Press
OFF to turn off all your lights.
Turn the dial above the light switches to the left to dim your instrument
panel lights.
Turn the dial to the right to brighten your instrument panel lights. If you
turn the dial all the way to the right until it clicks, your interior lights will
come on.
You can switch your headlights from high to low beam by pulling on the
multifunction lever on the left
of the steering column.
A circuit breaker protects your headlights. If you have an electrical
overload, your headlights will flicker on and off. Have your headlight
wiring checked right away if this happens.
2-41
Page 102 of 340
Downloaded from www.Manualslib.com manuals search engine Fog Lamps
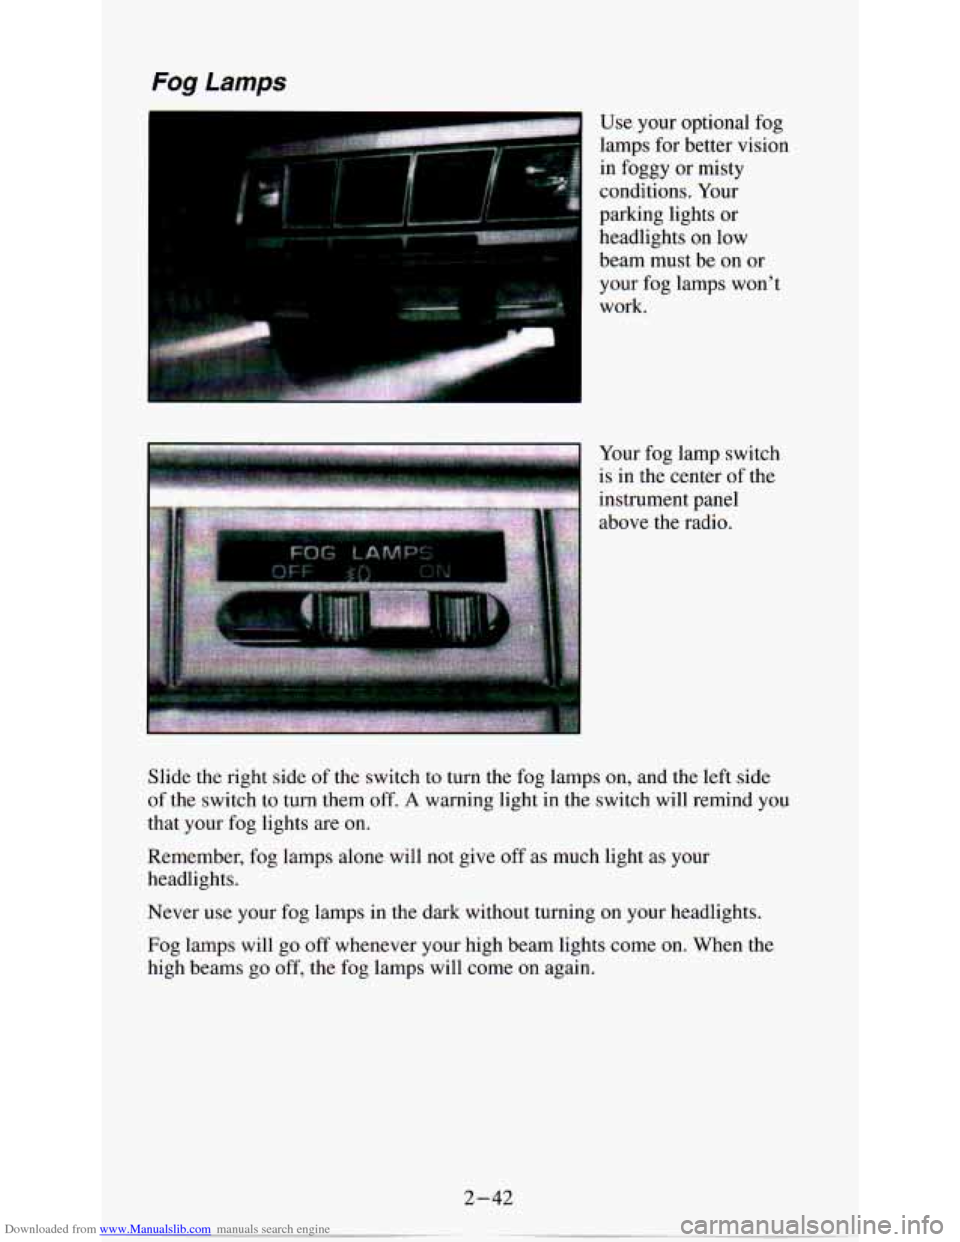
I Use your optional fog
lamps for better vision
in foggy or misty
conditions. Your
parking lights or headlights
on low
I
beam must be on or
your fog lamps won’t
work.
I is in the cent& of the
instrument panel
dl;.l*. By..: above the radio.
Slide the right side of the switch to turn the fog lamps on, and the left side
of the switch to turn them off.
A warning light in the switch will remind you
that your fog lights are
on.
Remember, fog lamps alone will not give off as much light as your
headlights.
Never use your fog lamps in the dark without turning
on your headlights.
Fog lamps will
go off whenever your high beam lights come on. When the
high beams go off, the fog lamps will come
on again.
2-42
Page 103 of 340
Downloaded from www.Manualslib.com manuals search engine Daytime Running Lights (DRL) indicator Light
(Canada Only)
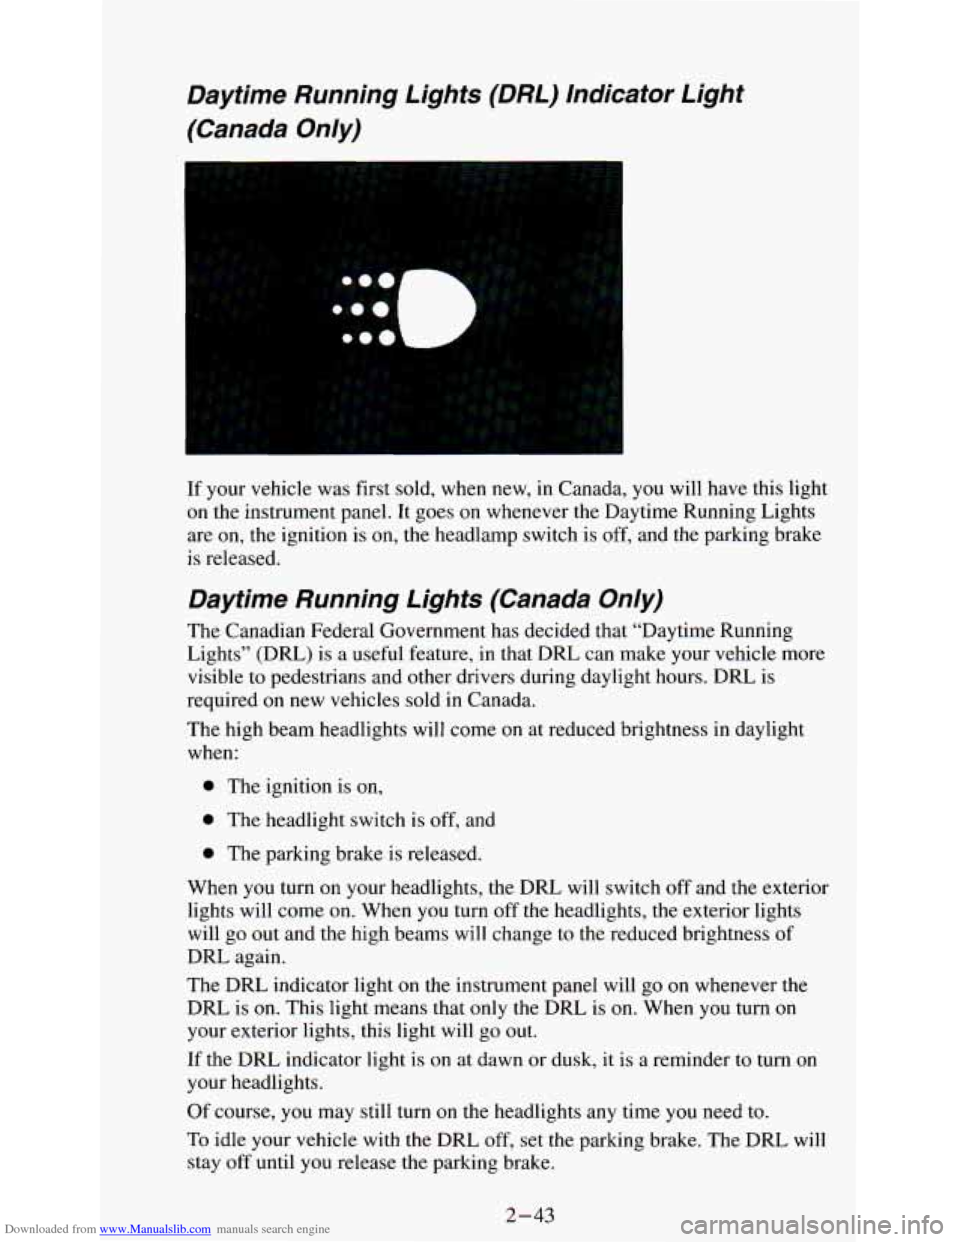
If your vehicle was first sold, when new, in Canada, you will have this light
on the instrument panel. It goes on whenever the Daytime Running Lights
are on, the ignition is on, the headlamp switch is off, and the parking brake
is released.
Daytime Running Lights (Canada Only)
The Canadian Federal Government has decided that “Daytime Running \
Lights” (DRL) is a useful feature, in that DRL can make your vehicle more
visible to pedestrians and other drivers during daylight hours. DRL is
required on new vehicles sold in Canada.
The high beam headlights will come
on at reduced brightness in daylight
when:
0 The ignition is on,
0 The headlight switch is off, and
0 The parking brake is released.
When you turn on your headlights, the DRL will switch off and the exterior
lights will come on. When
you turn off the headlights, the exterior lights
will go out and the high beams will change to the reduced brightness of
DRL again.
The DRL indicator light on the instrument panel will go on whenever the
DRL is
on. This light means that only the DRL is on. When you turn on
your exterior lights, this light will go out.
If the DRL indicator light is on at dawn
or dusk, it is a reminder to turn on
your headlights.
Of course, you may still turn
on the headlights any time you need to.
To idle your vehicle with the DRL off, set the parking brake, The DRL will
stay off until you release the parking brake.
2-43
Page 104 of 340
Downloaded from www.Manualslib.com manuals search engine Headlights-On Reminder
If you have this option, a reminder tone will sound when your he\
adlights are
turned on and your ignition is in OFF, LOCK or ACC. To turn the tone off,
press the OFF switch.
Dome Lights
Reading Lights
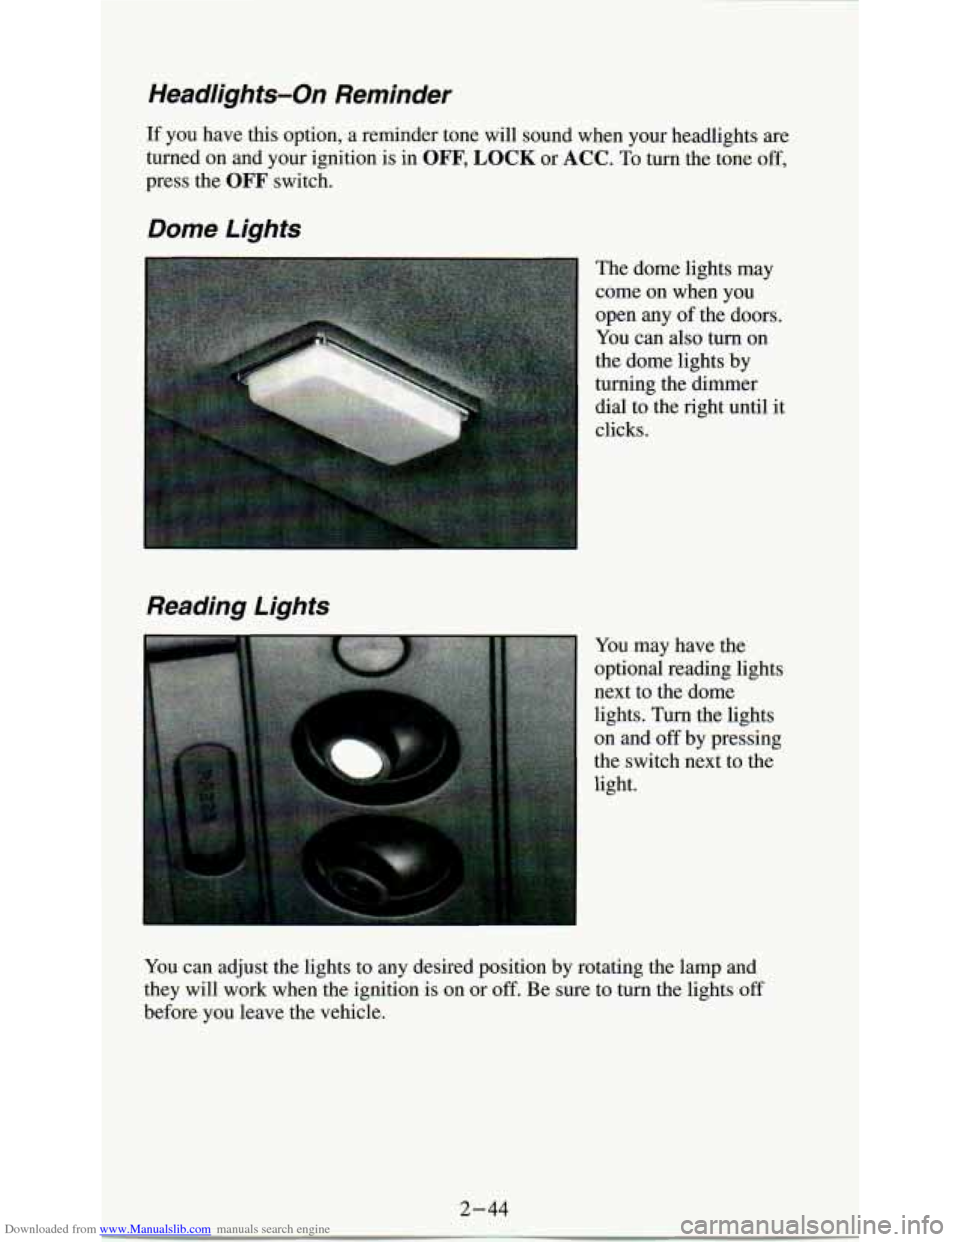
The dome lights may
come on when you
open any of the doors.
You can also turn
on
the dome lights by
turning the dimmer
dial to the right until it
clicks.
You may have the
optional reading lights
next to the dome
lights. Turn the lights
on and
off by pressing
the switch next to the
light.
You can adjust the lights to any desired position by rotating the lamp\
and
they will work when the ignition is on or off. Be sure to turn the lights
off
before you leave the vehicle.
2-44
Page 105 of 340
Downloaded from www.Manualslib.com manuals search engine Interior Lights Override Switch
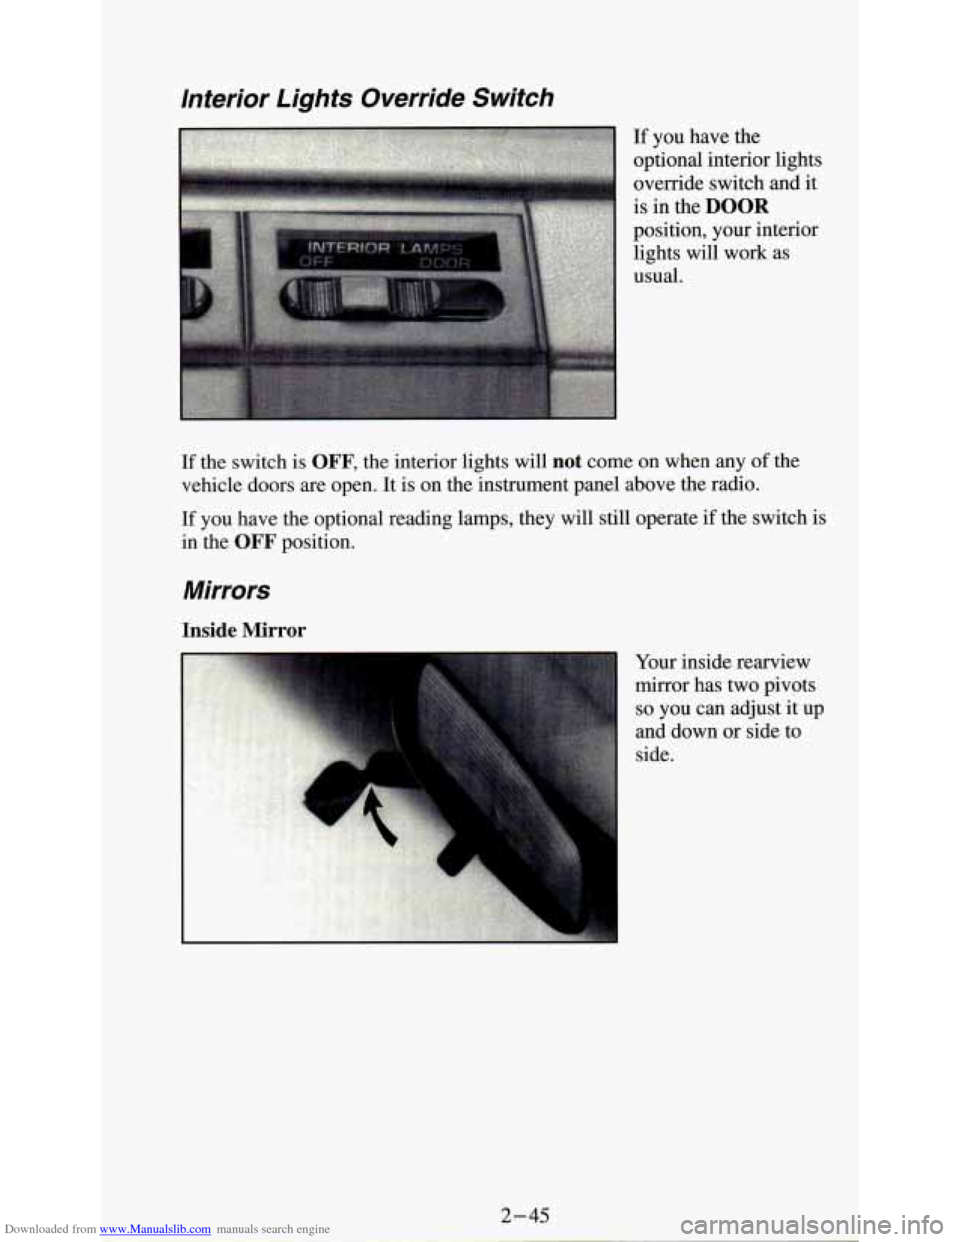
If you have the
optional interior lights
override switch and it
is
in the DOOR
position, your interior
lights will work as
usual.
If the switch is
OFF, the interior lights will not come on when any of the
vehicle doors are open. It is on the instrument panel above the radio.
If you have the optional reading lamps, they will still operate if the switch is
in the
OFF position.
Mirrors
Inside Mirror
Your inside rearview
mirror has two pivots
so you can adjust it up
and down or side to
side.
Page 106 of 340
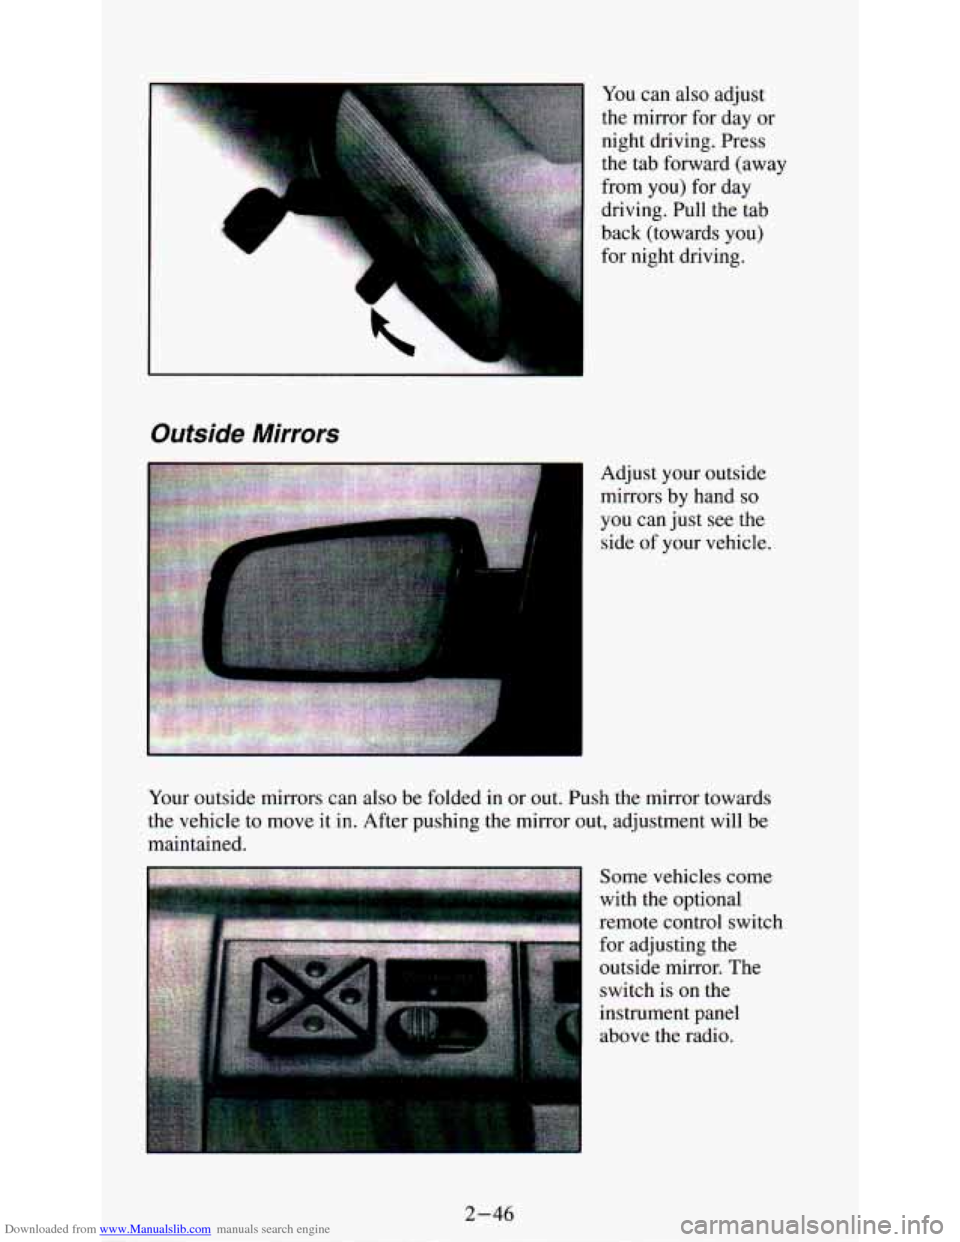
Downloaded from www.Manualslib.com manuals search engine You can also adjust
the mirror for day
or
:::q
4 . .. . ... .
night driving. Press
the tab forward (away
from you) for day
driving. Pull the tab
back (towards you)
for night driving.
Outside Mirrors
Adjust your outside
mirrors by hand
so
you can just see the
side of your vehicle.
Your outside mirrors can also be folded in or
out. Push the mirror towards
the vehicle to move it in. After pushing the mirror out, adjustment will be
maintained.
above the radio.
2-46
Page 107 of 340
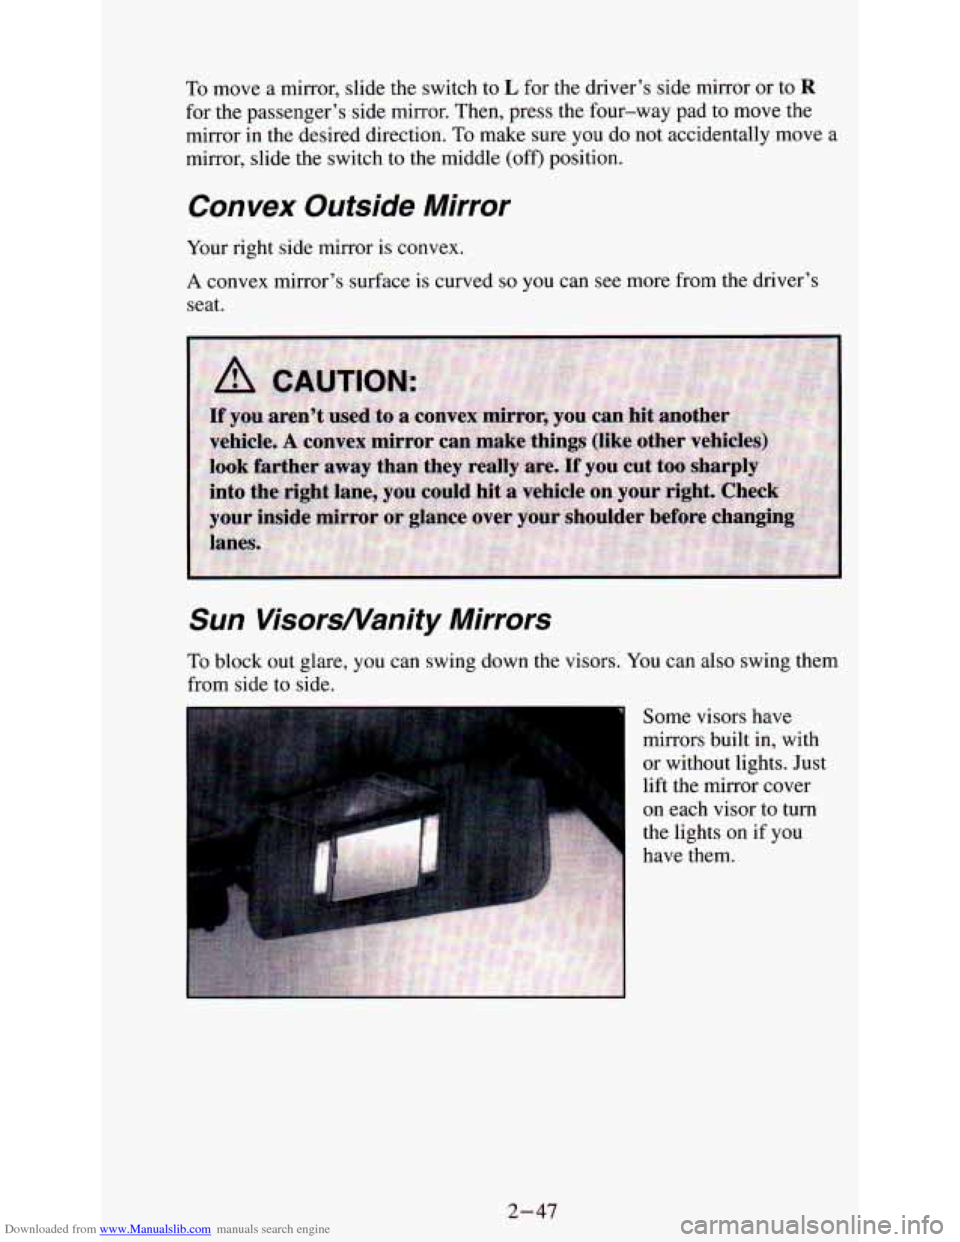
Downloaded from www.Manualslib.com manuals search engine To move a mirror, slide the switch to L for the driver’s side mirror or to R
for the passenger’s side mirror. Then, press the four-way pad to move the
mirror in the desired direction. To make sure you do not accidentally move
a
mirror, slide the switch to the middle (off) position.
Convex Outside Mirror
Your right side mirror is convex.
A convex mirror’s surface is curved so you can see more from the driver’s
seat.
Sun VisorsNanity Mirrors
To block out glare, you can swing down the visors. You can also swing them
from side to side.
Some visors have
mirrors built in, with
or without lights. Just
lift the mirror cover
on each visor to turn
the lights on if you
have them.
2-47
Page 108 of 340
Downloaded from www.Manualslib.com manuals search engine Cigarette Lighter/Ashtrays
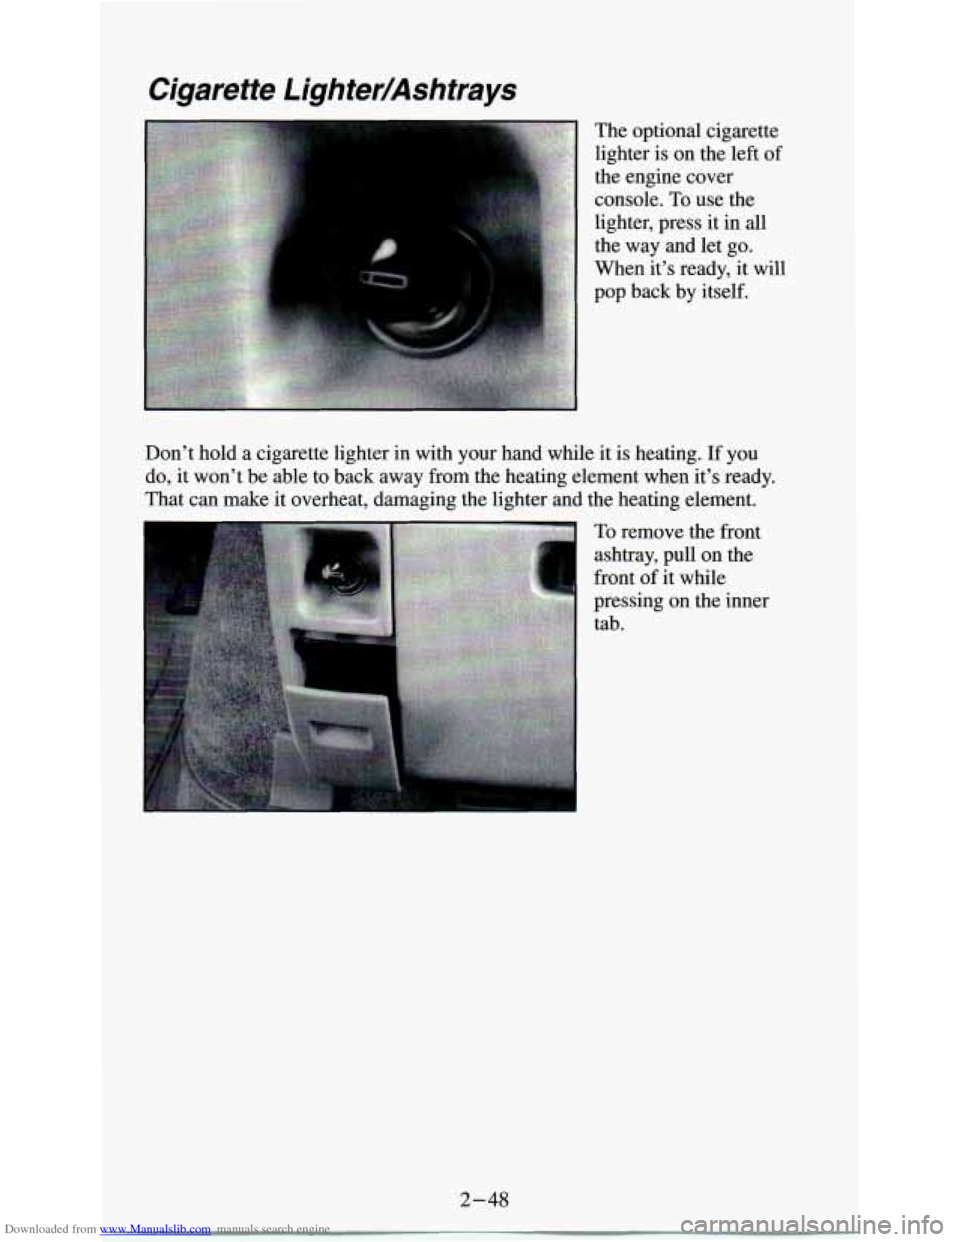
The optional cigarette
lighter is on the left
of
the engine cover
console. To use the
lighter, press it in all
the way and let go.
When it’s ready, it will
pop back by itself.
Don’t hold a cigarette lighter in with your hand while it is heating.
If you
do, it won’t be able to back away from the heating element when it’s ready.
That can make it overheat, damaging the lighter and the heating element.
To remove the front
ashtray, pull on the
front of it while
pressing
on the inner
tab.
2-48
Page 109 of 340
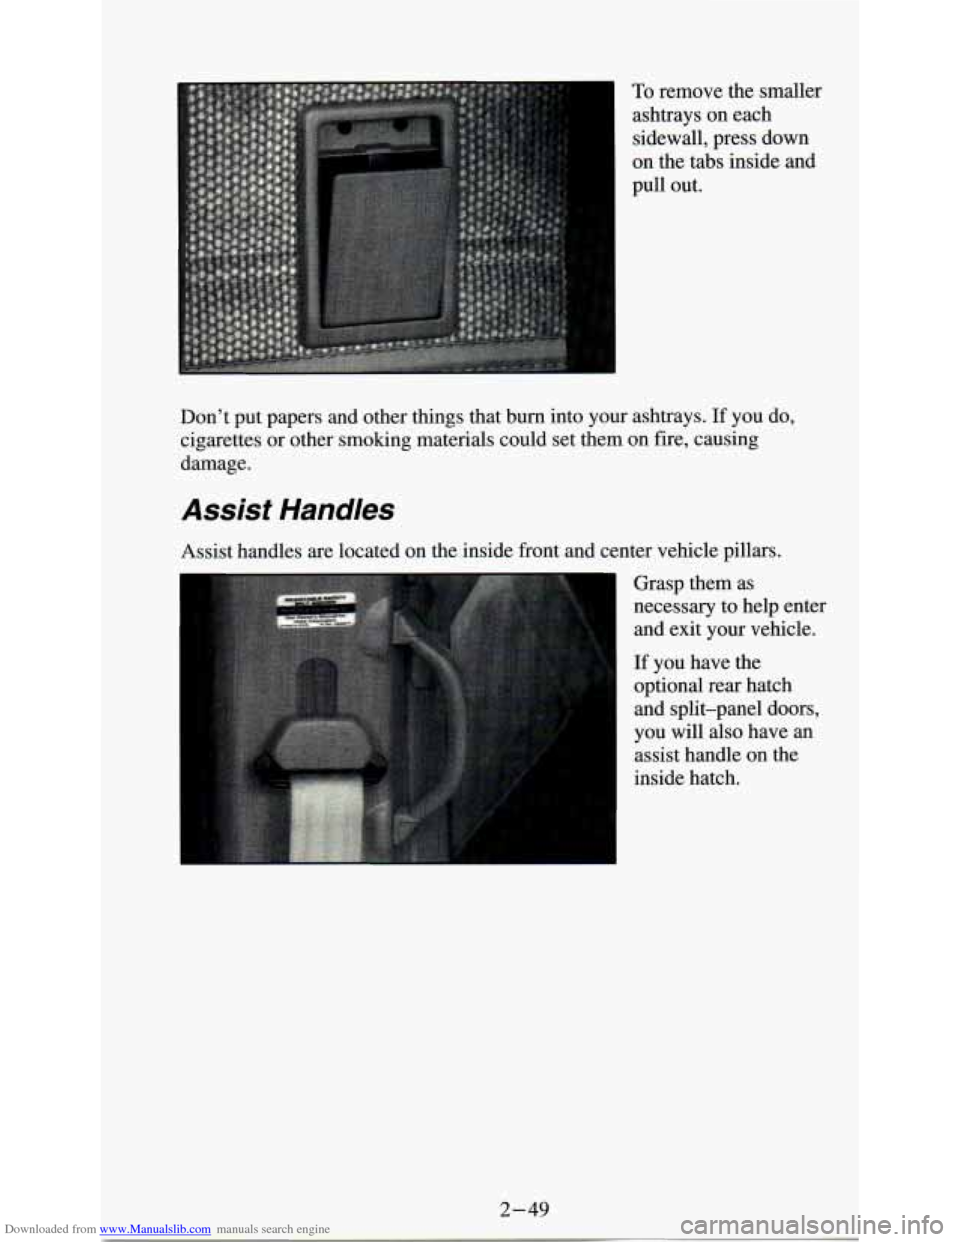
Downloaded from www.Manualslib.com manuals search engine To remove the smaller
ashtrays on each
sidewall, press down
on the tabs inside and
pull out.
Don’t put papers and other things that burn into your ashtrays.
If you do,
cigarettes or other smoking materials could set them on fire, causing
damage.
Assist Handles
Assist handles are located on the inside front and center vehicle pillars.
Grasp them as
necessary to help enter
and exit your vehicle.
If you have the
optional rear hatch
and split-panel doors,
you will also have
an
assist handle on the
inside hatch.
Page 110 of 340
Downloaded from www.Manualslib.com manuals search engine Storage Compartments
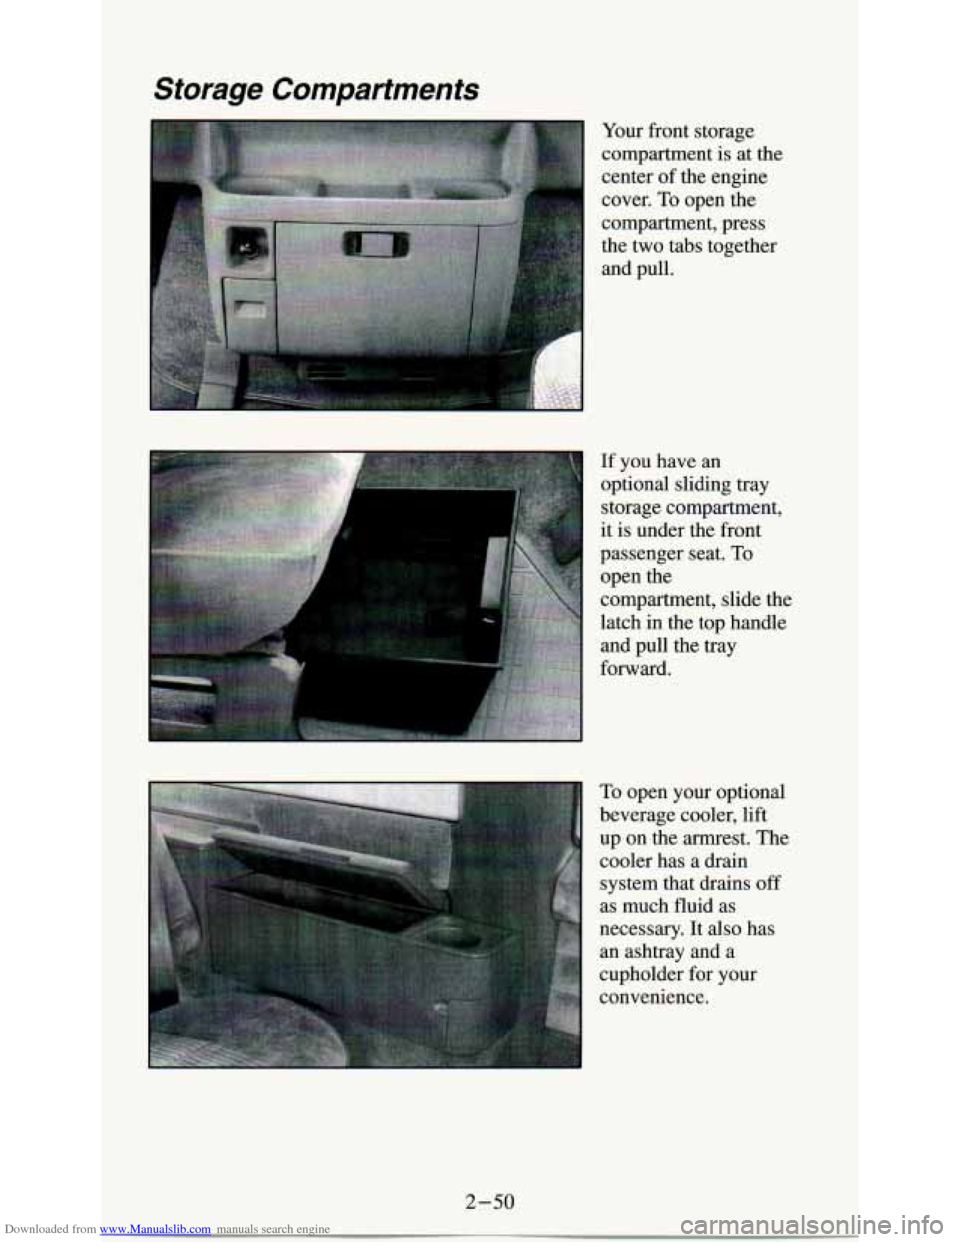
Your front storage
compartment is at the
center
of the engine
cover. To open the
compartment, press
the two tabs together
and pull.
If you have an
optional sliding tray storage compartment,
it is under the front
passenger seat.
To
open the
compartment, slide the
latch in the top handle
and pull the tray
forward.
To open your optional
beverage cooler, lift
up on the armrest. The
cooler has a drain
system that drains
off
as much fluid as
necessary. It also has
an ashtray and a
cupholder for your
convenience.
I
1-50