CHEVROLET BLAZER 1994 2.G Owners Manual
Manufacturer: CHEVROLET, Model Year: 1994, Model line: BLAZER, Model: CHEVROLET BLAZER 1994 2.GPages: 348, PDF Size: 17.88 MB
Page 101 of 348
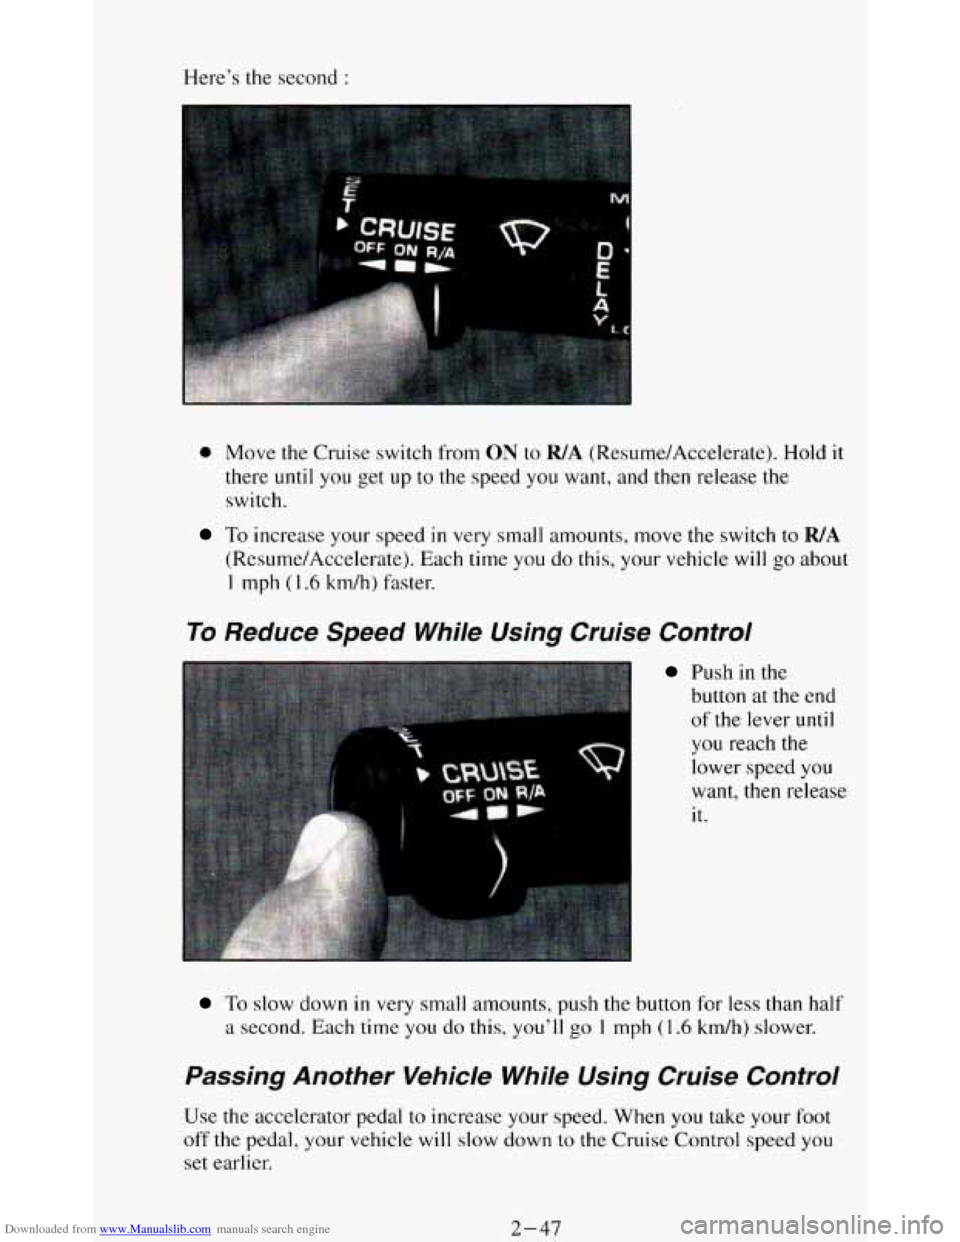
Downloaded from www.Manualslib.com manuals search engine Here’s the second :
0 Move the Cruise switch from ON to WA (R&sur%e/Accelerate). Hold it
there until you get
up to the speed you want, and then release the
switch.
To increase your speed in very small amounts, move the switch to WA
(Resume/Accelerate). Each time you do this, your vehicle will go about
1 mph ( I .6 km/h) faster.
To Reduce Speed While Using Cruise Control
Push in the
button at the end
of the lever until
you reach the
lower speed you
want, then release
it.
To slow down in very small amounts, push the button for less than half
a second. Each time you do this, you’ll go 1 mph (1.6 krdh) slower.
Passing Another Vehicle While Using Cruise Control
Use the accelerator pedal to increase your speed, When you take your foot
off the pedal, your vehicle will slow down to the Cruise Control speed you
set earlier.
2-47
Page 102 of 348
Downloaded from www.Manualslib.com manuals search engine Using Cruise Control on Hills
How well your Cruise Control will work on hills depends upon your speed,
load, and the steepness
of the hills. When going up steep hills, you may
want to step
on the accelerator pedal to maintain your speed. When going
downhill, you may have to brake or shift
to a lower gear to keep your speed
down. Of course, applying the brake takes you out
of Cruise Control. Many
drivers find this to be too much trouble and don’t use Cruise Control on
steep hills.
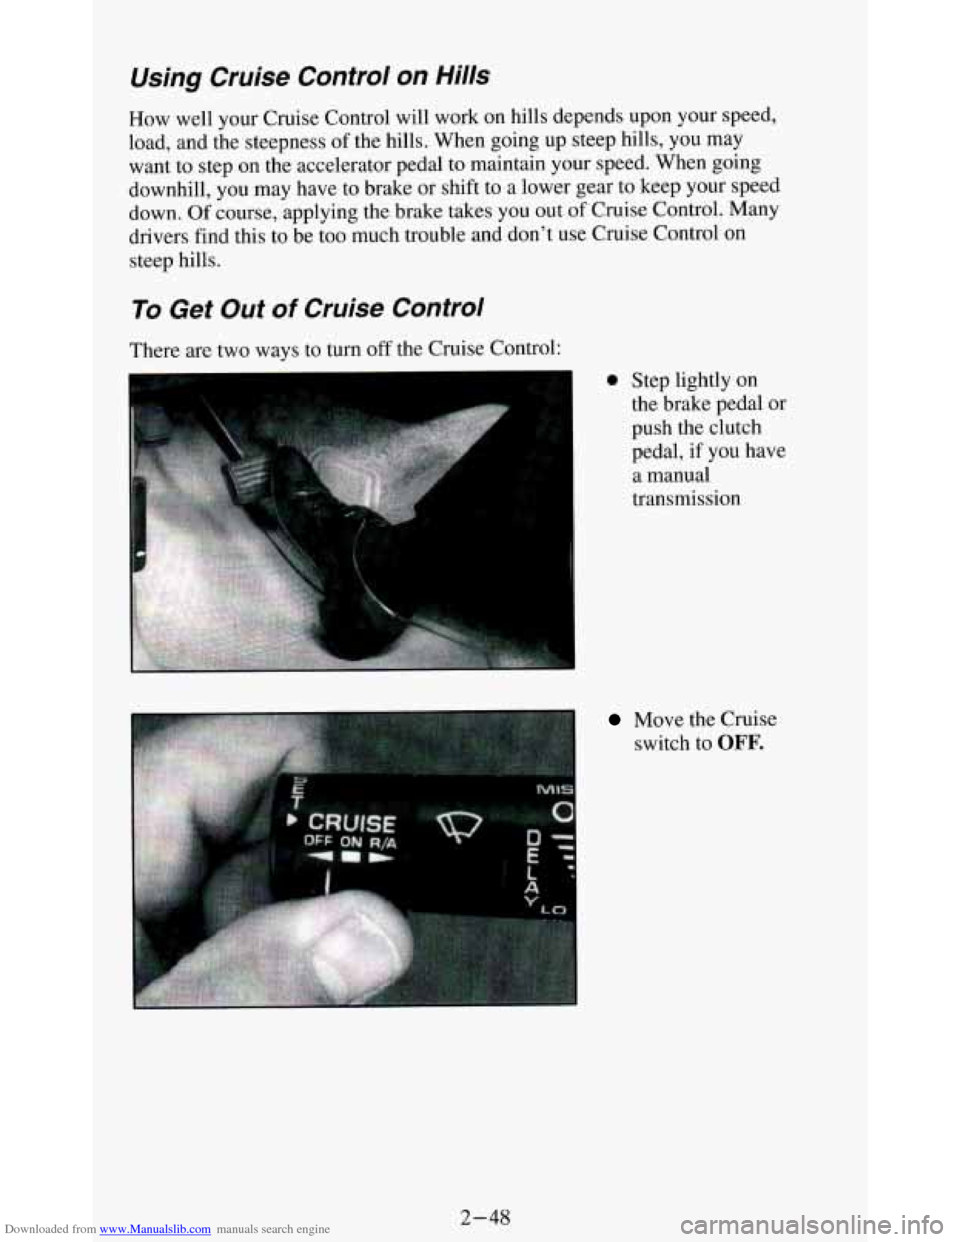
To Get Out of Cruise Control
.. .. . ...
... ,
Move the Cruise
switch to
OFF.
2-48
Page 103 of 348
Downloaded from www.Manualslib.com manuals search engine To Erase Speed Memory
When you turn off the Cruise Control or the ignition, your Cruise Control
set speed memory
is erased.
Lights
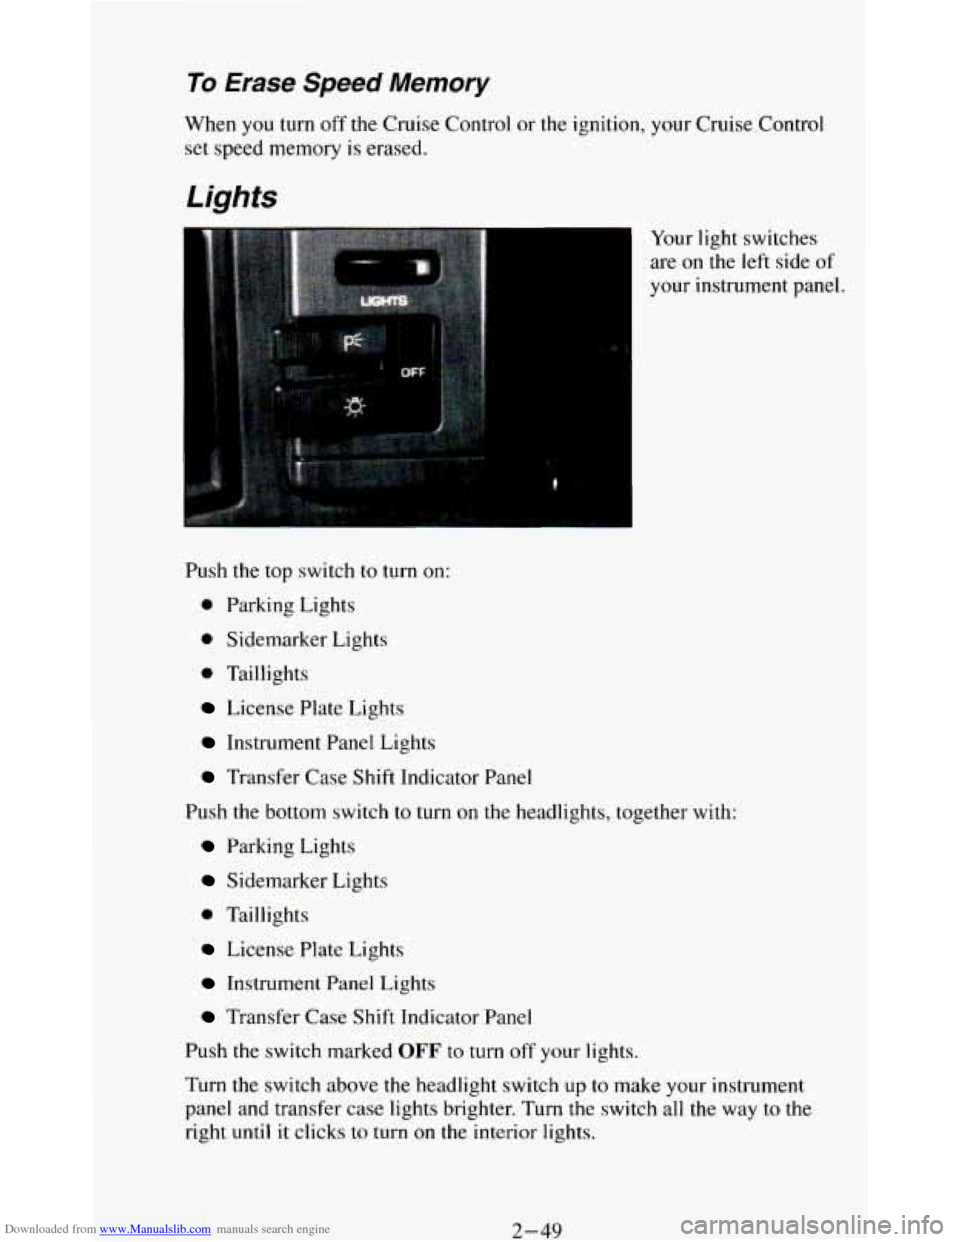
Your light switches
are on the left side of
your instrument panel.
Push the top switch to turn on:
0 Parking Lights
0 Sidemarker Lights
0 Taillights
License Plate Lights
Instrument Panel Lights
Transfer Case Shift Indicator Panel
Push
the bottom switch to turn on the headlights, together with:
Parking Lights
Sidemarker Lights
0 Taillights
License Plate Lights
Instrument Panel Lights
Transfer Case Shift Indicator Panel
Push the switch marked
OFF to turn off your lights.
Turn the switch above the headlight switch
up to make your instrument
panel and transfer
case lights brighter. Turn the switch all the way to the
right until it clicks to turn on the interior lights.
2-49
Page 104 of 348
Downloaded from www.Manualslib.com manuals search engine Turn the switch to the left to dim your instrument panel and transfer case
indicator lights.
You can switch your headlights from high to low beam by pulling on the
multifunction lever.
A circuit breaker protects your headlights. If you have an electrical
overload, your headlights will flicker
on and off. Have your headlight
wiring checked right away
if this happens.
Fog Lamps (Option)
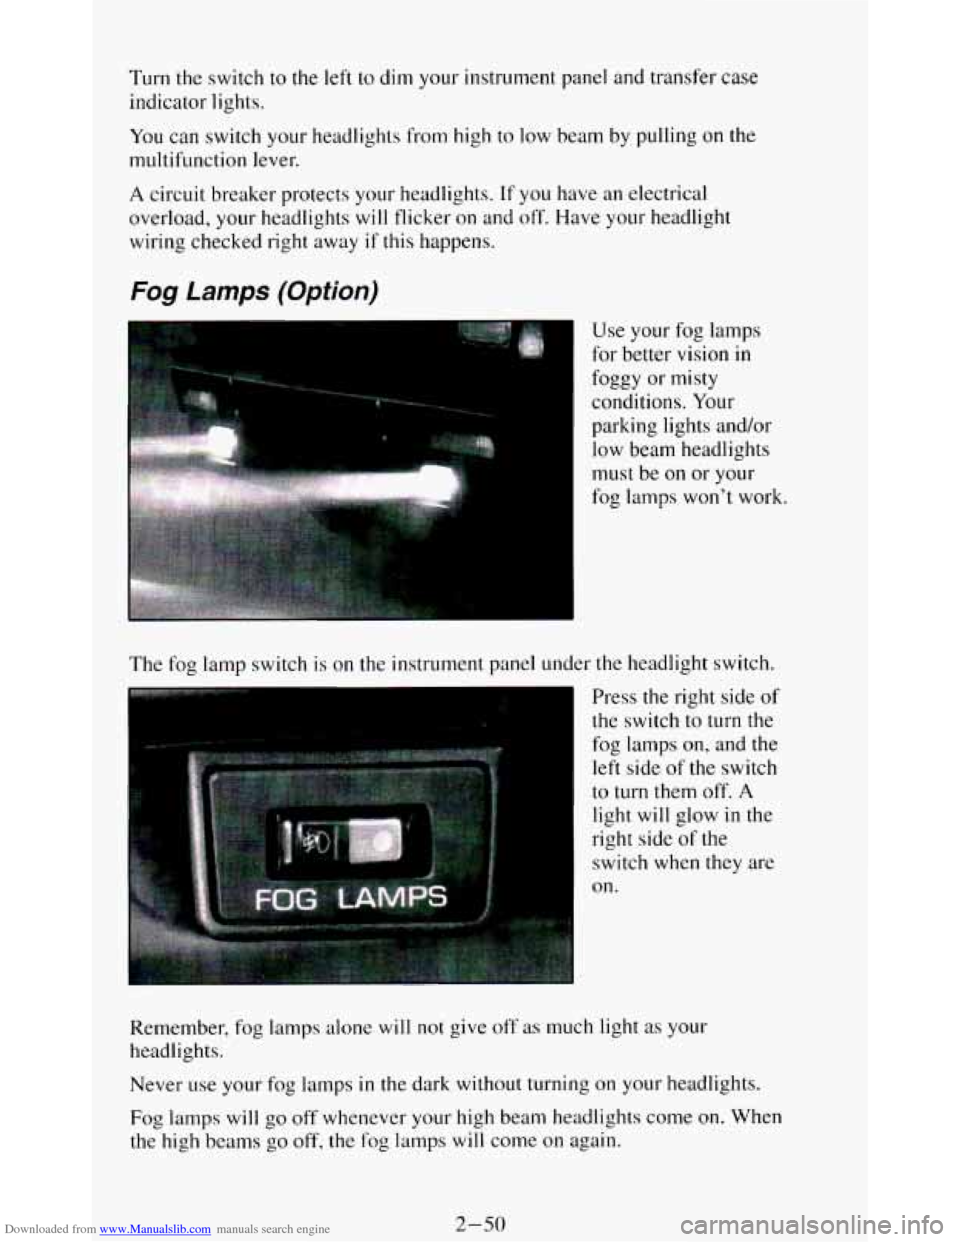
The fog lamp switch is on the instrument panel under the headlight switch.
Press the right side of
the switch
to turn the
fog lamps
on, and the
left side of the switch
to turn them off. A
light will glow in the
right side
of the
switch
when they are
on.
Remember, fog lamps alone
will not give off as much light as your
headlights.
Never
use your fog lamps in the dark without turning on your headlights.
Fog lamps will
go off whenever your high beam headlights come on. When
the high beams
go off, the fog lamps will come on again.
2-50
Page 105 of 348
Downloaded from www.Manualslib.com manuals search engine Daytime Running Lights (DRL) Indicator Light
(Canada
Only)
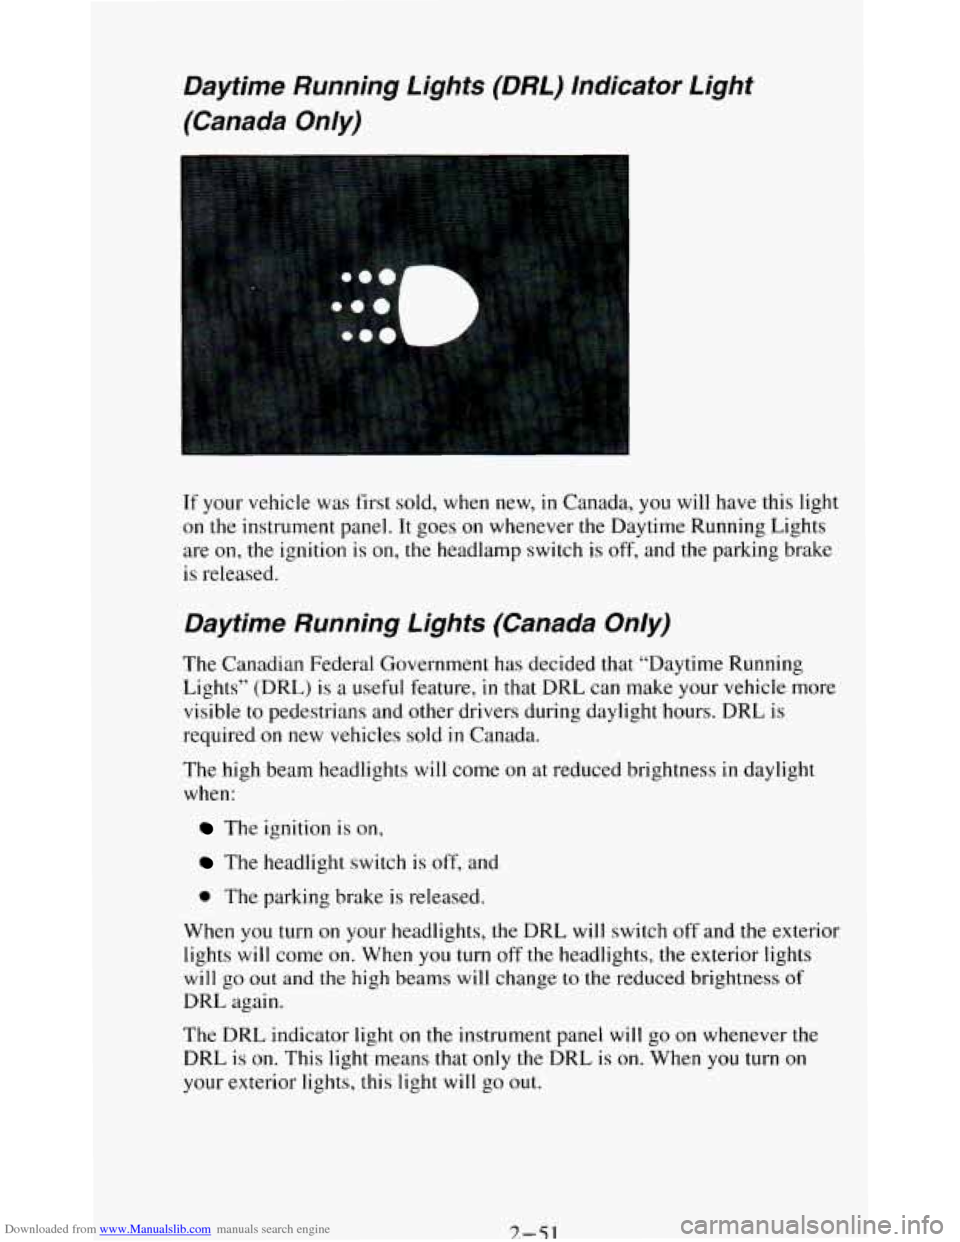
If your vehicle was first sold, when new, in Canada, you will have this light
on
the instrument panel. It goes on whenever the Daytime Running Lights
are
on, the ignition is on, the headlamp switch is off, and the parking brake
is released.
Daytime Running Lights (Canada Only)
The Canadian Federal Government has decided that “Daytime Running
Lights” (DRL)
is a useful feature, in that DRL can make your vehicle more
visible to pedestrians and other drivers during daylight hours. DRL is
required
on new vehicles sold in Canada.
The high beam headlights will come on at reduced brightness
in daylight
when:
The ignition is on,
The headlight switch is off, and
0 The parking brake is released.
When you turn
on your headlights, the DRL will switch off and the exterior
lights
will come on. When you turn off the headlights, the exterior lights
will go out and the high beams will change to the reduced brightness of
DRL again.
The DRL indicator light
on the instrument panel will go on whenever the
DRL
is on. This light means that only the DRL is on. When you turn on
your exterior lights, this light
will go out.
7.-51
Page 106 of 348
Downloaded from www.Manualslib.com manuals search engine If the DRL indicator light is on at dawn or dusk, it is a reminder to turn on
your headlights.
Of course, you may still turn on the headlights any time you need to.
To idle your vehicle with the DRL off, set the parking brake. The DRL will
stay
off until you release the parking brake.
Headlights-On Reminder
A reminder tone will sound when your headlights or parking lights are
turned on and your ignition is in
OFF, LOCK or ACC. To turn the tone off,
turn the dimmer switch all the way to the left.
Dome Lights
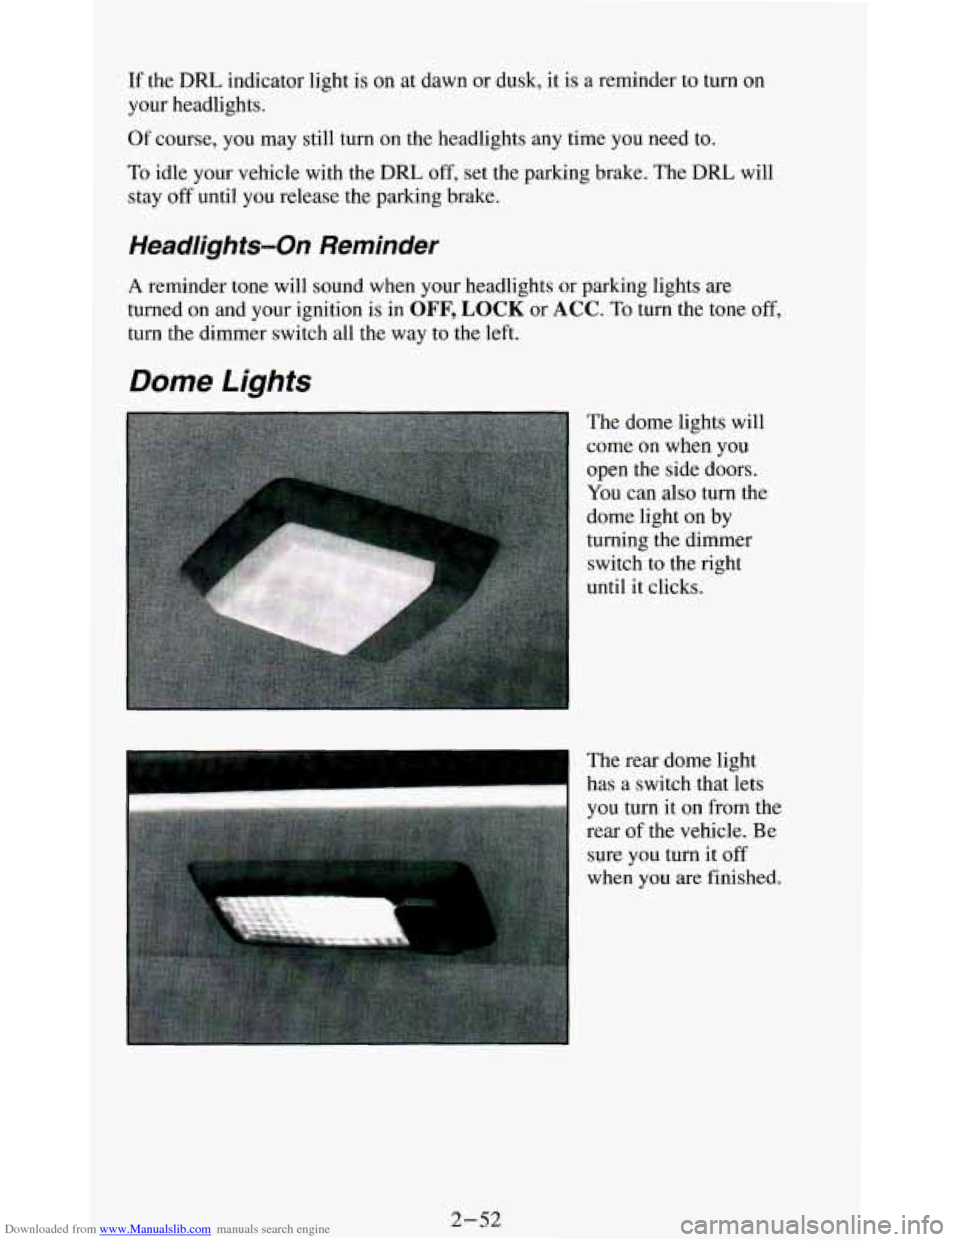
The dome lights will
come on when you
open the side doors.
You can also turn the
dome light on by
turning the dimmer
switch
to the right
until it clicks.
I
The rear dome light
has a switch that lets
you turn it on from the
rear
of the vehicle. Be
sure you turn it
off
when you are finished.
2-52
Page 107 of 348
Downloaded from www.Manualslib.com manuals search engine Overhead Console Reading Lights
Mirrors
Inside Mirror
r
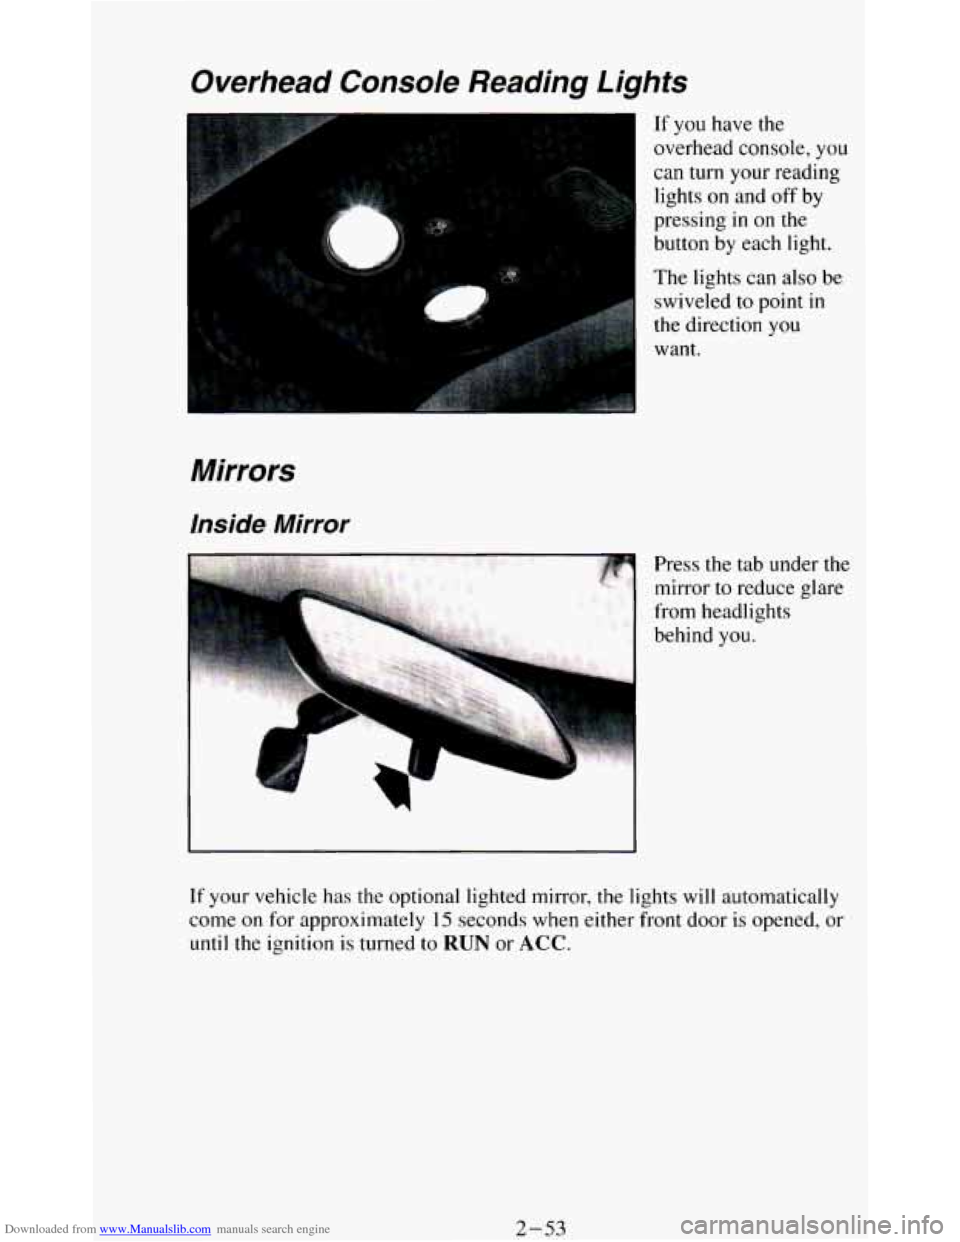
If you have the
overhead console, you
can turn your reading
lights
on and off by
pressing
in on the
button by each light.
The lights can also be
swiveled to point
in
the direction you
want.
Press
the tab under the
mirror
to reduce glare
from headlights
behind
you.
If your vehicle has the optional lighted mirror, the lights will automatically
come
on for approximately 15 seconds when either front door is opened, or
until the ignition is turned to RUN or ACC.
2-53
Page 108 of 348
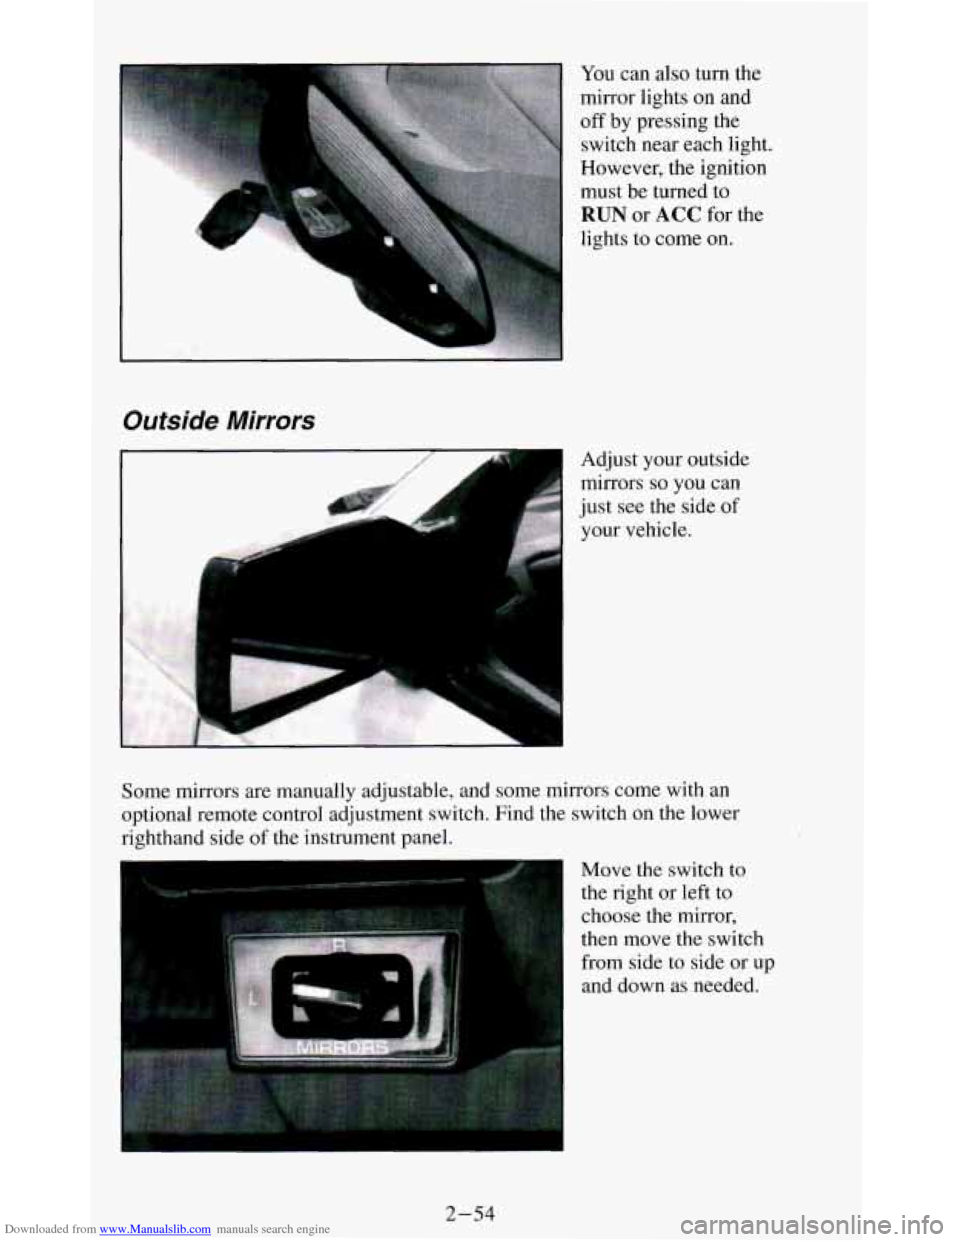
Downloaded from www.Manualslib.com manuals search engine You can also turn the
mirror lights on and
off by pressing the
switch near each light.
However, the ignition
must be turned
to
RUN or ACC for the
lights to come
on.
Outside Mirrors
.,. .,,.. . Adjust your outside
mirrors
so you can
just see the side of
your vehicle.
L J
Some mirrors are manually adjustable, and some mirrors come with an
optional remote control adjustment switch. Find the switch on
the lower
righthand side
of the instrument panel.
Move the switch
to
the right or left to
choose the mirror,
then move the switch
from side to side or up
and down as needed.
2-54
Page 109 of 348
Downloaded from www.Manualslib.com manuals search engine If you have the manually adjustable mirror, you can fold it before entering a
carwash.
To fold, pull the mirrors in towards the vehicle. Push the mirrors
back out when finished.
Convex Outside Mirror
Your right side mirror is convex.
A convex mirror’s surface is curved so you can see more from the driver’s
seat.
Sun VisorsNanity Mirrors
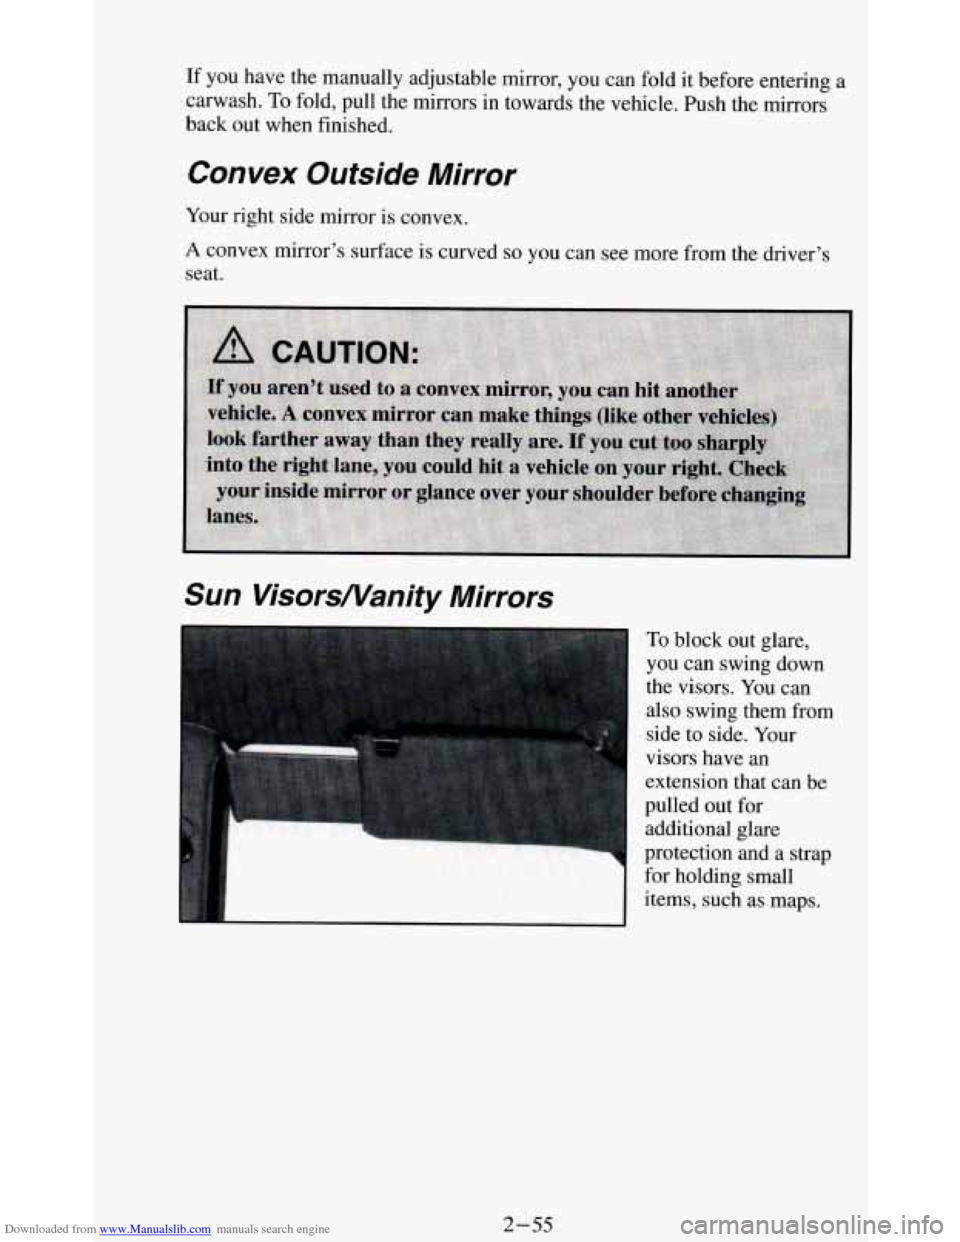
To block out glare,
you can swing down
the visors. You can
also swing them from
side to side. Your
visors have an
extension that can be
pulled out
for
additional glare
protection and a strap for holding small
items, such as maps.
2-55
Page 110 of 348
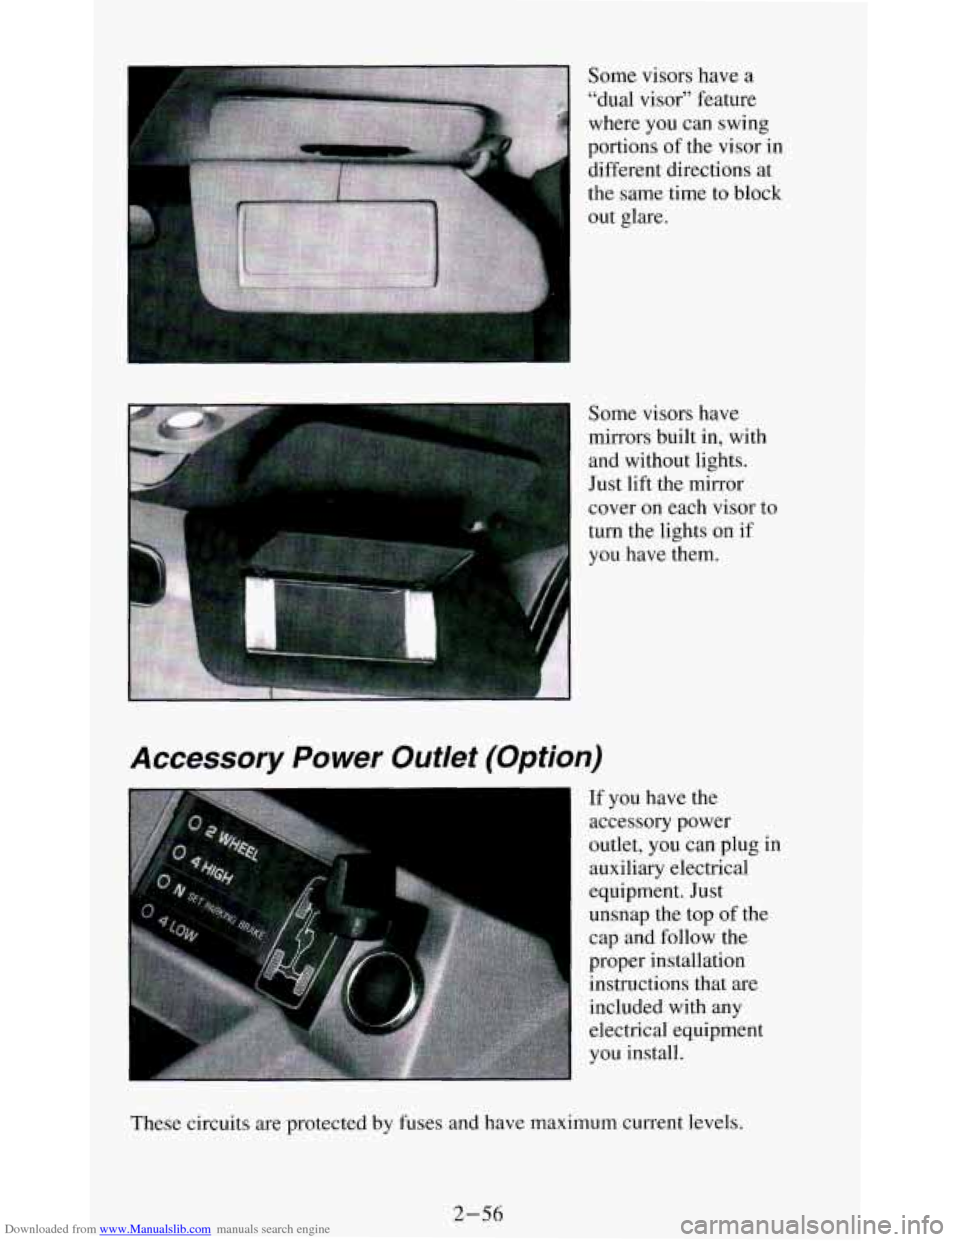
Downloaded from www.Manualslib.com manuals search engine Some visors have a
"dual visor" feature
where you can swing
portions of the visor in
different directions at
the same time to block
out glare.
Some visors have
mirrors built in, with and without lights.
Just lift the mirror
cover on each visor to
turn the lights on if
you have them.
Accessory Power Outlet (Option)
I If you have the
accessory power
outlet, you can plug in
auxiliary electrical
equipment. Just
unsnap the top of the
cap and follow the
proper installation instructions that are
included with any electrical equipment
you install.
These circuits are protected by fuses and have maximum current levels.
2-56